
Many pastry recipes require you to line a tin, and some to then bake the pastry ‘blind’. Lining the tin with the rolled-out pastry is the only tricky part, but we’ll walk you through how to do it below.
You’ll need a flan tin, ideally with a loose bottom, a rolling pin, large board, greaseproof or baking paper, baking beans (or an alternative, see below), plus some kitchen towel.
Preparation
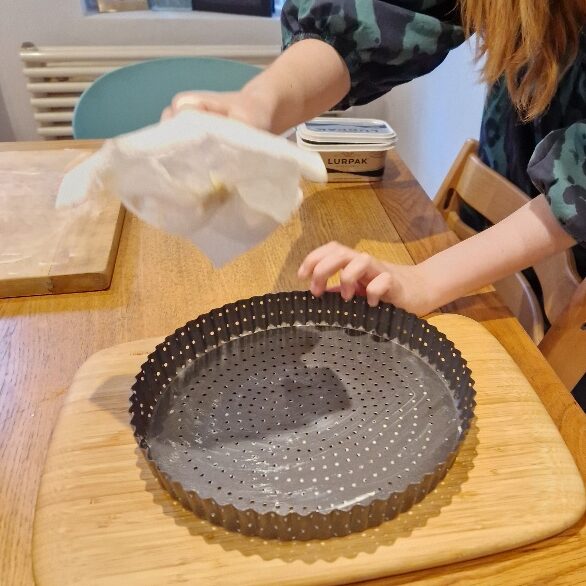
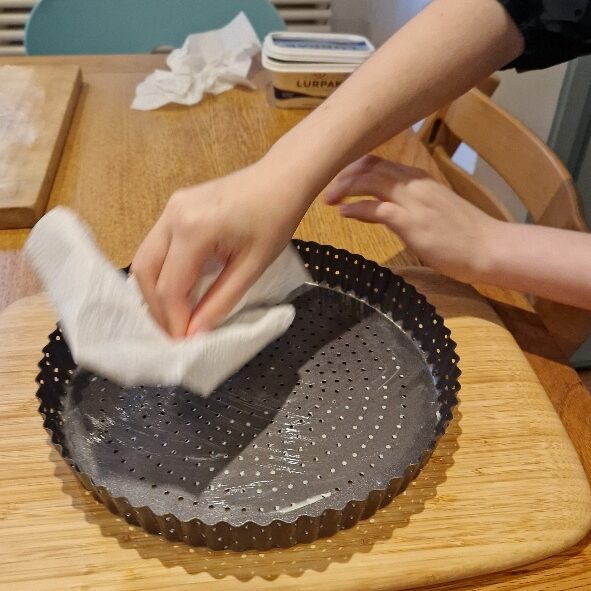
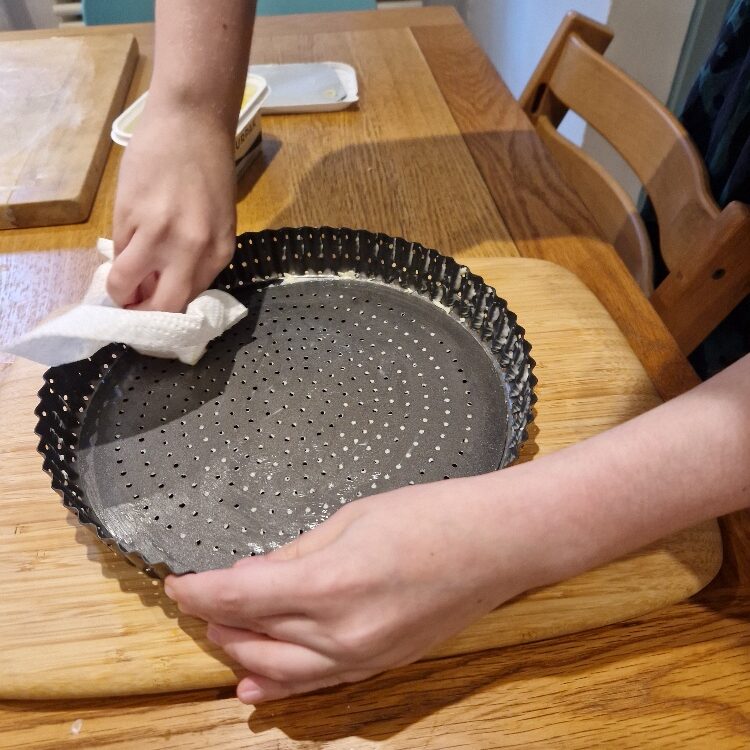
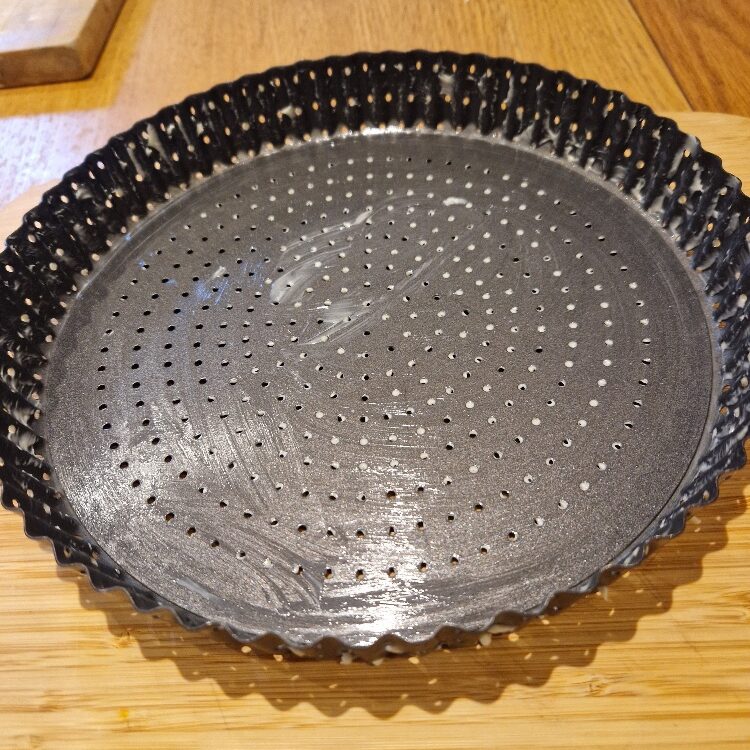
Start by greasing your tin, this helps prevent the pastry from sticking. Take a kitchen towel and rub it with some softened butter. The spread the butter all over the flan tin with the towel, making sure the bottom and sides are fully covered.

Jake sticks his nose in
Note that the tin we’re using has a loose bottom but it also covered with little holes. The holes can help with baking, and let steam out, but a plain loose-bottomed tin will work just as well
Rolling out
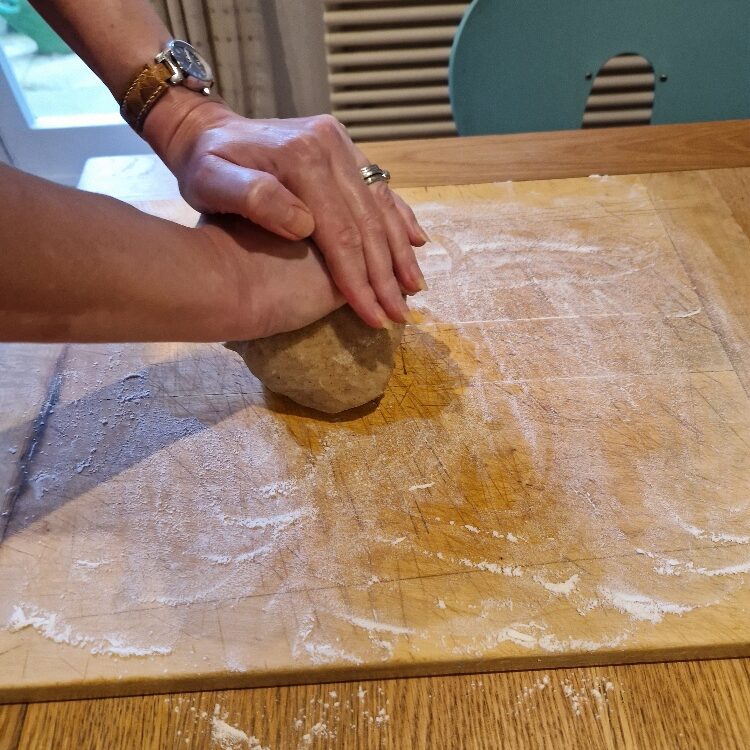
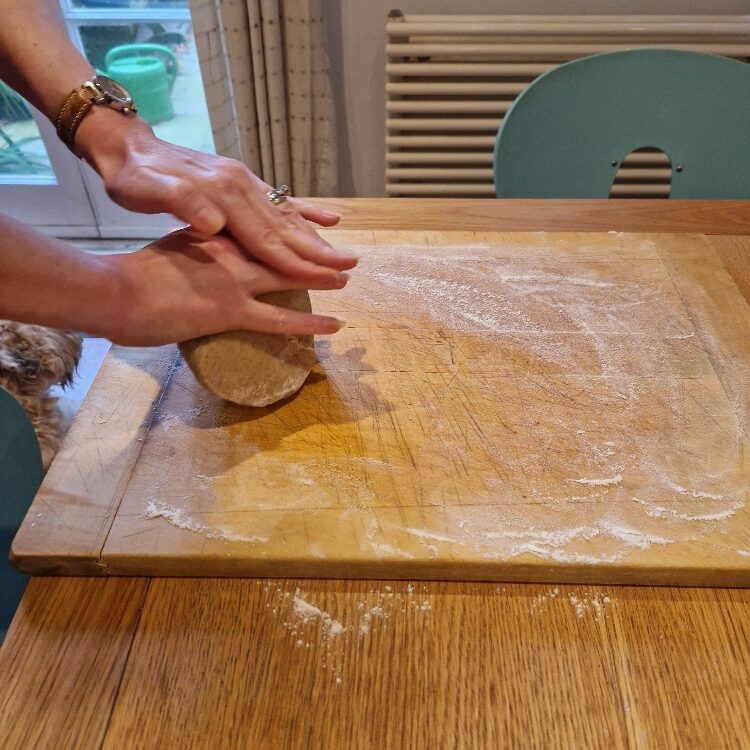
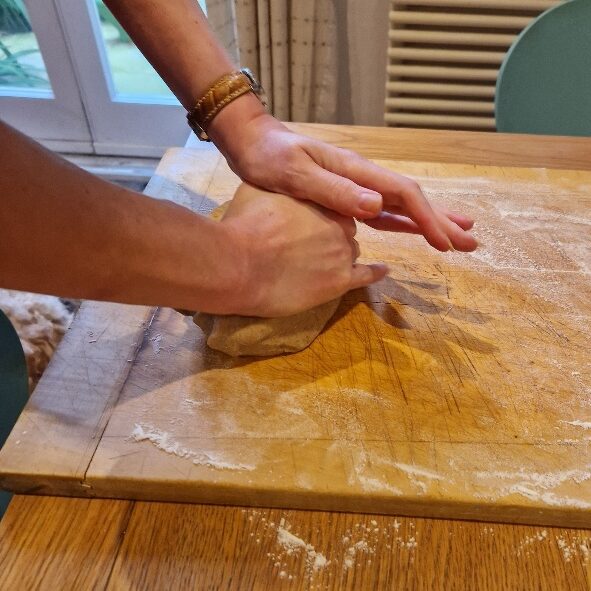
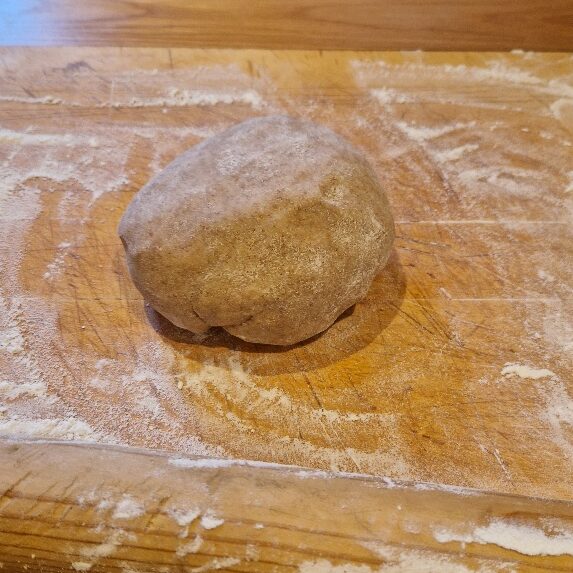
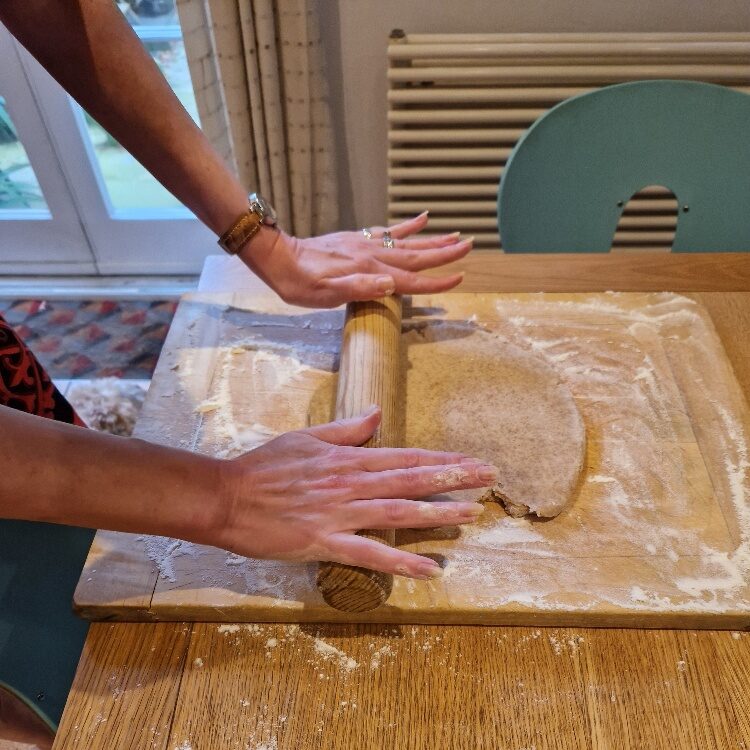
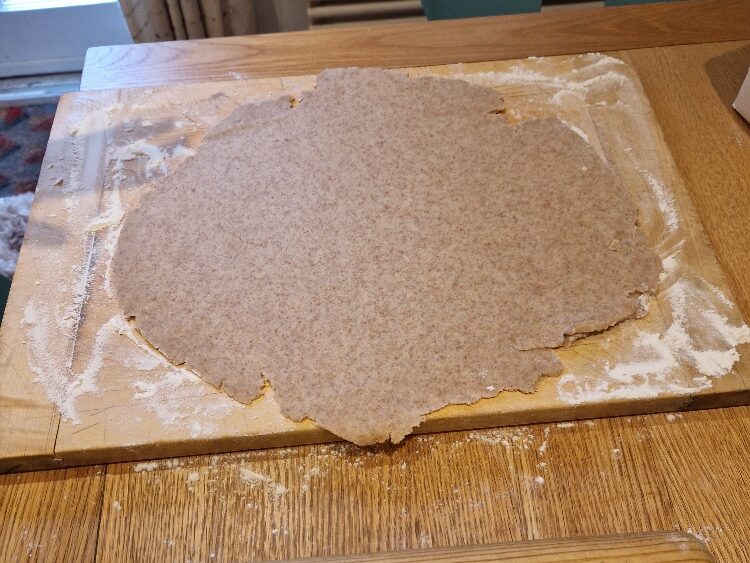
Get your pastry out of the fridge about 15 minutes before you are ready to roll out, so that it is still cold but not too firm. Turn the pastry out onto a large floured board; also get your rolling pin and dust it with a little flour. Knead the pastry a few times, as we described in the making a dough Tip, pushing down onto the board with the palms of your hands until the dough is slightly softened and feels flexible enough to roll. Flatten the top of your pastry ball a little by pressing down on it. You are now ready to roll!
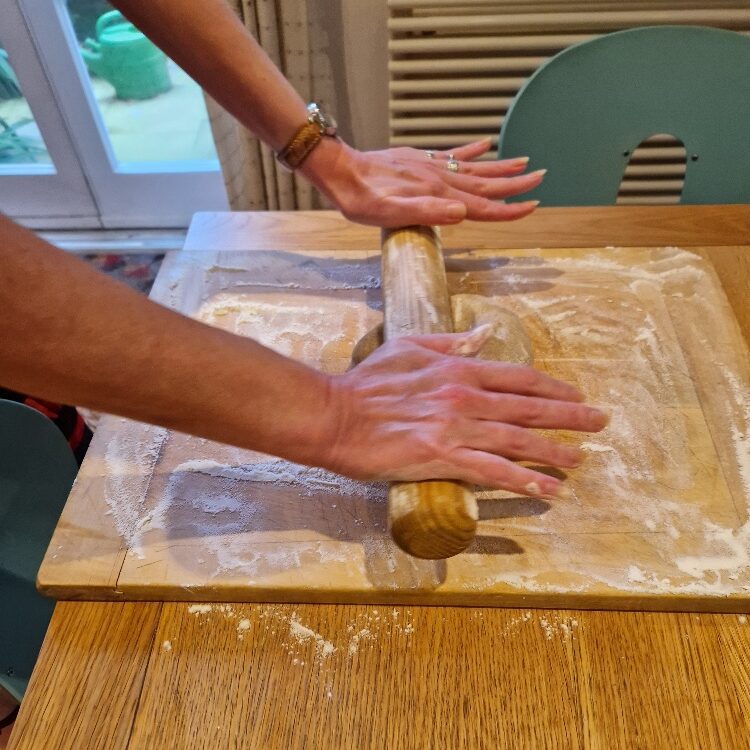
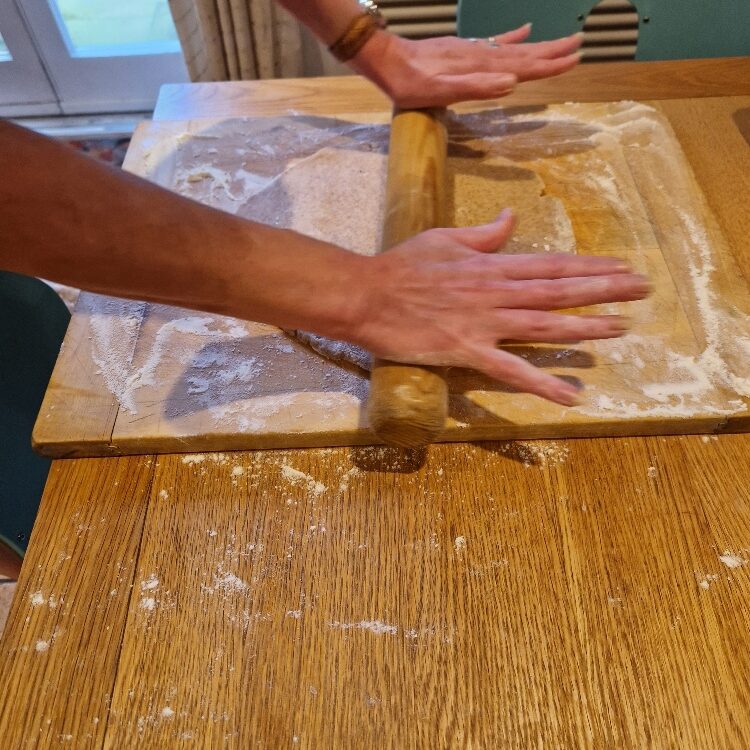
Take your rolling pin and roll it firmly over the dough, pressing down as you roll. To make a nice round shape, turn the pastry 90 degrees after each roll. Repeat. Your pastry will get thinner and your circle bigger; if it goes a bit out of shape, reshape the edge with your hands back into more of a circle (but don’t worry too much about a slight misshape or any smaller cracks).
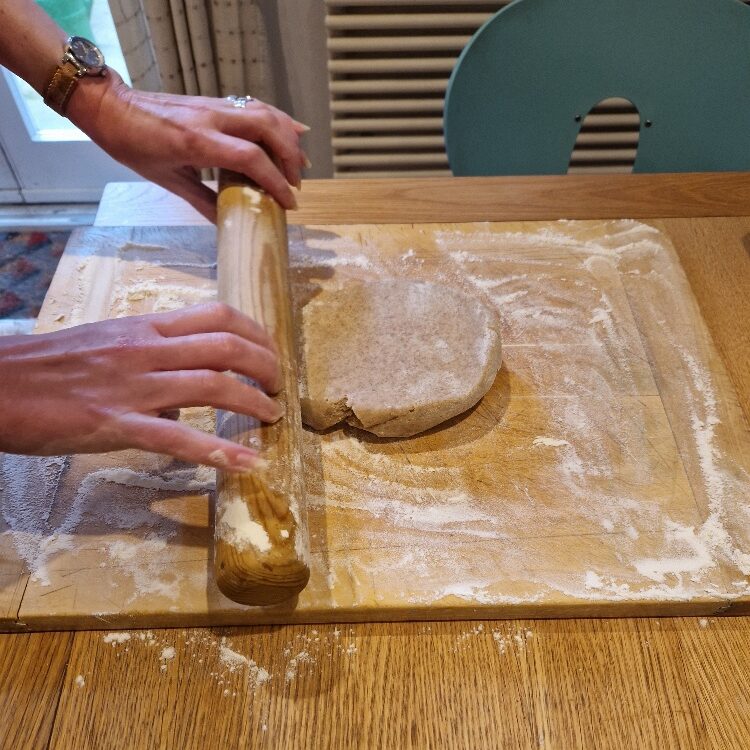
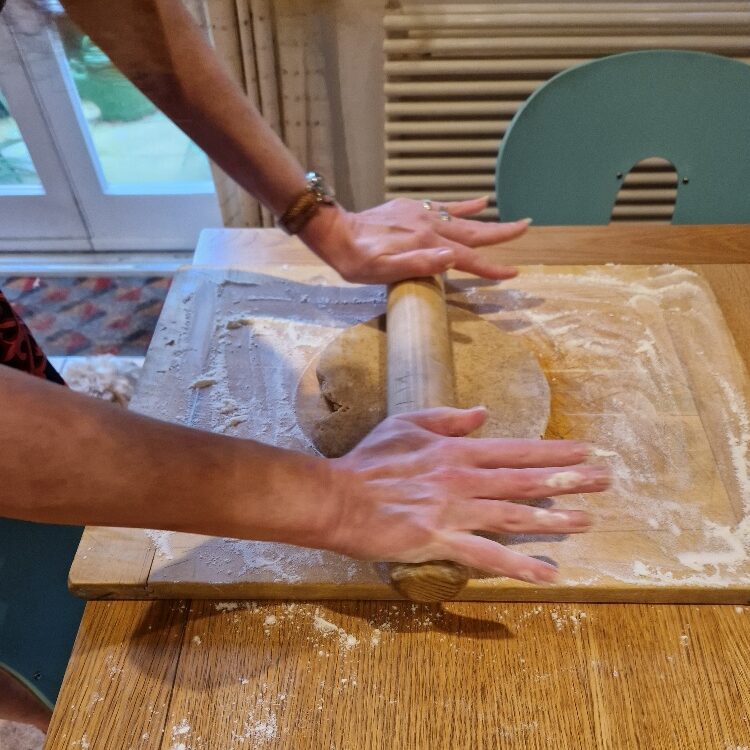
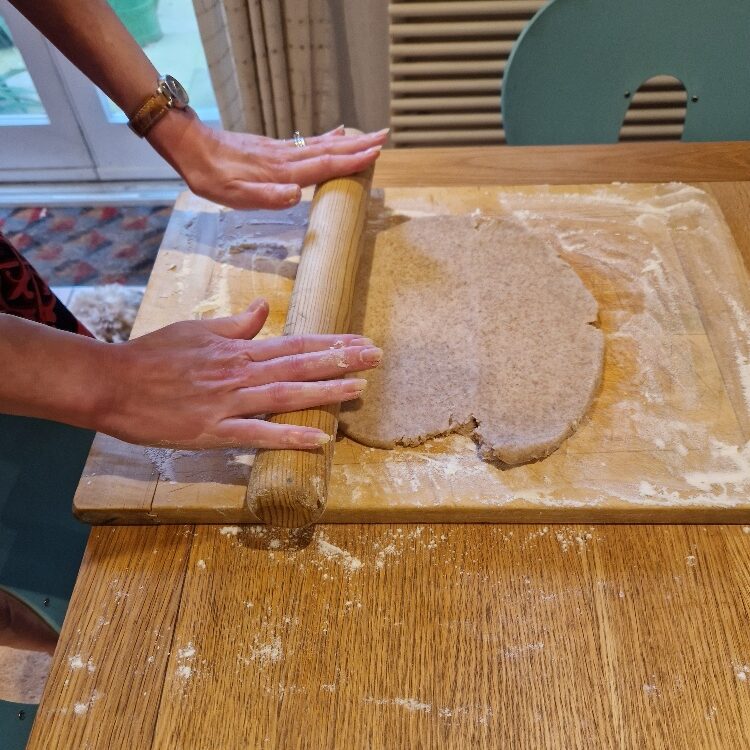
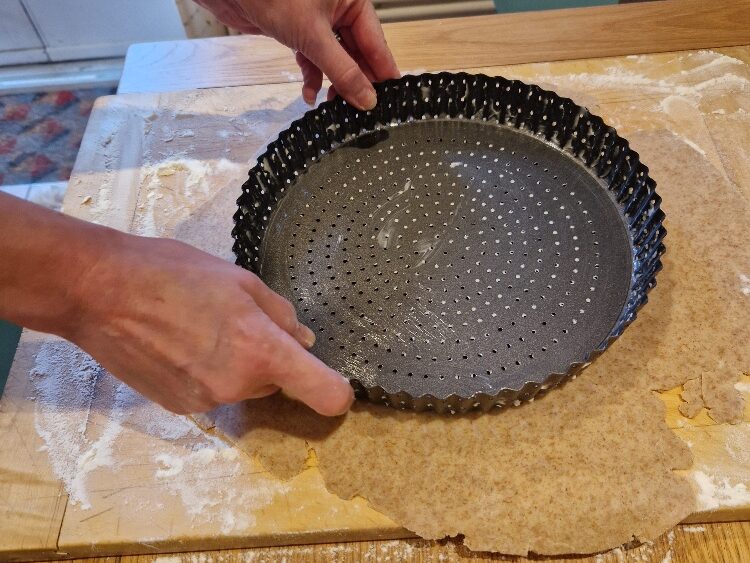
You are ready to stop rolling when your pastry is large enough to fit your tin. You can measure this by holding the tin over the pastry, making sure you have enough pastry around the shape of the tin to line the sides, plus a little more to allow for error (the extra will be trimmed off later to get a really neatly lined tin).
Lining your tin
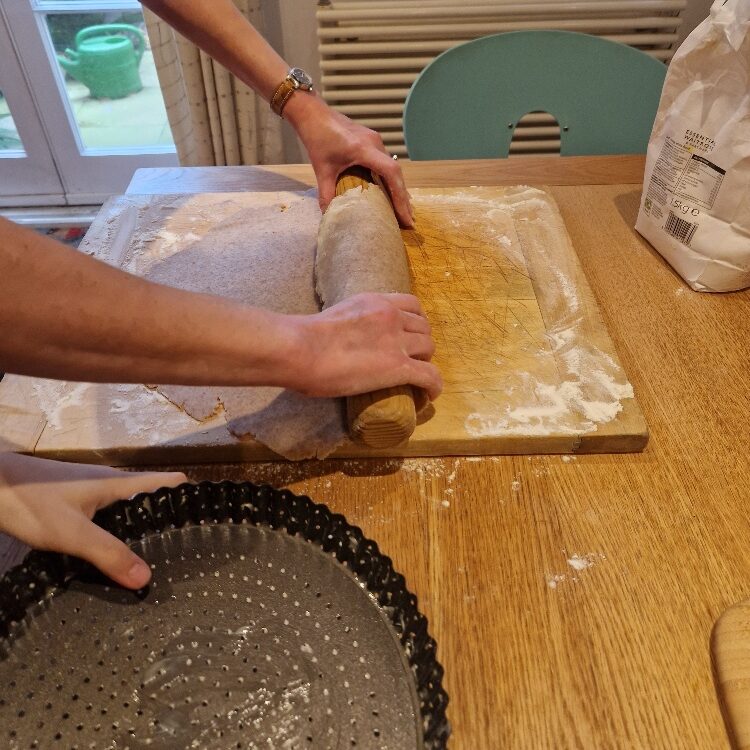
Now comes the slightly tricky part, and it really helps if you have a second person ready to assist. The plan here is that you are going to pick your rolled pastry up on your rolling pin, then drop it carefully into your tin so that it is neatly matched to the centre of the tin, with a decent amount of overlap over the edge. This takes a bit of practice, but don’t worry if you go wrong at first, there are things you can do to recover. When we make pastry, Emily normally picks the pastry up and Estella then positions the tin underneath the raised pastry (this was one of Estell’s first jobs in the kitchen!).
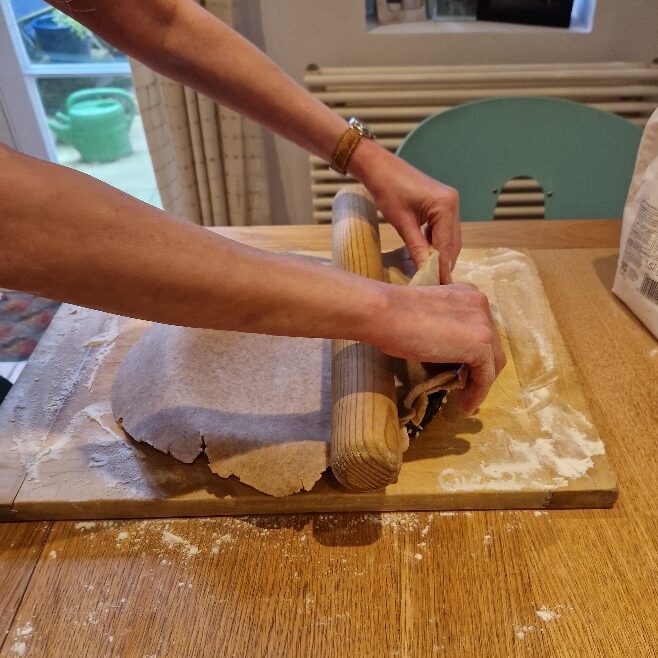
Start by folding your pastry over your rolling pin, you need the overlap to be large enough to pick the pastry up (aim for either central or about a third in), without the pastry sticking to itself. See picture below. To prevent sticking it helps if you dust the top of your pastry and your rolling pin with a little flour.
Jake sticks his nose in
Make sure your rolling pin is nice and clean and dry before you flour it, otherwise the pastry might stick to the pin.
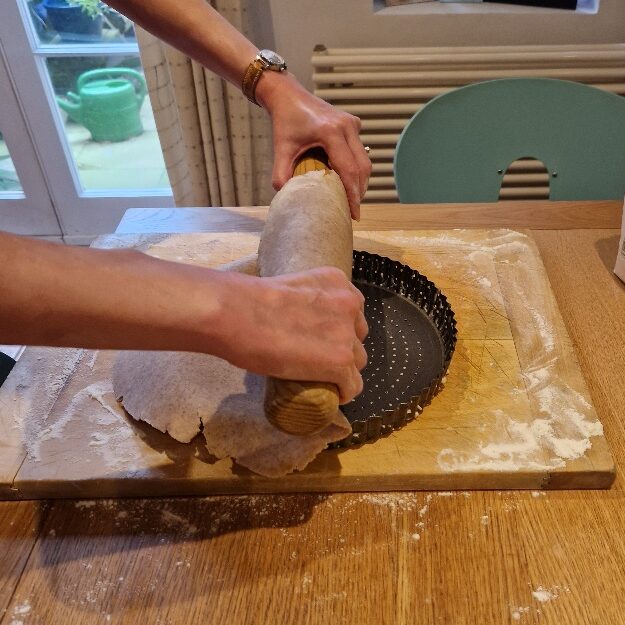
Carefully pick your pastry up on your pin, and hold it over your tin (which hopefully someone will put in place for you), then hover it above the tin, so the bottom edge of the pastry just touches the bottom rim of the tin, and the pasty is centred over it – see below.
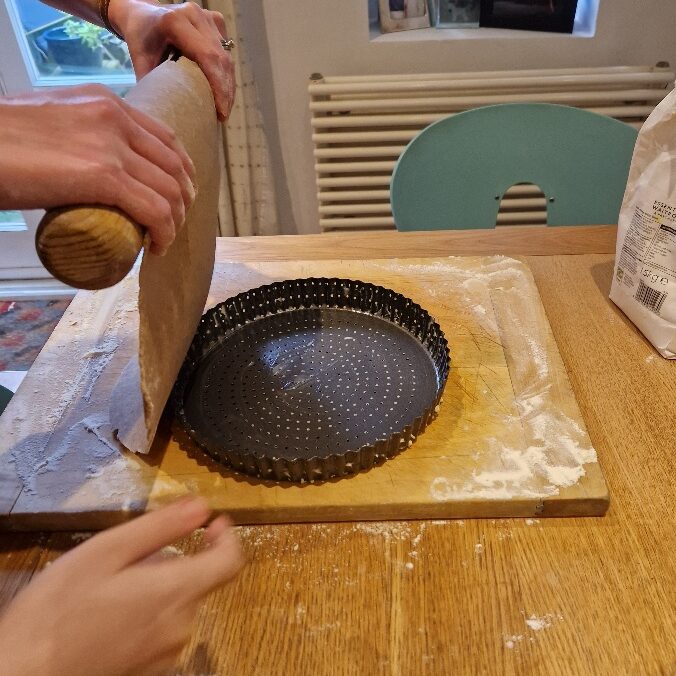
Now you need to drape the pastry over the tin, making sure you allow some space for it to droop into the tin slightly, rather than keeping it tight over the top. Remember, the aim is to line the base and and up the sides.
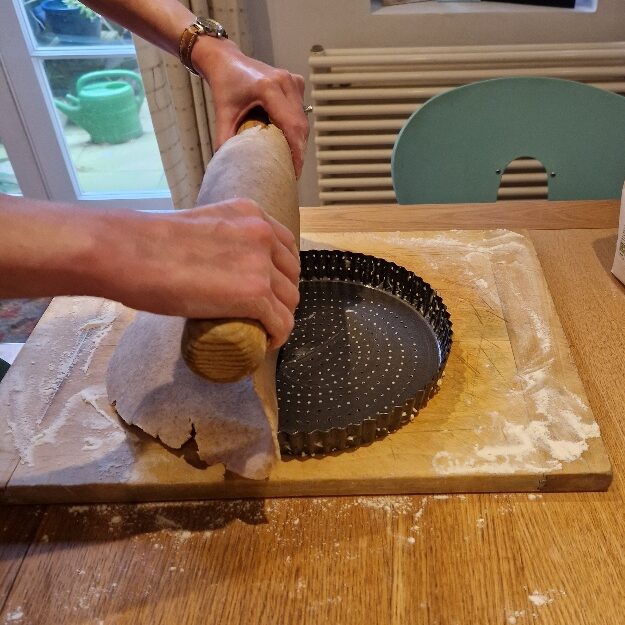
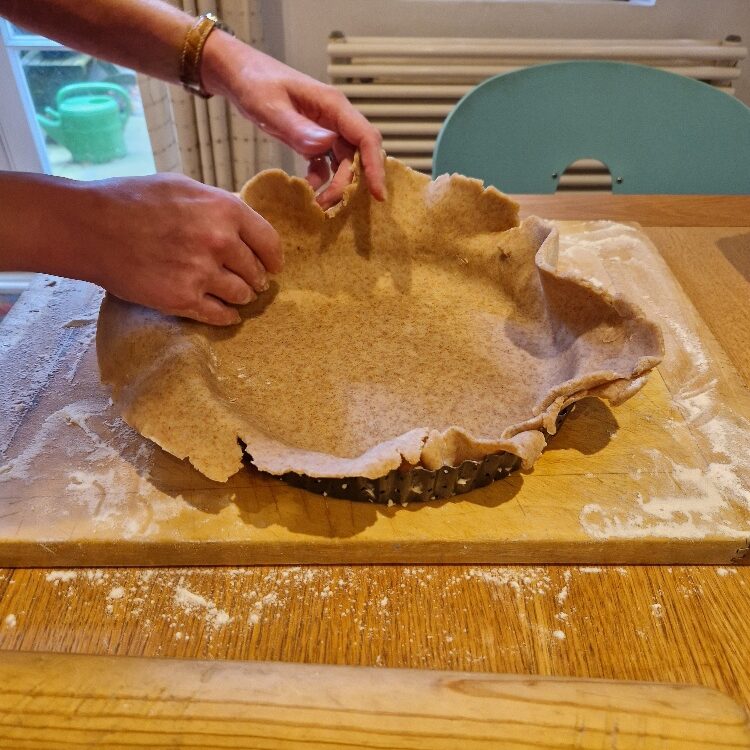
Now tuck the pastry into the tin, making sure it is completely lined and nice and flat to the bottom and sides. You do this by bending and pushing in the pastry to shape, and then smoothing it in to the sides of the tin with your fingers, see below. You should end up with a tin that is nicely lined, with a little overlap:
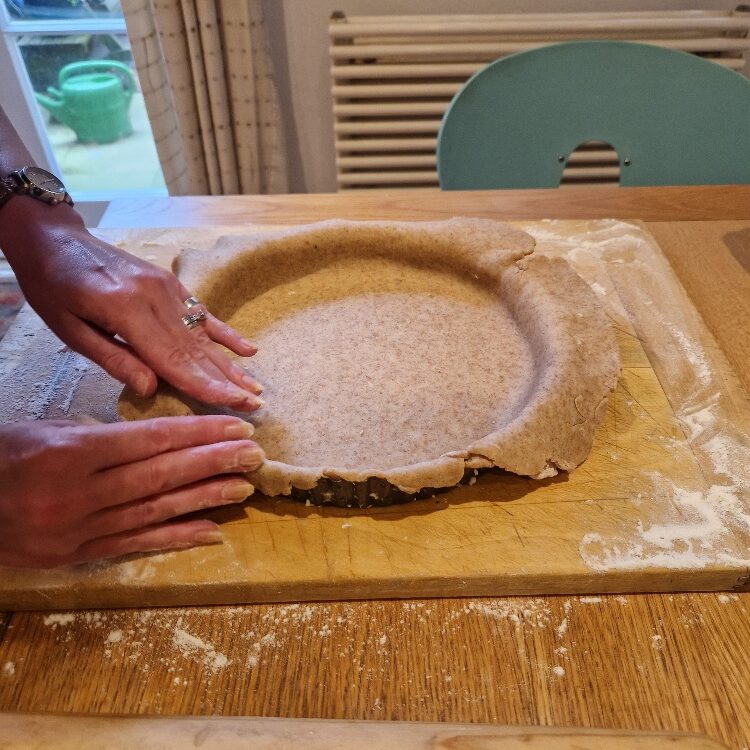
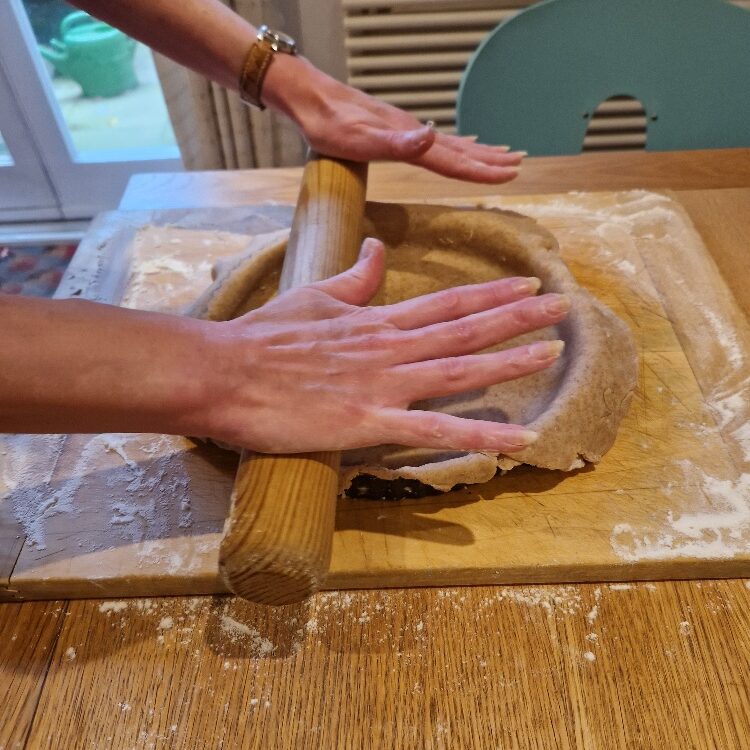
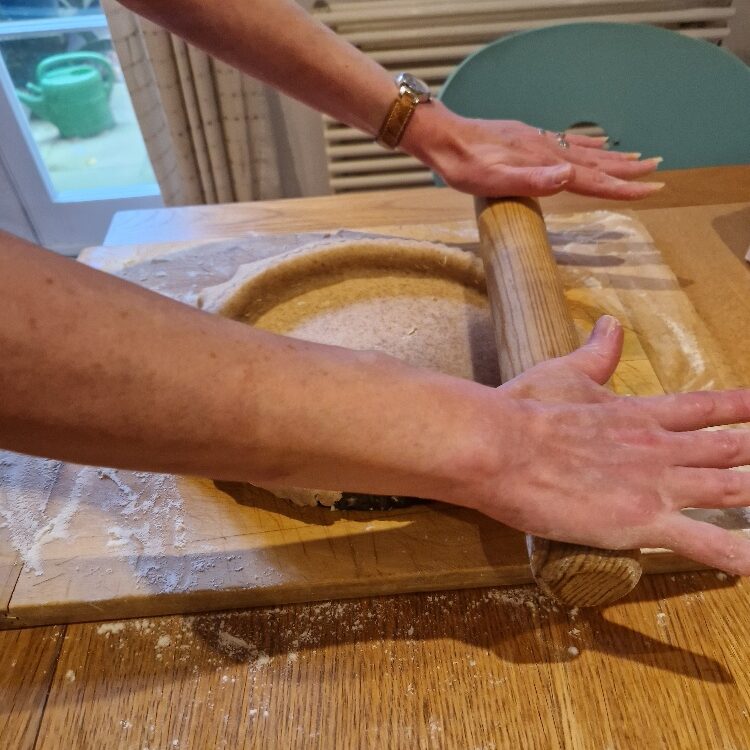
Press down on the rim of the tin a little with your fingers. Now comes a nice tip which is also fun to do! Roll your rolling pin firmly over the top edge of the tin a few times – this will cut into the pastry and you can then just pull off the excess overhang to leave a nice neatly lined tin.
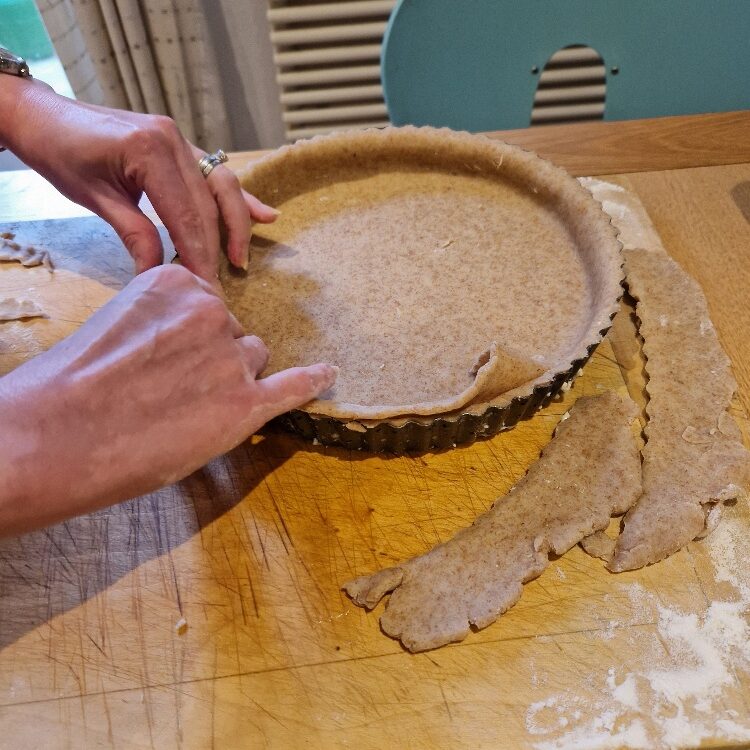
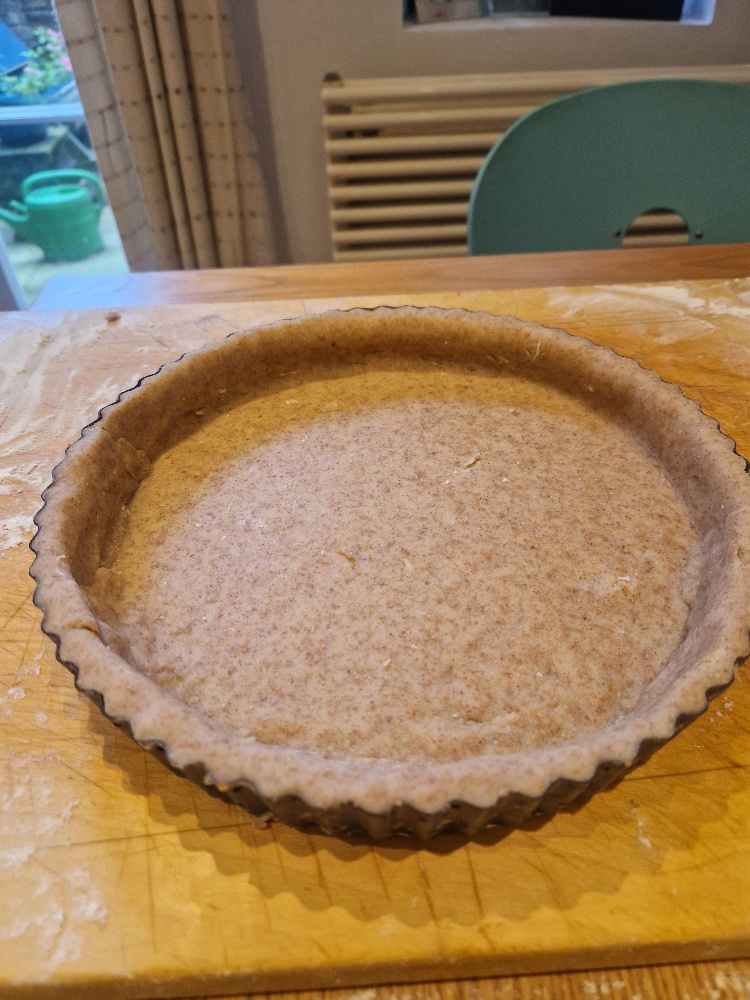
If you are happy with the result, and the pastry seems quite even, you can leave it there. However if you have gone wrong during lining, e.g. there are any gaps, or places where the pastry has broken, or one of the sides feels a bit fragile or thin, don’t worry, you can patch it. There’s hardly ever been a time when we haven’t needed to patch somewhere – the tart in the pictures was a bit thin on one side so we added a strip of the excess pasty around part of it, then squashed it in to patch. Pastry is very forgiving and easy to patch, it squashes together with the patch easily, and you can make various shaped patches with the pastry trimmings. It doesn’t even matter too much if your patches don’t look too pretty – when you tart is filled you won’t even see them. The main thing is to ensure your tin is fully covered with the pastry. It should end up looking something like this:
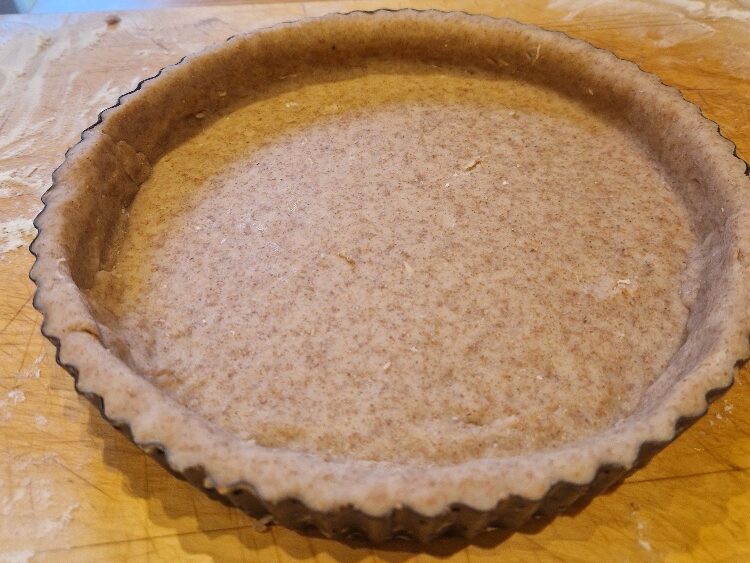
You can just slightly see where we’ve patched it at the edges, but you can also see that we still have a nice neat result. Pop some cling film over the tart and put it in the fridge for about 15 mins (or you can prepare to this stage ahead, and leave it in longer). You are now ready to fill your tart if it doesn’t need blind baking in the recipe, or to blind bake if it does.
Baking blind
Baking ‘blind’ means partially cooking the pastry with something to weigh it down inside the shell. This does a number of useful things. First, it helps make sure the pastry doesn’t puff up or shrink on cooking; secondly it dries the surface slightly, which is helpful when adding wetter fillings so you don’t get a ‘soggy bottom’. It’s also useful when you are adding a filling that might need less cooking time than the pastry, or might burn before the pastry is cooked.
To bake blind you will need some greaseproof or baking paper, and something to weight the tart down. We like to use baking beans designed especially for this, but you can use anything small and dry that has a bit of weight. Bibi quite often used dried kidney beans or even coffee beans, but anything similar will do.
Jake sticks his nose in
Try using rice, dried lentils or beans, or even dried pasta. You might not want to cook these once you’ve used them to bake, but you can keep them in a jar to use again for blind baking.
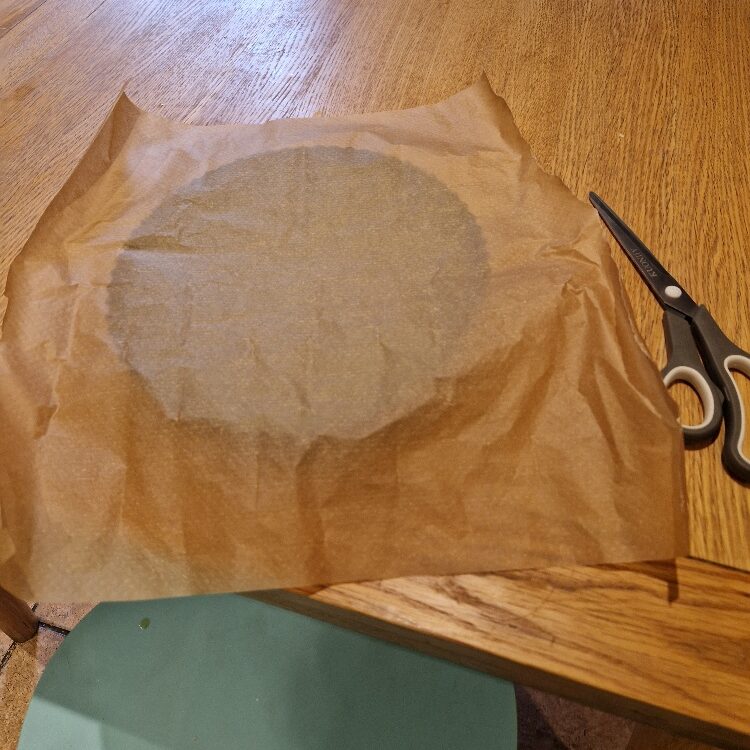
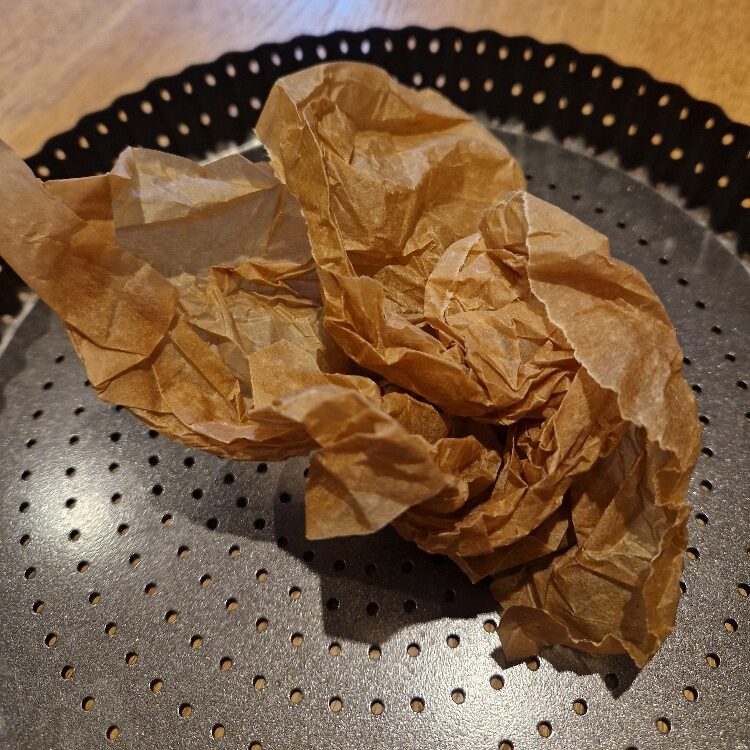
First measure your baking paper to size – you need a piece that is slightly larger than your tin. You can measure it against to tin to check. One great tip we learnt recently is to scrunch up the baking paper before lining the surface of the tin with it – it helps it to fit in and is especially good for fitting into sharp sides or corners.
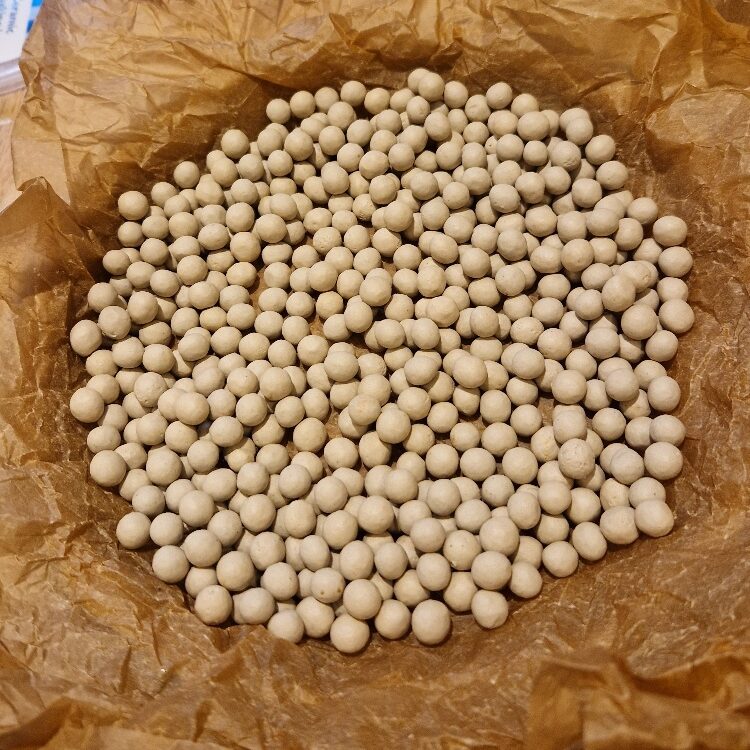
Line the tin with the paper so all the pastry is covered and you have a bit of overhang. Then pour in your baking beans or whatever you are using – make sure you have a nice even layer that goes right to the sides of the tin. It should end up looking like the below:
You are now ready to bake blind! Place the tin in a pre-heated oven. How hot and for how long will vary slightly by recipe, but it’s usually a hot oven i.e. 180 to 200 C, with a baking time with the beans in of about 10 mins. You will then need to carefully remove the baking paper and beans (remember the beans will be hot), and put the pastry back in the over for about another 5 mins to dry the surface.
You tart case is now ready to fill!