Rubbing fat into flour, the start point for pastry making, was one of the very first techniques Estella learnt when we baked together when she was small. It’s easy to master, but you need to methodically follow these steps.
In a lot of cooking, precision doesn’t matter and it’s more about taste and instinct. But in baking you have to be precise – i.e. measure accurately, and be thorough in following the method. Below we’re making a wholemeal pastry but the method for making any pastry is basically the same. The type of fat and/or flour may change, but you’ll still be rubbing fat into flour to make your dough.
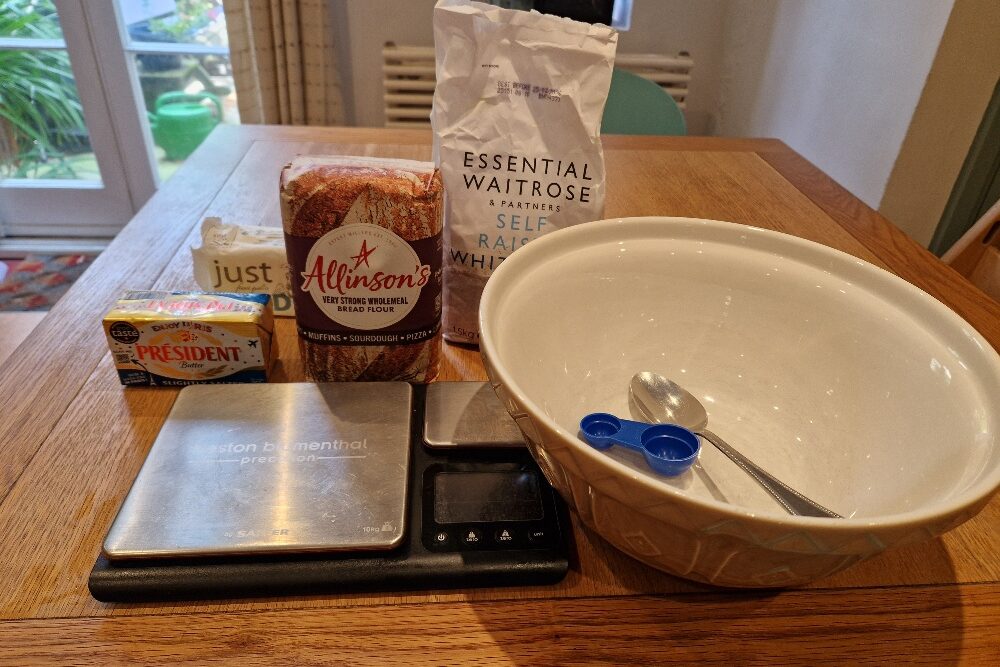
You’ll need a really nice big bowl, weighing scales and a board. You’ll also need some cling film or a plastic bag.
Rubbing in
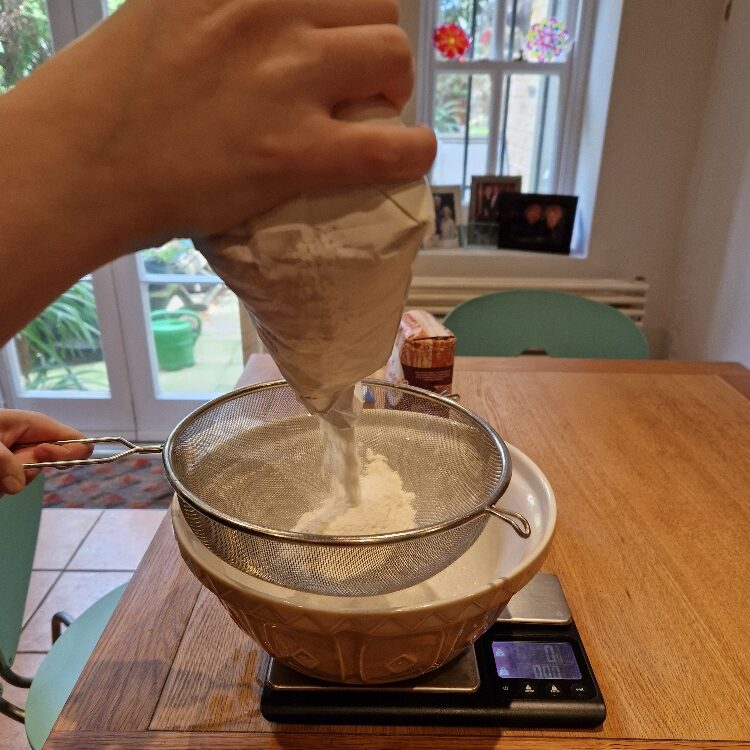
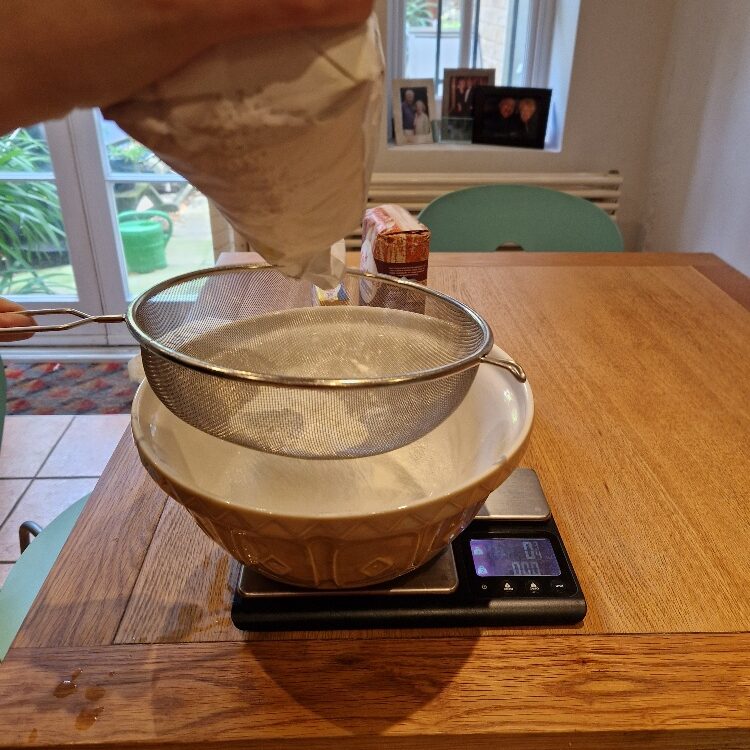
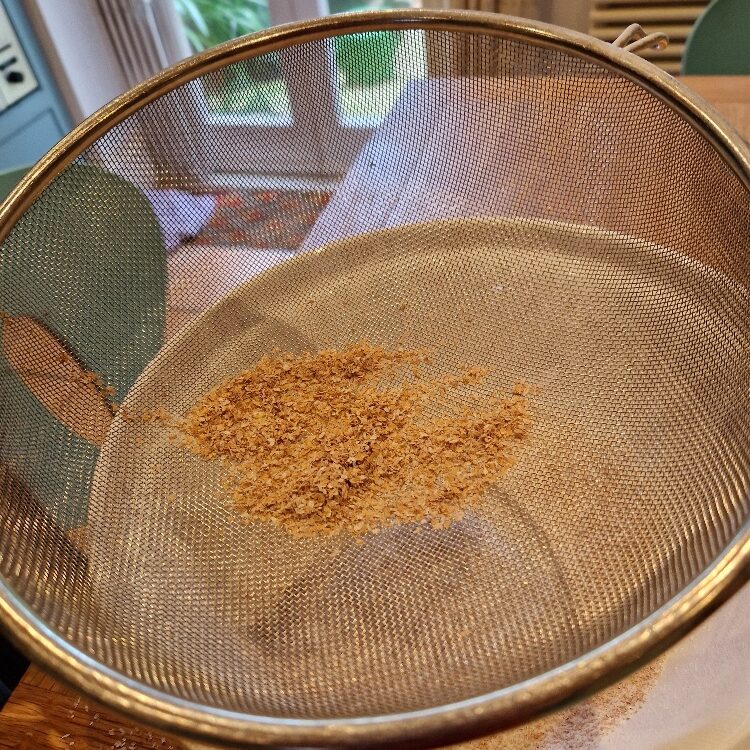
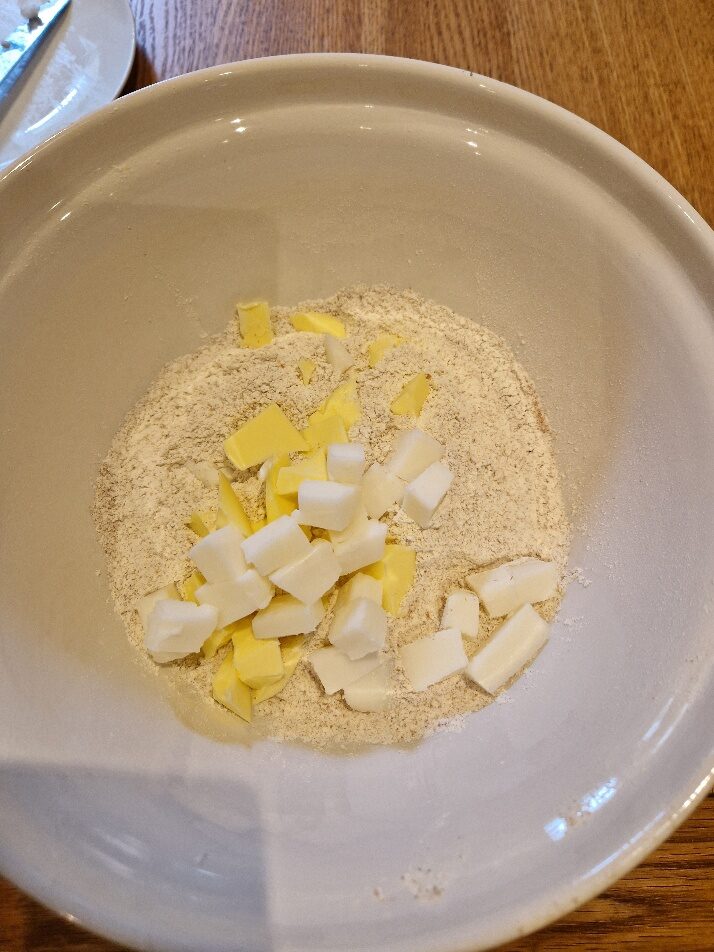
Weigh your flour and your fat. You can weigh the flour straight into the main bowl, and weigh the fat onto a small plate. Ideally the flour should be sieved, but most modern flours are so fine it isn’t strictly necessary. If you are using wholemeal flour and do sieve it, you’ll need to tip all the nice wholemeal bits that will be left in the sieve into the bowl too, making sure the weight is still correct.
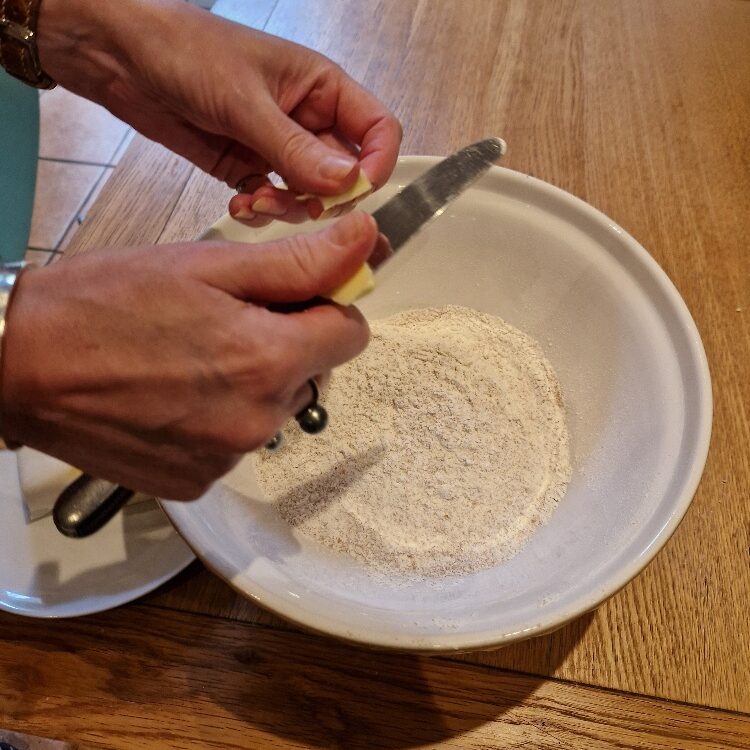
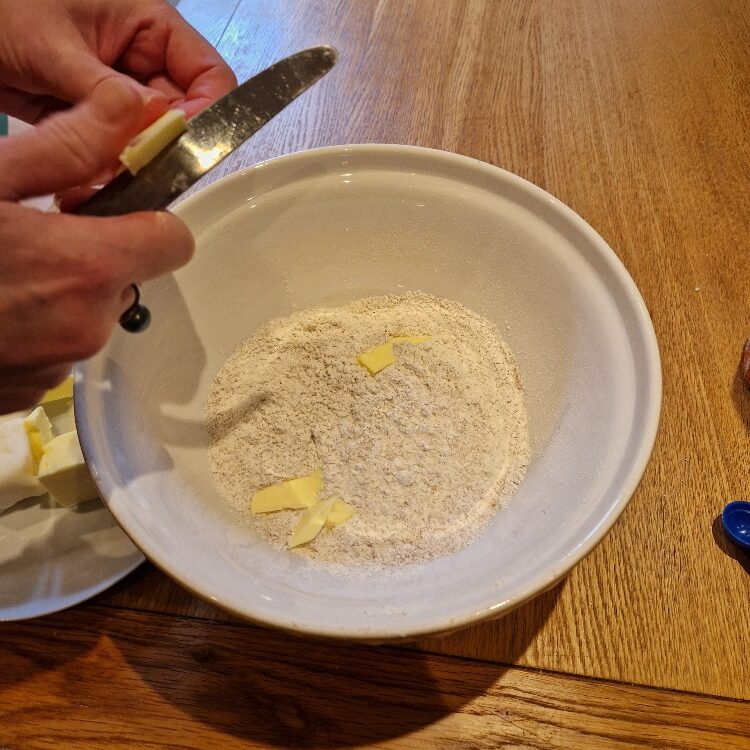
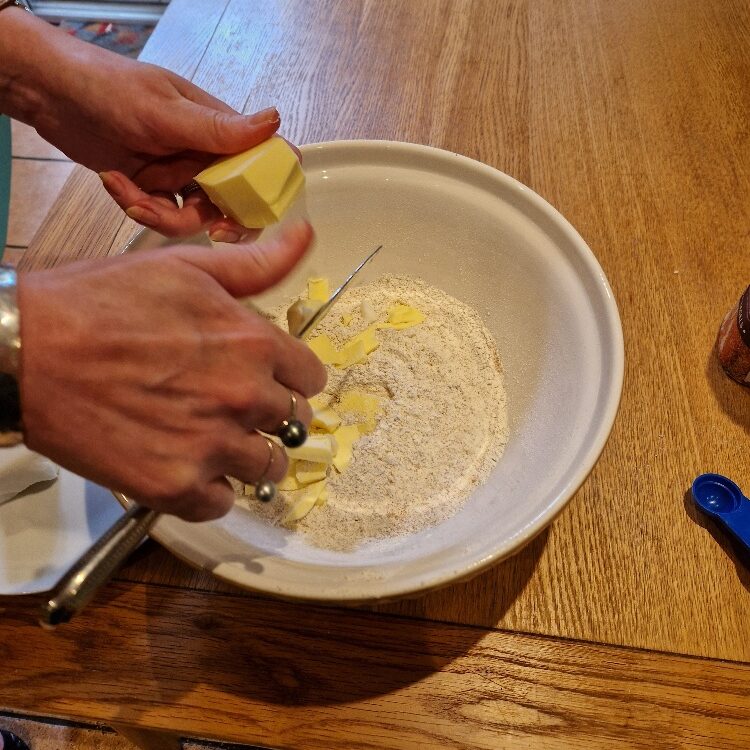
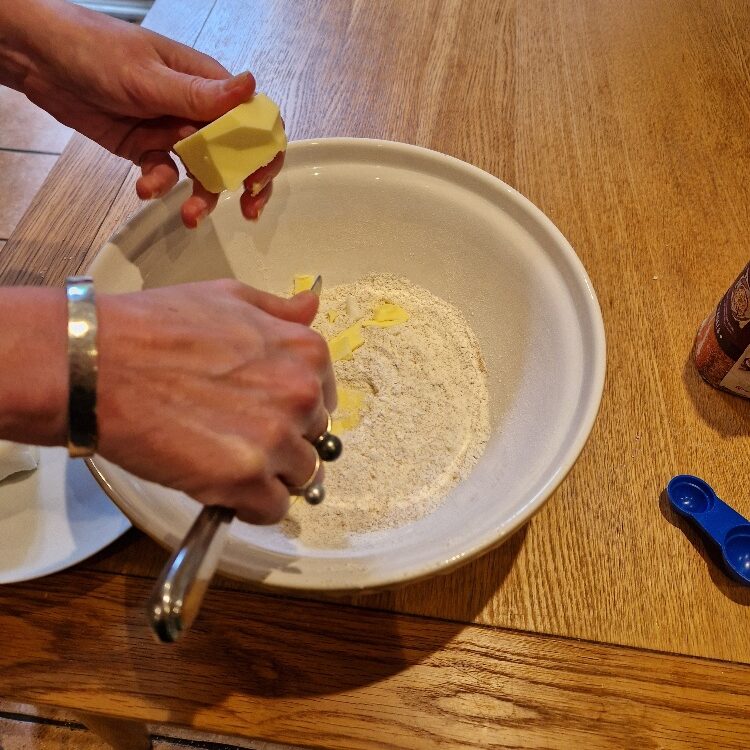
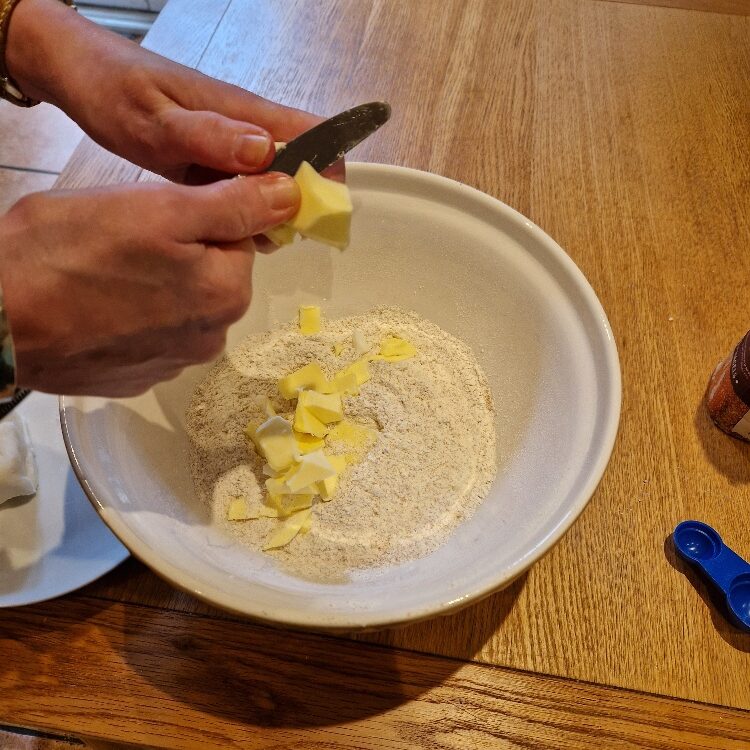
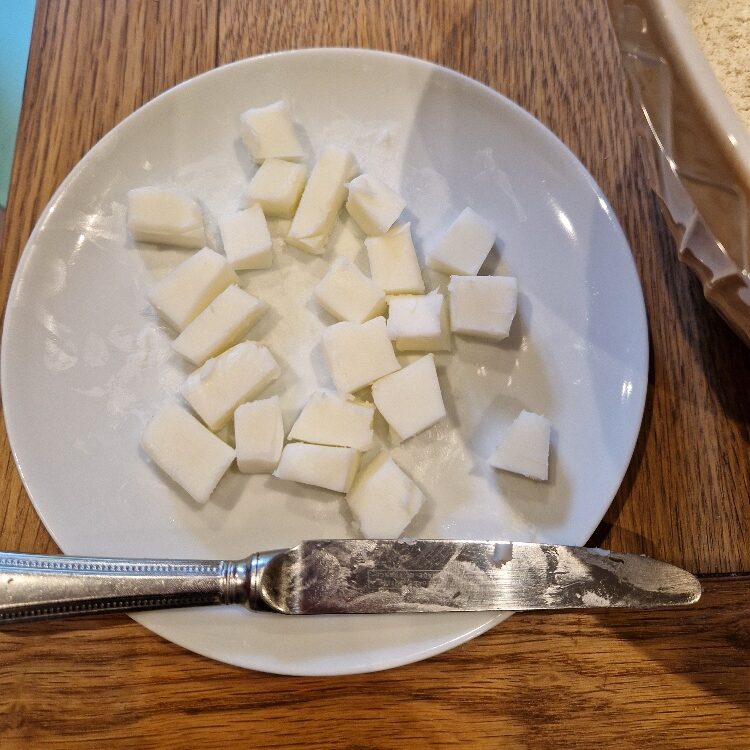
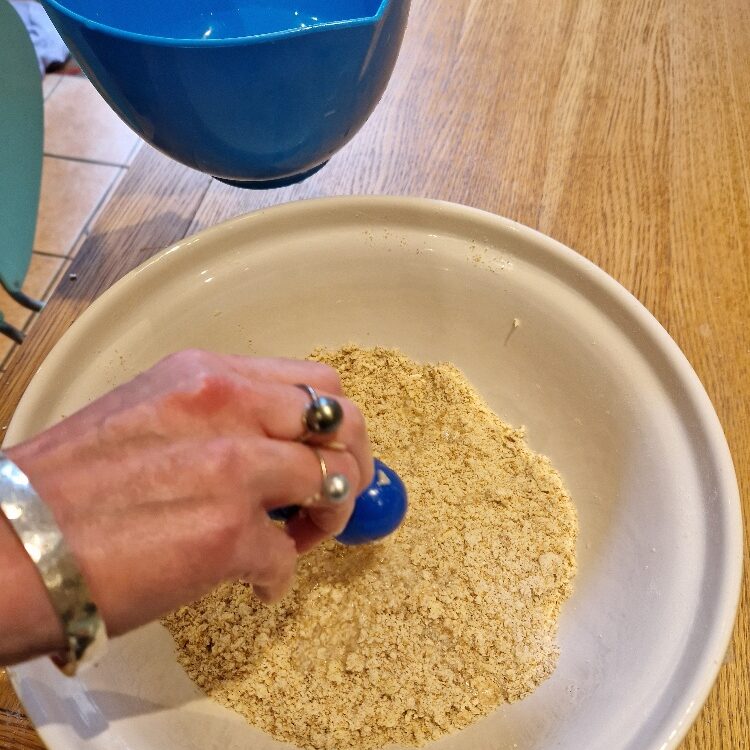
Now cut your fat onto the flour. Emily uses Bibi’s technique, which is to cut directly into the flour as below. You need to use a blunt knife, i.e. one you would use to eat with, so you can cut the fat towards your fingers without cutting yourself. Estella still finds this technique a bit tricky, so alternatively you can just cut your fat into small cubes on the plate and then add. But if you want to give Bibi’s method a go, these pictures should help.
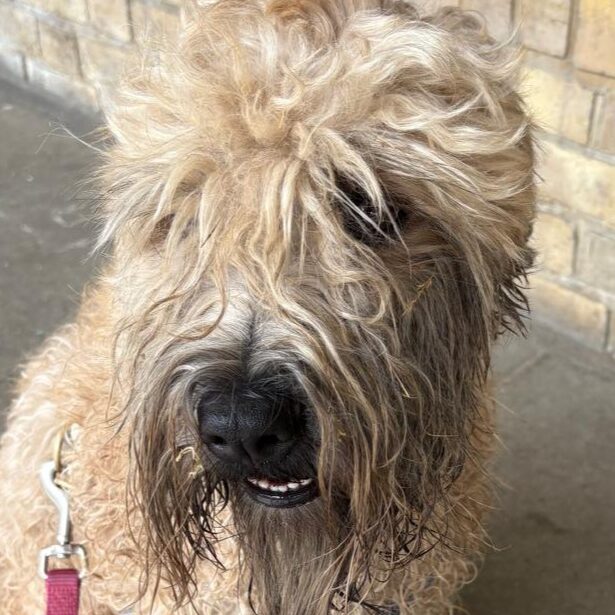
Jake sticks his nose in
Make sure your fat is really cold. Making baking recipes need softened fats, but for rubbing in it needs to be cold from the fridge.
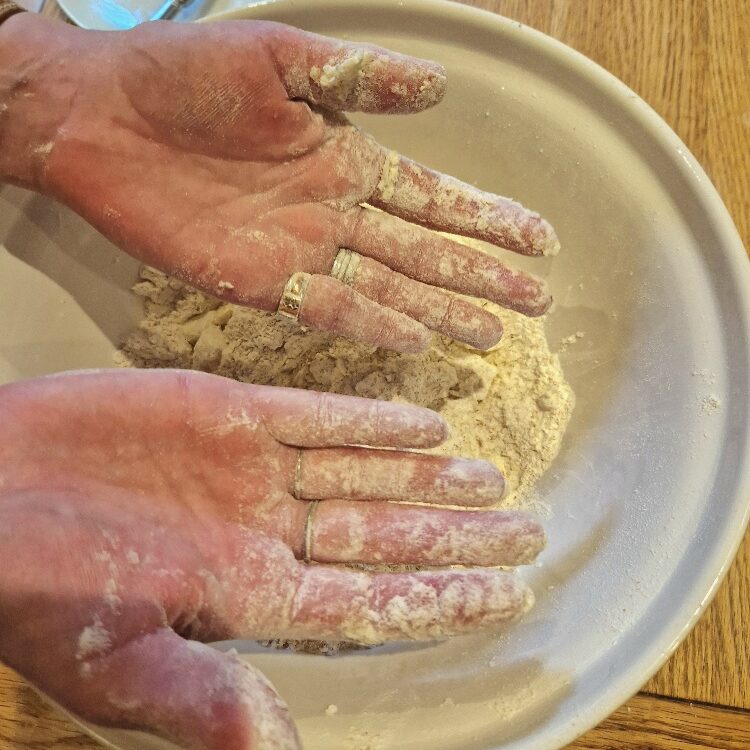
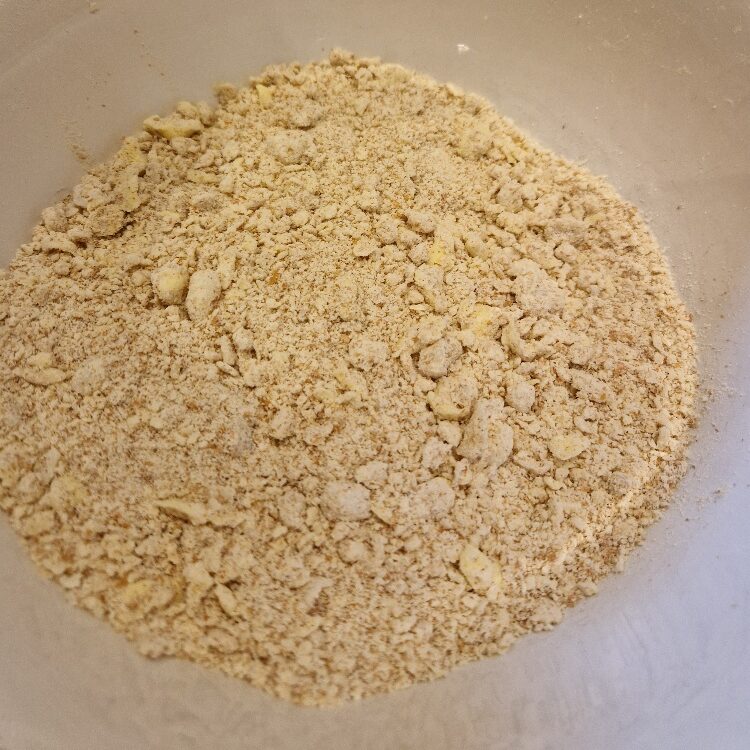
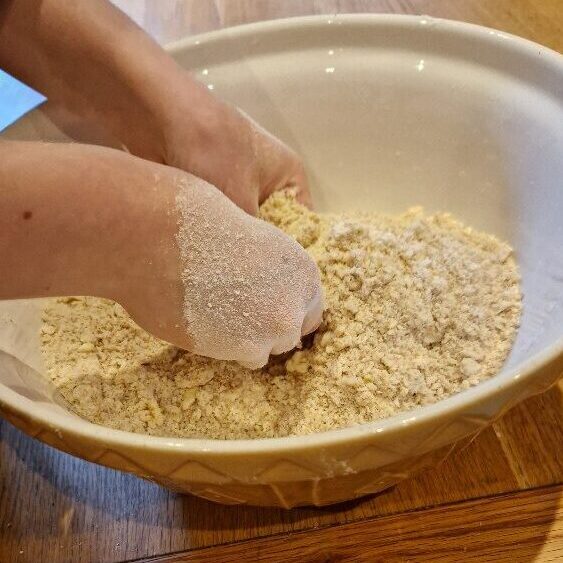
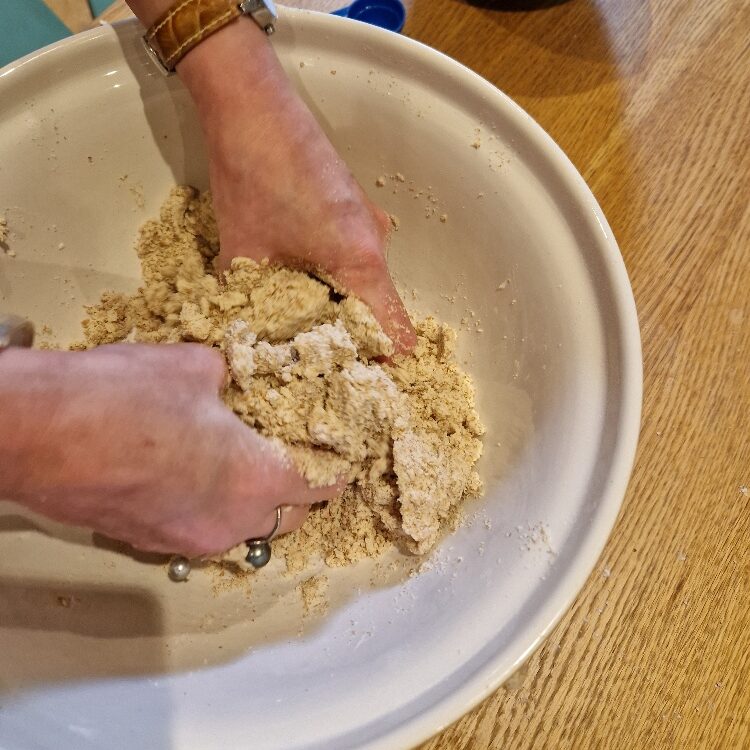
Whichever method you use, you should end up with small cubes of fat on top of your flour. Mix it all around a bit with your hands so the fat is covered in the flour. You are now ready to start rubbing in! Pick up some pieces of fat with a slug of the flour, and rub the fat into the flour with your fingers, letting it drop back into the bowl, then repeat with another handful. Keep going, making sure you also take fat pieces and flour from the bottom of the bowl, until most of the fat is at least partially rubbed in, and the mixture starts to look like breadcrumbs.


You should rub in mainly with the tips of your fingers. Bibi used to say that you can tell if you are doing it right if your fingers are covered in flour but the palms of your hands are clean!
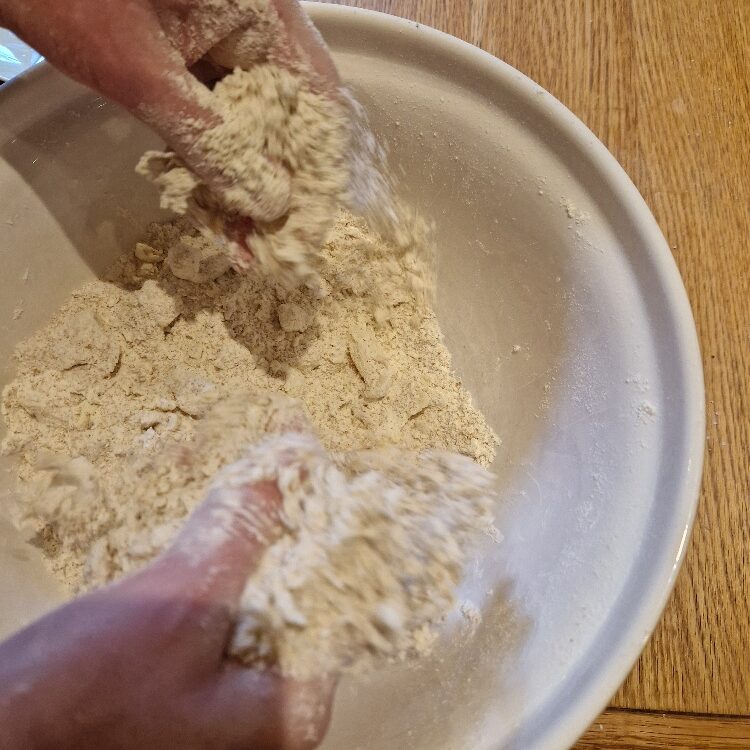
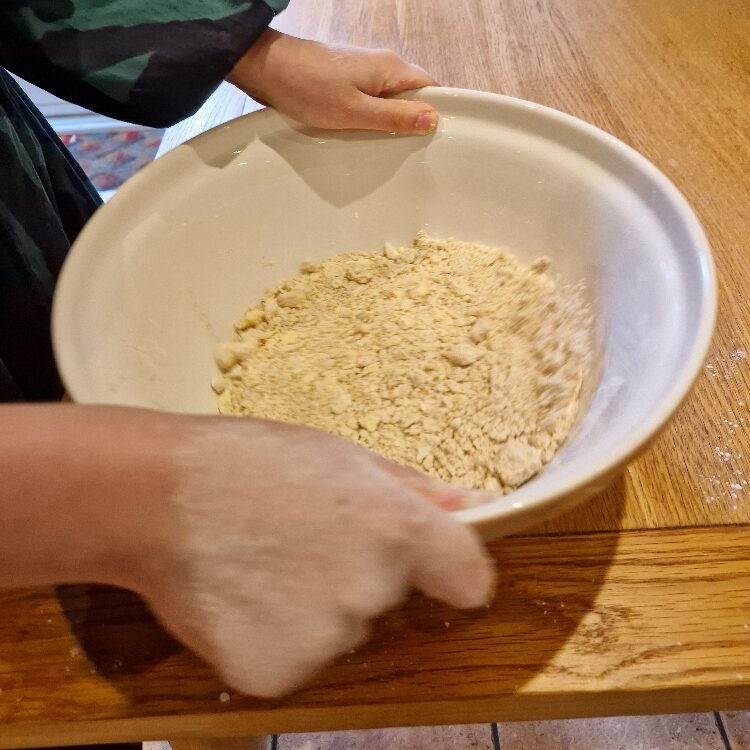
When you reach the breadcrumby stage as above, you need to shake the bowl. Shake it vigorously from side to side on the table – the lumps of fat that have not been properly rubbed in will rise to the surface. Rub these in, then shake the bowl again. Keep going until you have a really even looking breadcrumb texture.
Jake sticks his nose in
This shaking method will work with any bowl of ingredients where you want lumps to come to the surface, e.g. if you are chopping nuts, herbs etc
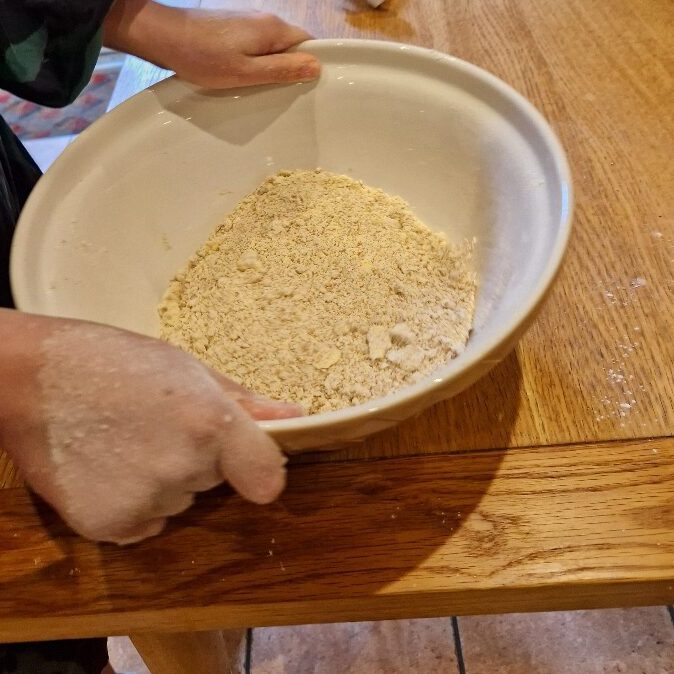
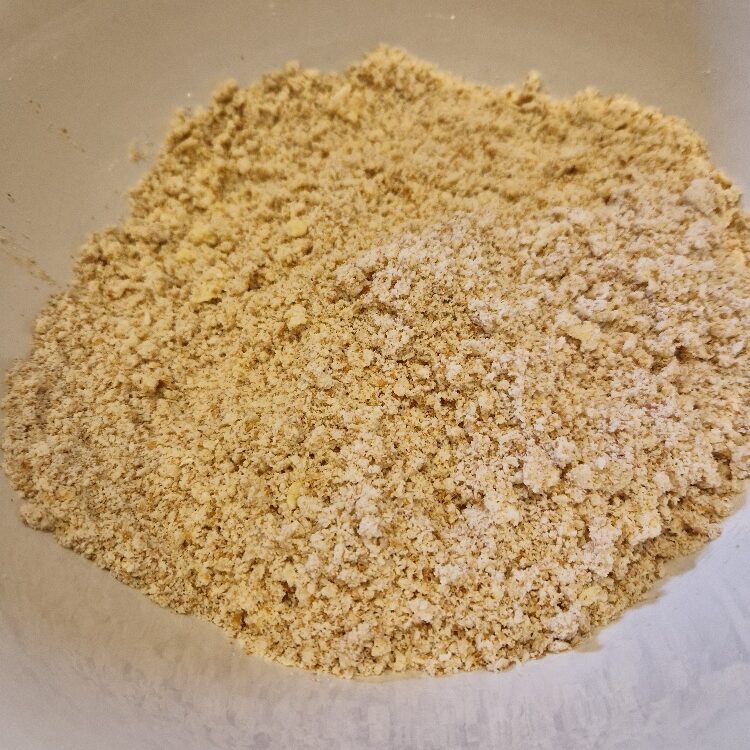
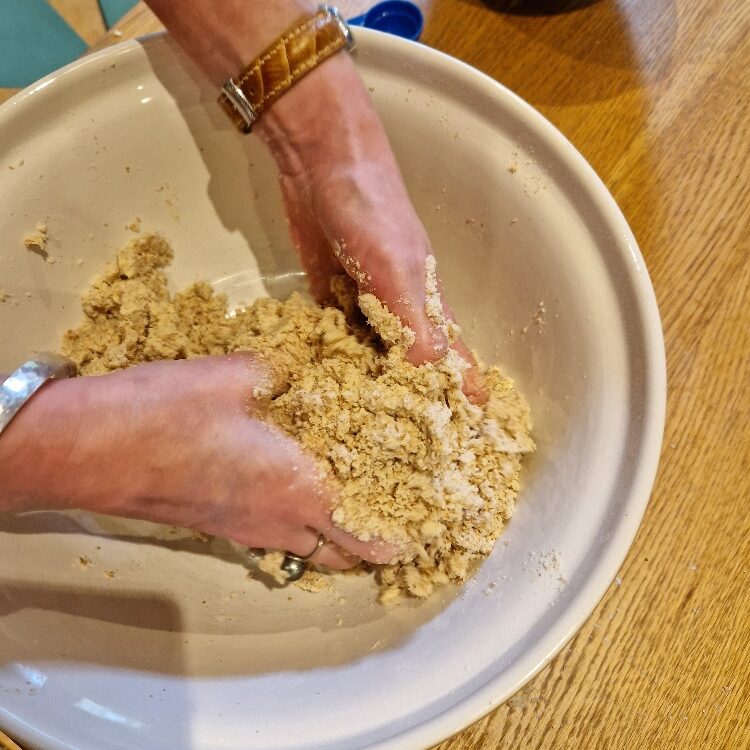
We always say that you can tell when it is time to stop shaking and rubbing in if you feel you are creating lumps rather than getting rid of them! When it looks like the below, it is time to add a little liquid, usually water or milk. How much depends on the recipe, and we’ll always give you an idea, but it’s also partly about instinct as you get used to pastry-making. As with a lot of things in cooking, add a little first as you can always add more, but it is harder to take it away (but if you do add too much you can adjust to make it drier with a little flour).

Making a dough & kneading
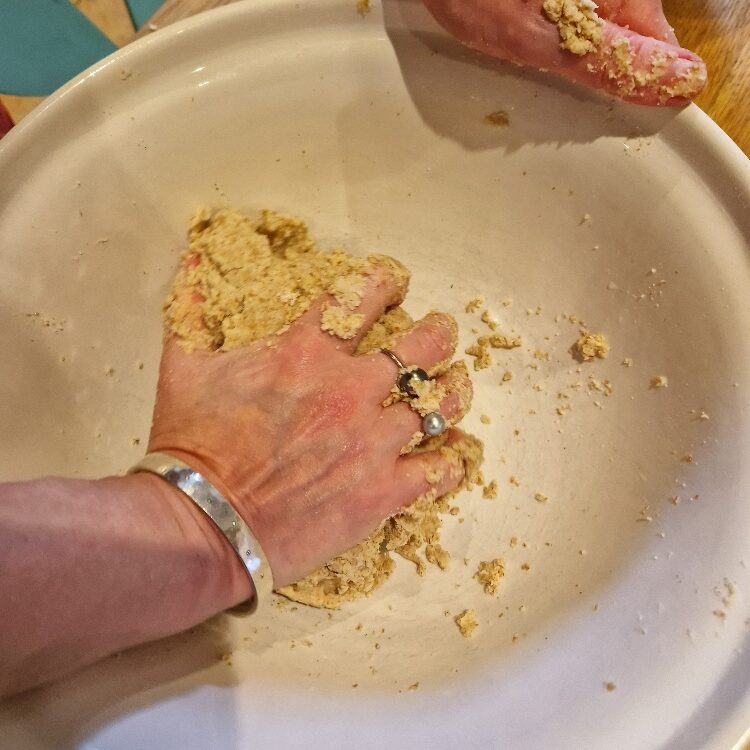
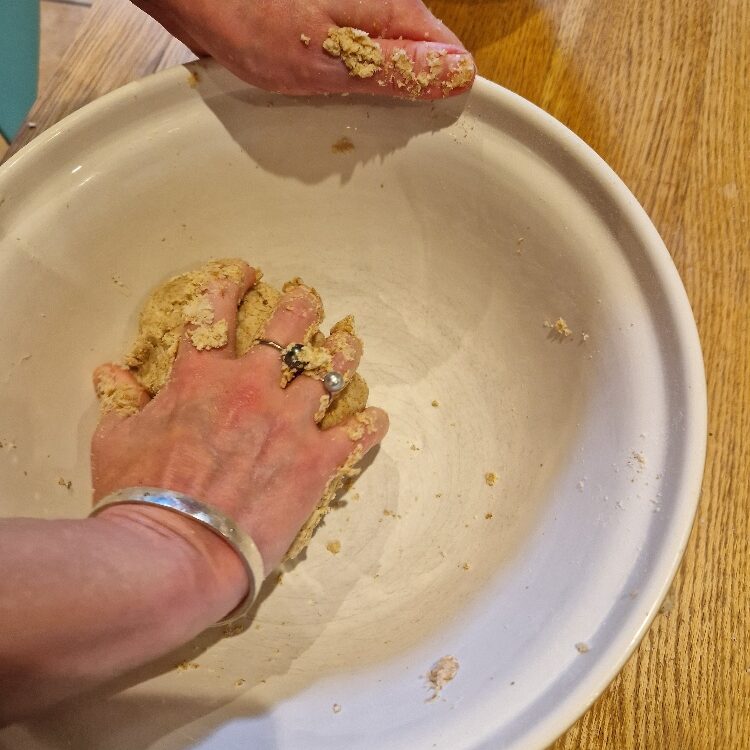
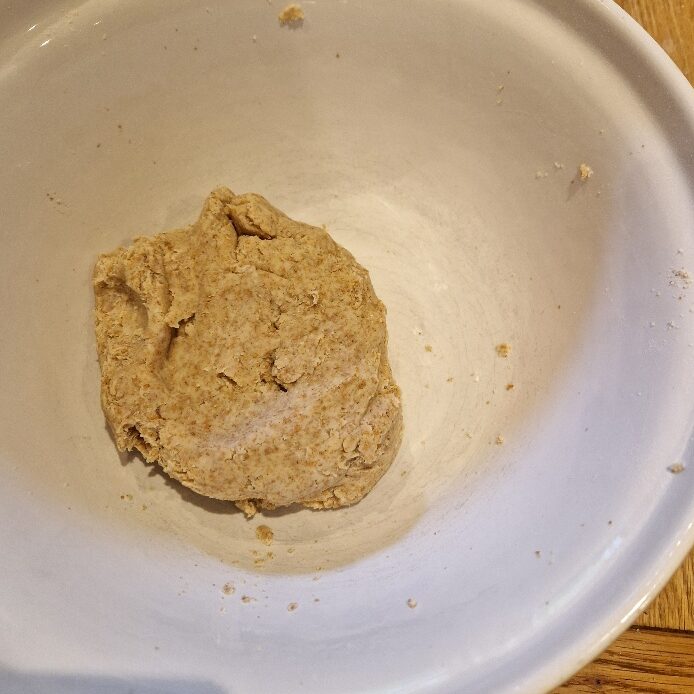
You now need to squeeze your dough together – keep squeezing and pressing it against the sides of the bowl, wiping up any bits of dough that escape as you go. If you need to add a little more liquid for this to happen, that’s fine, but do be patient as some quite stubborn-looking doughs will come together eventually with the warmth of your hands. The dough is ready to take out when you have a nice nearly-ball shape and the sides of the bowl are clean.
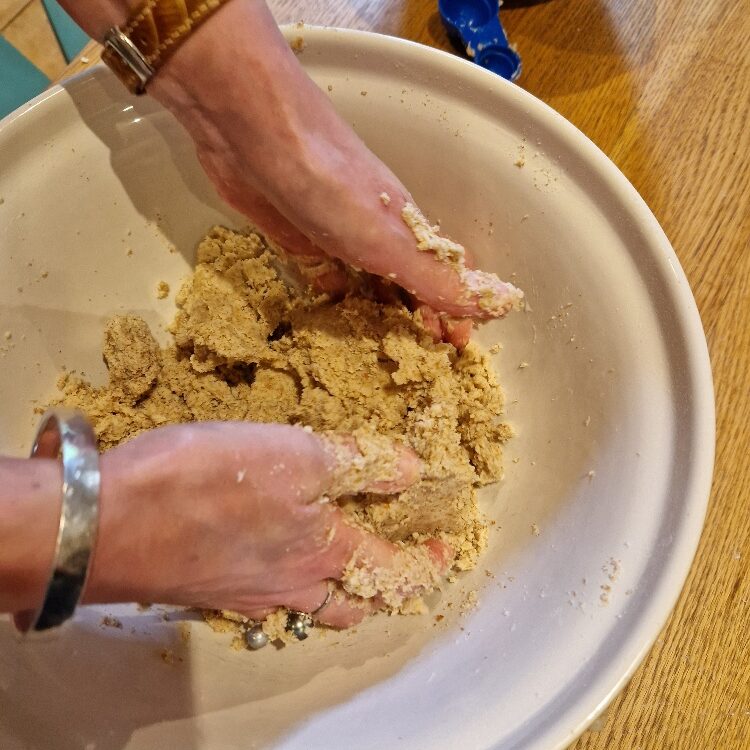
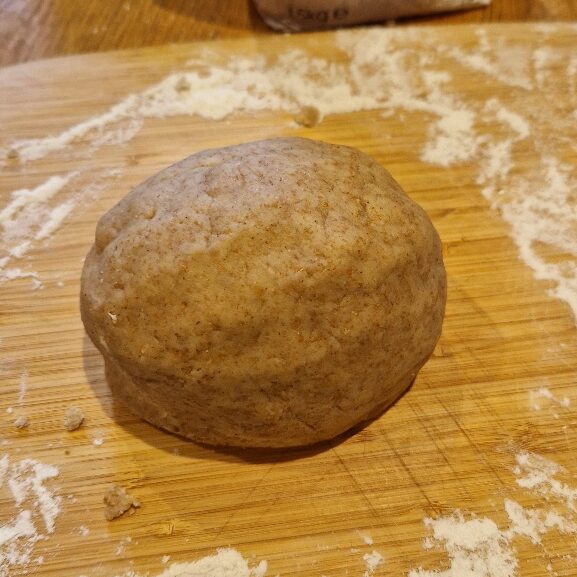
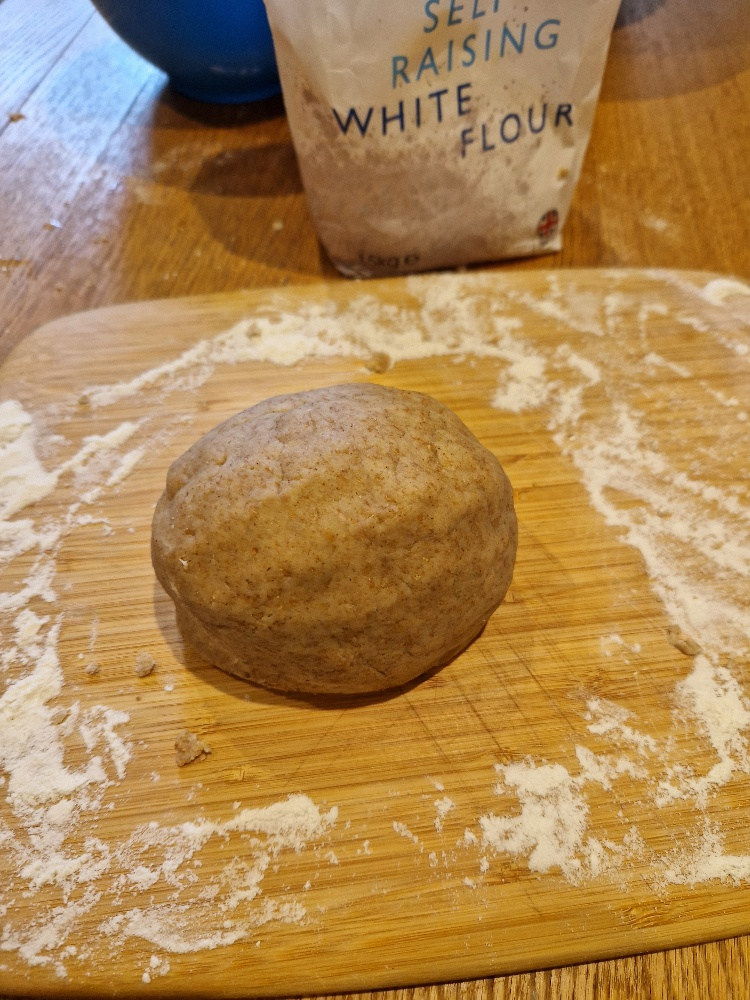
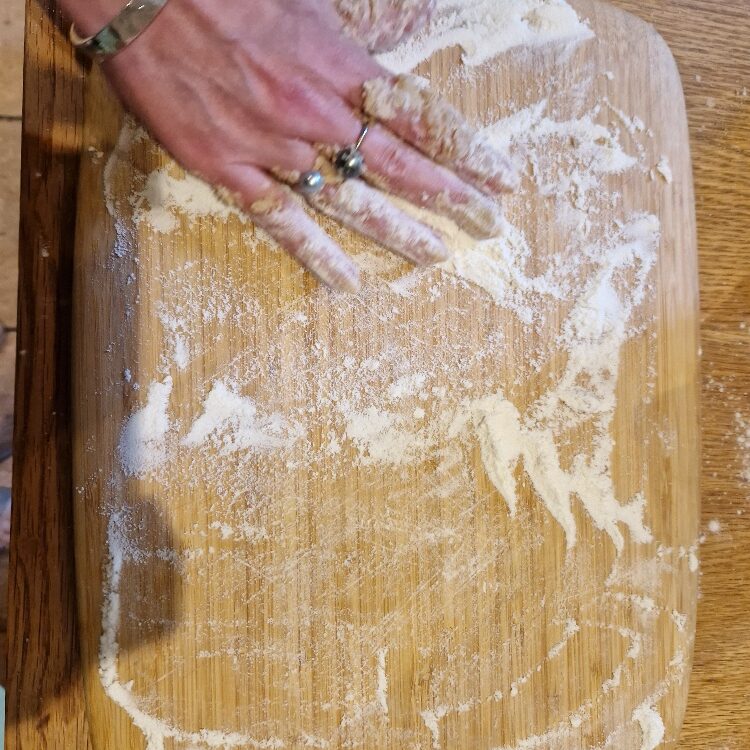
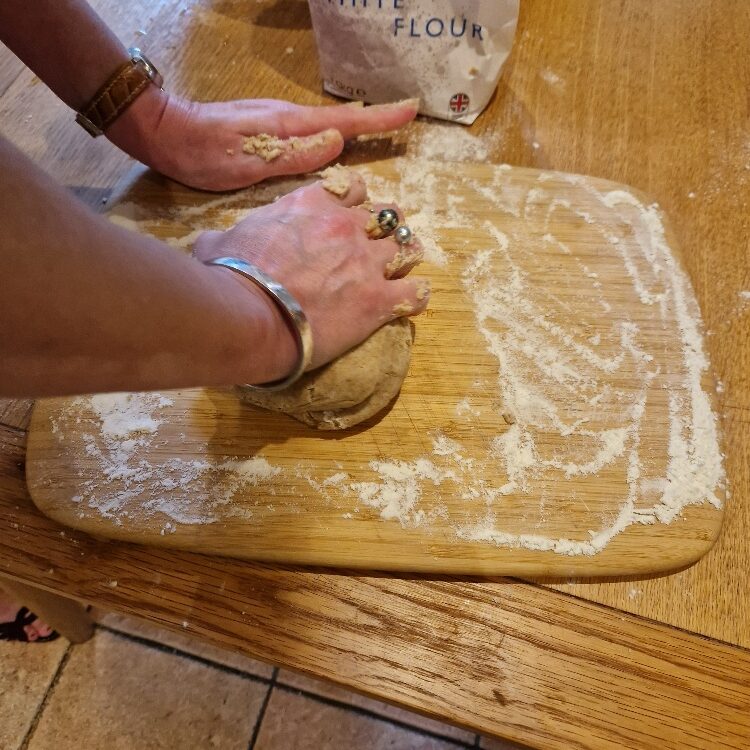
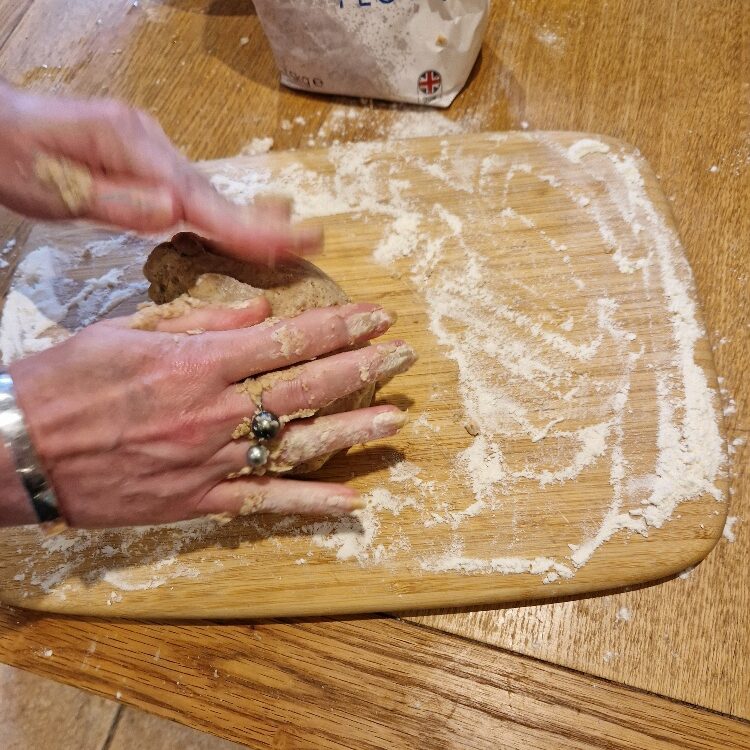
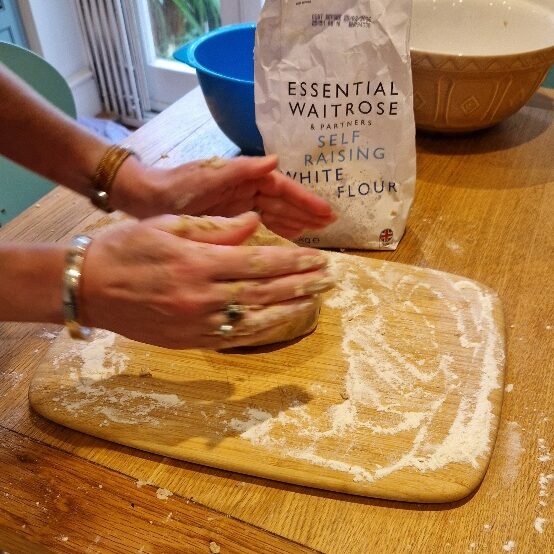
Flour a board, and put your dough on it. It is now time to knead it. To knead you need to press down firmly on the dough with the palm of your hand, and squash and roll it against the board. You can also pick it up and slam it down onto the board, but the key is in the kneading. Keep going until your dough is smooth – it will look slightly shiny. Shape it into a ball and roll it around on the board a bit to smooth the surface and remove any cracks.
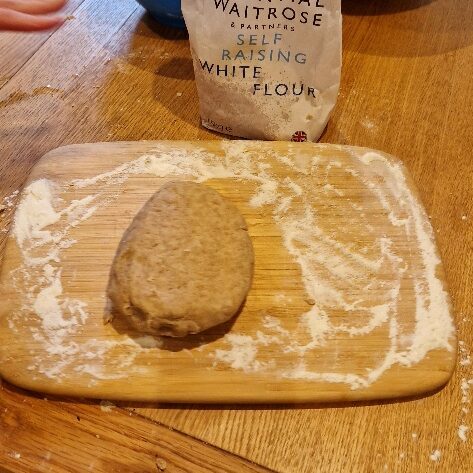
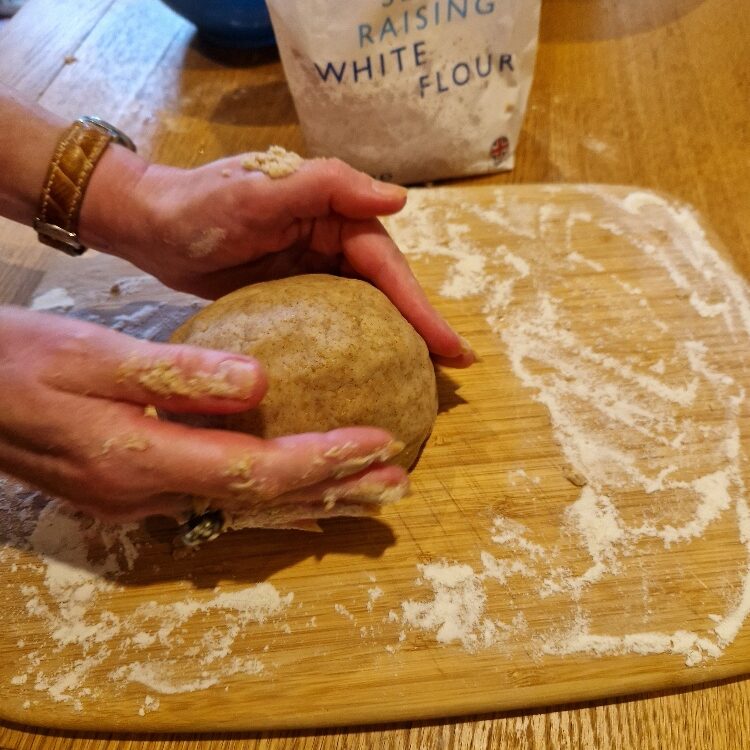
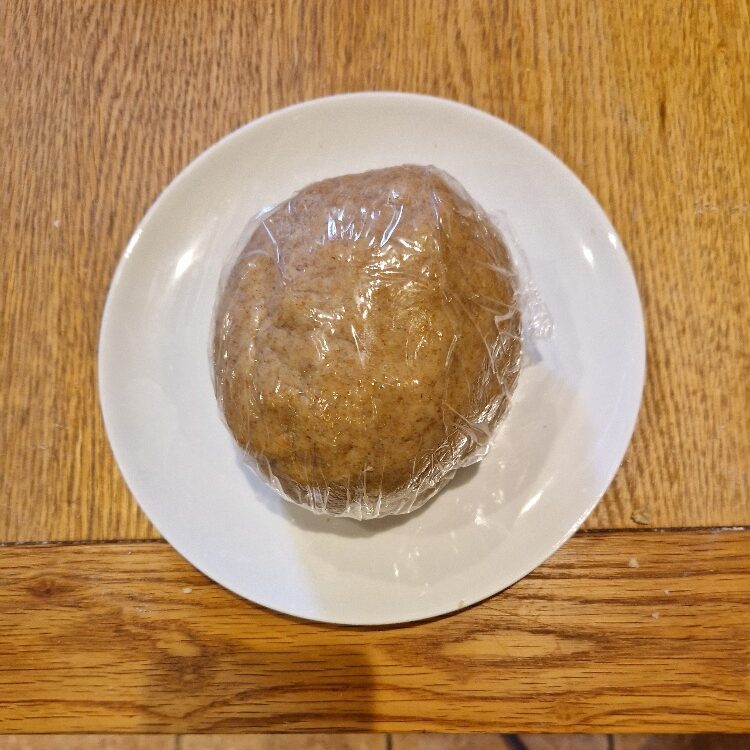
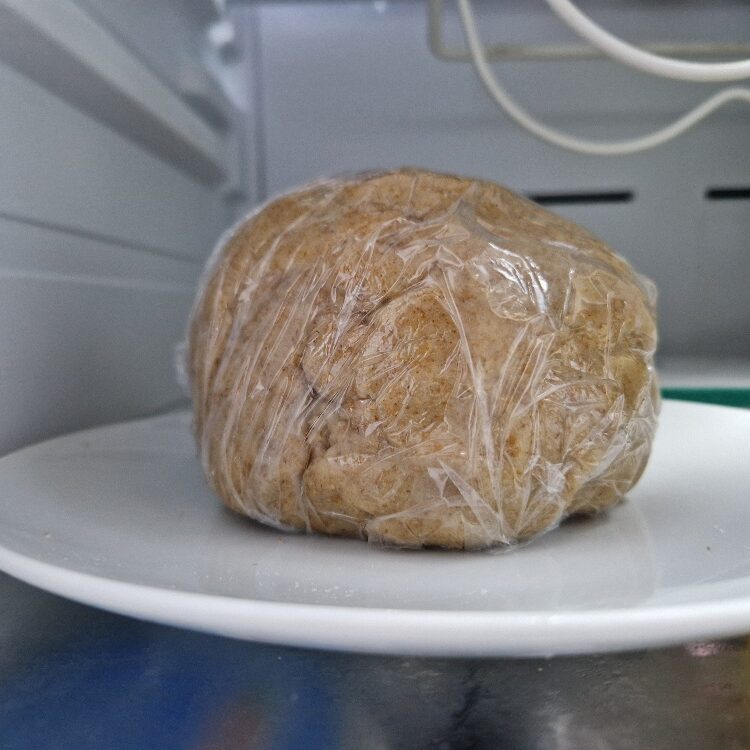
It should end up looking like the below. Wrap it in cling film, or put into a plastic bag, and chill in the fridge. Your dough is done! You should chill the dough for at least 30 mins, though you can leave it in longer. Just get it out about 15 minutes before you are ready to roll out, which we will cover in the next tip.