Skills you will learn in this recipe
Making a bed of vegetables; chopping garlic; browning meat; cooking pasta; slow cooking; chopping herbs
Links to the last recipe
Prepping onions & bacon; cooking with tomatoes
Spaghetti Bolognese is a great starter recipe, and should be in every new cook’s repertoire. You’ll learn many techniques that you can reuse in other recipes, and it’s a go-to, tasty crowd-pleaser. An Italian might scoff at this version (apologies!), but it’s the one Bibi taught us. Everyone in the family makes their own take on this, and everyone’s tastes slightly different, even when following the same base recipe. Make this one your own!
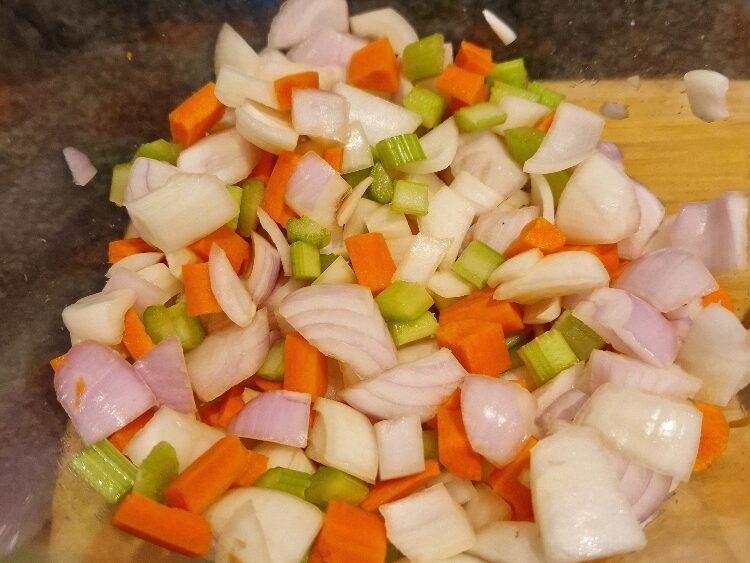
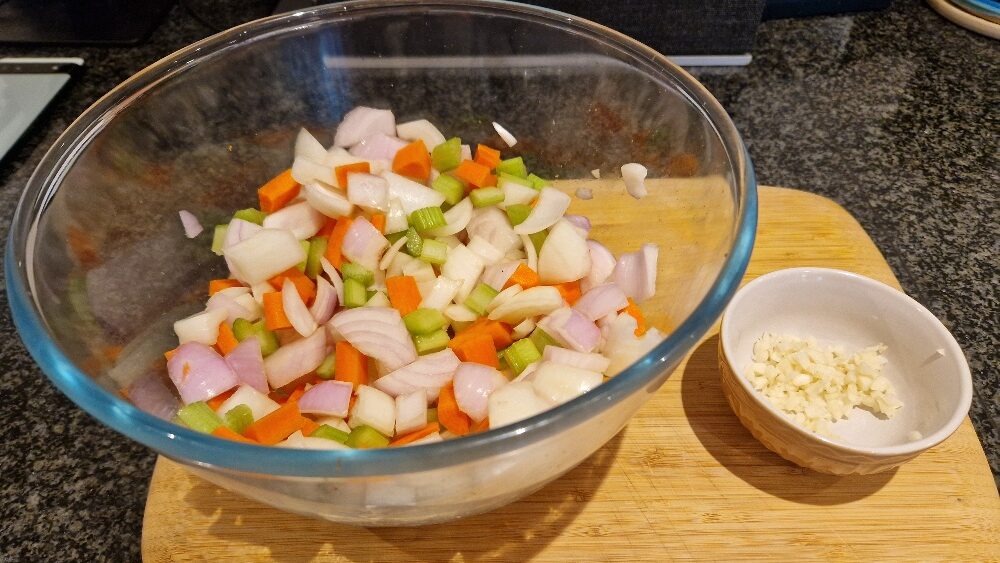
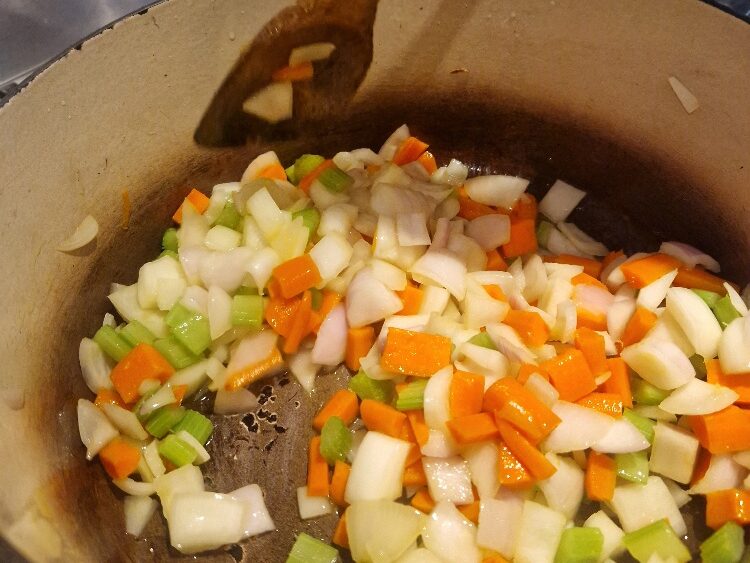
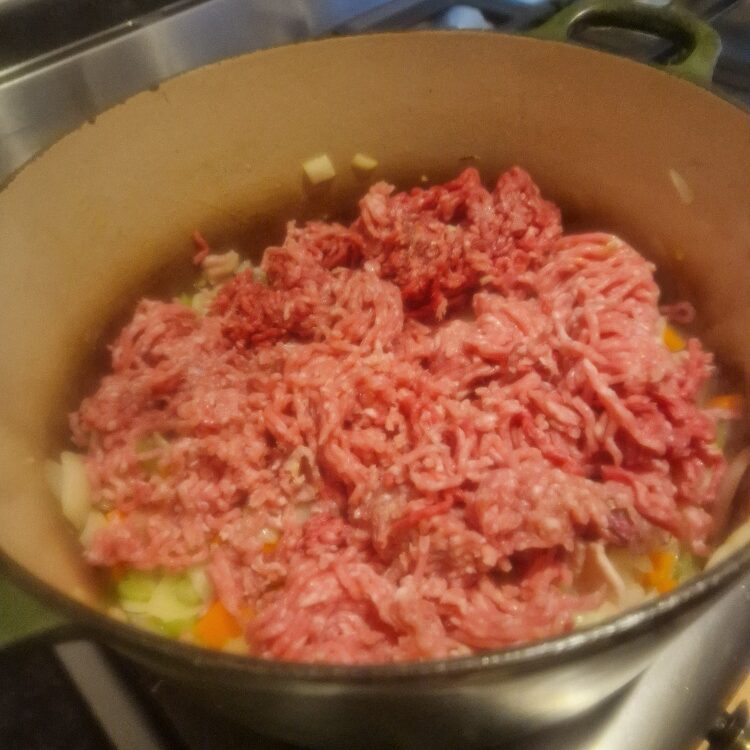
The foundation of this sauce is the classic ‘bed of vegetables’ – chopped onion, carrot and celery – which you’ll find repeated or adapted in many different recipes and cuisines, from Italian, to British to Creole and beyond. The key is to get a good mix between the three elements, and to chop them fairly uniformly (and for this recipe not too fine). We also use a mixture of beef mince and pork mince in this recipe, roughly 50/50. But beef alone works fine, or you can play around with the proportions to find the blend you like. Or you can use a plant-based mince if you want a vegetarian version (leave out or replace the bacon, too).
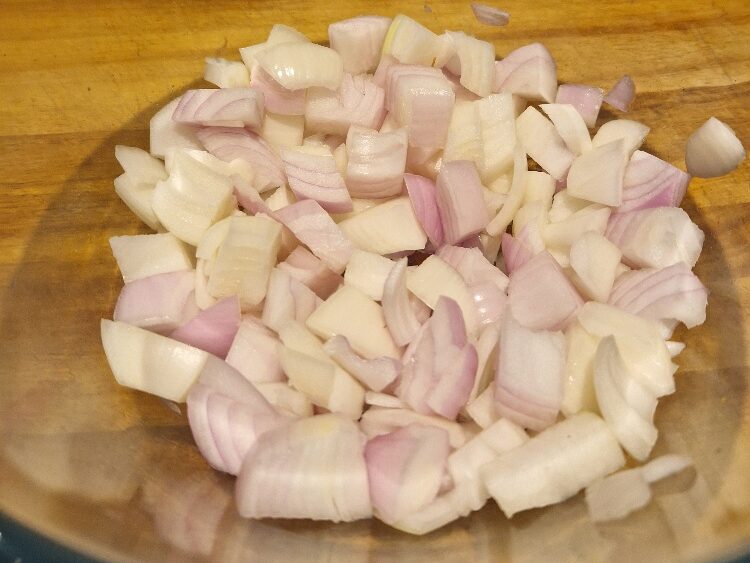
Start by chopping your onions, you’ll find details on how in our Tip. A fairly rough chop is good for this dish. How many onions depends on their size and how large a sauce you are making – we find two large, brown or white onions is about right for a generous sauce for four.

Jake sticks his nose in
Different colours of onion have different flavour profiles. Most onions will work here, just avoid red ones. If you use red, the sauce will still taste great, but it won’t have as nice a colour, and may go a bit grey.
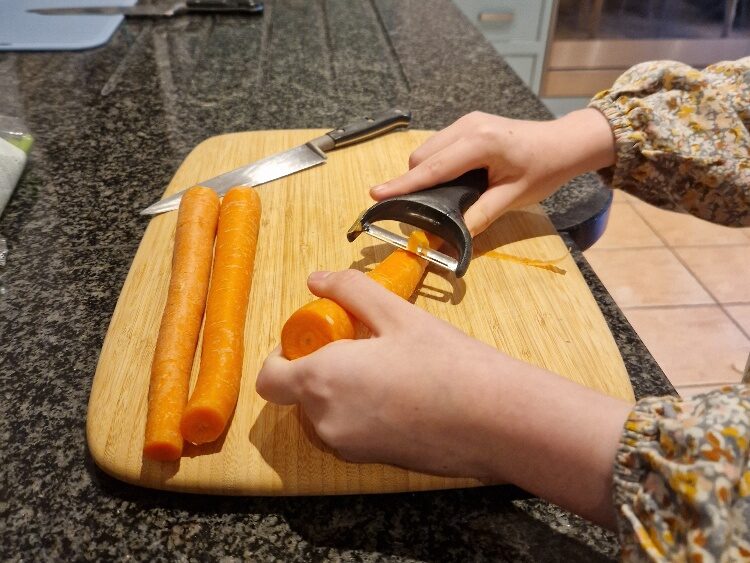
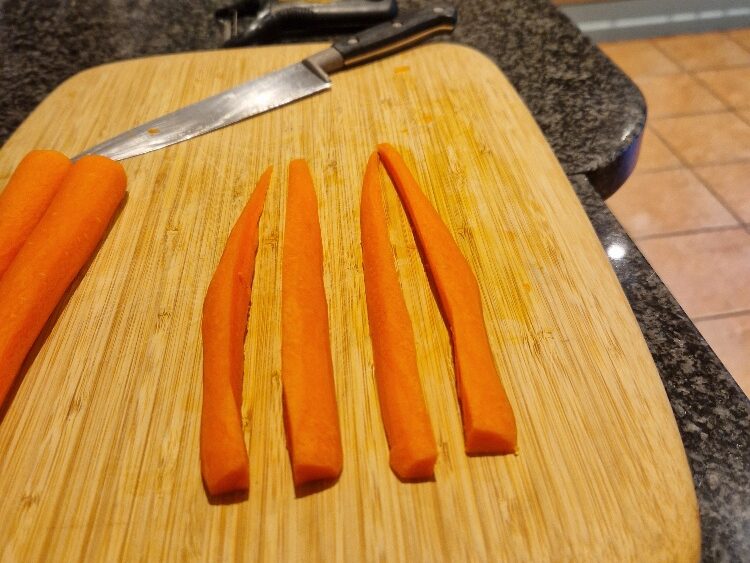
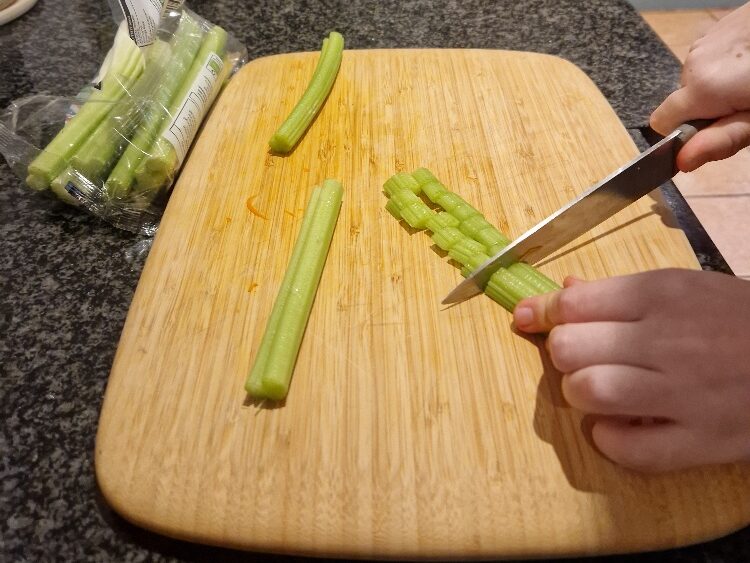
You then need to chop your carrots and celery to roughly the same size as the onion. To prep carrots, chop both ends off and peel them, then cut each baton into quarters down the length as below:


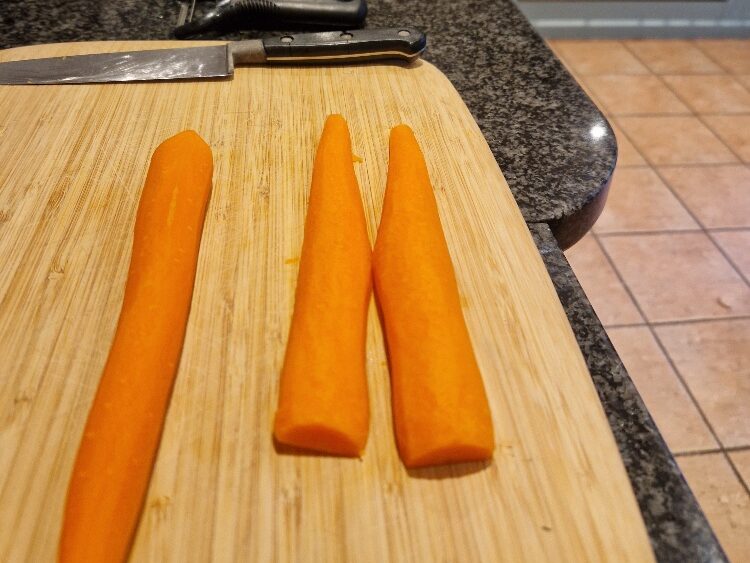
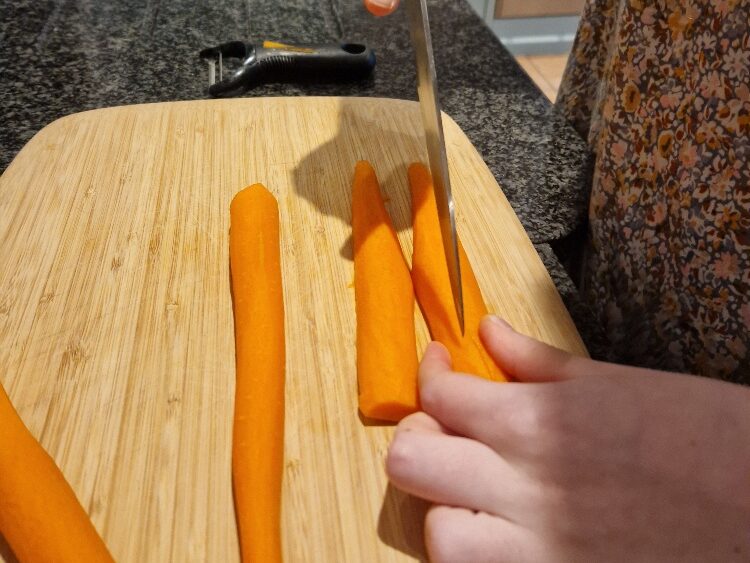
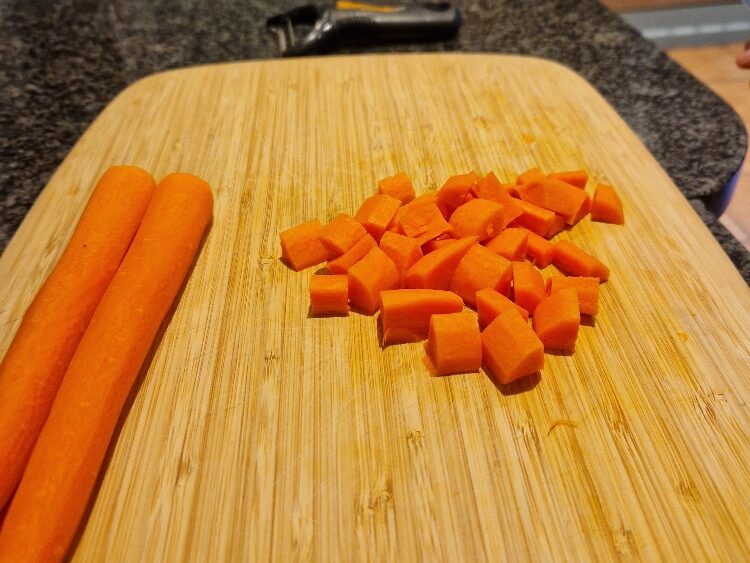
Now chop each baton into small pieces and add to the onion.

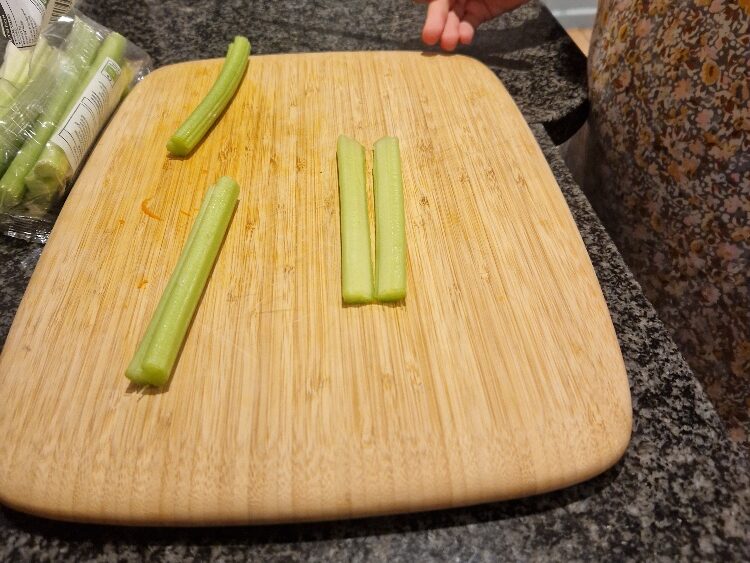
Prepare the celery similarly. Top and tail each piece to remove any dry ends, then split each baton down the centre lengthwise (bigger pieces might need to be sliced lengthwise into three or four batons, but ours were narrow enough today to just need two). Then chop into pieces about the same size as the onion and carrot.
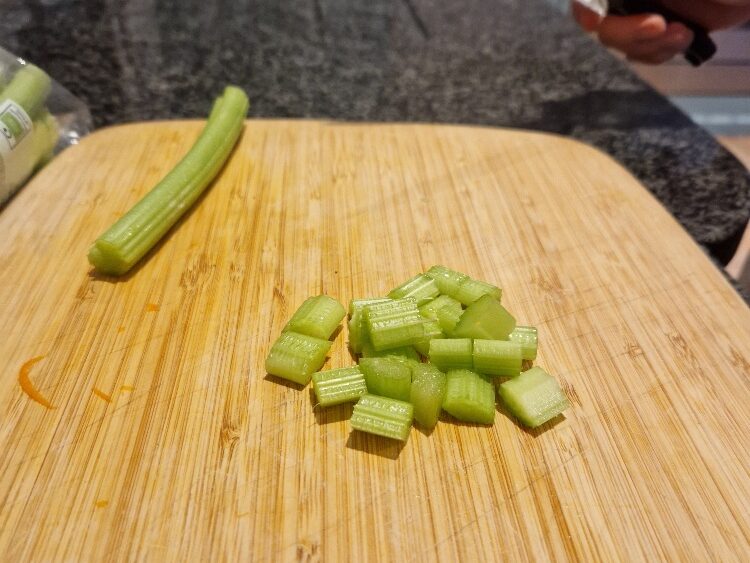
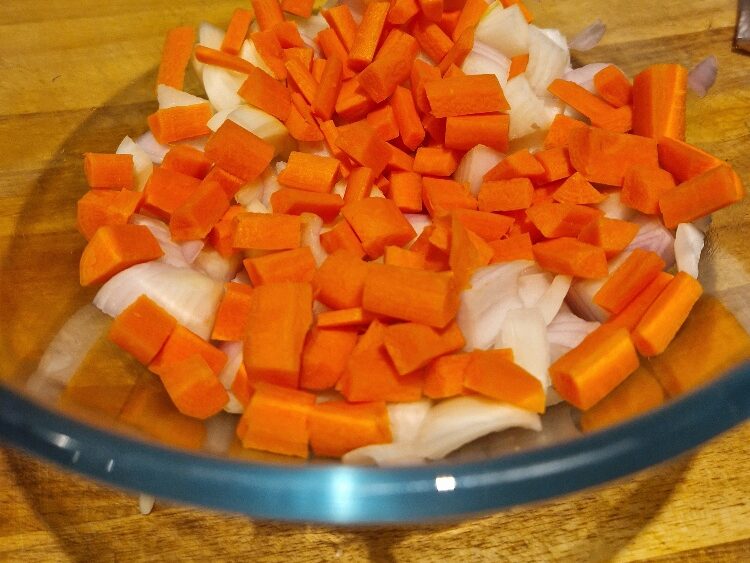
Add the celery to the bowl, then chop your garlic, as described in our Tip. Do not add the garlic to the main bowl, but keep it separate. You now have your bed of vegetables ready.
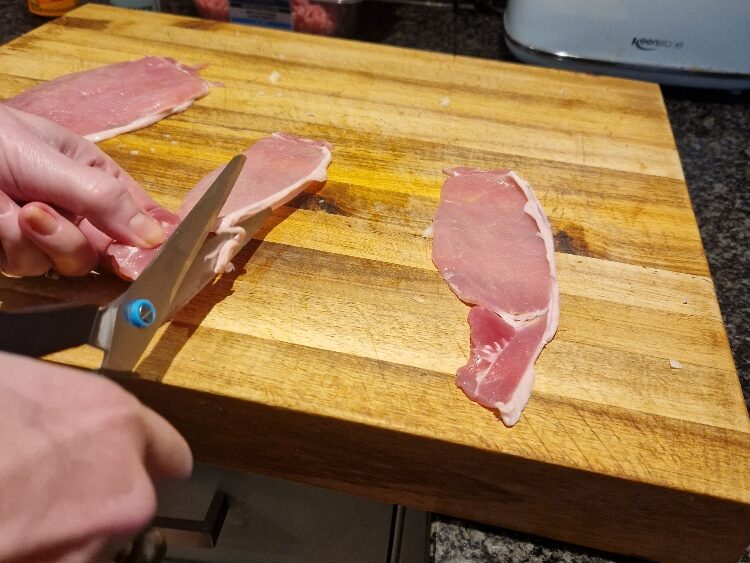
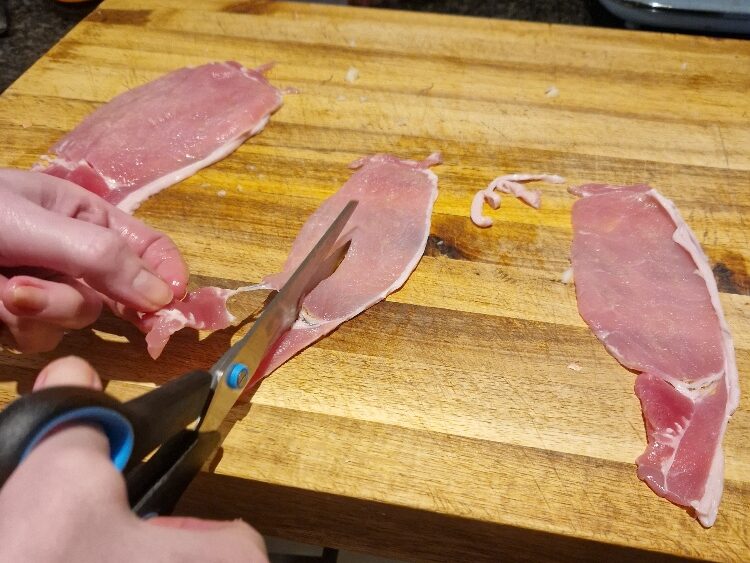
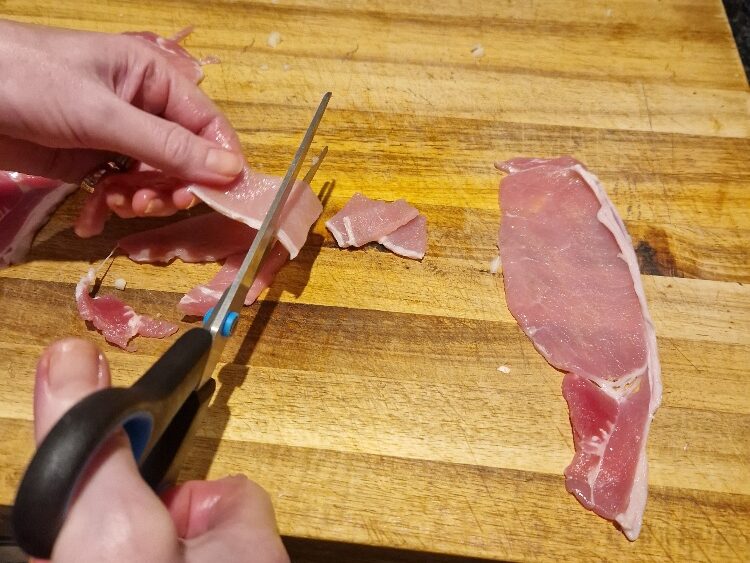
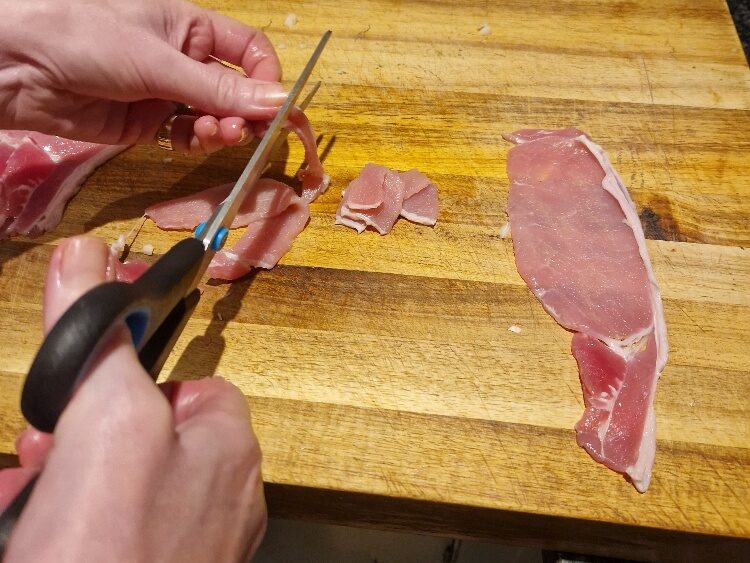
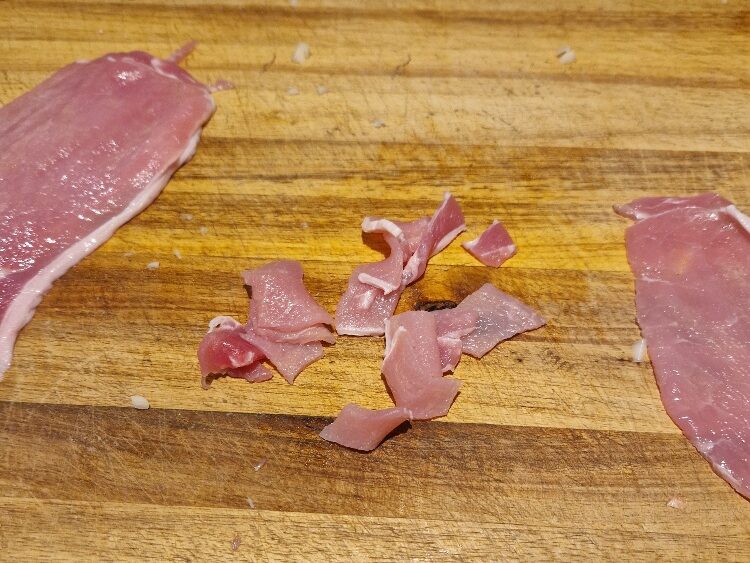
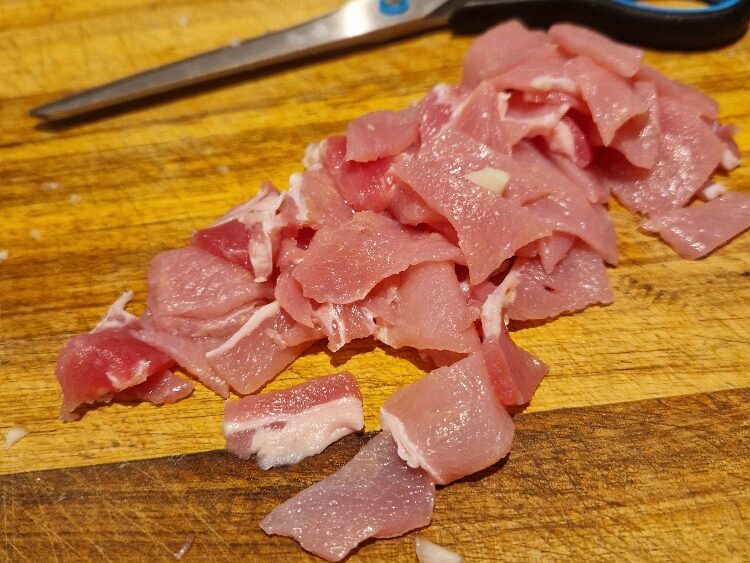
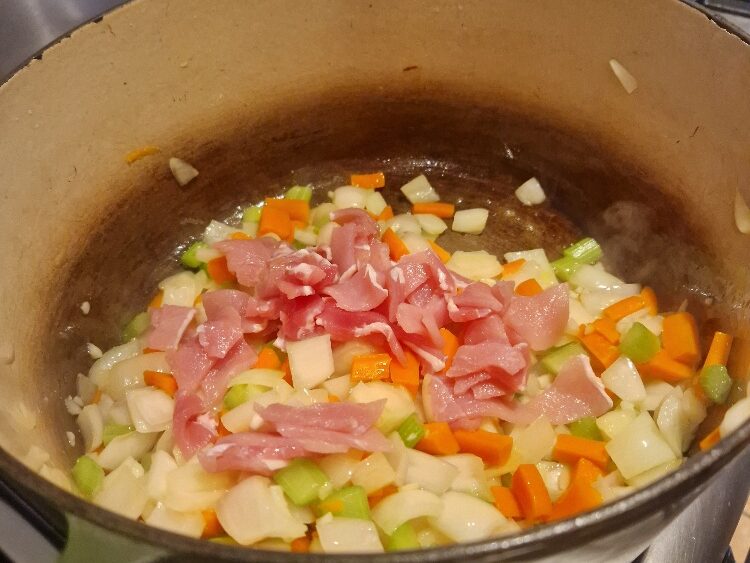
We use unsmoked back bacon in our recipe, and think it adds a nice sweetness and not too much fat. You could use streaky bacon or pancetta if you prefer, but avoid anything too smoky or it will take over. Dry cure is also fine, just not smoked. If your bacon has rind, you will need to trim this off – our bacon today didn’t have much so we just neatened it up. You then need to chop the bacon. This is much easier if you use scissors, just make sure they are nice and sharp. We tend to slice the bacon down the centre lengthwise first, then chop across. The bacon pieces should be about the same size as your vegetables, so everything is nice and uniform.
You are now ready to start cooking! This recipe is a great for helping you understand how to make the base for many sauces, in that it teaches techniques like the order of frying and how to brown meat. You can adapt these skills to making lots of different meals, e.g. chillies and curries – the mix of ingredients and spicing may change, but the basic method is the same.
There are two ways you can cook the bacon. One is to fry the bacon first in the main large cooking pot, then remove to a plate with a slotted spoon. Do not wash the pot, you want the bacon flavour to stay in, just add oil and cook your vegetables as below, then add the bacon back in before the meat. This keeps the bacon crispier and makes it easier to render the fat, but is slightly trickier as it adds another step, and the pan can burn. So today, we used the simpler method of adding the raw bacon after the vegetables, as below. Just make sure your bacon is cooked and as much fat rendered as possible before you add the meat.
Jake sticks his nose in
‘Rendering’ means cooking something until the fat has melted away and you can no longer see the white bits of it in the bacon or other meat.
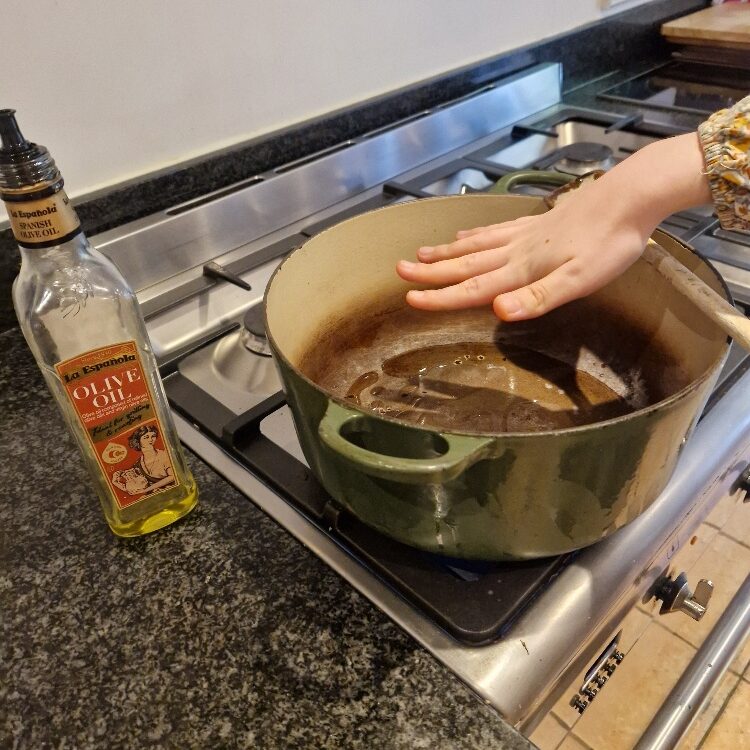
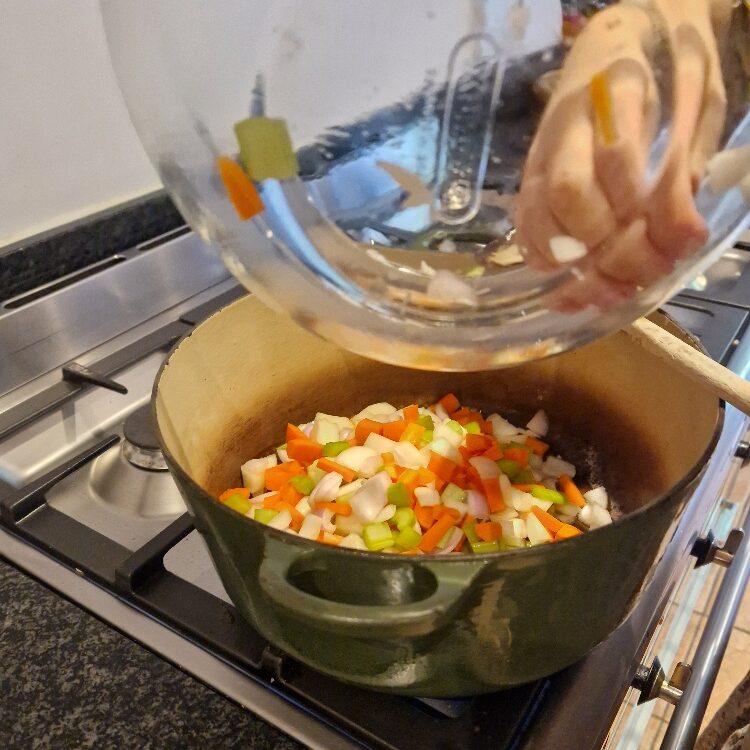
Take a nice big casserole, large saucepan or large high-sided frying pan and add a little olive oil to just cover the base. Turn your heat up high. Check the oil is hot by holding your hand over the pan; when you can feel the heat coming up from the oil, you can add your bed of vegetables (but not the garlic yet or it will burn). The vegetables should sizzle in the oil if it is hot enough. Turn the heat down to medium and stir.
Jake sticks his nose in
The hand test is great for knowing when a pan is hot enough to cook. You should keep your hand quite high and the palm flat; when it feels like you want to remove your hand due to the heat, it is ready!
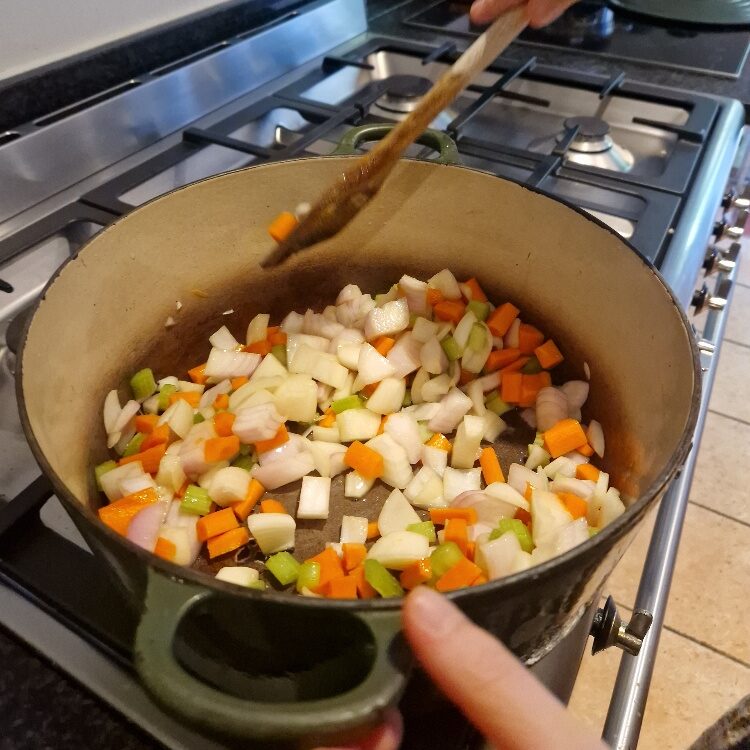
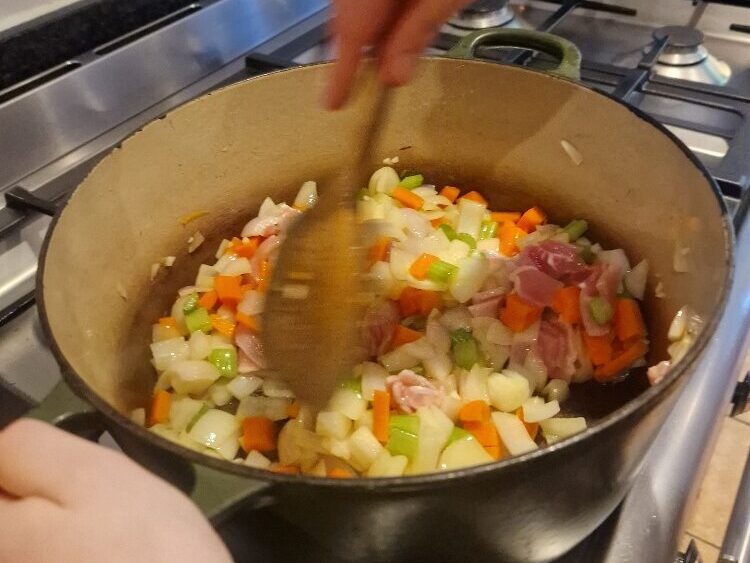
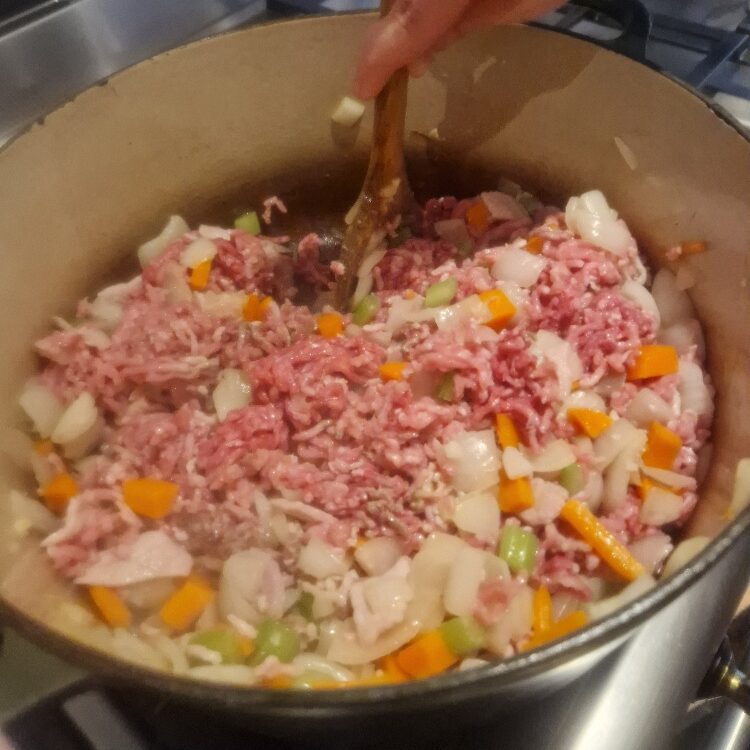
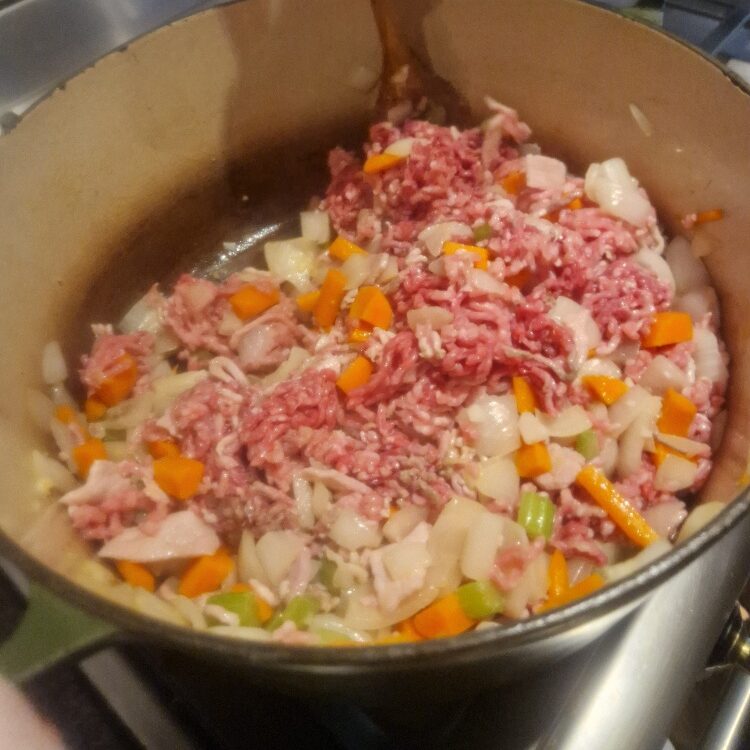
Cook the vegetables until slightly tender and the onion is translucent, about 5 mins. You don’t want to fully cook these, but just to sweat them in the oil a bit and retain some crunch – these vegetables are going to give texture to the finished dish as well as flavour, and remember you’ll be cooking them in the sauce for a long time too. When done, add your garlic, stir for a couple of minutes, then turn the heat up slightly and add your bacon.
Keep stirring the bacon so it cooks through and the fat renders, but it doesn’t stick. The bacon is ready when it no longer looks pink, but looks brownish and firm, as below:

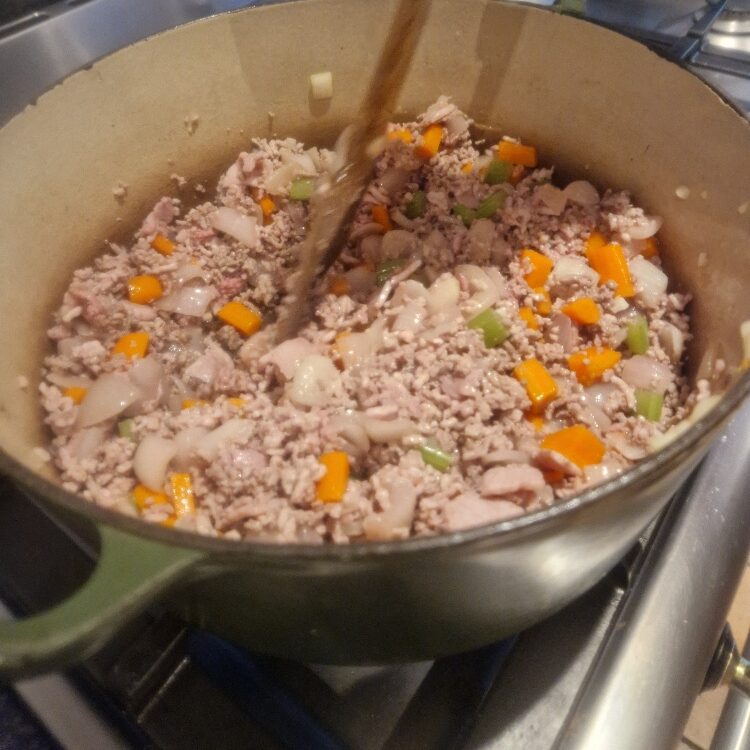
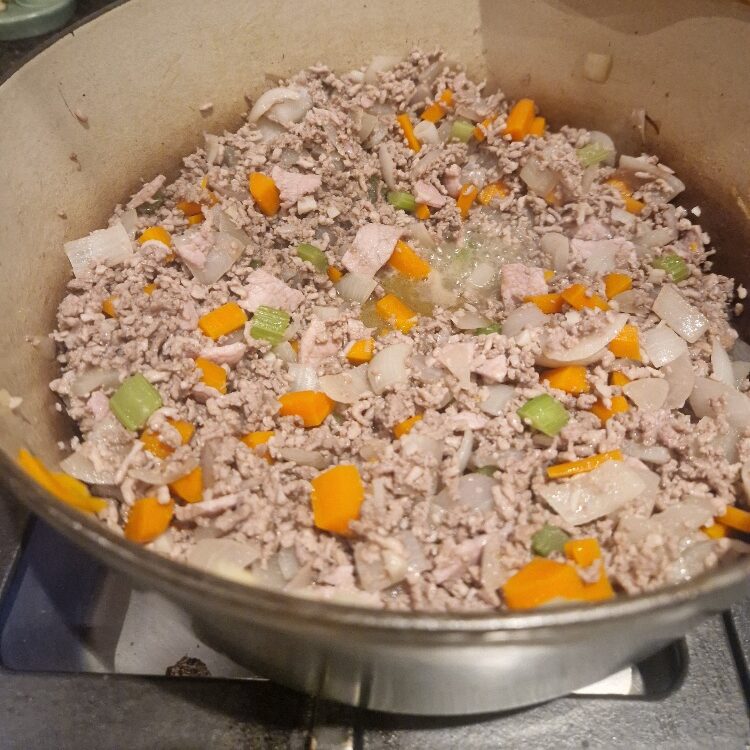
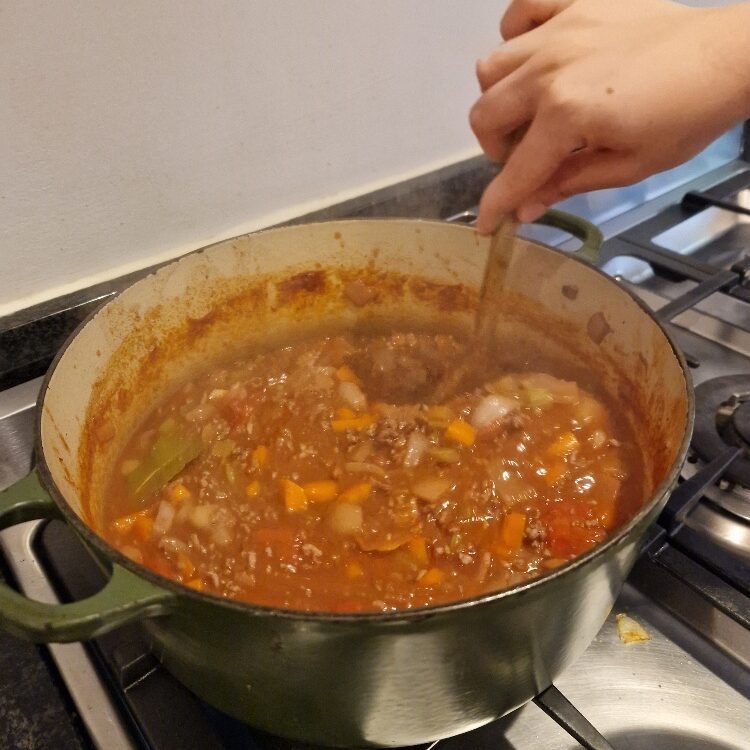
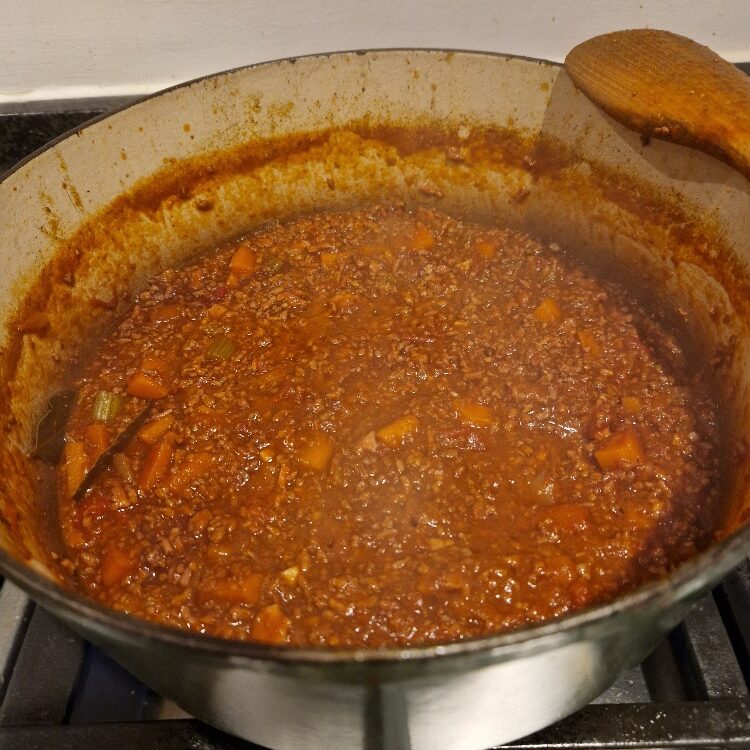
You can now add your meat. Keep the heat high, and crumble the mince into the pan to break it up. You then need to keep stirring and breaking up the meat with your spatula, so the pieces separate and it gets thoroughly mixed with the vegetables. Keep stirring until the meat is fully browned – you should see no more red or pink in the any of the meat, and it should have a uniform brown appearance. This is important to both seal in the flavour and ensure the meat cooks properly, and to get the tastiest finished dish. See pictures below for how it looks at it cooks. Depending on how much meat you have added this can take 5 to 10 mins. Be patient!
Jake sticks his nose in
You can use any wooden spoon or flat spatula to break up the meat, but we find a spoon with a flat edge and little pointed corner works best.
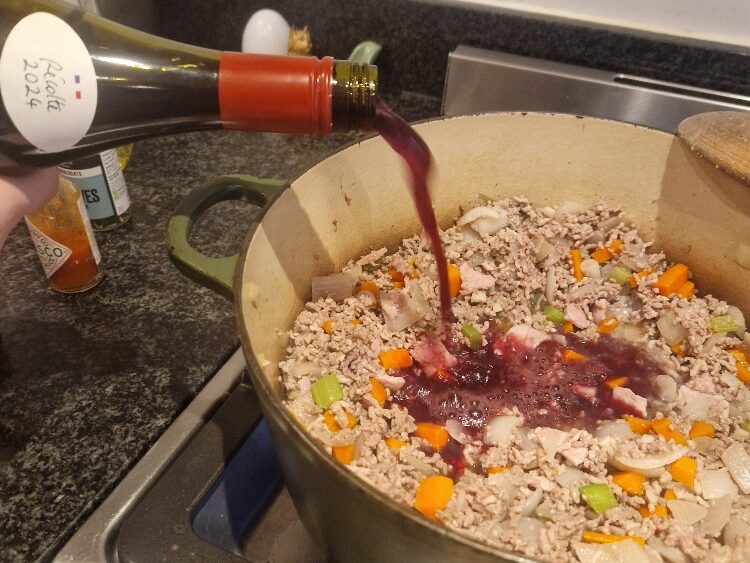
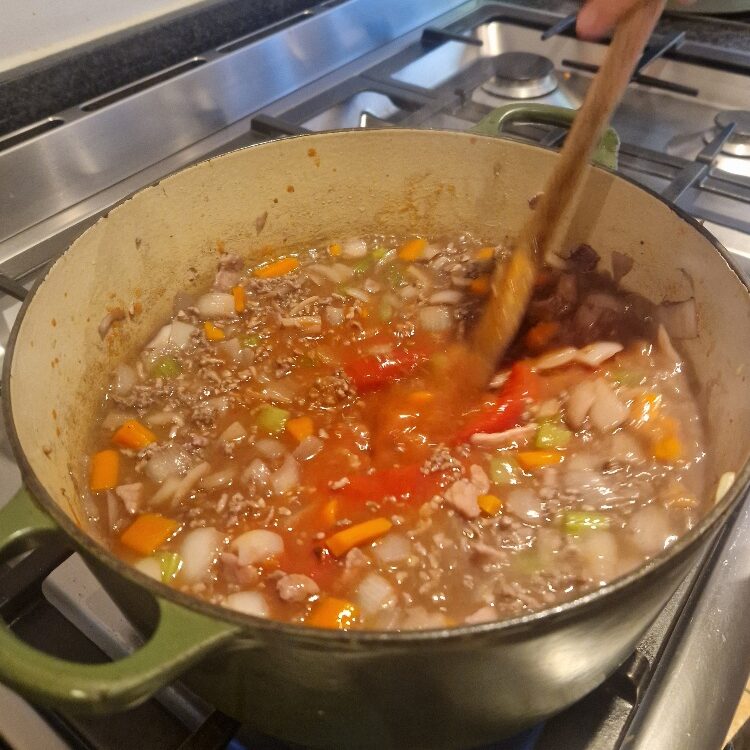
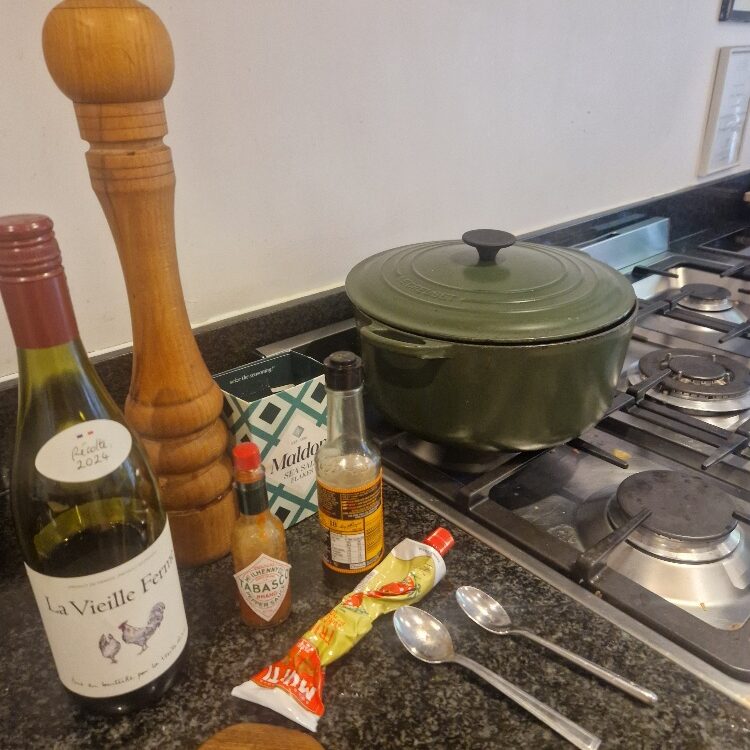
Now add your red wine, keeping the heat high. It should bubble and hiss. Keep the heat high and stir well for a few minutes – this will help the alcohol in the wine to cook out, and improve the flavour. How much you add depends on the size of sauce you are making, and your personal taste. Today we used just over half a bottle. Remember that wine is a key ingredient here, so it is definitely more of a big glug than a small splash!
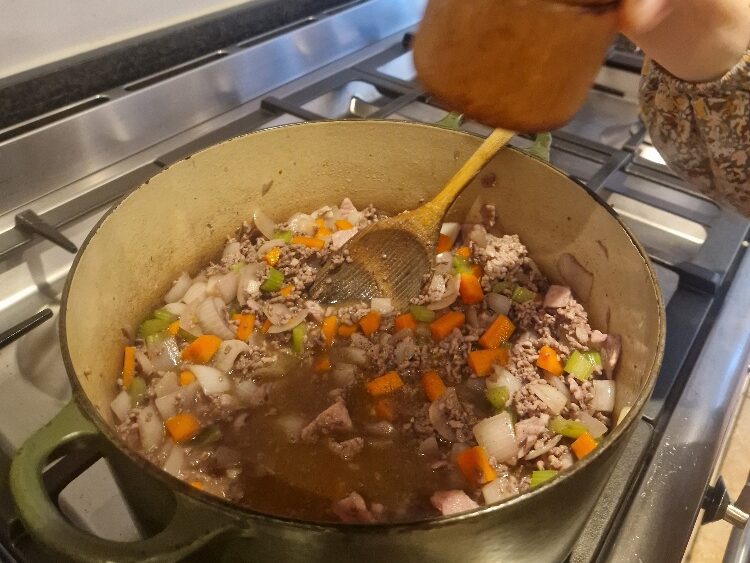
Add a stock cube, or two if you want it richer. Beef stock gives depth to the meat flavour, but any meaty or vegetable stock cube will do. We like the jellied ones, but cubes are fine. Add a generous grind of pepper but no salt yet – the stock cube will bring a saltiness anyway. Stir well.
Jake sticks his nose in
You definitely don’t need to use expensive wine. But do use something you or someone else would be happy to drink a glass of! There will be no alcohol in the final dish, it cooks off, but there will be wine flavour.
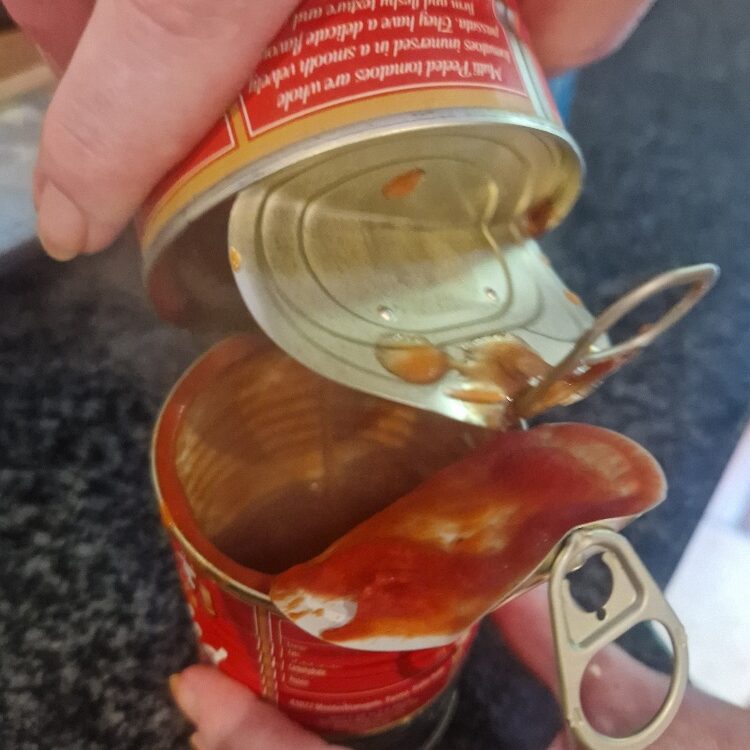
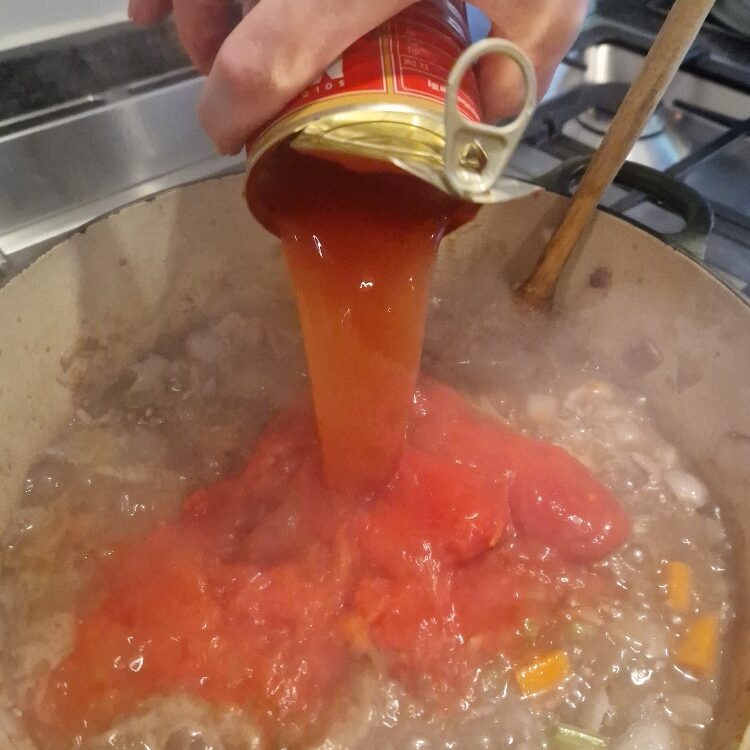
You can now add your canned tomatoes. Today we had whole plum tomatoes, but chopped is fine too, just crush and break the tomatoes up with you spoon if using whole.
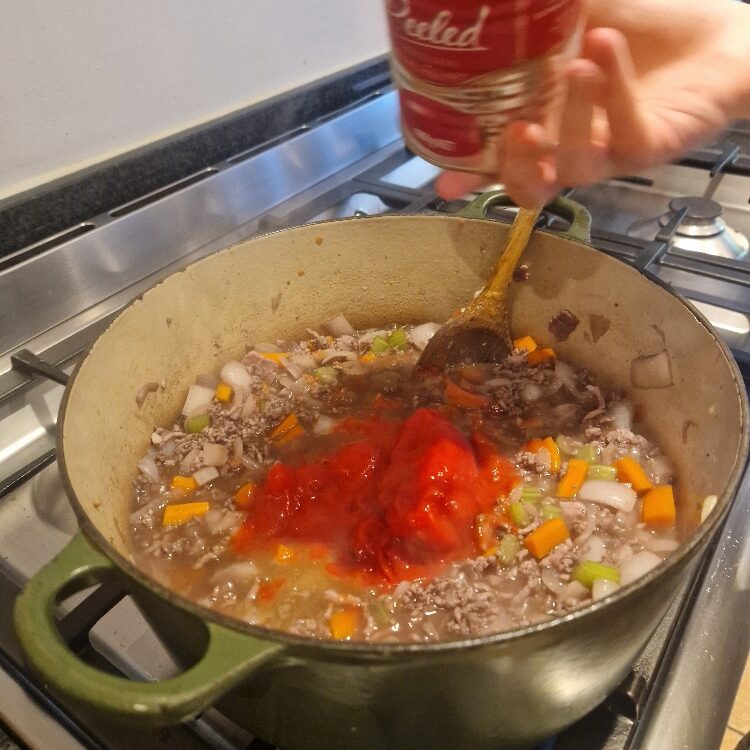
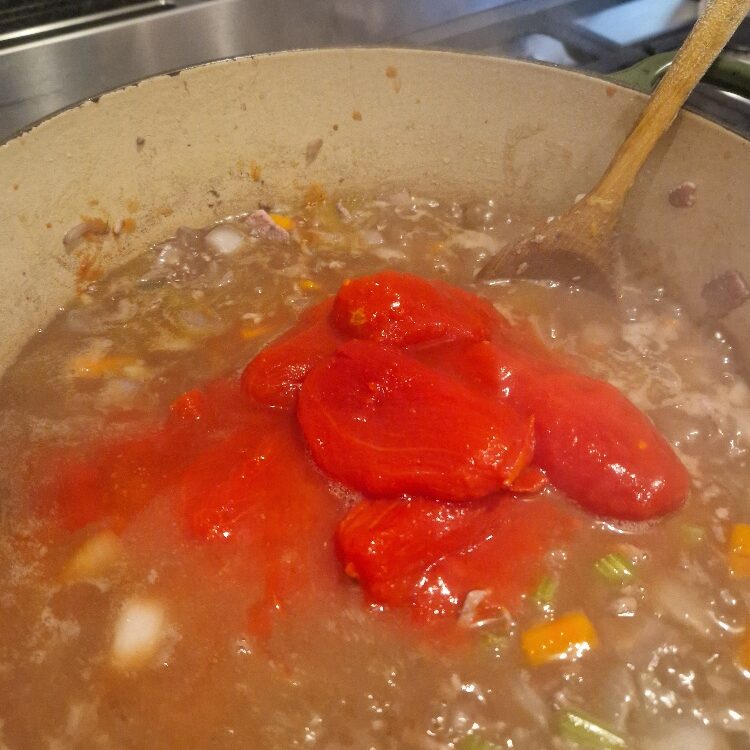
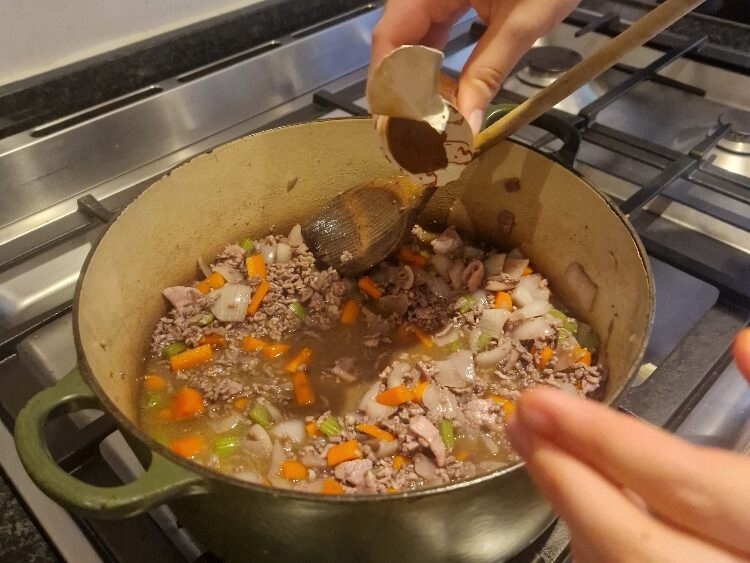
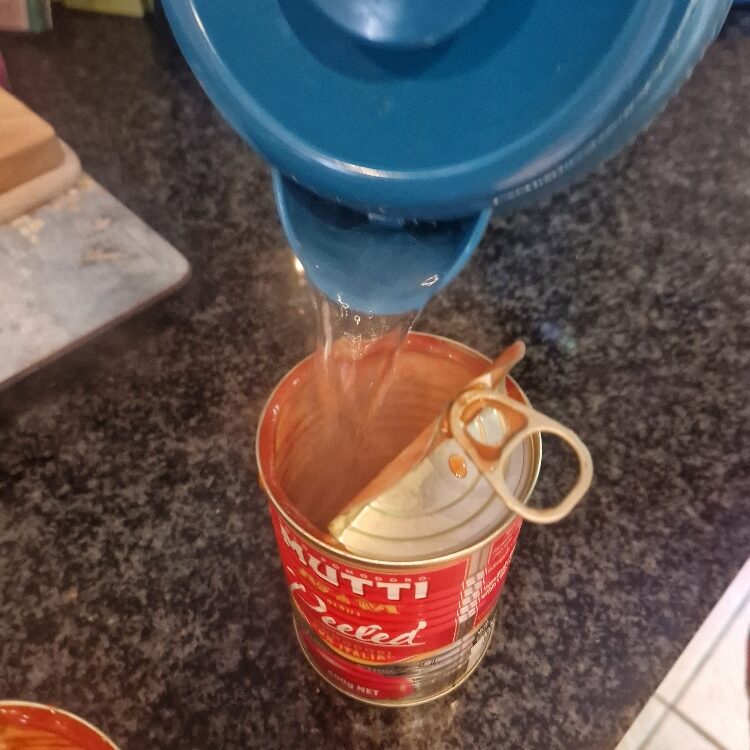
You may want to add a little more liquid and rather than add just boiling water, we have a neat tip we call the tomato tin trick. Boil the kettle, and add a little hot water to one of the tomato tins and swirl it around. Tip this into the other tin (if using) and swirl again. This way you now have nice tomatoey liquid to add to the pot, and won’t have wasted any juice. How much you add depends on how wet the sauce is – a couple of tablespoons. But don’t worry too much, this sauce has a long, slow cook so there are plenty of opportunities to adjust the wetness as we go.
Jake sticks his nose in
If you use the tomato tin trick, be careful when handling the tins. The metal conducts, so they can get hot! You might want to use an oven glove.
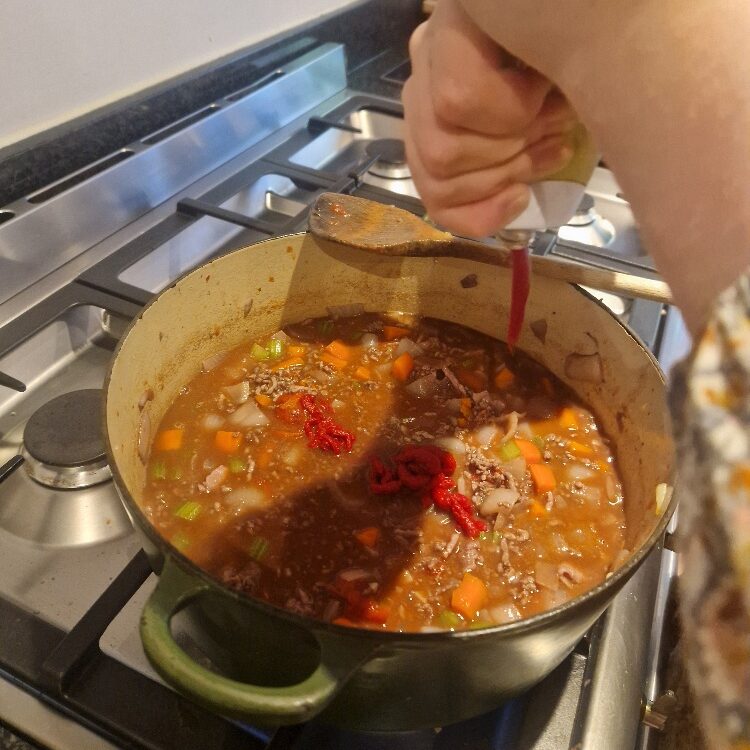
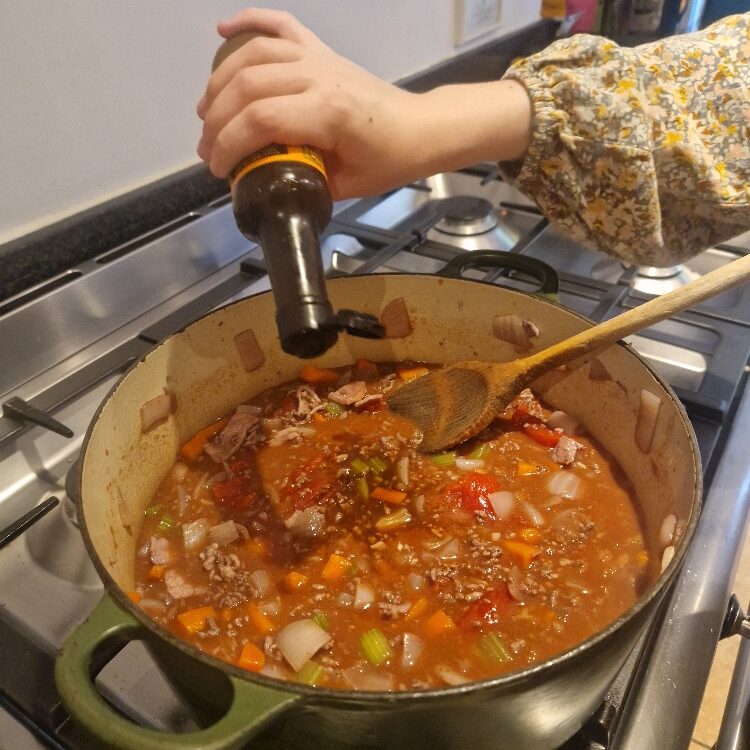
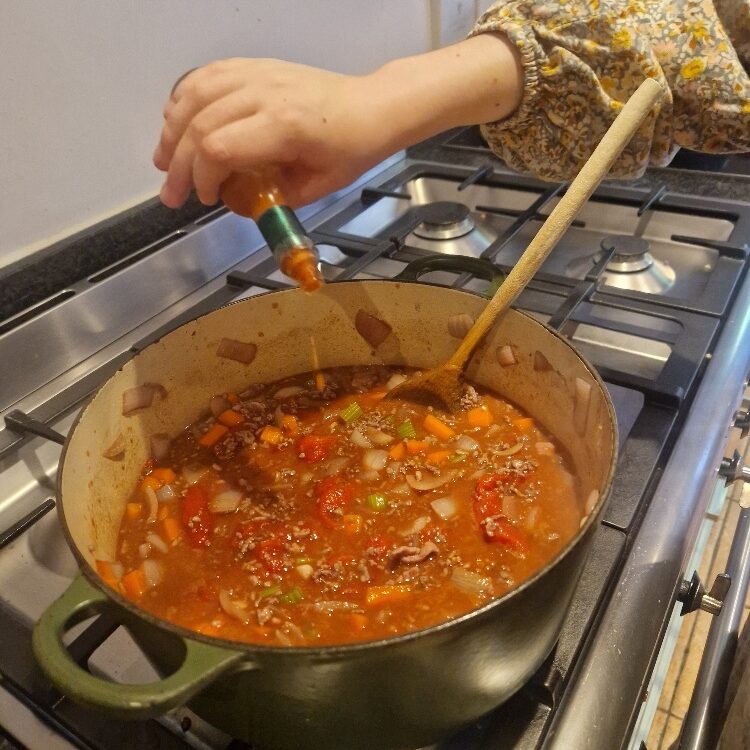
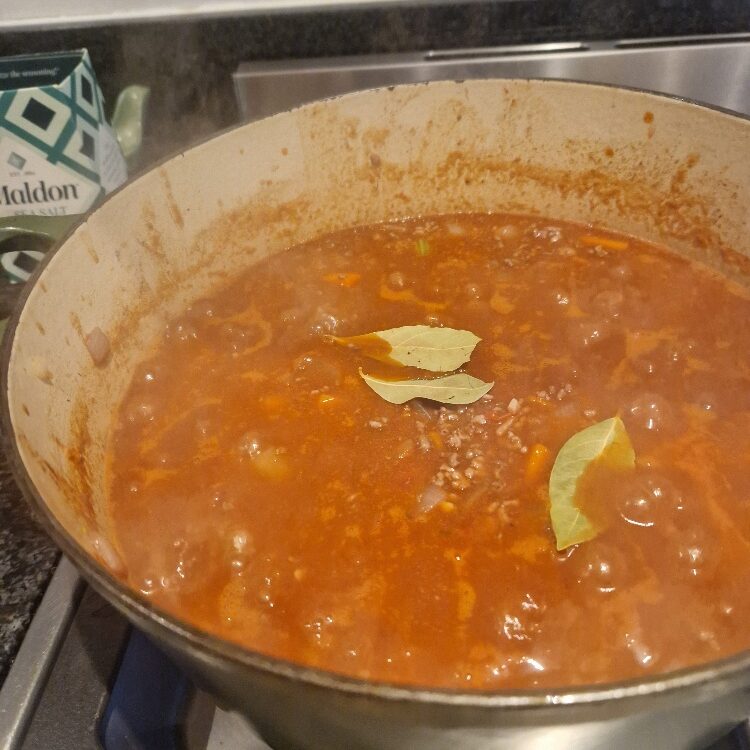
Add a generous squirt of tomato puree, a large shake of Worcester sauce and a small shake of Tabasco or other hot sauce if liked. Don’t add too much of the latter if using – this is not meant to be a spicy sauce, it’s just there to add a little depth and piquancy. Stir well. Add a few dried bay leaves and push these gently down into the sauce, so they are covered but don’t break up.
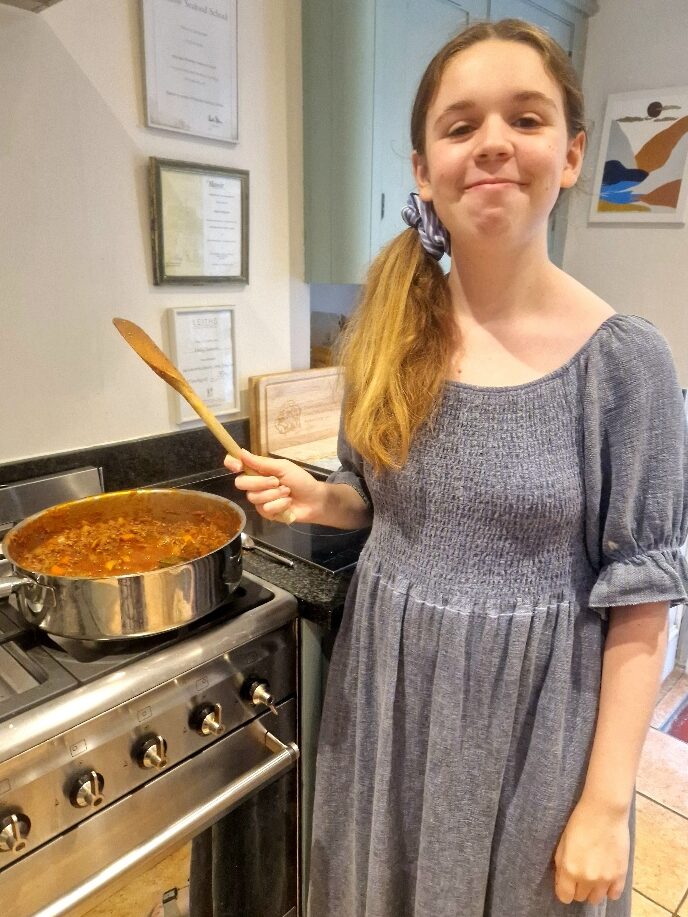
Bolognese sauce is best when it has a long, slow cook. At least an hour, but you can cook it much longer, so long as you keep an eye on it. Today we cooked ours for just under 3 hours. The key once you’ve added everything is to get the sauce back up to a rolling boil, it will bubble and ‘slurp’ when it is there, then turn the heat right down. (If you’ve been using one of the hotter rings on your hob, you may want to change it onto a slower one).
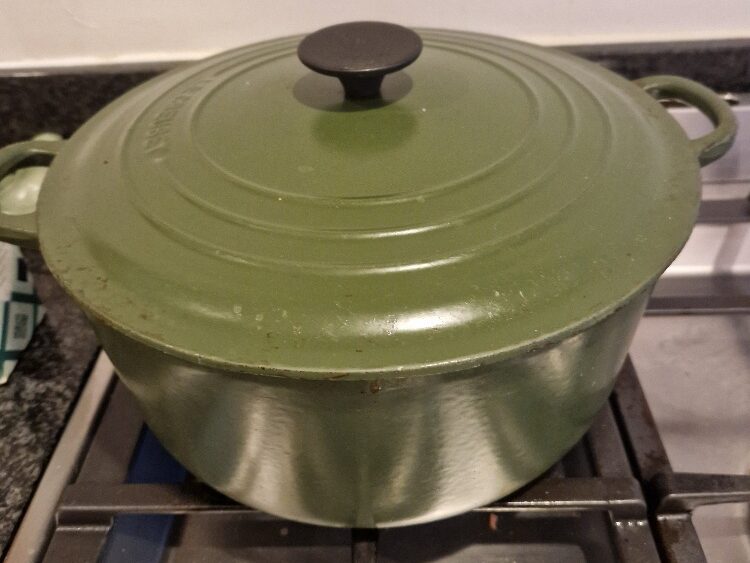
Whether you cook with the lid on or off depends on how wet your sauce is – cooking with the lid off will help it reduce, cooking with the lid on will retain moisture. We find we usually need to chop and change between the two as the sauce evolves over the long cooking time. Today, our sauce was a little wet so we started with the lid off; then cooked it for an hour or so with the lid slightly cracked open as below, then finished with the lid on as the sauce took on the texture we wanted.
Stir every now and again to make sure it doesn’t stick and taste frequently! At the start, when you taste, it will taste ‘raw’ and a bit harsh, but this will help you check the initial seasoning. But as you go on the flavour will evolve and soften – keep tasting and adjusting to the flavour profile you like at several points during the cook. Have your salt, pepper, Worcester and Tabasco, wine and tomato puree handy to adjust as you go.
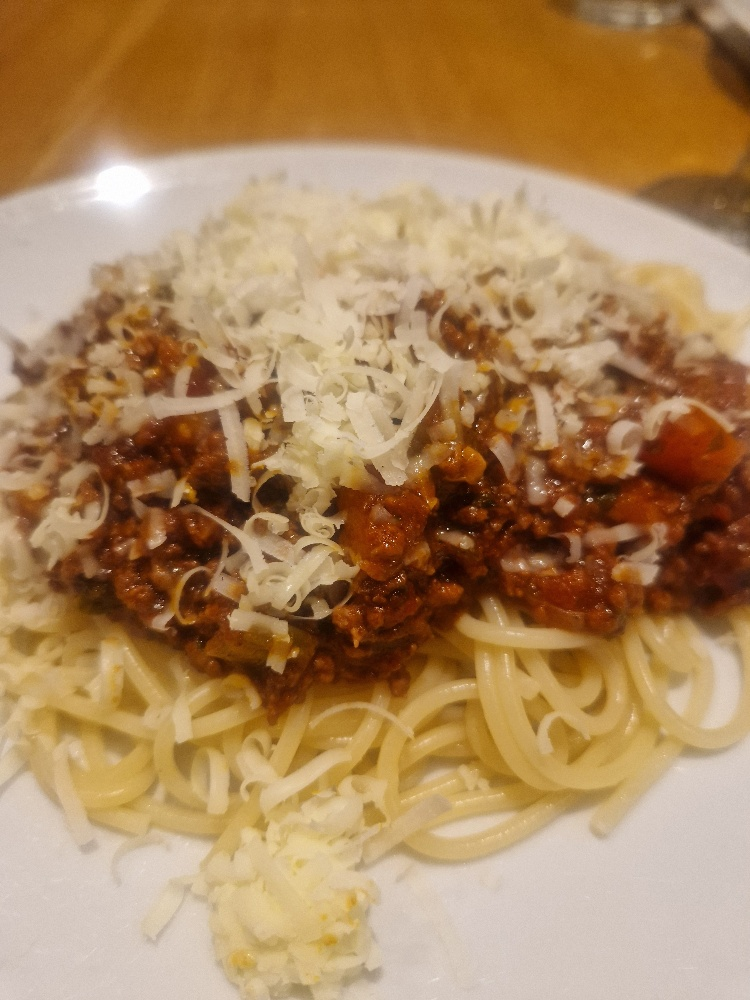
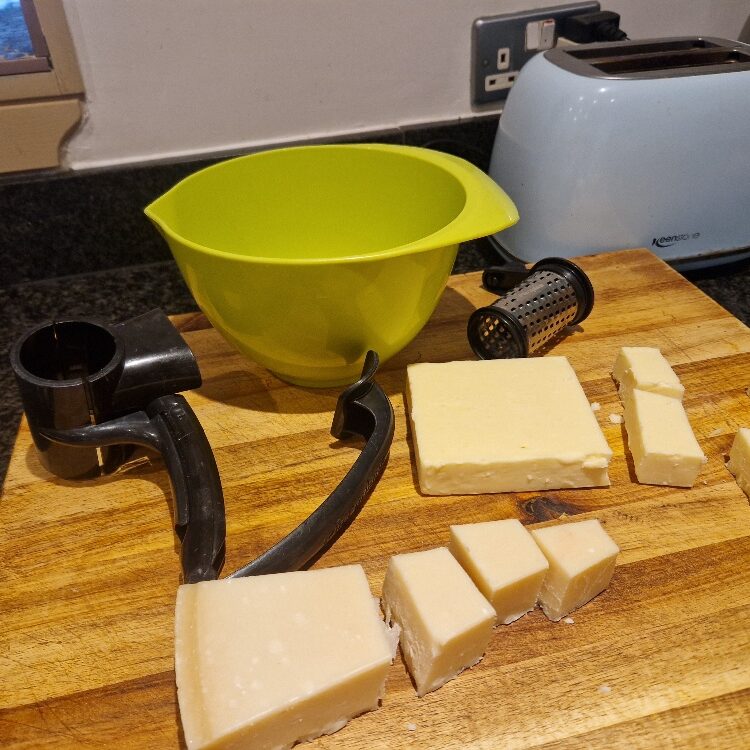
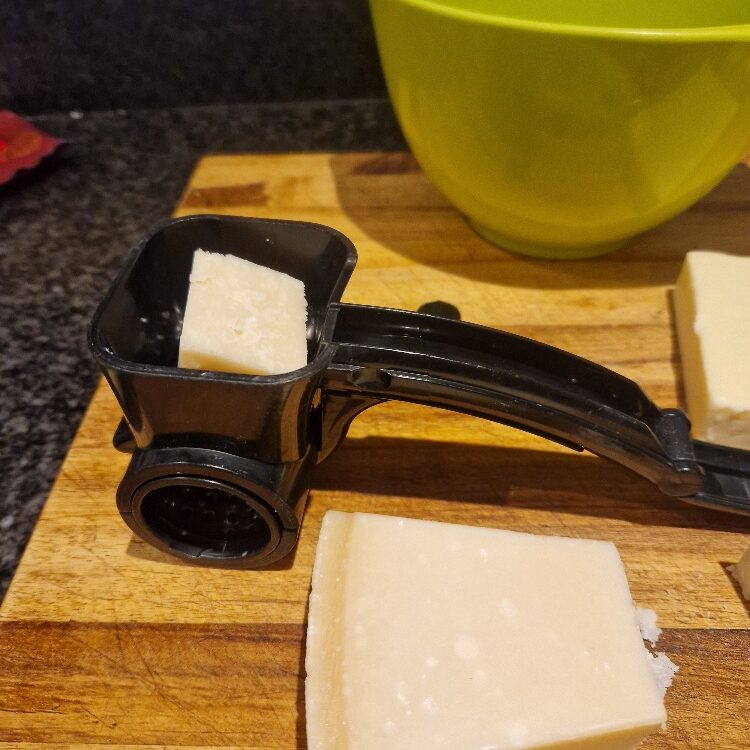
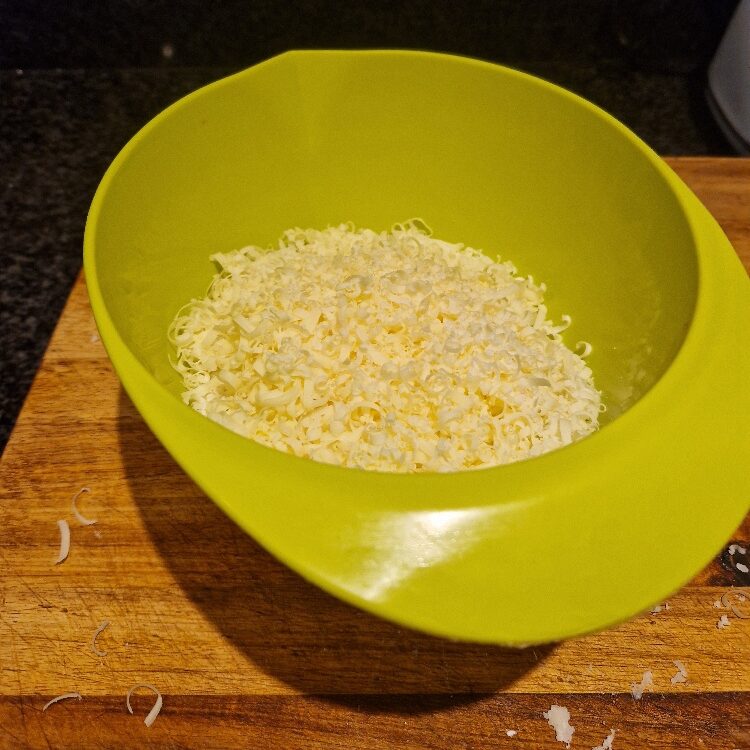
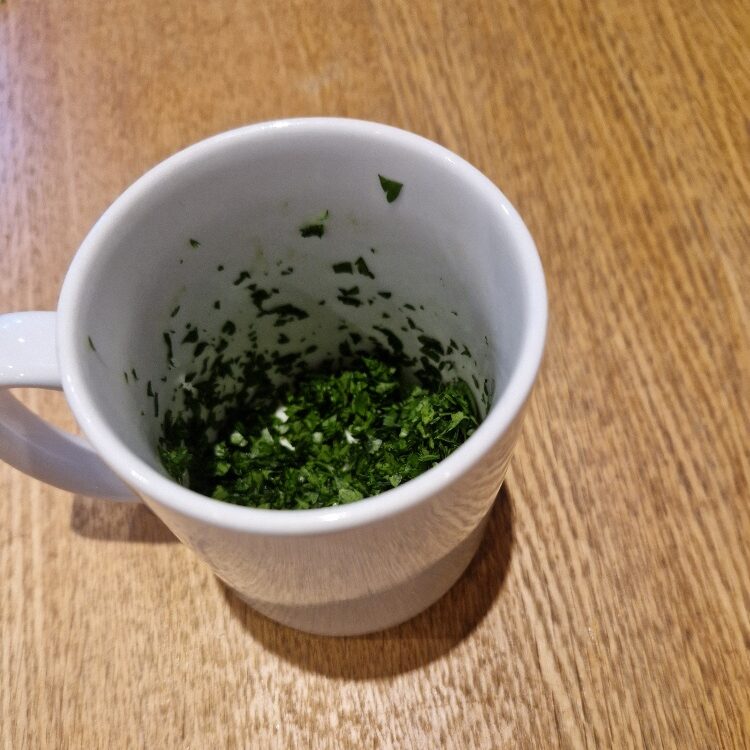
While your sauce is cooking, chop your parsley, you can find out how to do this easily in our Tip. Then grate your cheese. We like to use a mixture of parmesan and cheddar for this particular take on Bolognese – parmesan is more traditional, and gives sweetness; cheddar melts nicely and adds bite. But either alone, or your favourite, is fine. We like to use a drum grater like the one below, as we find it easier and less prone to grating fingers! But any grater is fine. Cover the cheese and herbs and set aside until you are ready to use.
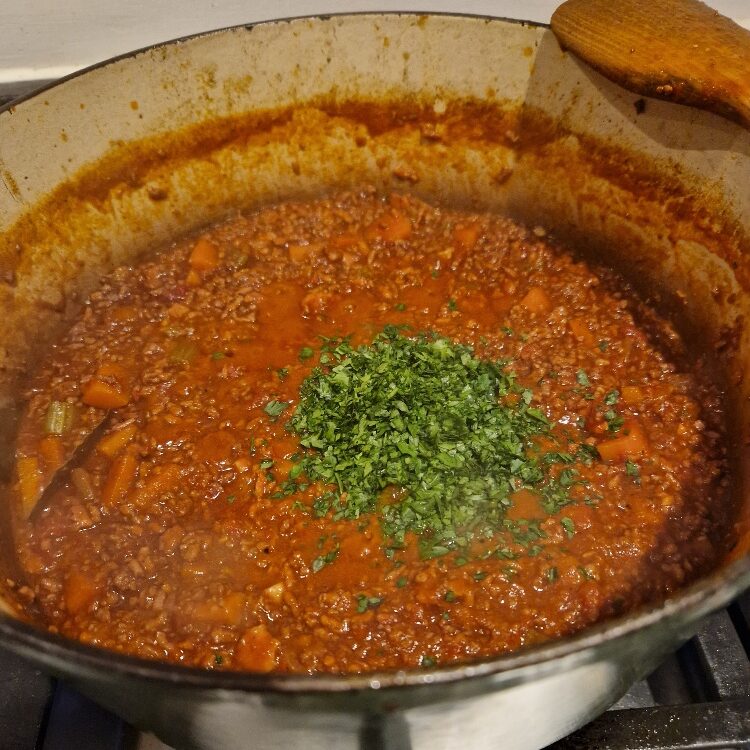
About 15 to 20 minutes before you are ready to serve, add your parsley to the sauce, stir well and taste again. Adjust your seasonings, if needed, for what is likely to be the final time. You can put the parsley in earlier, but we like the ‘green’ flavour it brings the dish when put in late. Don’t put it in at the start though as it will cook away to nothing and lose its flavour. Remove the bay leaves as you don’t eat these (or if you can’t find then warn your guests to look our for them!). Your sauce should look rich and glossy at this point, and well reduced, as below.
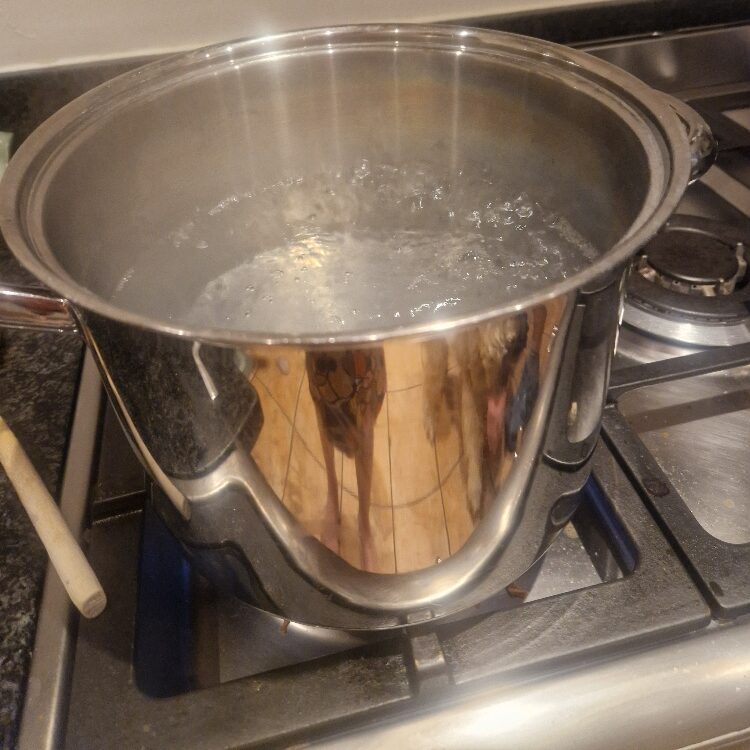
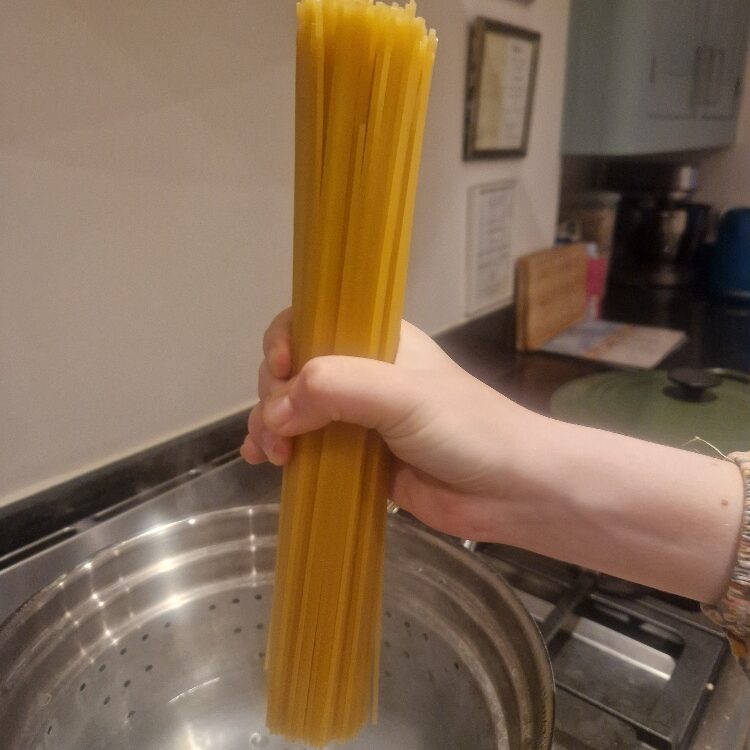
You’re now ready to cook your spaghetti – check how long it takes on the packet, but it’s usually around 12mins. Allow time for your water to boil before you start – a large body of water, which is what you need to cook pasta well, will take a long time to come up to boil on the hob. We usually get small amount going early on the hob, then boil the kettle a few times to fill the pot up before we add the pasta,
Jake sticks his nose in
Most pasta has a range of cooking time on it e.g. 10 to 12 mins. Generally the lower number will give you al dente (harder) and the longer one a softer texture.
You need water that it at a really fast, rolling boil, it will bubble and spit (so be careful!) and it must be salted. Some people add a little oil to the water too, apparently to stop the pasta sticking together, but if you cook your pasta fast enough and hot enough we don’t think this is necessary. We measure spaghetti by eye, but if you’re not sure how much you can weigh it. About 100g per person is a good main course portion. The amount shown below was enough for three hungry people.
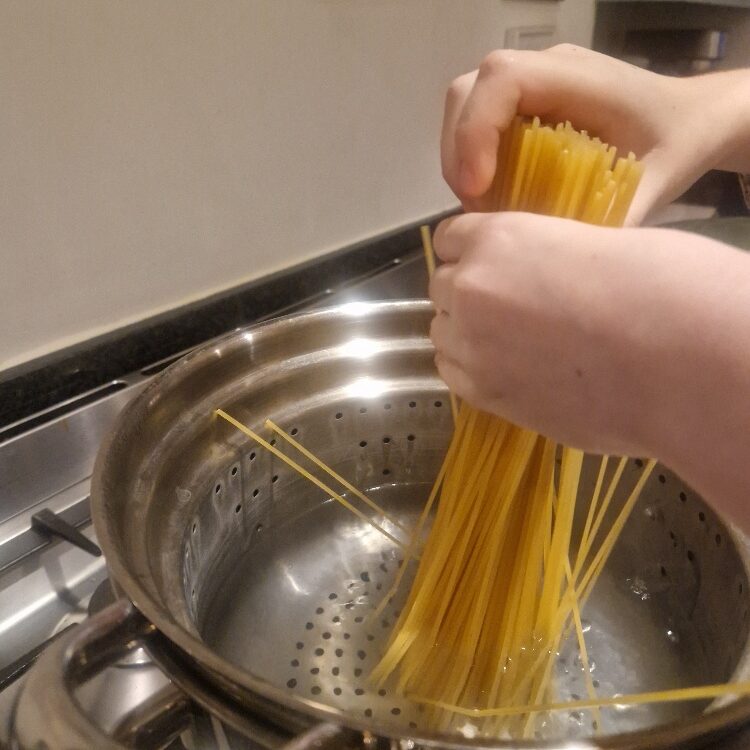
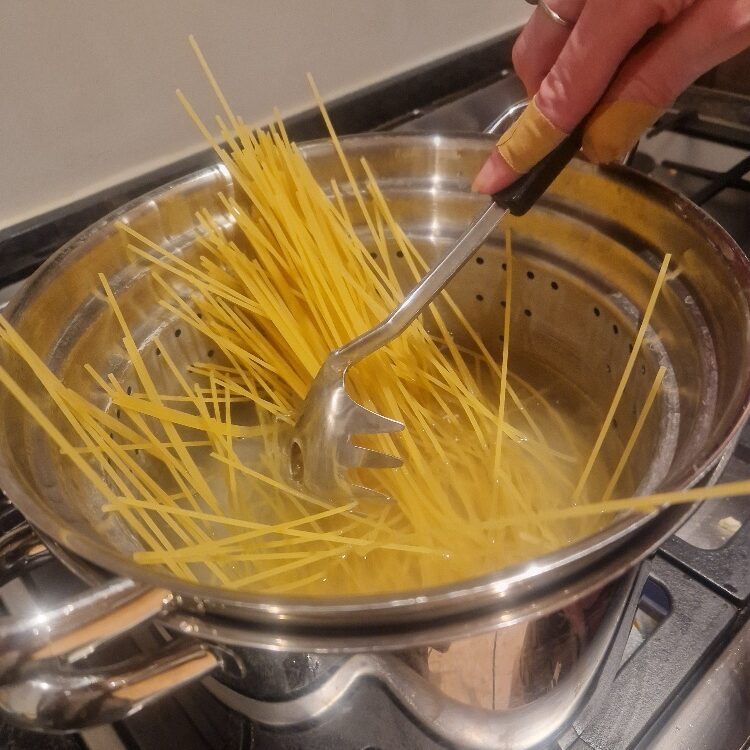
Spaghetti is long, so it needs to be gently pushed down into the water as is softens. Try to help it spread out and not clump together. Push it down with your hand and then with your pasta server or spoon until it is fully submerged, then mix it around, as shown below.
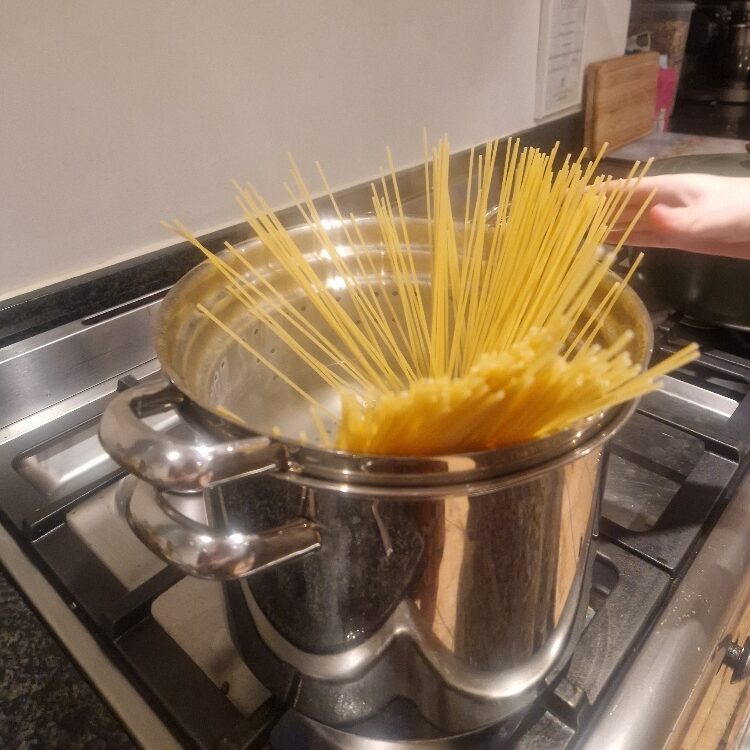
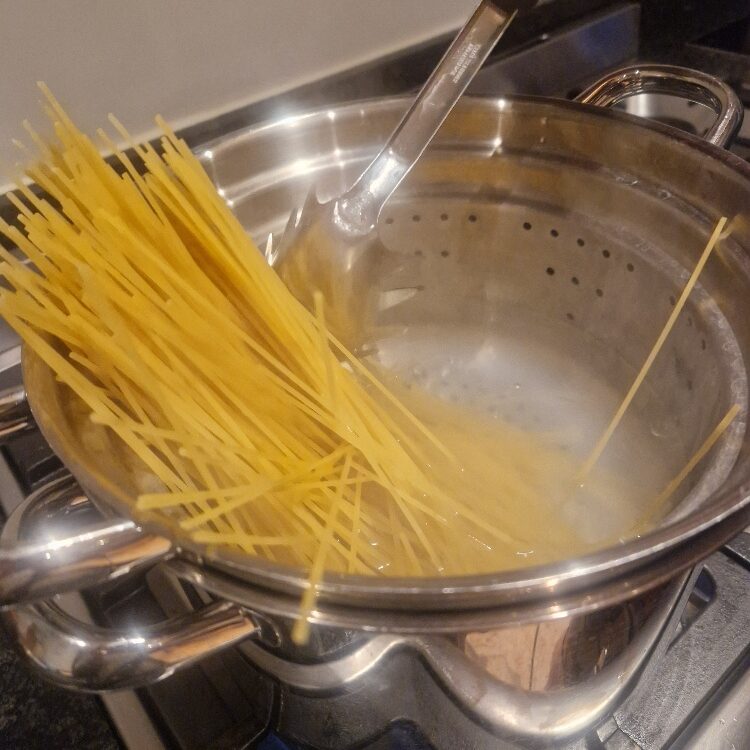
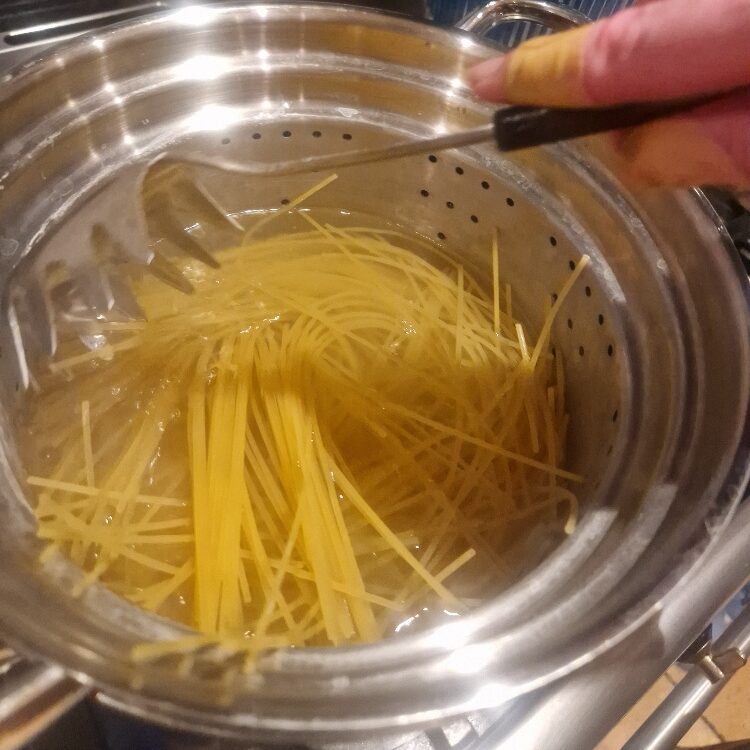
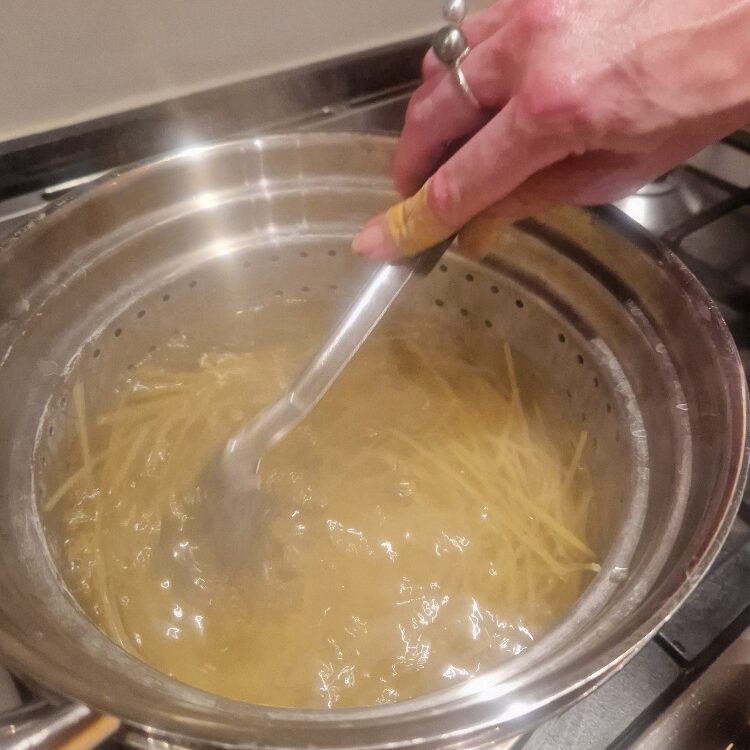
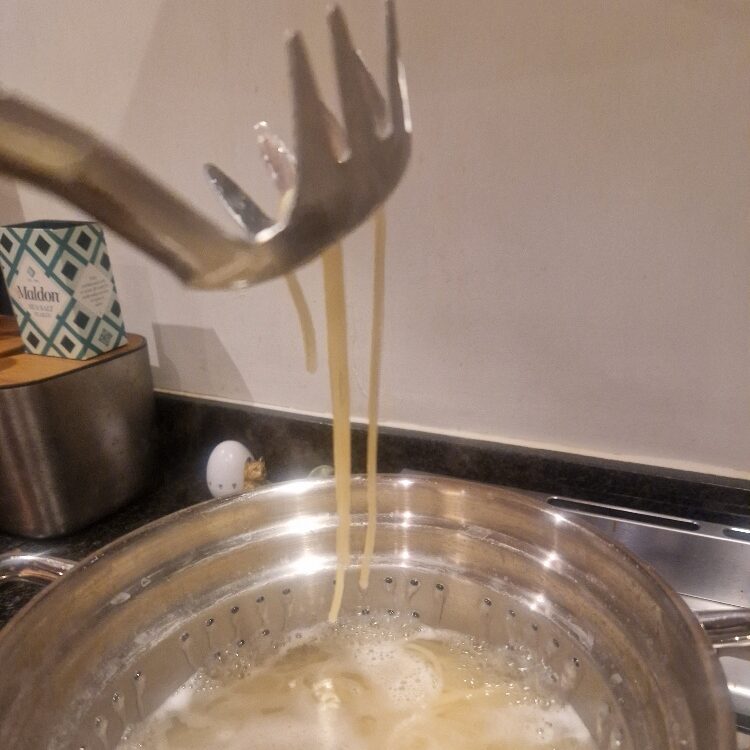
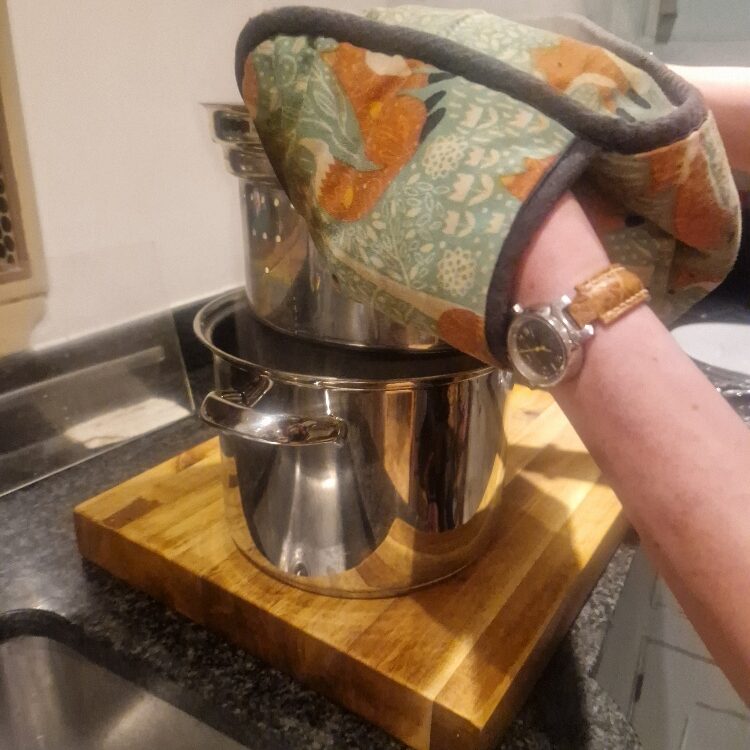
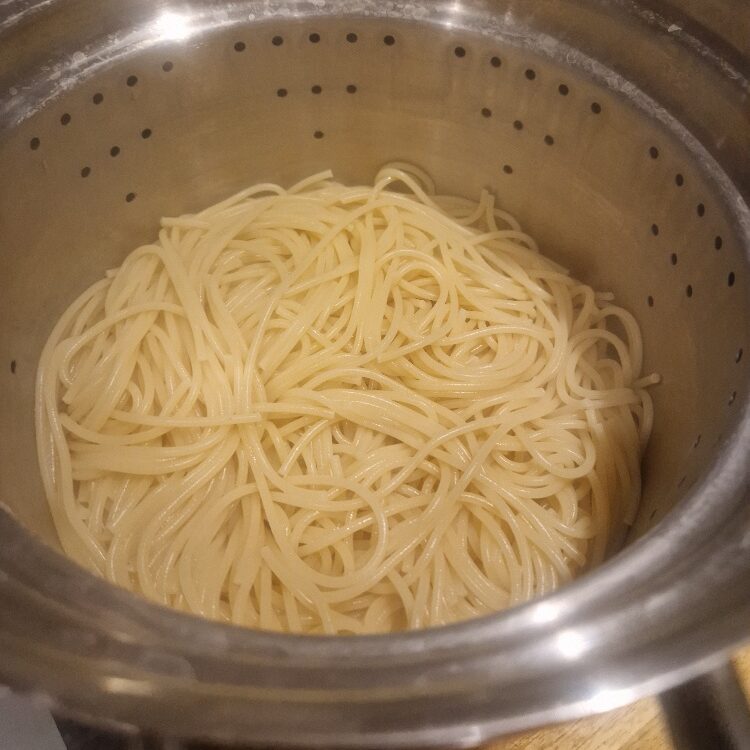
You need to keep the pasta at a really good rolling boil until it is done. The best way to test for this is to remove a strand shortly before the lower of the advised cooking times, and bite it. If you like the texture drain the spaghetti, but if it still feels chalky or hard then cook for a couple more minutes and test again. We use a pasta pan that has an internal colander, but draining in a normal colander or large sieve is fine.
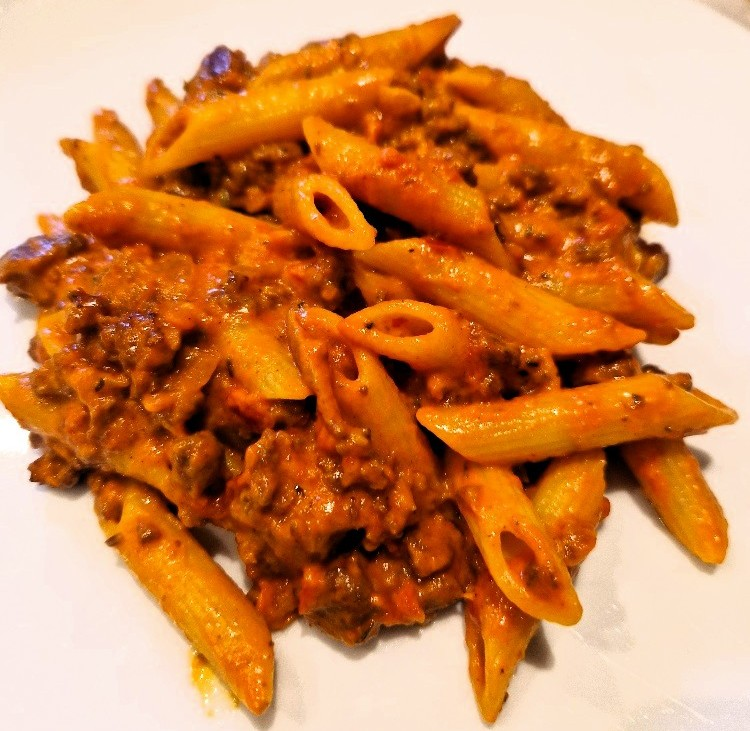
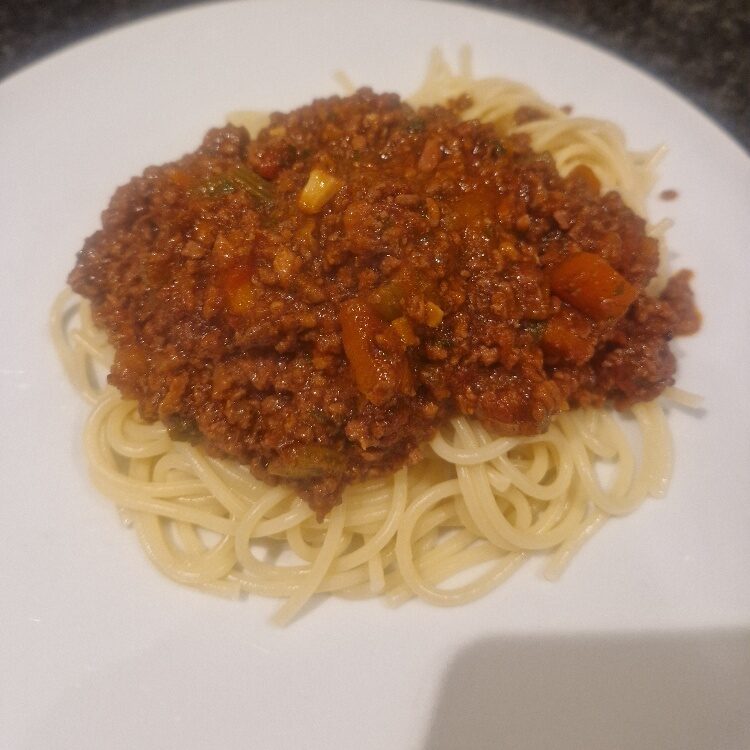
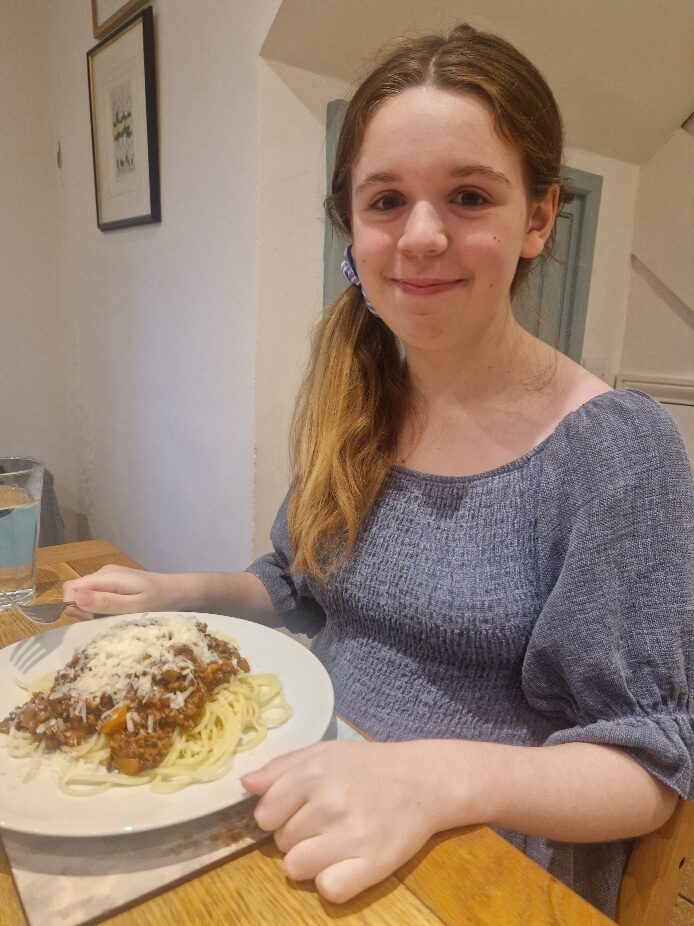
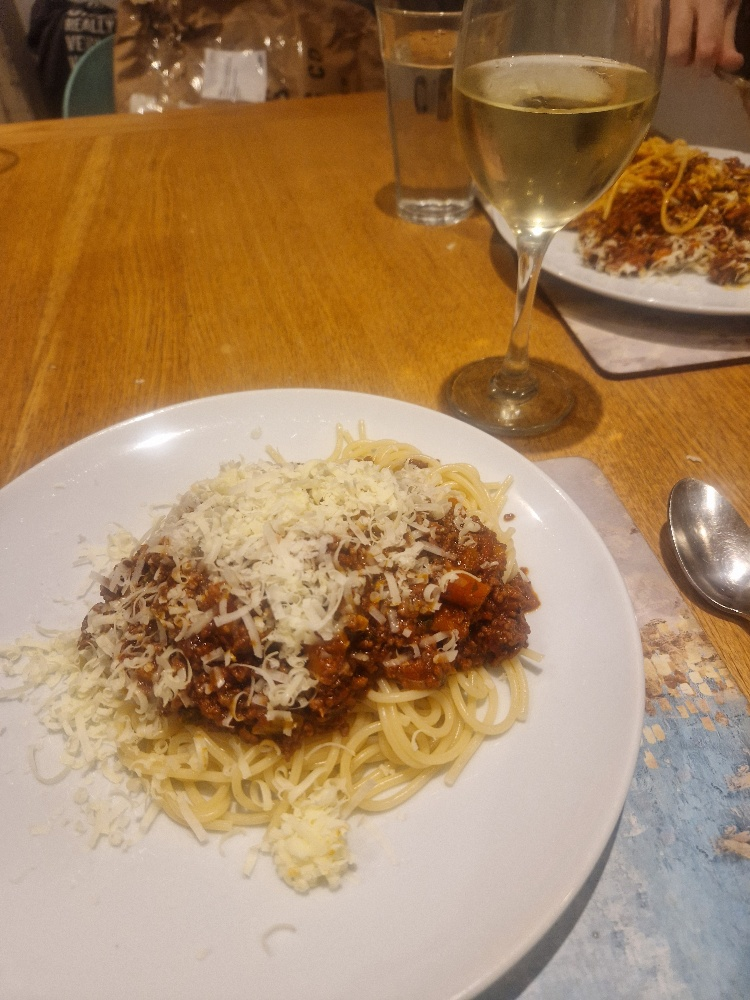
A pasta server makes portioning easier, but you can use a spoon or large fork. Put a portion of pasta on the plate, then top with the sauce. Pass round the cheese so people can add how much they like (we like lots!).
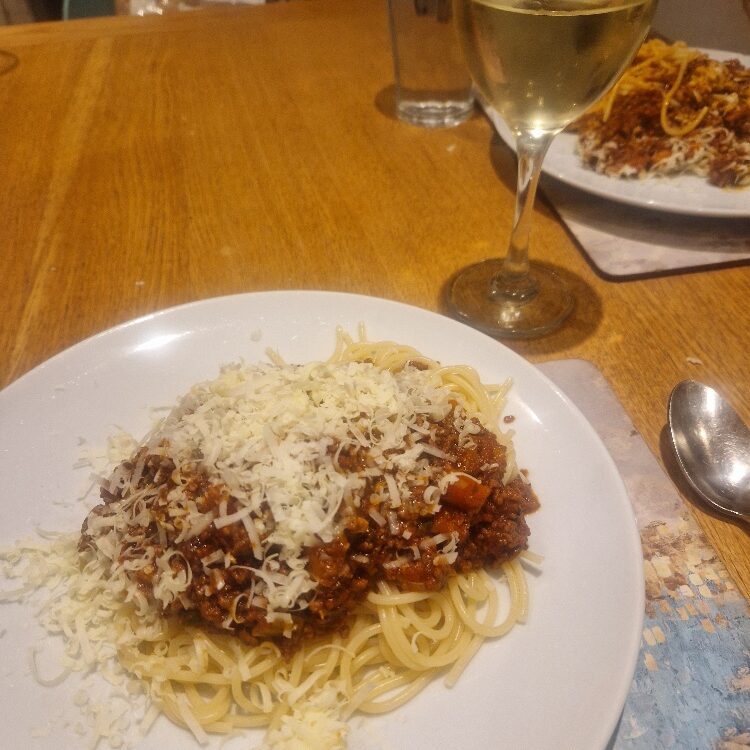
Enjoy!
Bibi’s Spaghetti Bolognese
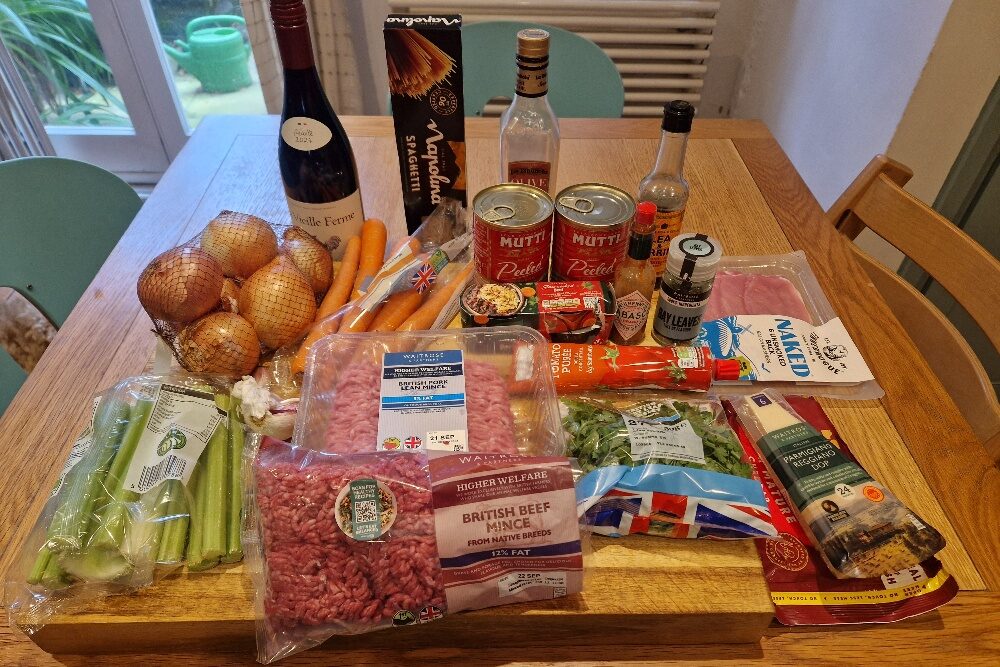
Ingredients
Equipment
Method
- Chop the onions, medium. See our onion Tip. Peel and chop the carrots, medium. Chop the celery. These can all be put together in the same bowl to make a ‘bed of vegetables’. The idea is to have all the pieces of all the vegetables the same size. Peel and finely chop the garlic and keep to one side. De-rind and chop the bacon with scissors.
- Heat the olive oil (about 2 or 3 tablespoons) in a large, high-sided frying pan or casserole on a high heat until you can feel the heat with your hand. Turn the heat down to medium and tip the entire bed of vegetables in, and keep them moving around in the oil until well coated and the vegetables begin to soften (the onions will start to go translucent), about 5 mins. Add the garlic and stir well until the harsh smell turns sweet, a couple of mins. Turn the heat back up and add the bacon. Stir until the bacon looks cooked (no pink) and the fat renders. Do not allow anything to burn; turn the heat back down if this looks like happening. Alternative: you can cook the bacon first in the big pan with a little oil until well cooked, then take out with a slotted spoon and reserve to one side. Do not clean the pan. Use the same pan and follow instructions with the vegetables etc and a little more oil as above until you get to the bacon stage.
- Make sure pan is quite hot, then add the minced beef/pork, making sure you break it up with your fingers as you add, and again with the spatula as you stir. Keep stirring fast and turning and moving the meat until there is no pink and all the meat looks light brown. Keep the heat high and add a very generous glug of red wine (about half a bottle). Let it bubble for a couples of minutes until the alcohol smell turns sweet. Keep the rest of the wine to adjust later if needed. Add the tinned tomatoes and make sure the sauces comes to the boil.
- Crumble in the stock cube, and add a really big squeeze of tomato puree. Add in the bay leaves and push them down into the sauce without breaking them. Add a big slug of Worcester sauce, and if wanted a small splash of Tabasco (do not add too much of the latter; be generous with the former). Season freshly ground black pepper. You can also add salt if needed, but it should not need much due to the stock cube – it will need a lot of pepper. Taste. Adjust with wine, puree, pepper, salt etc, and taste again, remembering that it will taste raw and not very beefy at this stage. Make sure the consistency is reasonably thick and chunky, but still saucy as it will reduce down a lot – add a little boiled water (hot) if needed, you can rinse out the tomato tins with this to add extra flavour.
- Make sure the sauce is boiling, i.e. it is bubbling, then turn down the heat to the lowest setting and/or move to a smaller ring (also on lowest). Let it simmer for at least an hour, ideally two to three hours or more (the longer the better, up to a point). Check every half hour or so for consistency and also taste. Adjust with all the seasonings and water/wine, puree etc as needed. Have a lid handy. You can cook with lid on or off – lid on will keep it saucier; lid off will help it reduce. It depends on how wet it is what you do at what stage – you can chop and change as it cooks.
- Grate the cheese. Use parmesan alone, or if preferred add in a little cheddar (the former makes it more traditional and sweeter, the latter adds savoury and more melt). Chop the parsley. See our herb Tip. Keep both to one side.
- About 20 minutes before serving, add the parsley to the sauce. Now or just before serving, remove bay leaves (or tell people to look out for them).
- About 10/15 mins before serving, cook the spaghetti as per the cooking time on the pack. You need about 100g per person and water in a really large pan which is at a rolling boil, and salted. Push the pasta down into the water with a big spoon or pasta server, then stir it around so it doesn’t clump together
- When cooked, drain the pasta and top with the sauce. Serve with the cheese.
- Enjoy!