

There are so many different ways to cook bacon – hot fried, dry fried, grilled, baked, or in an air fryer or microwave. Different cooks & chefs strongly recommend different methods as ‘the best’, most often choosing dry frying or baking in the oven. We normally either hot fry or dry fry our bacon, but today we decided to give the oven method a go. And we thought we’d make it more interesting by doing a test – dry frying versus oven baking.
Our bacon today was unsmoked back bacon. But you can use the same method(s) with streaky bacon, or use smoked or dry cured. Today’s bacon had no rind, so we didn’t trim down, but normally we would cut off the rind and any excess fat with scissors.
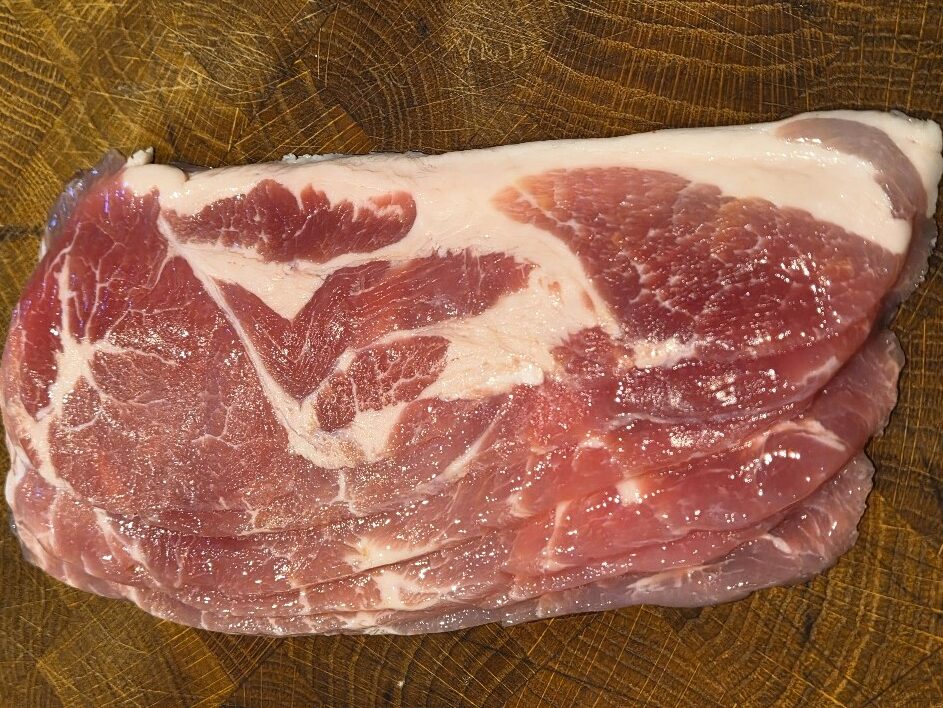
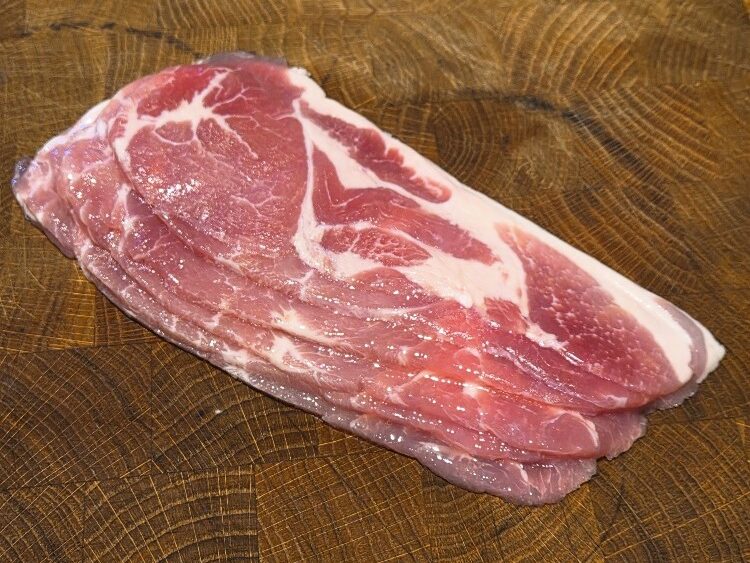
We split the bacon half oven baked, and half dry fried.
Oven baking bacon takes longer, so allow 15 to 20 minutes for the cook time, plus time for the oven to get hot. But a key benefit is you don’t need to give the bacon much attention, just turn it over about half way through. Dry frying is quicker, about 8 to 10 minutes, but you need to look after the bacon a lot more to prevent it sticking.
In terms of results, we liked both, and they were quite different. The fried bacon was crispier, with better colour, but fattier. The baked bacon was paler, but firmer and less fatty. Overall, Emily & Estella marginally preferred the baked bacon, and definitely preferred the low-stress method. But Philip preferred the fried. Try both ways – full details below – and see which you prefer!
Oven baking bacon
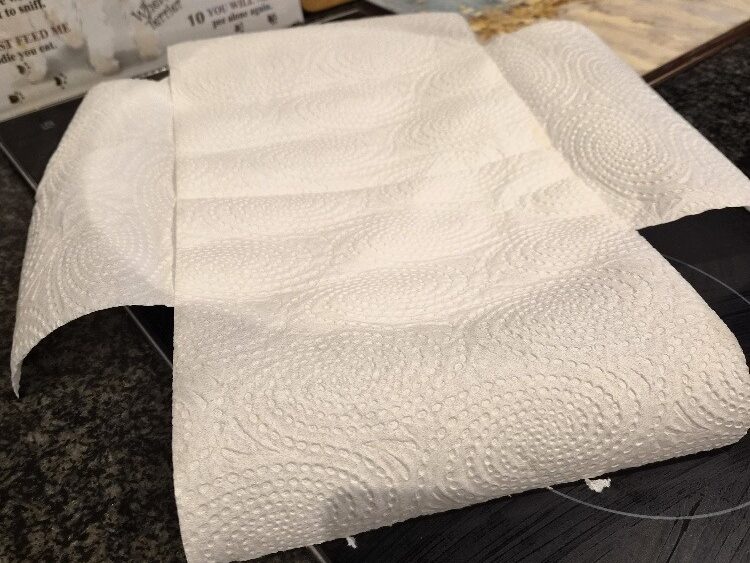
For this method you’ll need an oven tray, preferably with a wire rack, some foil, oven gloves, tongs and a plate lined with kitchen paper. There’s a little hack you can use if you don’t have a rack.
First, pre heat your oven to 200C (180C fan).
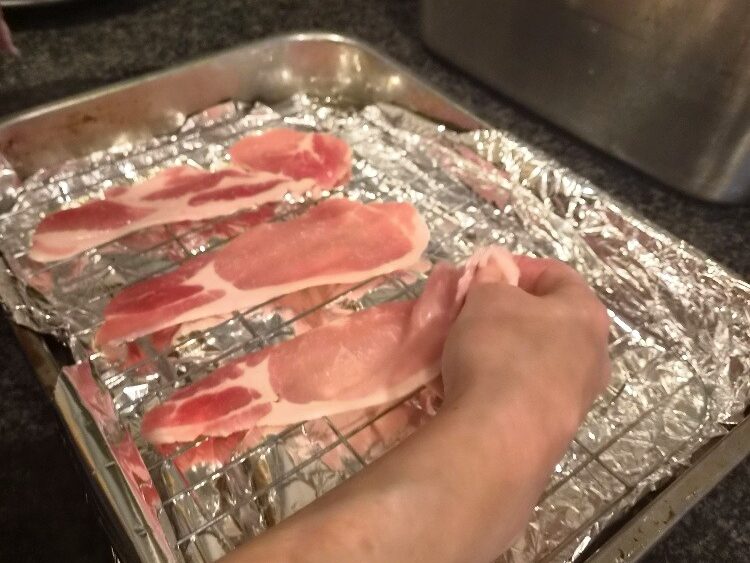
Line the bottom of the oven tray with foil, then put the rack on top. If you don’t have a rack, pleat the foil slightly. Pinch it at about 2.5cm intervals to create a makeshift rack.
Lay the bacon onto the rack in an even, well-spaced layer. Don’t overcrowd or overlap it.
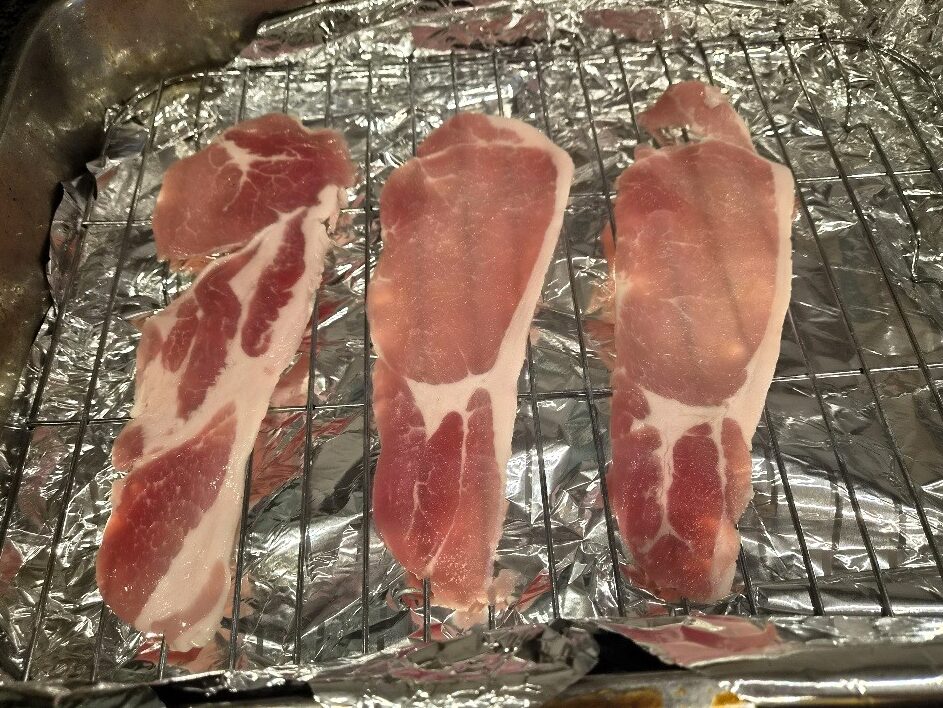
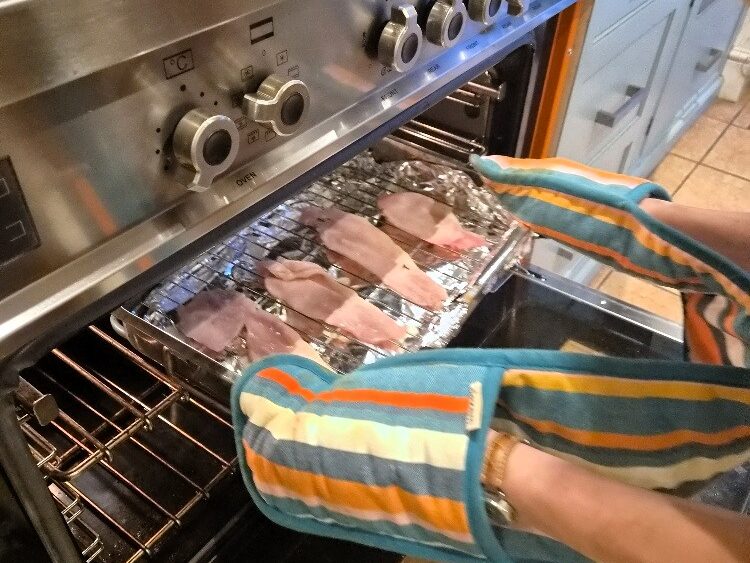
Place into the hot oven, and set a timer for about 8 to 10 minutes. Have the plate lined with kitchen paper to hand.
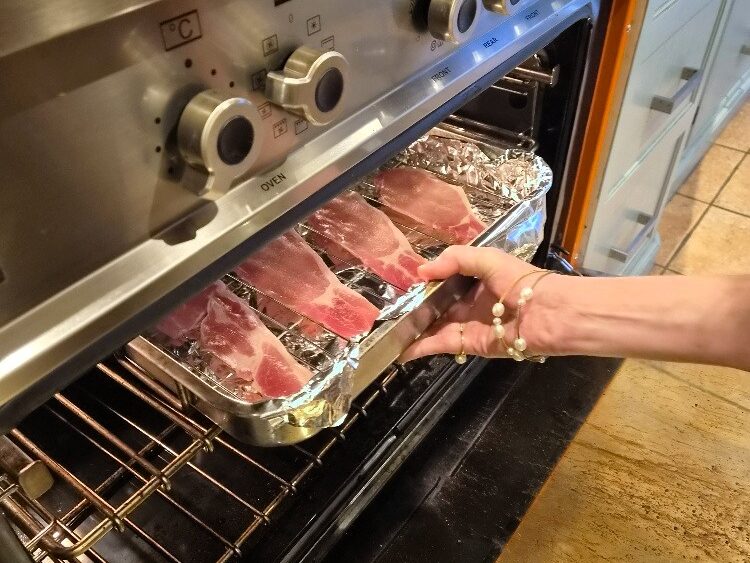
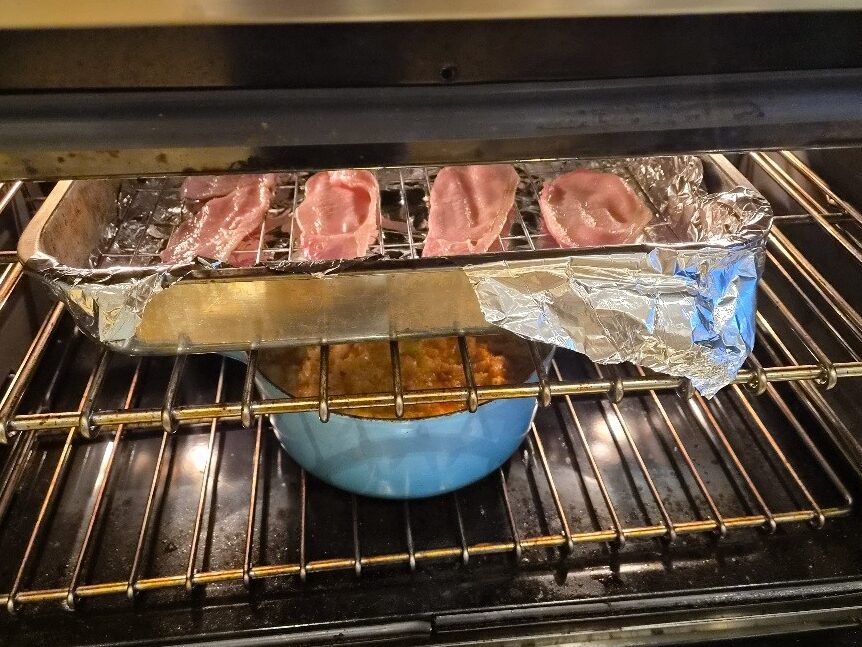
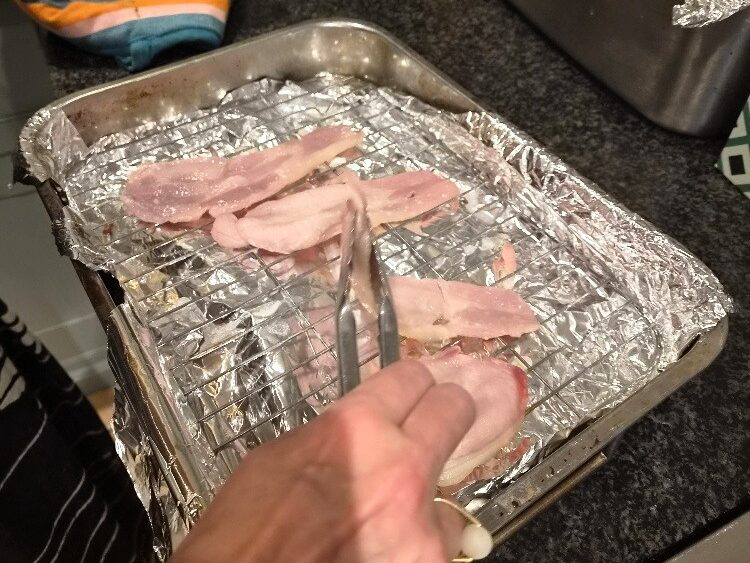
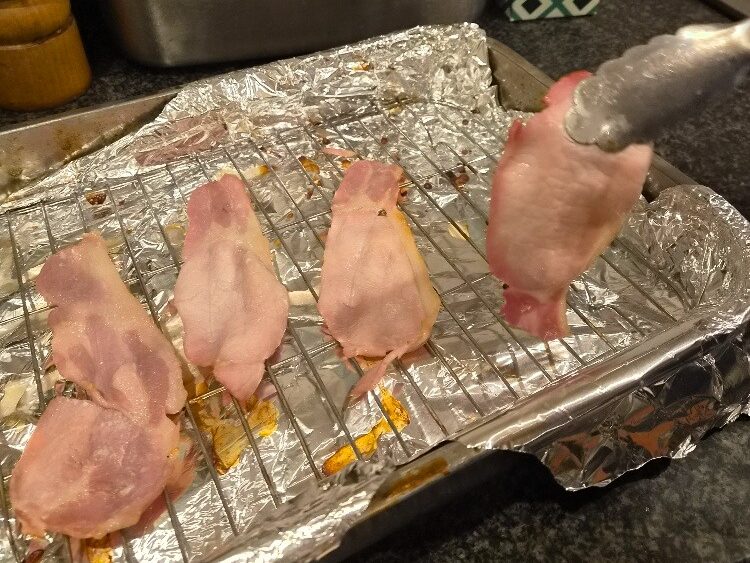
You might want to give the bacon a quick check during the first 10 minutes for how fast (or not) it is cooking, as this will depend on the size & thickness of your bacon (and the reliability of your oven!). But otherwise you can just leave it alone. Remove from the oven and turn the bacon over with tongs or a fish slice when it starts to look done. Then set the timer again for another 8 to 10 minutes.

Jake sticks his nose in
The tray will be hot so do use oven gloves! Tongs are the best tool to turn the bacon over. The bacon is ready to turn when it becomes opaque and the fat is starting to run.
If your bacon is looking a bit pale, as ours was today, you can turn the oven temperature up to 220C (200C fan) for the last 5 minutes or so.
When the bacon is done, remove it onto the lined plate. This will absorb any excess fat, and help the bacon crisp. Serve immediately, or keep until you are ready.
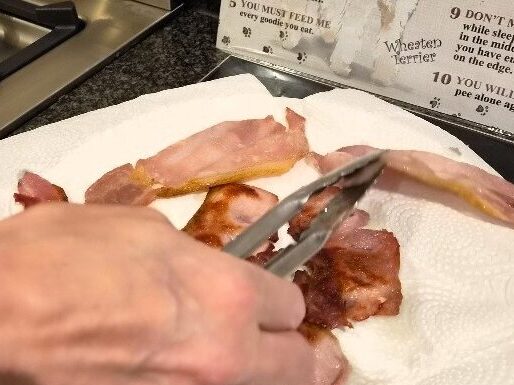
You can also let it go completely cold, and break it up to turn it into bacon bites to top salads, baked potatoes, nachos etc.
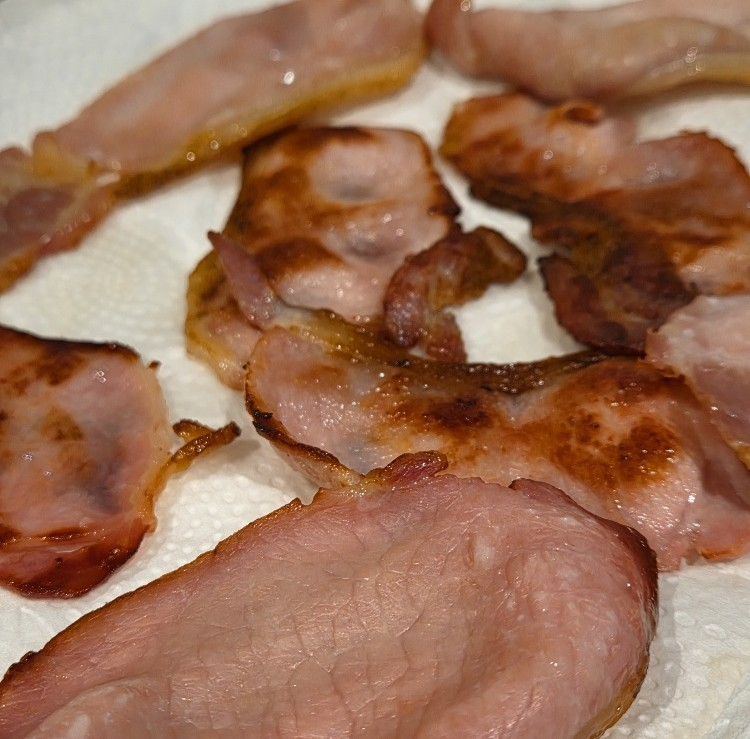
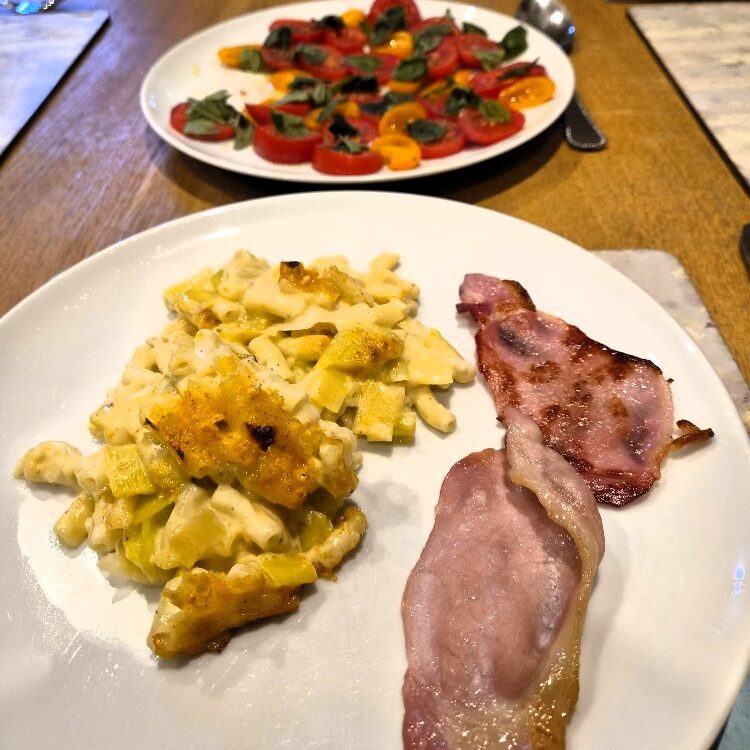
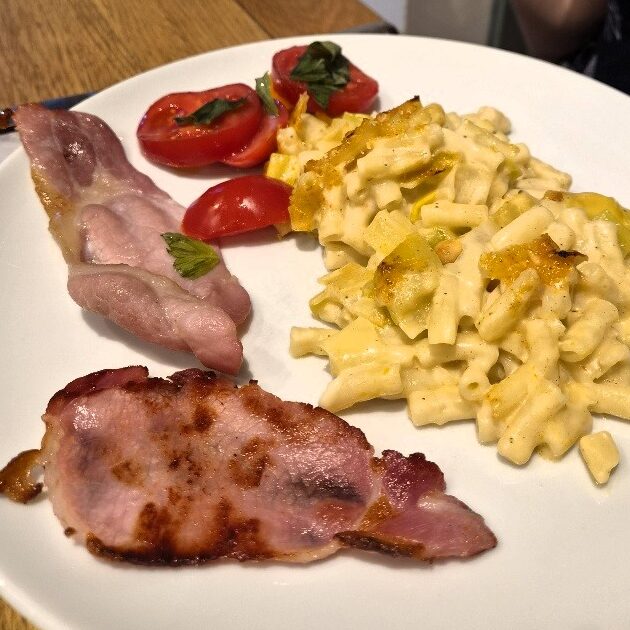
You oven-cooked bacon is done! The oven bacon is at the front and back in the pictures below.
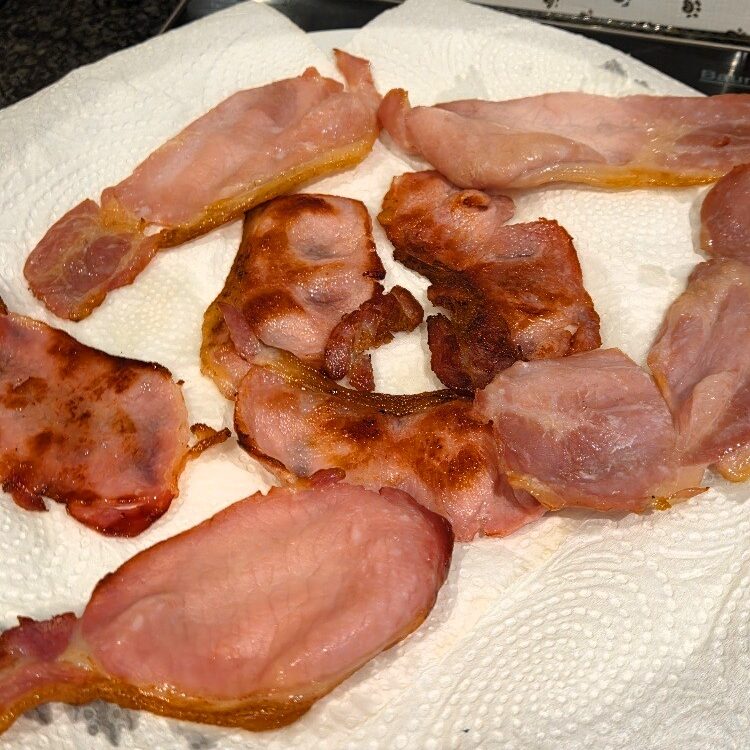
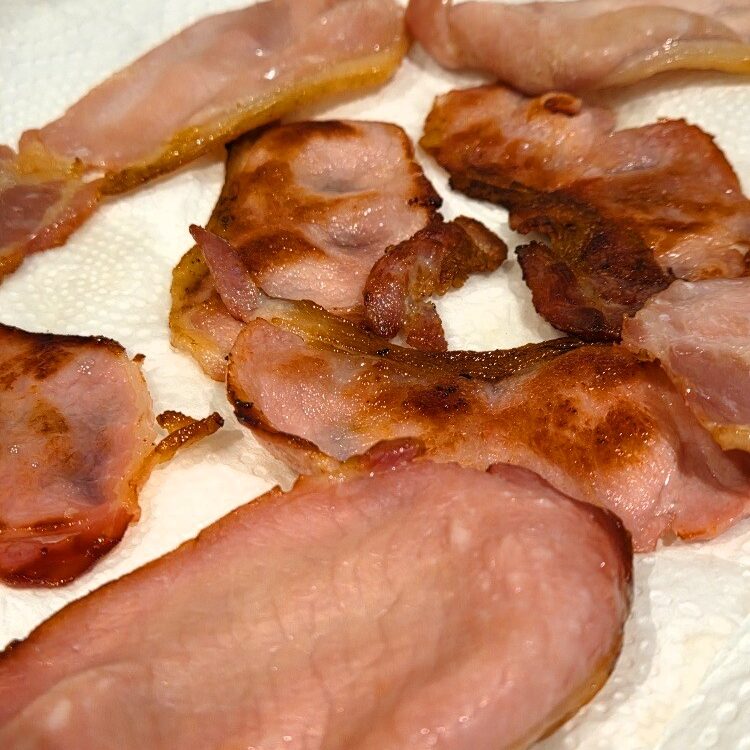
Overall, we really liked this method. It’s low stress, easy and gives good results. A big benefit was less time fussing over the bacon, no spitting hot fat, and very little risk of sticking or breaking. The foil also make it easier to clean up the fat, and we felt the bacon was overall less fatty & leaner, which we liked, if paler.
- Pros of this method: Easy, low-attention, no sticking or spitting. Firm, lean results.
- Cons of this method: Takes longer. Paler bacon.
Dry frying bacon
For this method you’ll need a good non-stick pan, large enough to comfortably hold the bacon on one layer, tongs and a plate lined with kitchen paper.
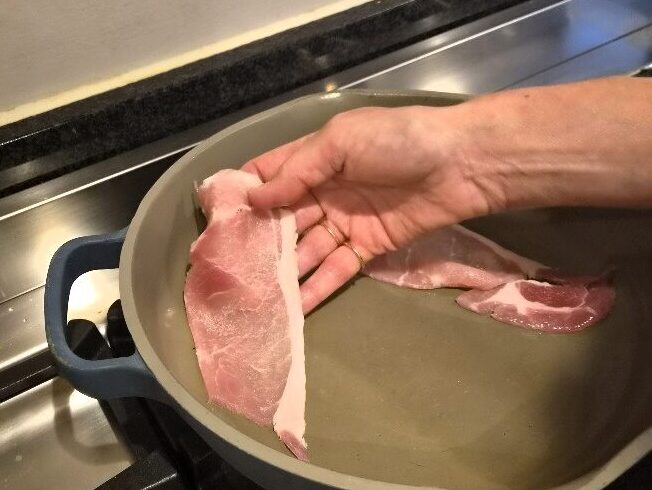
Place the bacon into a cold, non-stick pan with no extra fat. Don’t overlap or overcrowd the bacon. It’s better to do it in two batches, or in two pans, than to have too much bacon in the pan – if you overcrowd, the bacon will sweat and not cook evenly, or go soggy. Set the pan over a medium-low heat.
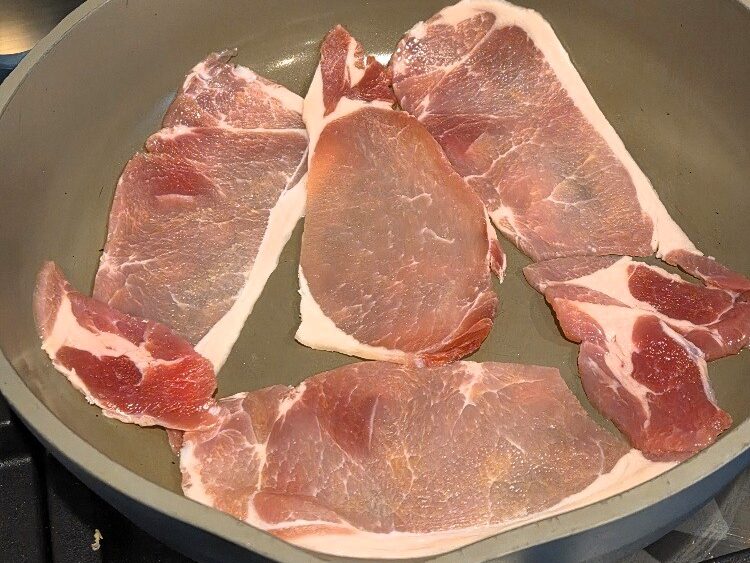
Jake sticks his nose in
It’s important to keep the heat medium-low so the fat renders slowly and properly, and this happens before the bacon can burn.
In this method you don’t add oil and cook slowly, the idea being that the bacon cooks in its own fat. This works well if you have a really good non-stick pan. If you don’t, you can help your bacon with a little oil – but don’t add much. The alternative is to hot fry your bacon, using oil. We sometimes do do this, especially if cooking bacon pieces for, for example, a stewed dish like Chilli or Bolognese. But cold pan is the preferred frying method where bacon is the star of the show!
You’ll need to watch the bacon carefully as it can stick, especially in the early stages. Keep moving it slightly and flipping it occasionally with tongs to prevent this. Have your plate lined with kitchen paper handy. The bacon will take about 8 to 10 minutes to cook from cold.
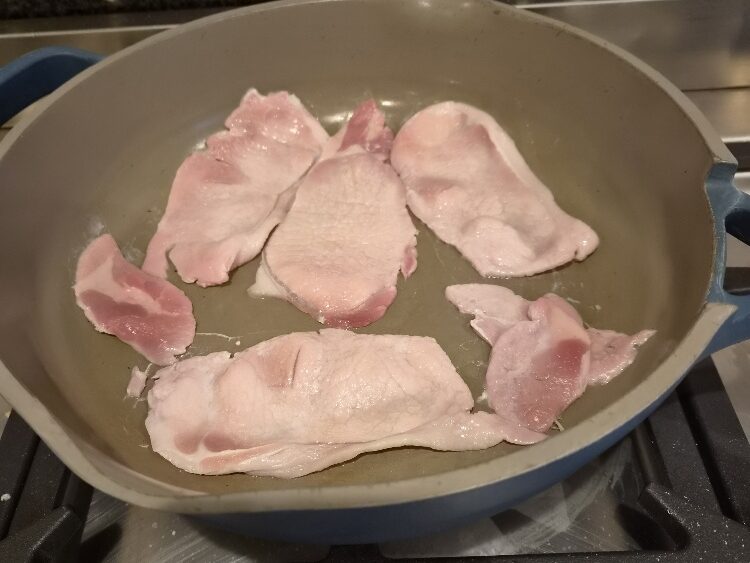
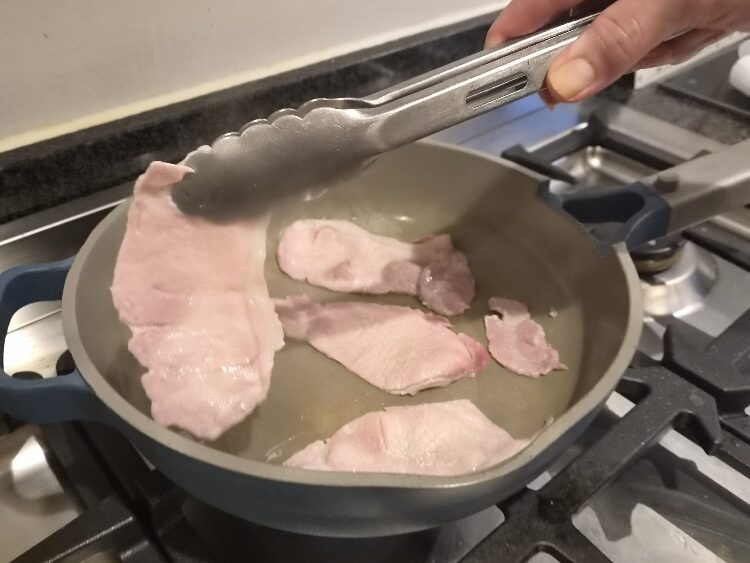
The bacon is ready when it is nicely browned on both sides and the fat has run.
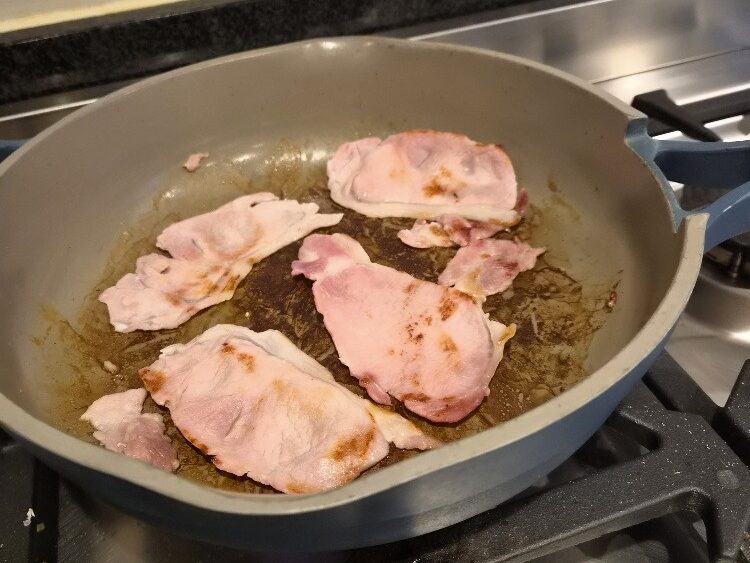
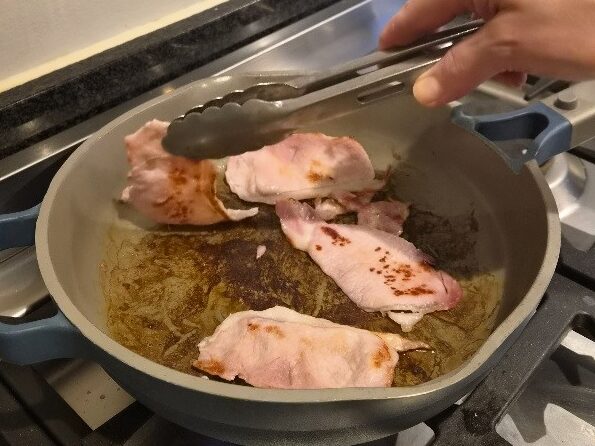
Once the bacon is done, remove it onto the kitchen paper to absorb any excess fat, and for the bacon to crisp up further.
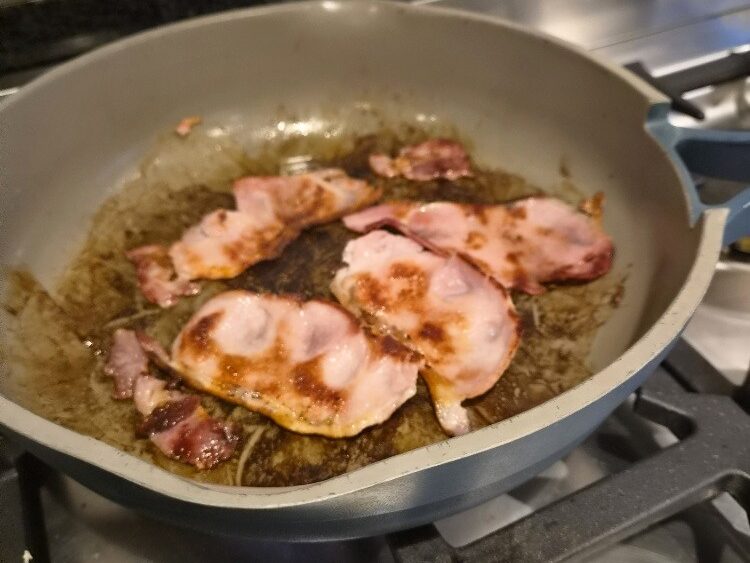
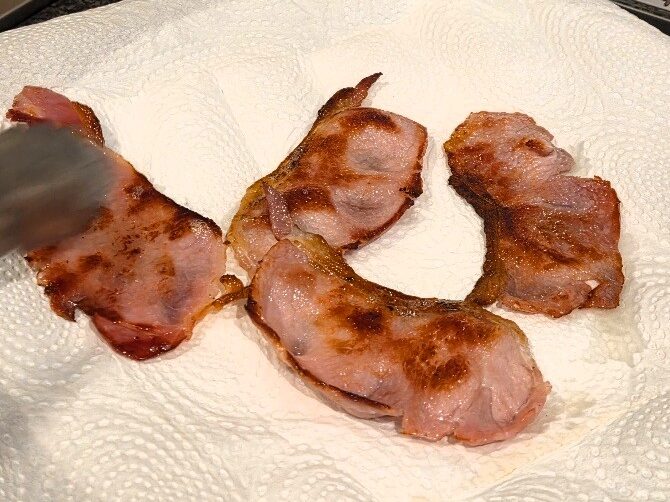
We also liked this method – it was quicker and gave a nice crisp result with an appealing golden brown colour. But it did require more effort and attention, and the bacon did stick a little and break at the ends. It also left us with a very messy pan! Plus the bacon was definitely fattier overall. But if you like crisp, more cooked-looking bacon, this is the method to go for. The fried bacon is in the left picture below, and it’s in the middle of the picture on the right.
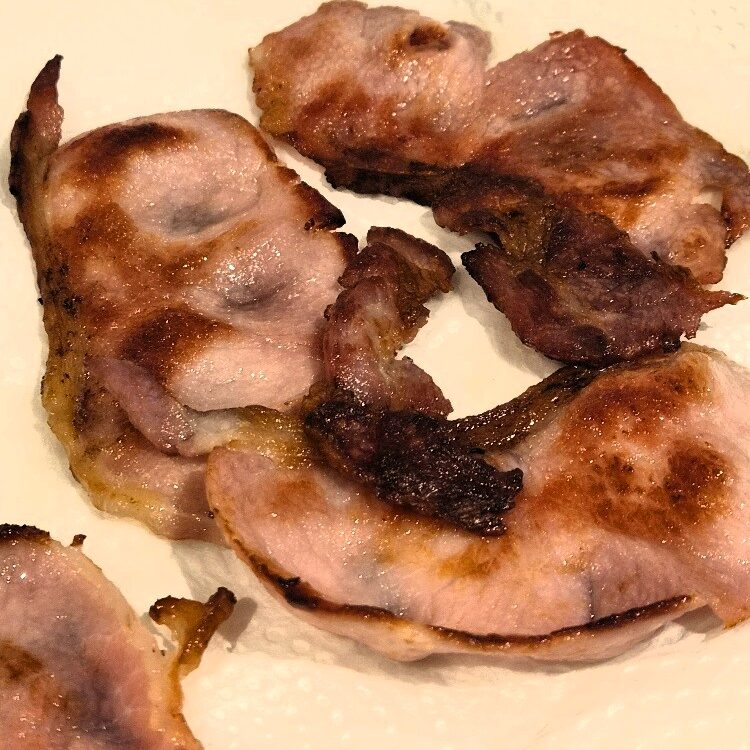
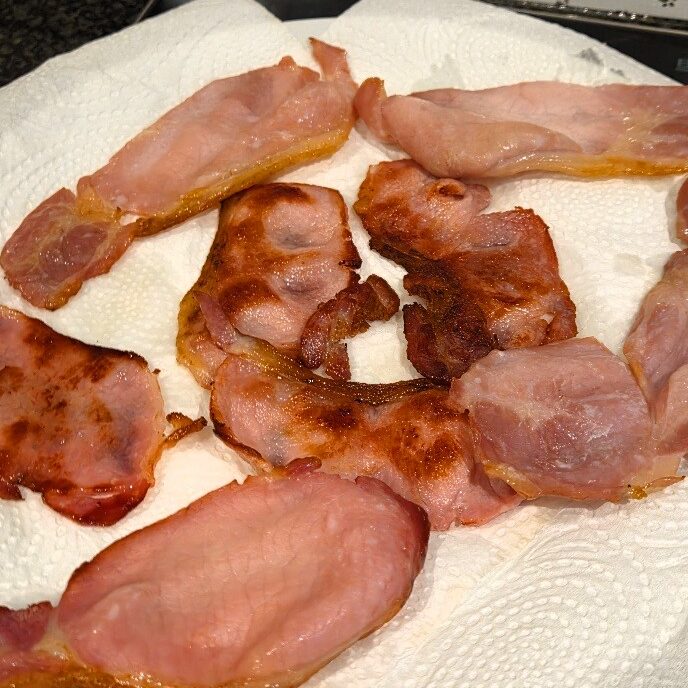
This method definitely requires less equipment & time so we’d use it again when we want really crisp bacon, fast.
- Pros of this method: Faster, less kit required. Crisp, golden results.
- Cons of this method: Needs constant attention, can stick, break or spit. Fattier bacon.
The verdict
We’d use both methods to cook bacon again. We marginally preferred the low-stress method and leaner result from oven baking, but it did take longer and the bacon was paler. But both methods work very well. Why not give them a go and decide for yourself!
Today we enjoyed our bacon with some Macaroni Cheese & Tomato Salad (recipe coming soon). The oven bacon is at the front in the first picture; the fried is at the front in the second.
Happy bacon testing!