


Skills you will learn in this recipe
Layering different flavours of chillies; slow-cooking a chilli con carne
Links to the last recipe
Making a dish with a rich history of frugal cooking from the American South; cooking a dish featuring rice & spices
Chilli con carne is one of those dishes where there are seemingly as many recipes as there are cooks! You’ll find countless versions in books and on websites; you probably have at least one chilli chef in your family with a good recipe too. We cook at least five different versions ourselves at home, but having experimented a lot, this one is now our definite favourite.
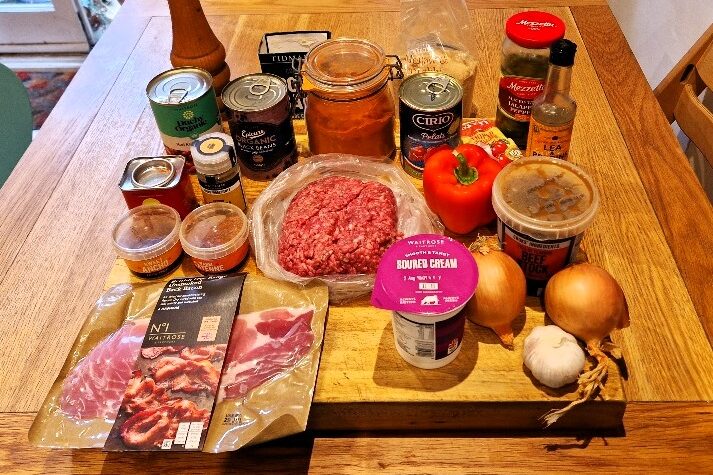
When you look at our recipe, you might think the ingredient list looks huge. But it’s mainly the flavourings & spices, and the chilli con carne itself is really easy to make, with very little prep bar some chopping. We’re only surprised it has taken us 30 recipes to get to this classic of both learning to cook and student food!
Chefs and food writers differ widely on what even the most basic core ingredients in a chilli con carne should be. Some insist that an authentic chilli would never feature beans, or even tomatoes. They may be right! But we like both in our chilli con carne, definitely the beans, but we do now hold back a bit on the tomato. More controversially, we have been converted to the idea of using a little bacon in our chilli – it really does improve the depth of flavour. We encourage you to give it a try, but if you don’t eat bacon, you can just leave it out.
We also use four types of chillies in this dish – chilli powder, cayenne, ancho chilli & pickled jalapeños – plus paprika, and cumin. You don’t have to use all four chillies, but it does again give a great depth to the spiciness and flavour. The ancho chilli in particular we think makes a difference. We also use a mixture of kidney beans and black beans in this chilli con carne. You can choose just one if you prefer, or use any beans of your choice, but make sure they are firm ones. We also use minced beef, though some recipes prefer chopped steak (including one we also make & do like). Again, you can choose, but mince is both easier & cheaper, so we’d stick with that!

Jake sticks his nose in
Some recipes also add a little dark chocolate or coffee. We’ve tried both. We don’t mind the chocolate, if used in moderation, but don’t think it adds that much. We actively don’t like coffee in our chilli con carne!
Toppings & sides for chilli con carne are also a subject of some debate. Personally, we like a bit of sour cream for richness, and a good pile of guacamole for freshness – either store bought, or ideally our homemade Best Guacamole, find how to make it here. Plus some plain boiled rice. But other ideas for toppings are grated cheese, chopped herbs, crumbled tortilla or corn chips, sliced jalapeños, or chopped red or spring onions. Choose your favourites!
Preparation
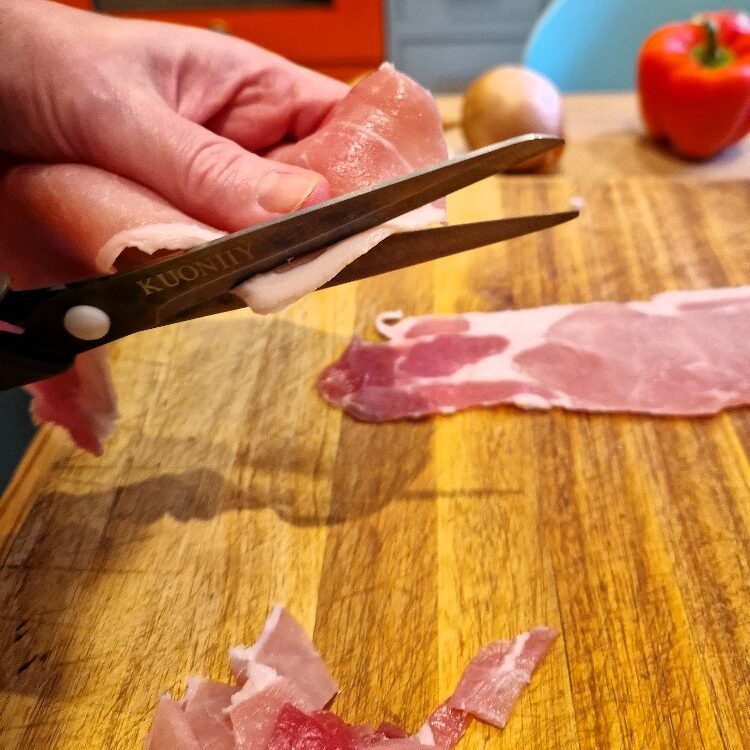
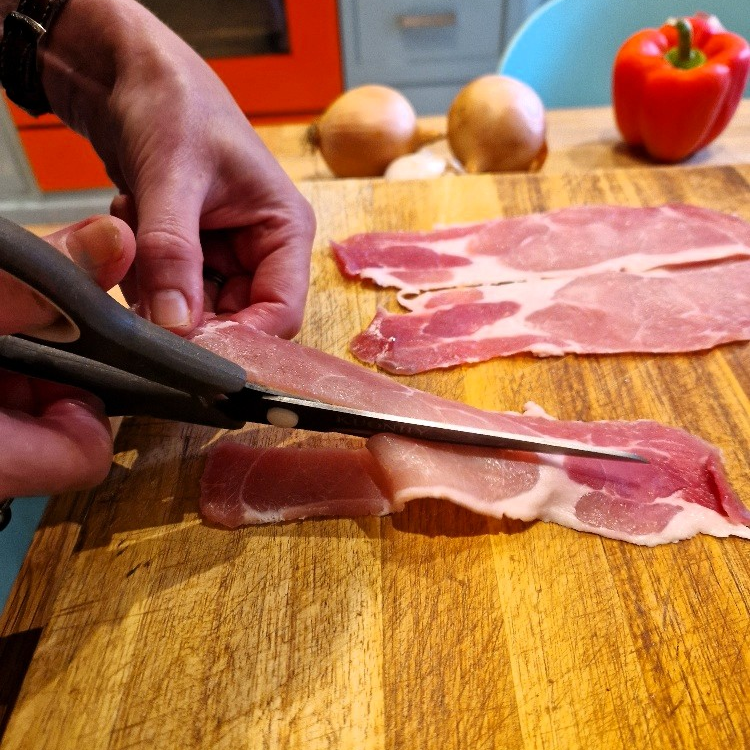
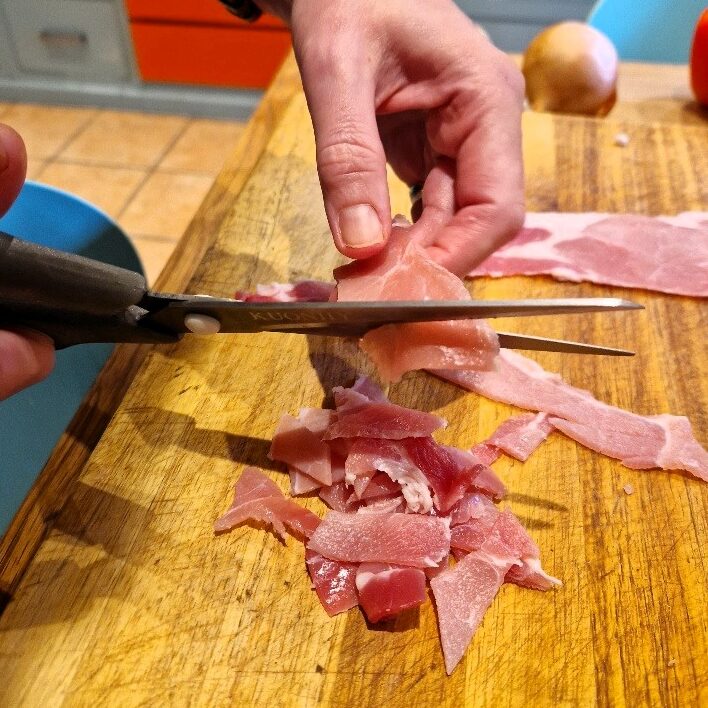
Start by prepping your mise en place. Trim the rind (if any) and any excess fat from the bacon, and chop into strips, then small pieces. This is easiest using scissors, but make sure they are sharp. You don’t need too much bacon. Today for a chilli con carne for 6 people, we used 3 rashers of unsmoked, dry cured bacon.
Jake sticks his nose in
We like dry cured bacon, and generally prefer back to streaky. But streaky would work just as well here. The bacon doesn’t need to be dry cured, but it should be unsmoked. Smoked bacon is fine, but it will take over a bit. And if you don’t eat bacon, just leave it out.
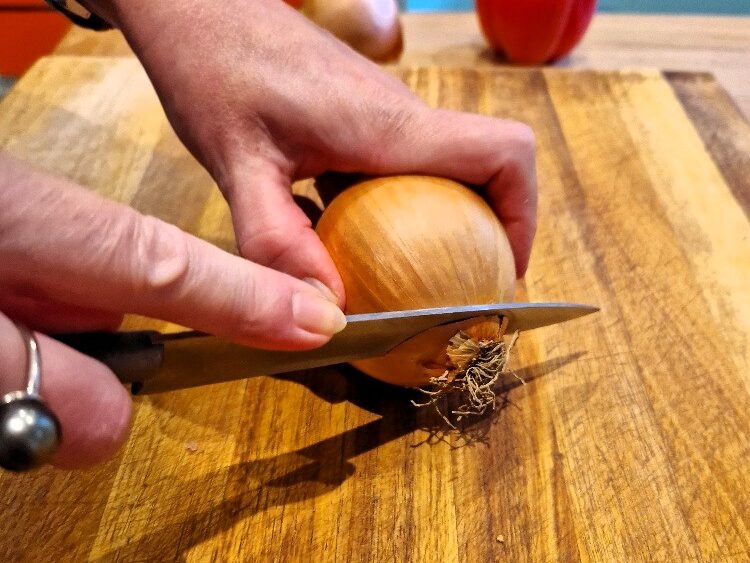
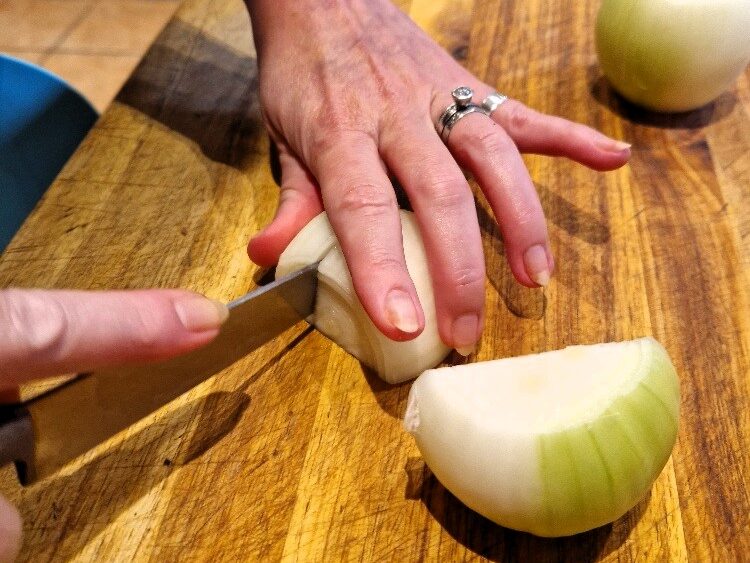
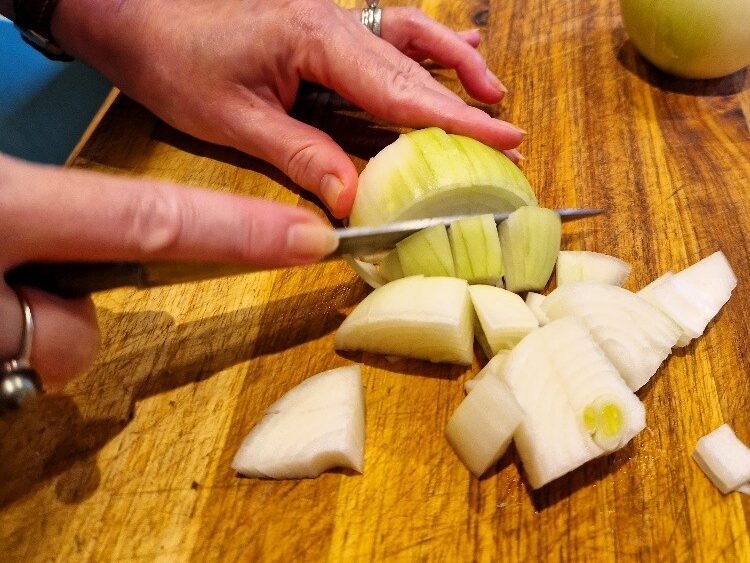
Next peel & chop the onions, medium. See our onion Tip. White or brown onions are best here, though red will work if that is what you have (they may just discolour with the long cook). Today we used two.
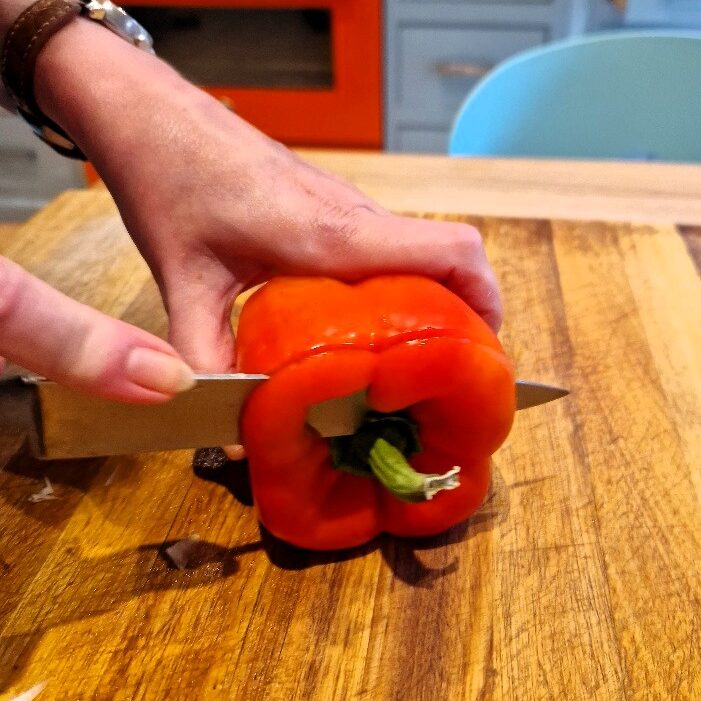
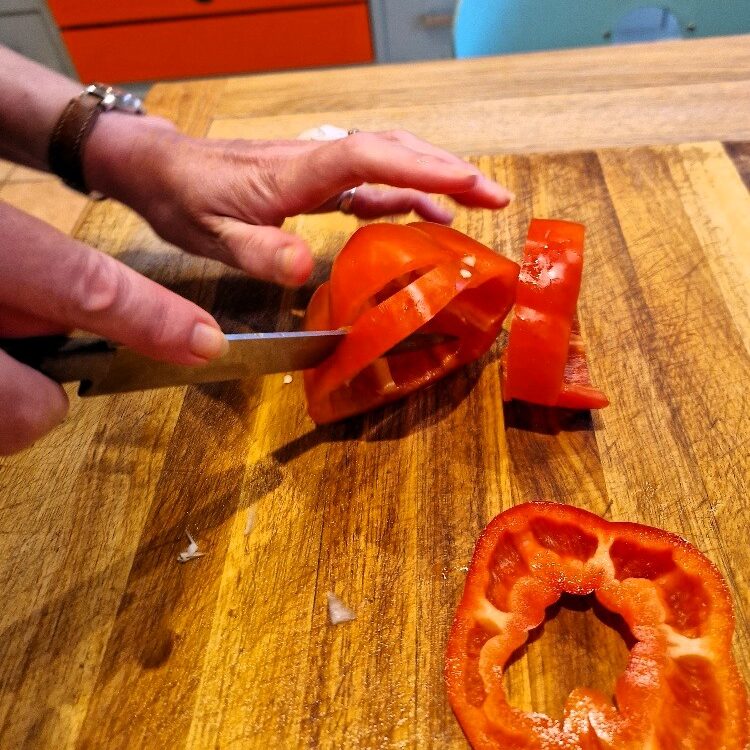
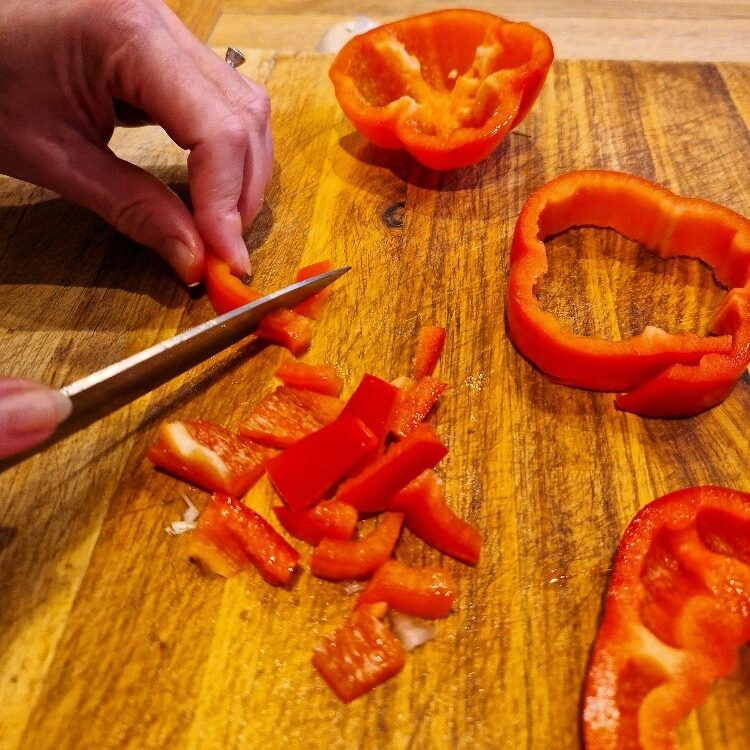
A pepper isn’t an essential ingredient, but we think it adds a little colour and juiciness to the dish, so we add one – red, yellow or orange ones are all fine (green are a little too bitter here). Slice off the top, and remove the stem and any seeds & white pith from the base. Slice into rounds, then chop, medium.
Next, peel & chop the garlic – see our garlic Tip. Reasonably fine is best.
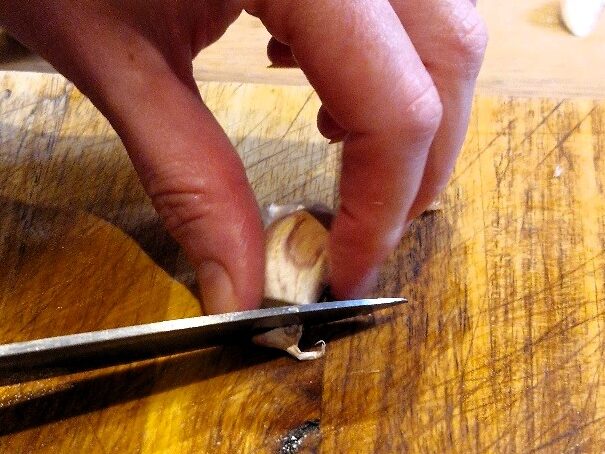
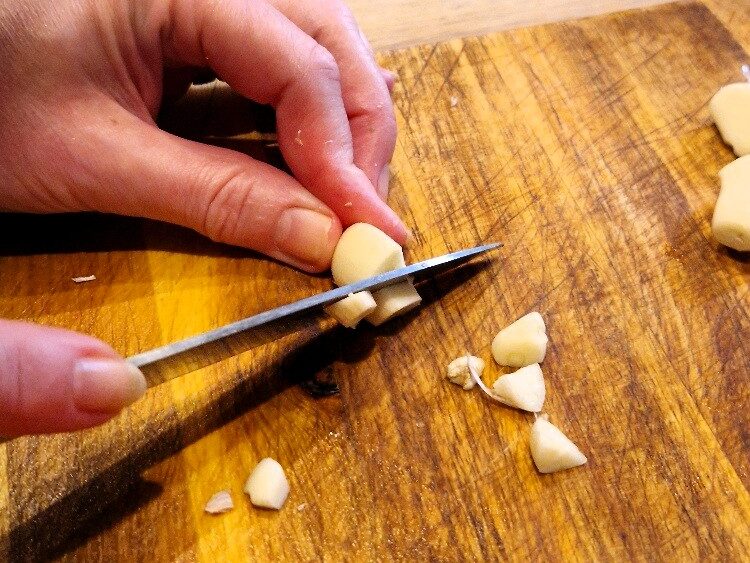
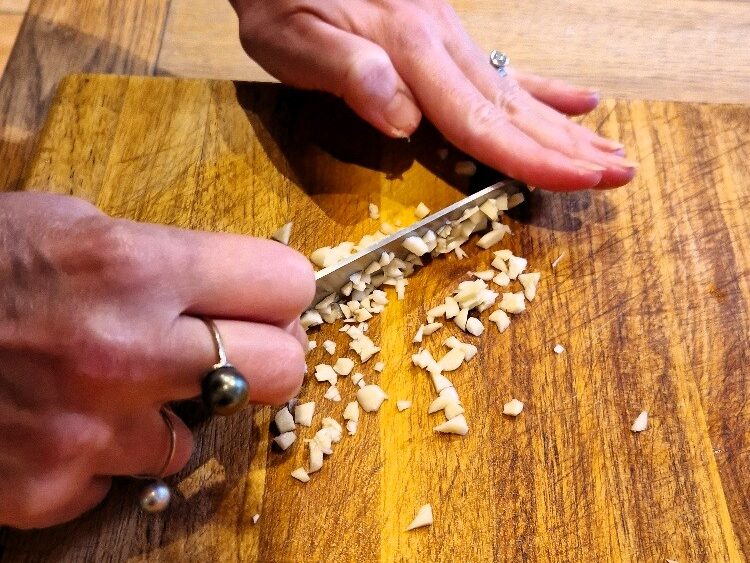
Your preparation is done – we told you there wasn’t too much! And your mise en place is ready.
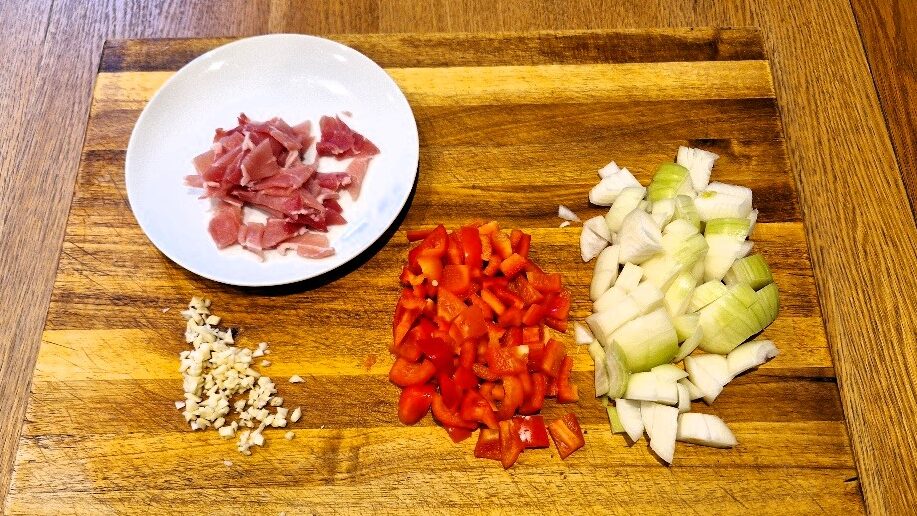
Cooking the chili con carne
You’ll need a nice large saucepan or hob-suitable casserole to cook your chilli con carne. It is a classic ‘one pan’ dish (barring the rice), though we do prep it in two stages. The first of these is to fry the bacon, but do make sure you do this in the same pot you will use to cook the chilli. The bacon fat that runs during the frying is where much of the flavour lives.
Add a very little oil to the pan (today we used groundnut), and set over a medium heat. When the oil is hot – test it by hovering your hand above – add the bacon.
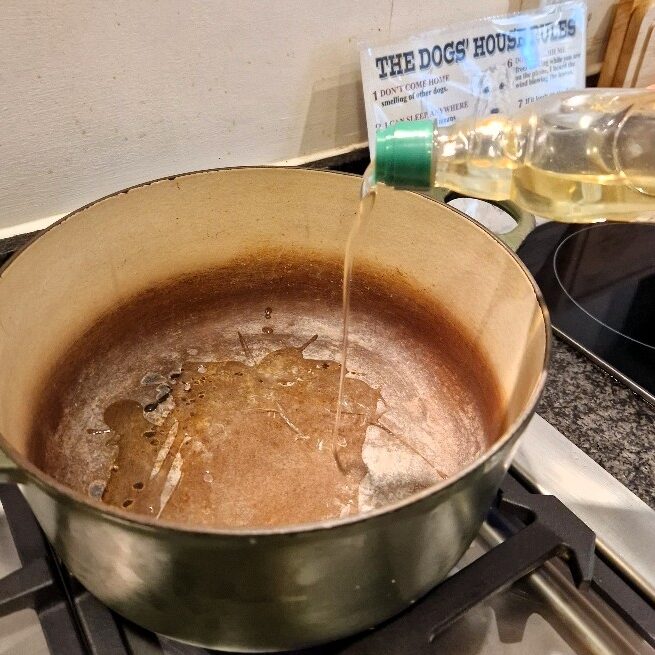
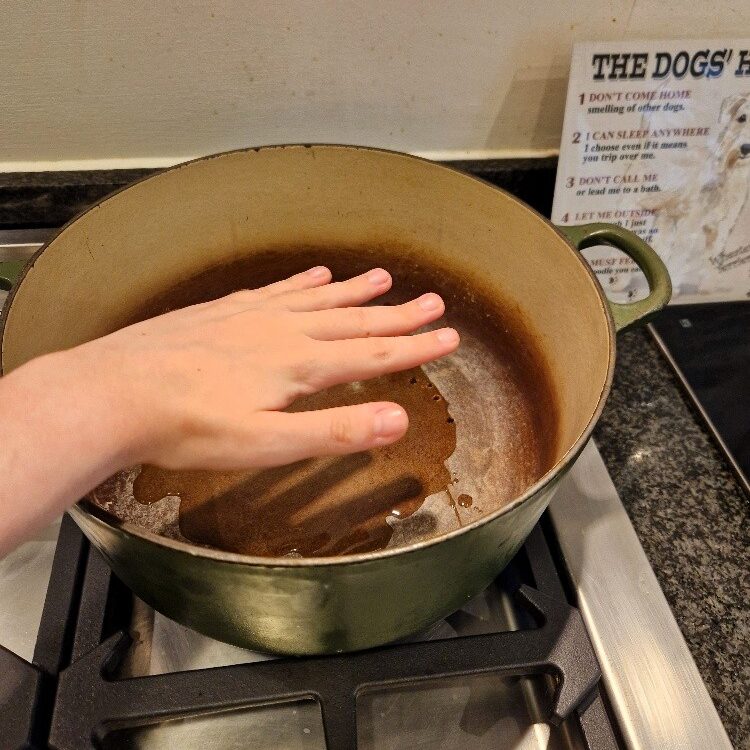
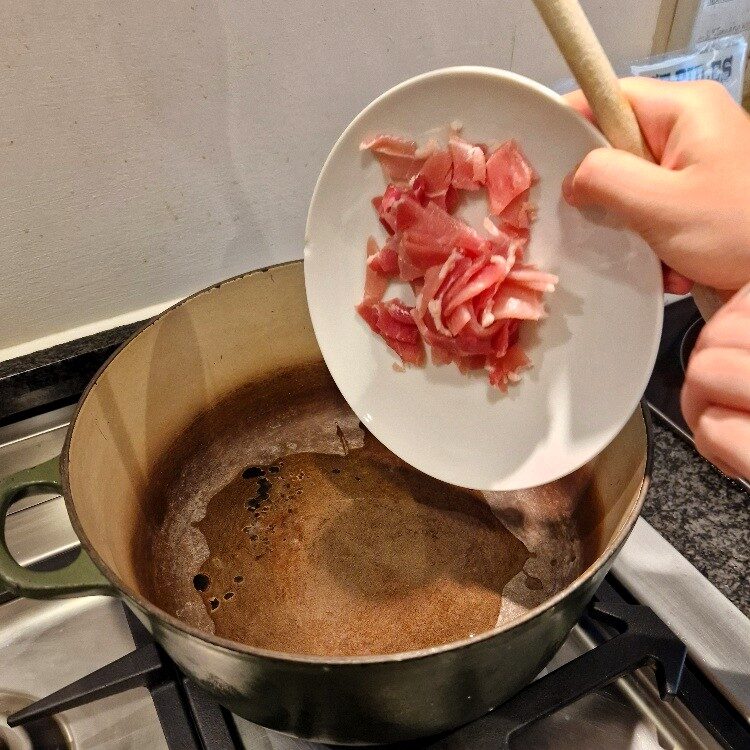
Fry, stirring continually, until the bacon is all cooked through and well browned, the fat has run, and it is starting to go crisp. This will take a few minutes – up to about 5 minutes.
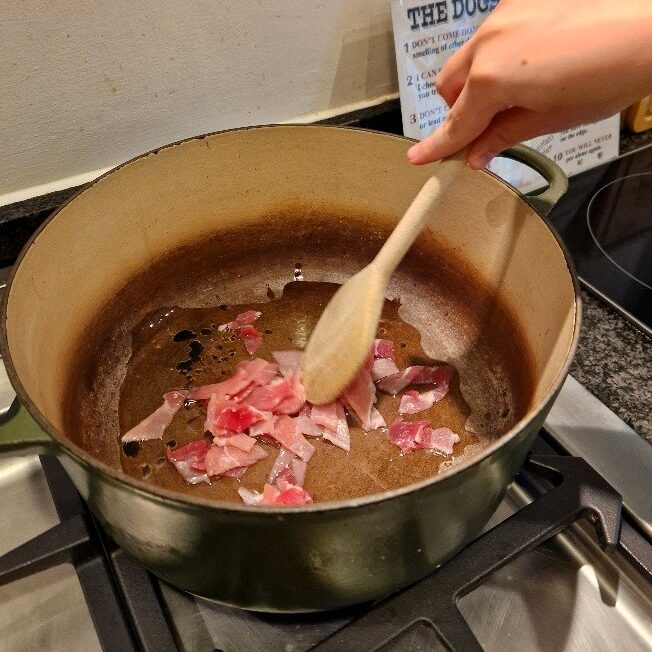
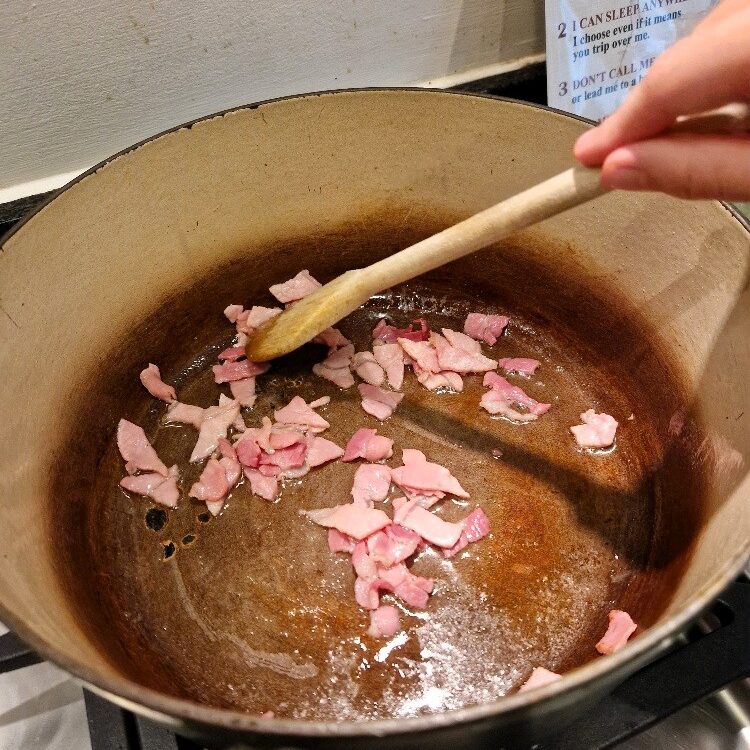
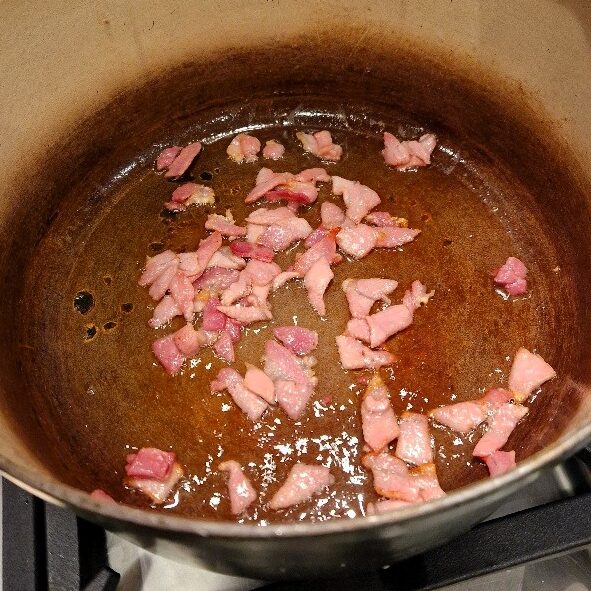
Jake sticks his nose in
You won’t need very much oil at all to fry the bacon, especially if your pan is non-stick. Ours today (sort of) is, but also it’s a well-loved pan so we add a very little oil to prevent sticking. You may find the bacon doesn’t want to go fully crisp in the pan. Don’t worry, it will crisp up when you remove it as long as you have cooked it fully until the fat has run.
When the bacon is cooked, remove it using a slotted spoon or tongs onto a plate lined with some kitchen paper. The idea is to leave the oil in the pan, and to get the bacon as dry and crisp as possible.
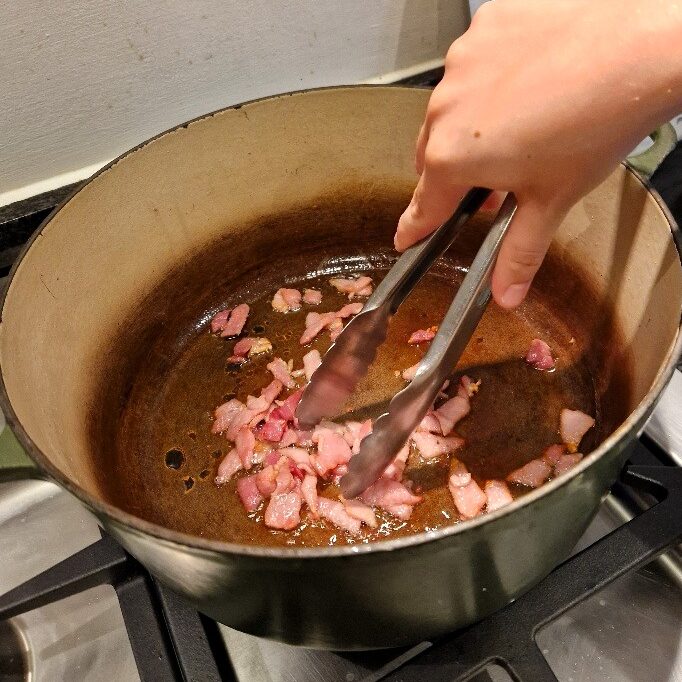


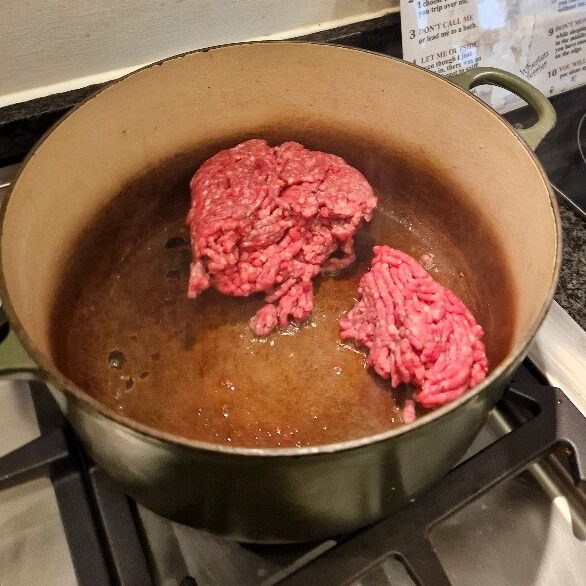
Keeping the heat under the pan medium, next add the mince, all at once. You shouldn’t need any extra oil, but you can add before the mince if you do. Stir the mince, breaking it up with your spoon so it separates. This will ensure it cooks fully and evenly.
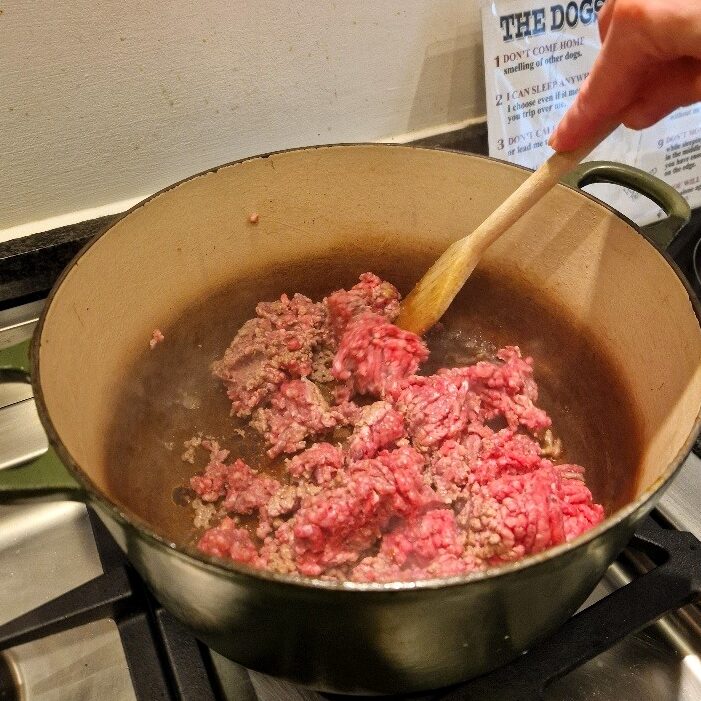
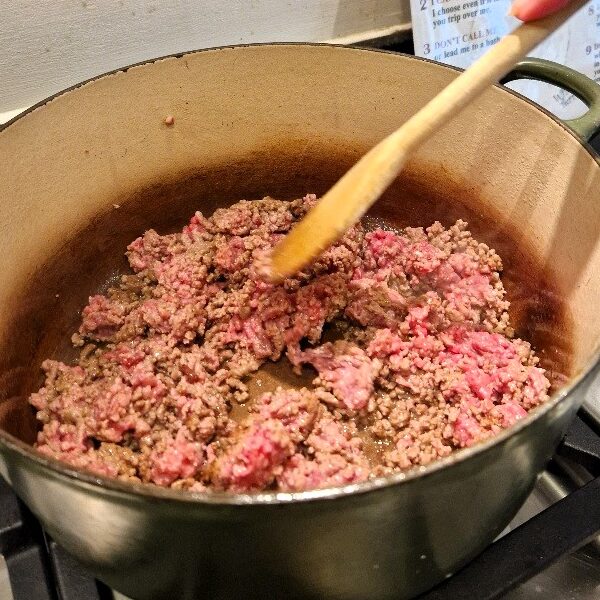
Chilli spice mix
When the mince is about half-browned, as in the final picture above, you can start to add the spices. We add one tablespoon each of both regular chilli powder and ancho chilli powder, two teaspoons of smoked paprika, and one teaspoon of cayenne plus one teaspoon of ground cumin. This gives a lovely depth of spice to the chilli con carne, without making it (for us at least) too hot. This spice mix is, we believe, the true secret of this best ever chilli.
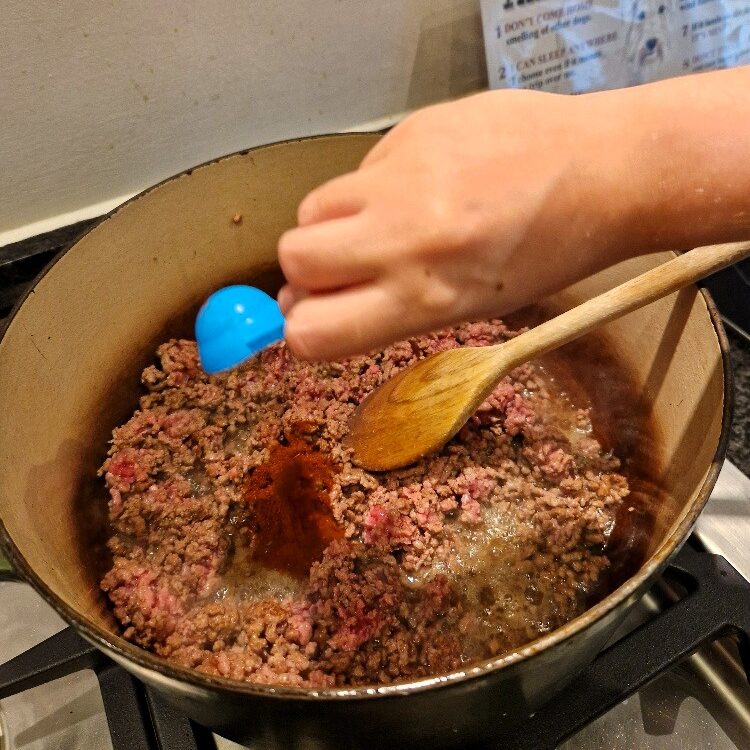
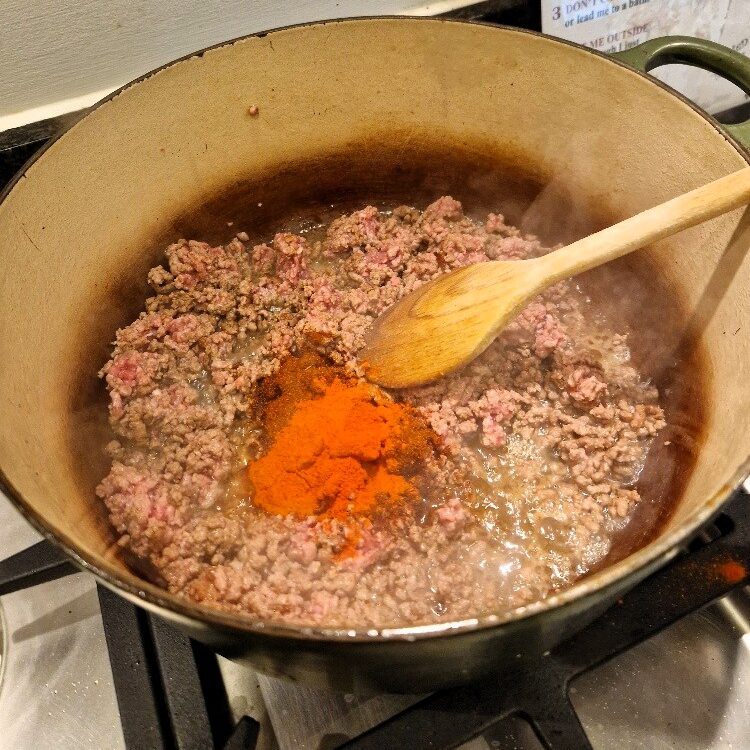
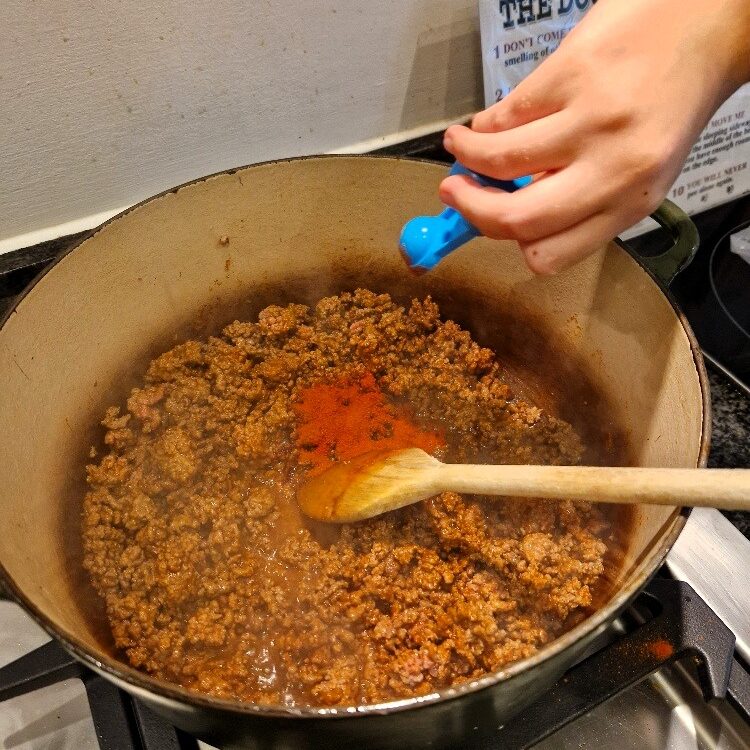
Jake sticks his nose in
We love this spice mix, and really do suggest you try it. But we understand you may not have, or want to buy, everything. So here is a guide so you can choose which you prefer. We do think the ancho chilli in particular adds something special, so we’d suggest prioritizing that, if your budget allows.
Regular chilli powder – a blend, and usually medium-spicy. A classic in chilli con carne, and very inexpensive
Ancho chilli powder – a pure ingredient with a lovely, mild, chocolatey heat. More expensive, but you can buy it in small quantities
Cayenne – another pure ingredient, and also inexpensive. But MUCH hotter. This is really where the heat in this dish comes from, so add with caution if you like it milder
Smoked paprika – another pure pepper spice, but mild, sweet & smoky. Generally inexpensive if you buy regular versions.
Cumin – not a pepper spice, but adds earthiness and nuttiness. Inexpensive
Pickled jalapeños – we add these slightly later, but moderately spicy chillies, with a fresh, tangy flavour. Inexpensive
Continuing cooking
Keep stirring the mince when adding the dry spices, to prevent sticking and to ensure it cooks evenly. You want the mince to be nicely browned before adding the next ingredients. This can take 5 to 10 minutes in total.
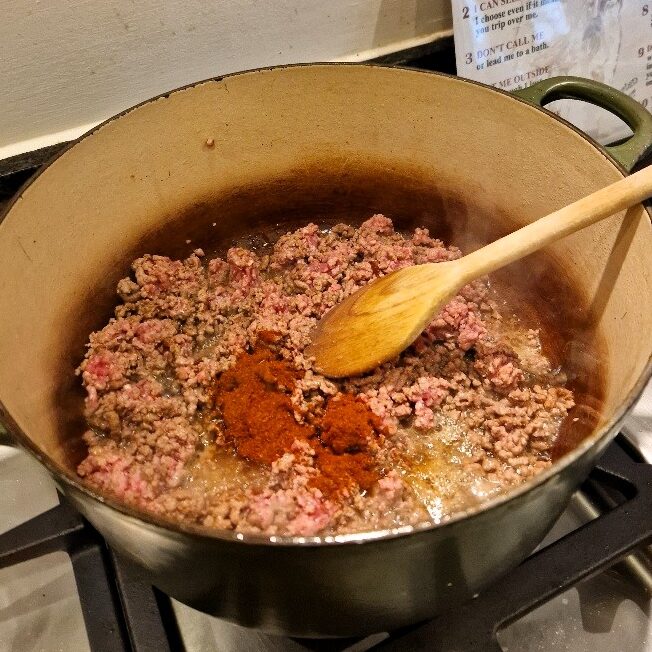
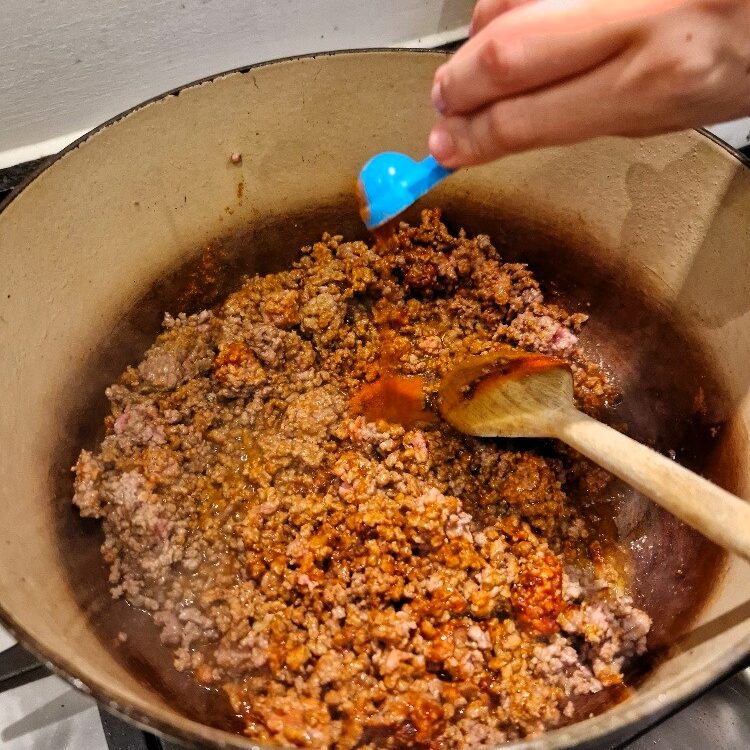
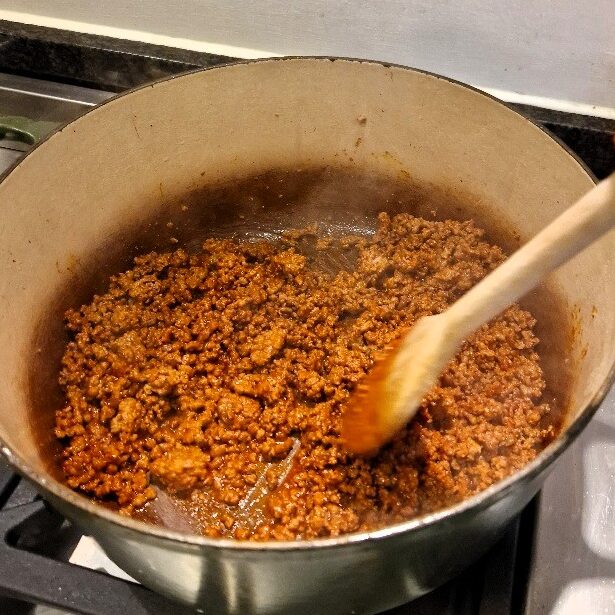
When the meat is browned, add the onions & peppers, plus the pickled jalapeños. Chop these up a little before adding. Ours today were sliced, so we chopped them in a bowl using scissors.
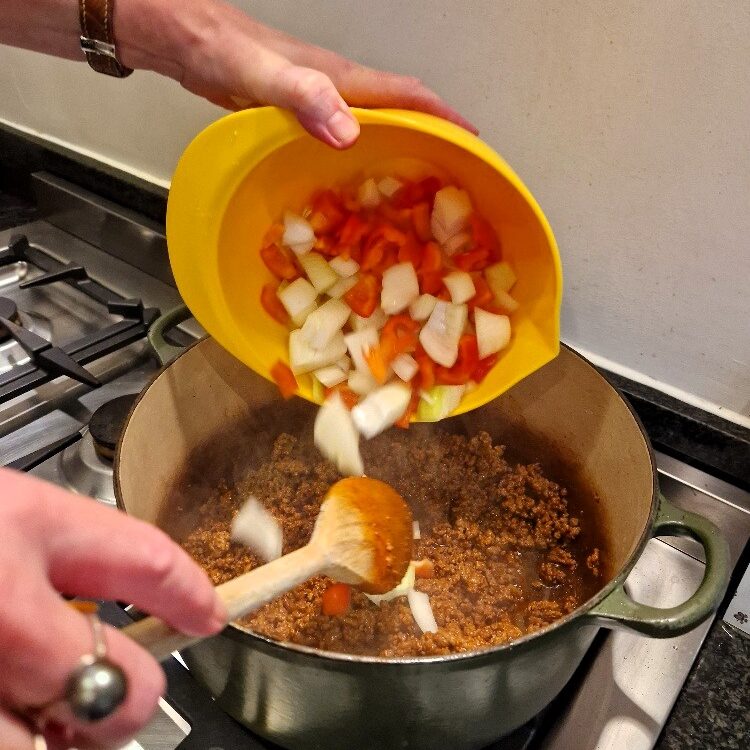
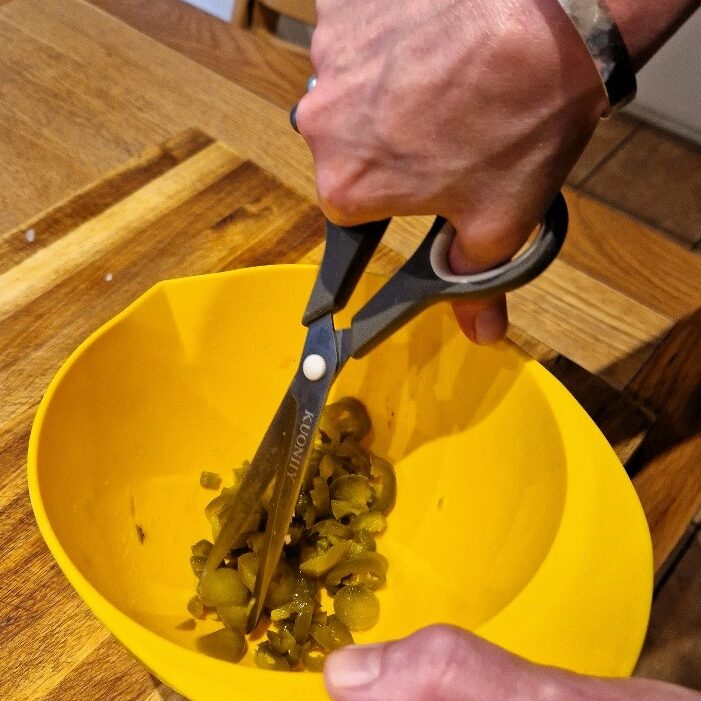
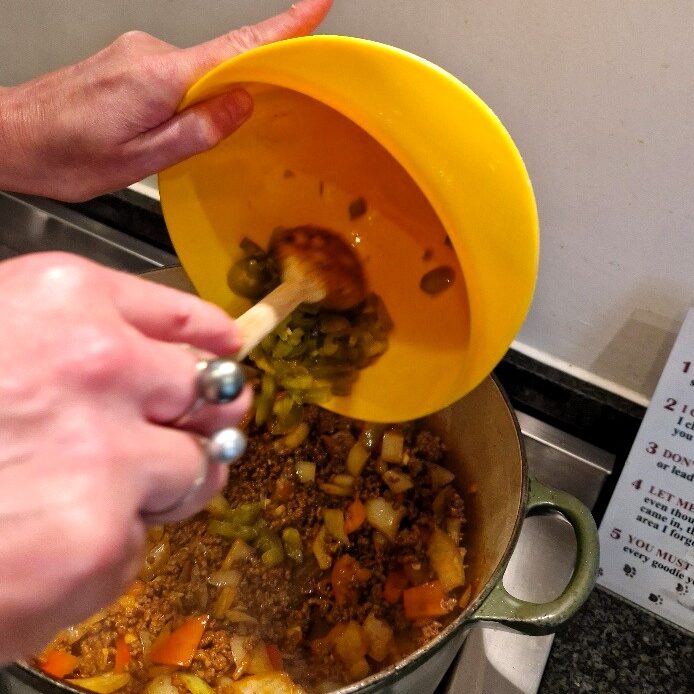
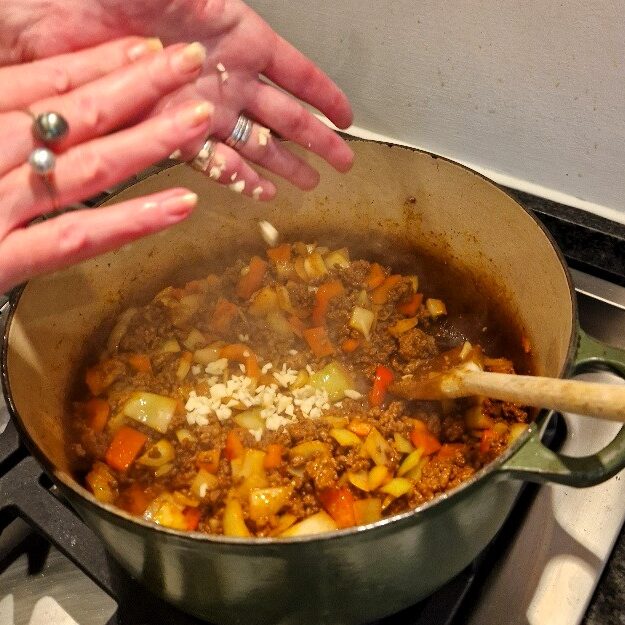
Stir well, and fry for a few more minutes until the onions & peppers begin to soften, then add the chopped garlic and stir again for another minute or so. Then add the stock. Today we used a fresh beef stock, but stock made from a cube or gel stock pot is fine – beef, chicken or vegetable will all work.
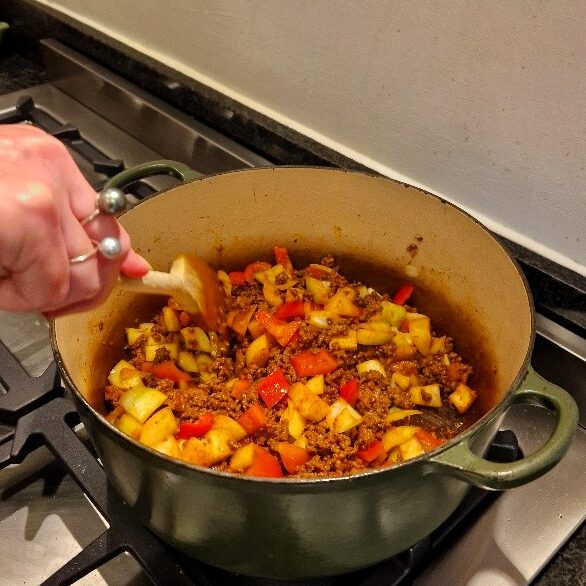
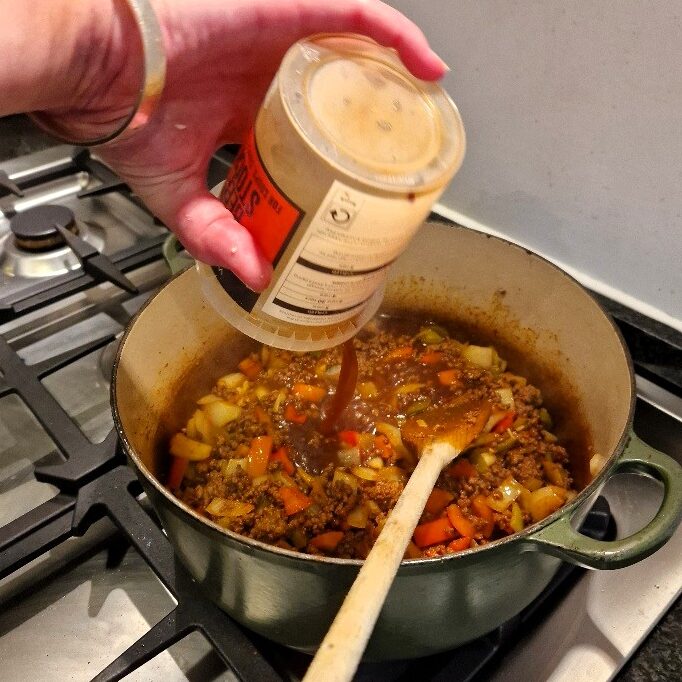
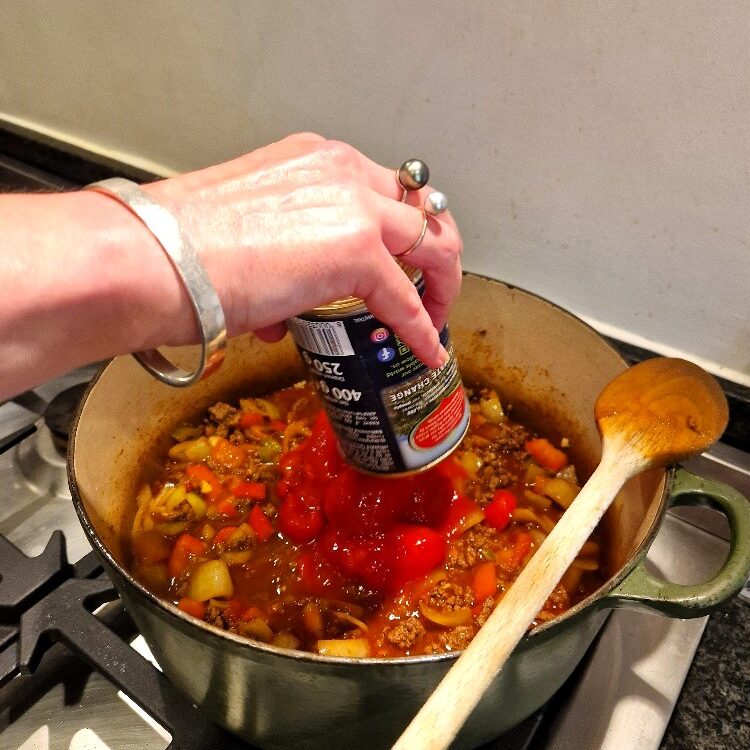
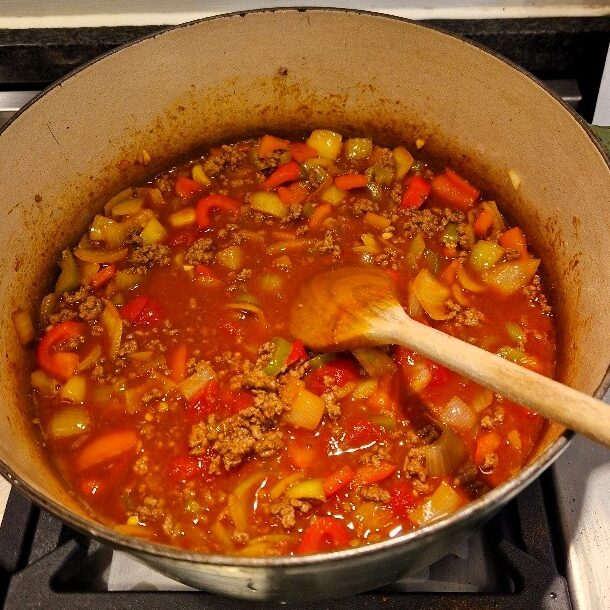
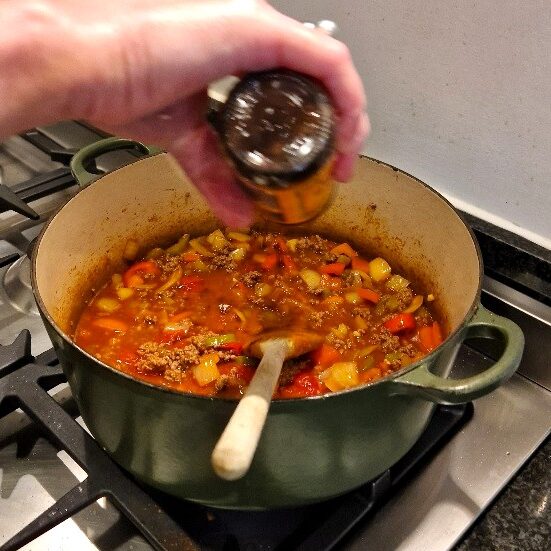
Stir well again, then add the tomatoes – we use only one can. Break them up with your spoon if they are whole, as ours were today. Also add a shake of Worcestershire sauce.
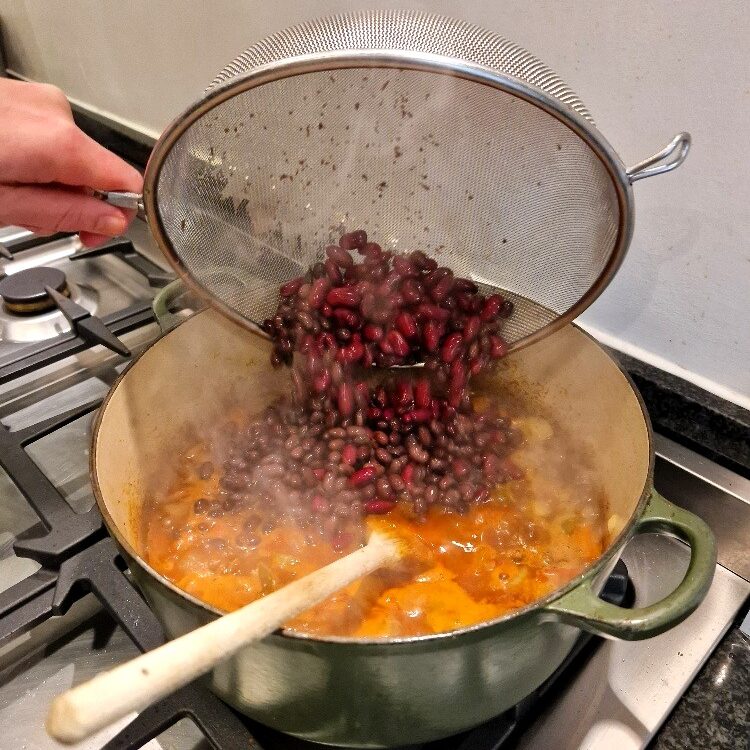
Now drain the beans. Most beans come in a liquid that can be quite slimy, so rinse them well under the cold tap.
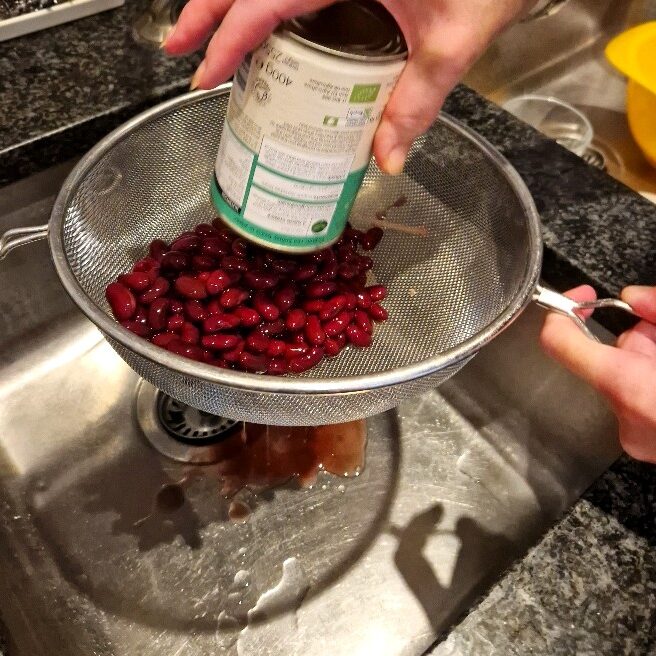
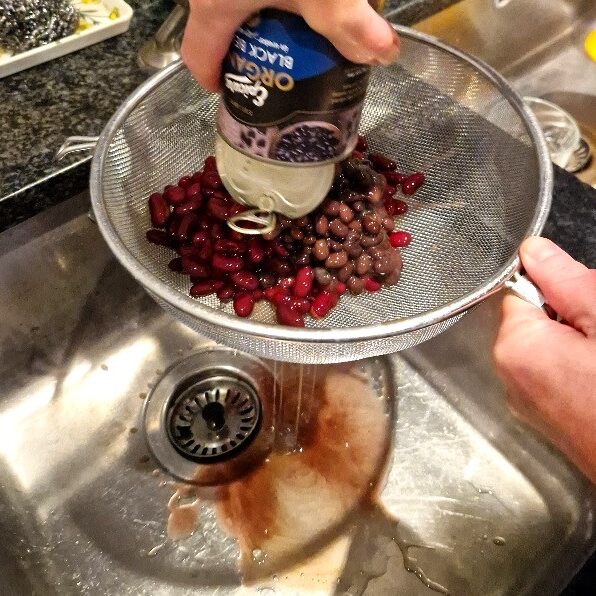
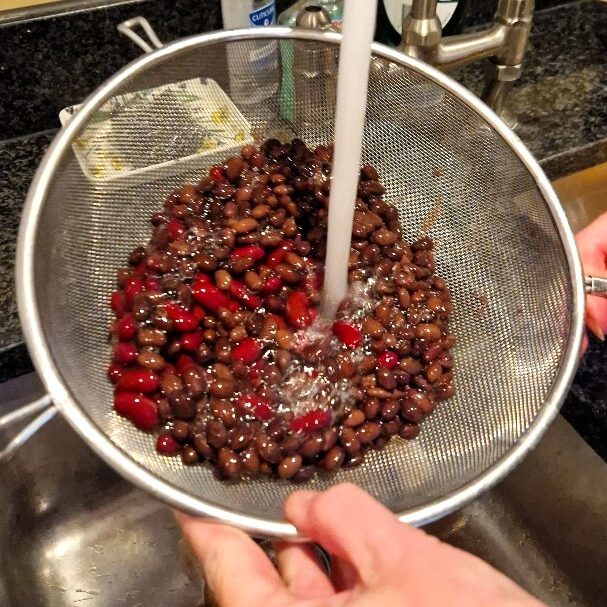
Add the beans to the pan, stir, then add the crispy bacon. Stir well again to combine.
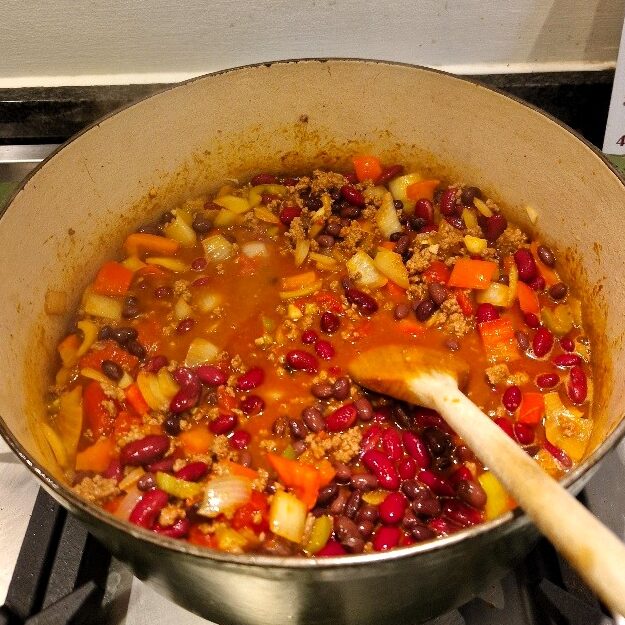
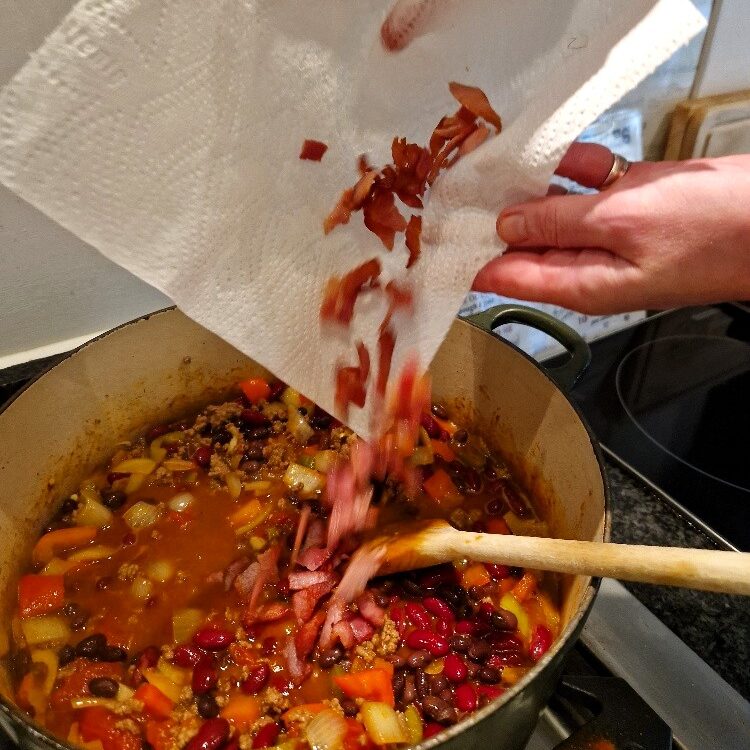
Now add about a scant tablespoon of sugar. Ideally this should be a brown sugar, but any sugar with do. Season with a little salt and black pepper, bearing in mind you have salt already from the bacon & stock, and heat from the spice mix. Stir.
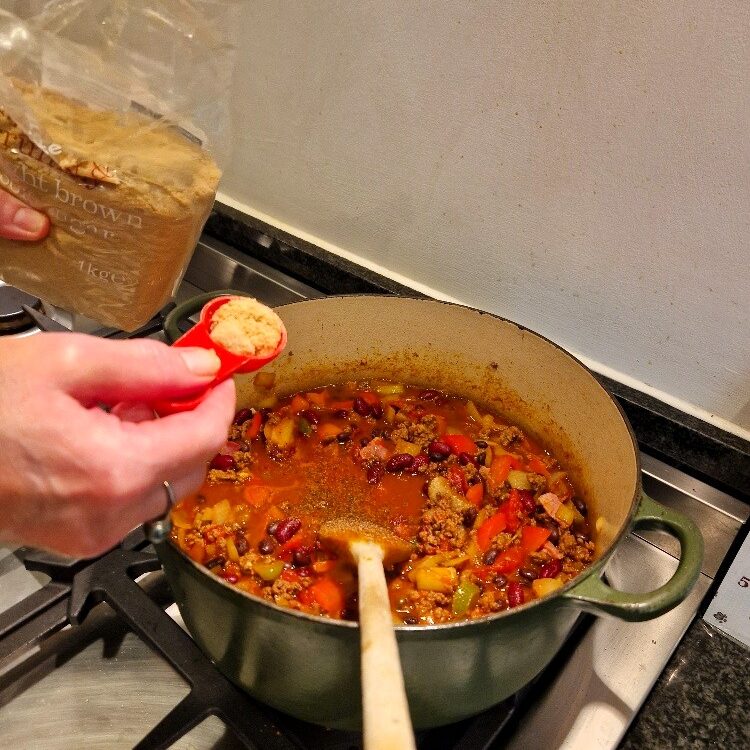
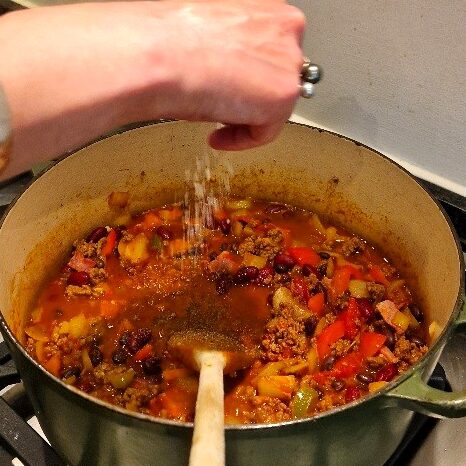
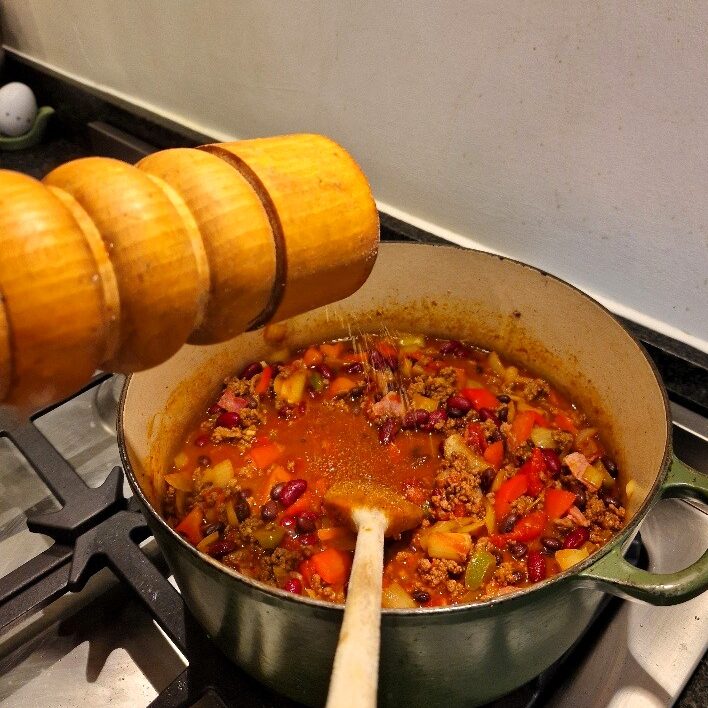
Check the consistency of your chilli con carne. At this stage it should look quite wet and juicy. It will be getting a long, slow cook so we’d err on the side of wetter. Today we felt it needed a bit more liquid, so we added some boiled water, which we swirled around our tomato can first. Also add a good squeeze of tomato purée. You can always adjust the consistency again later, adding more water if it dries out, or adding more purée or turning up the heat if it stays too wet.
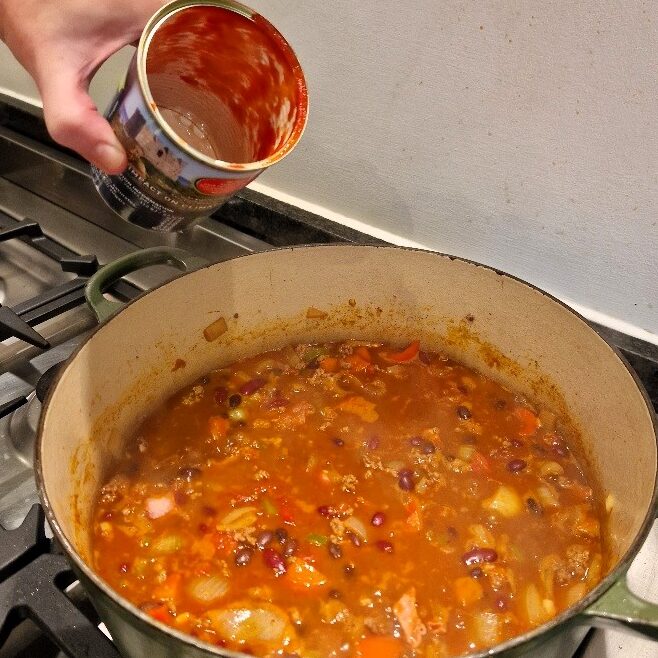
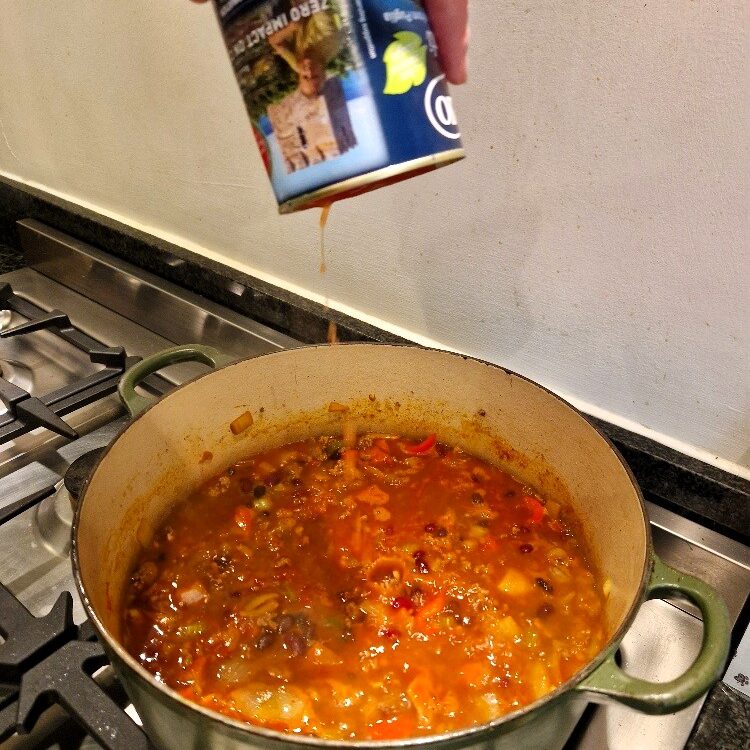
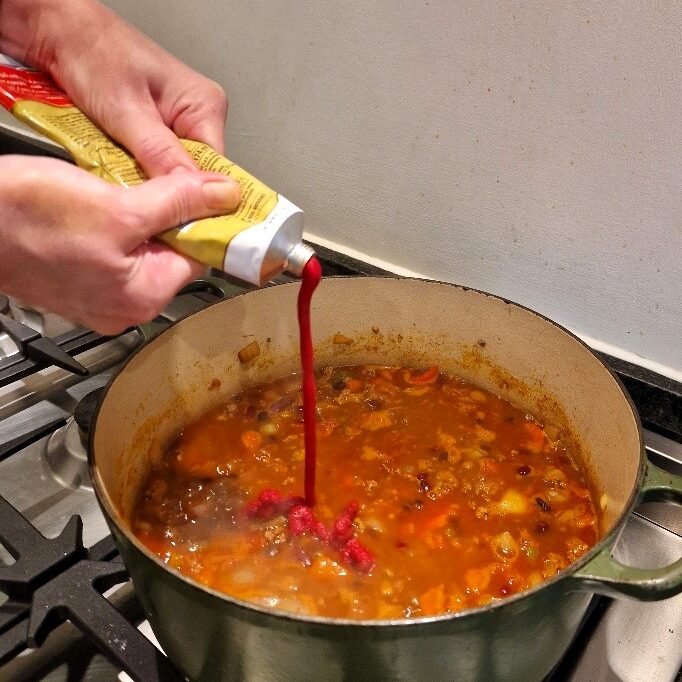
Stir well, then turn the heat up, and bring the chilli con carne to the boil. Then turn the heat right down (and/or move to a slower hob) and simmer, uncovered.
Jake sticks his nose in
Do taste the chilli con carne at this point, bearing in mind it will still have a ‘raw’ taste that will mature & mellow as the chilli cooks. But you can still get an idea of whether you like the general level of salt, spice and sweet, and can start to adjust, if needed. We taste very often when cooking – as you become more experienced you’ll understand better how a fairly ‘raw’ dish is likely to mature into a finished one.
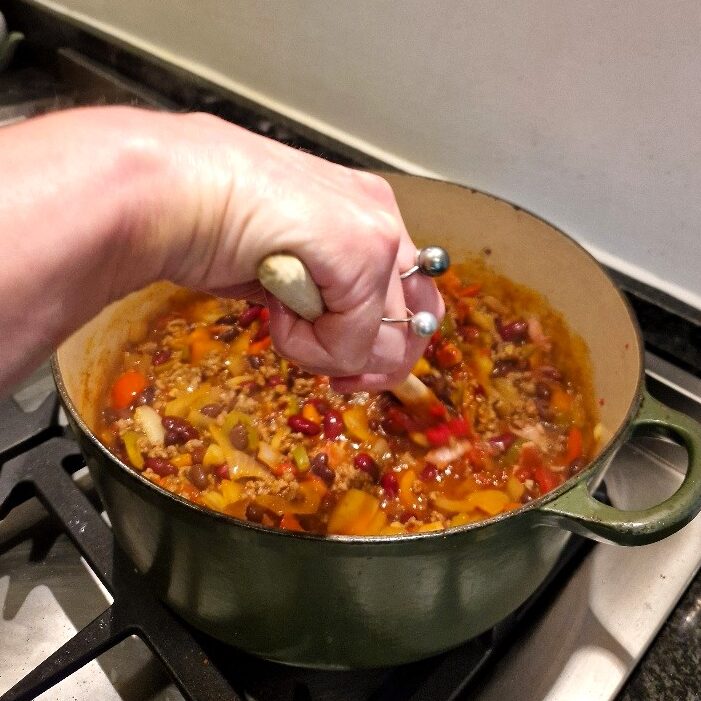
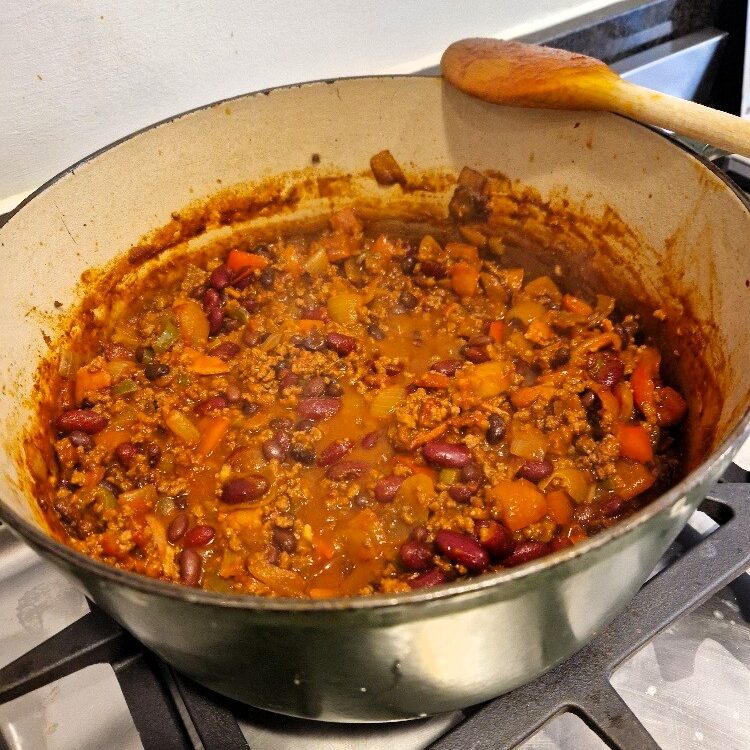
Chill con carne really benefits from a long, slow cook so the flavours have time to develop. The longer the better, and you can always turn it off and put a lid on if you think it is done before you are ready to eat. If you are short on time, the very minimum cooking time from this point is 30 minutes. But ideally over an hour, and up to about two hours.
Keep coming back and stirring the chilli, tasting, and checking the consistency while it is cooking. If it seems too spicy, the only thing you can do at this stage is cook it longer and hope, so be cautious when you first spice it if you don’t like too much heat. As we always say, you can always add more spice, but it is hard to take it away! If by any chance it isn’t hot enough, the best adjustment at this point will be with a hot sauce, not raw powdered spices.
Serving the chilli con carne
About 20 to 30 minutes before you are ready to serve the chill con carne, get your rice on to cook. Find out how to cook it perfectly here.
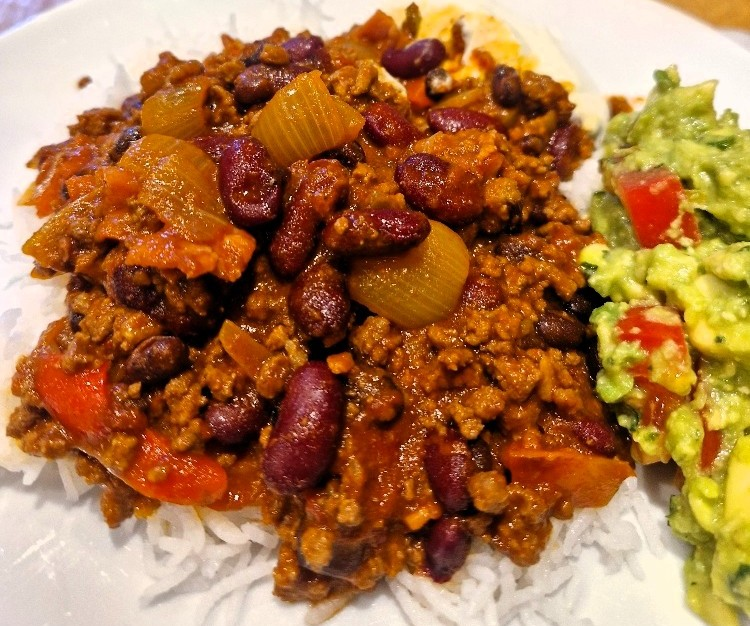
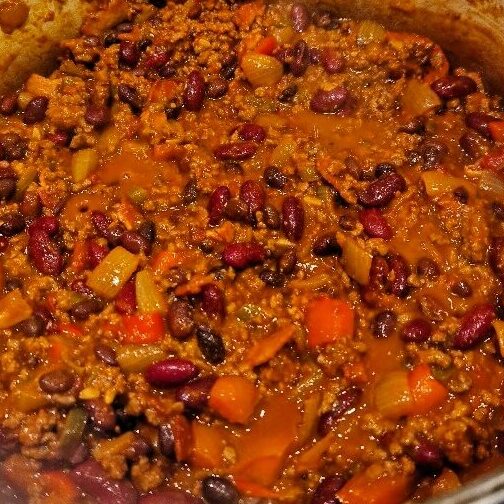
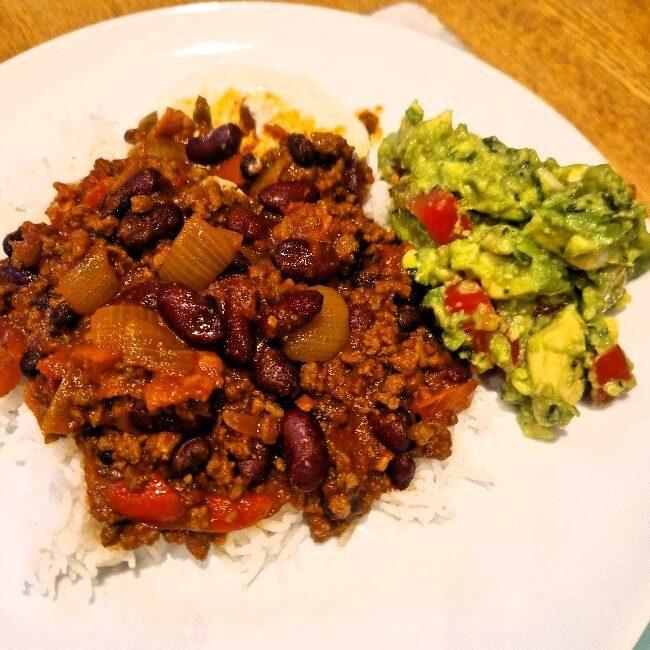
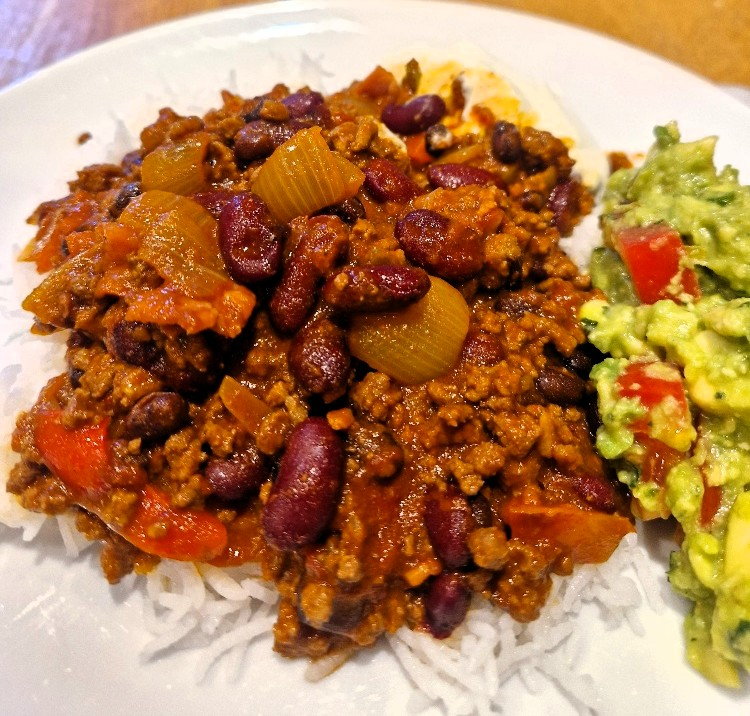
You chilli is done when it is well-reduced but glossy, and with a deep colour and flavour, as below.
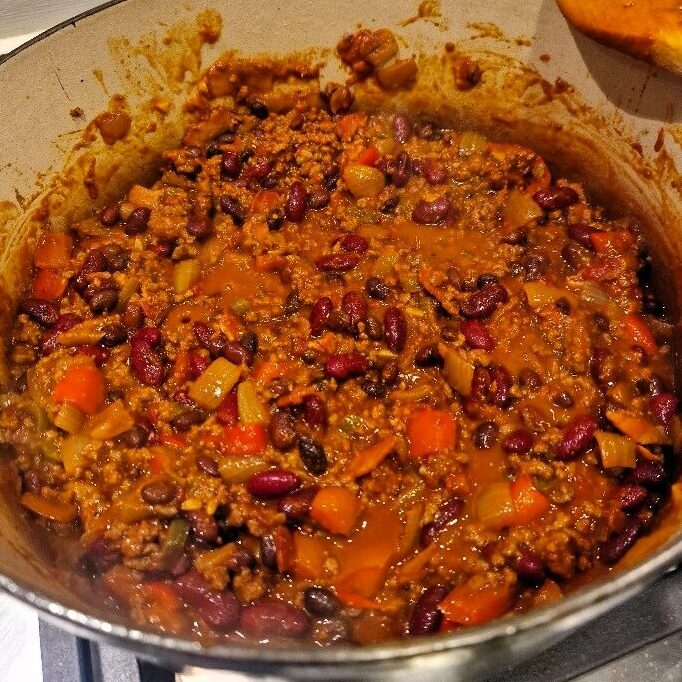
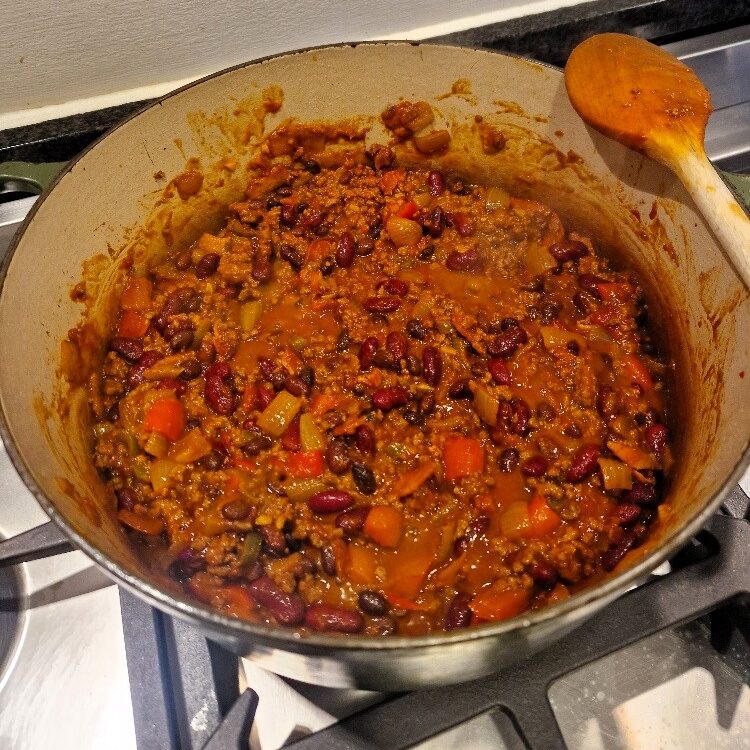
Serve with the rice, and the sides and toppings of your choice.
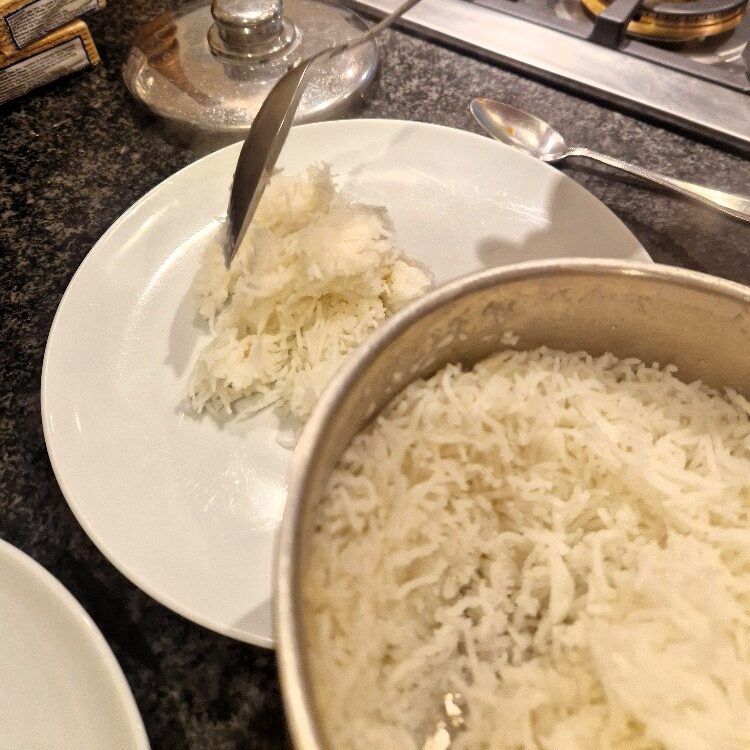
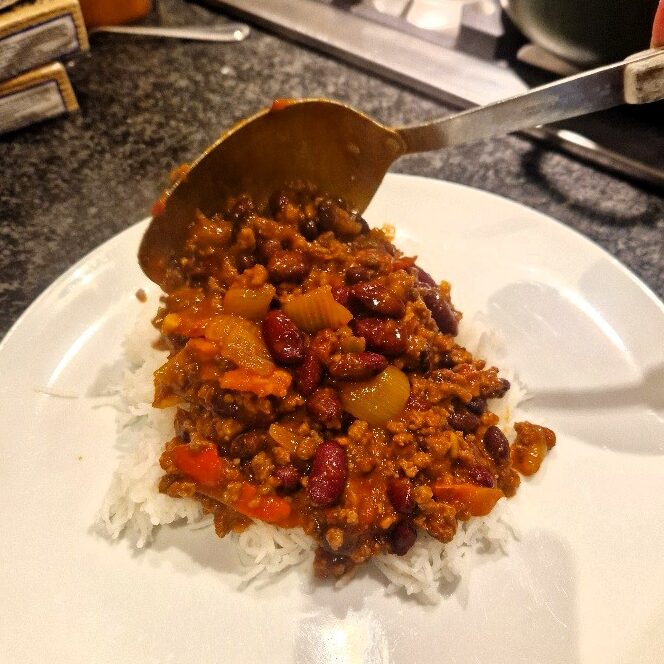
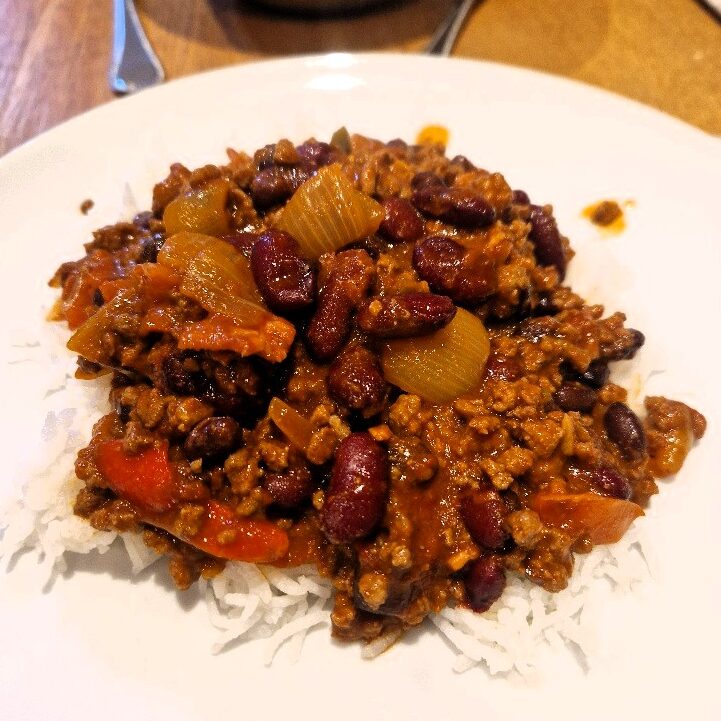
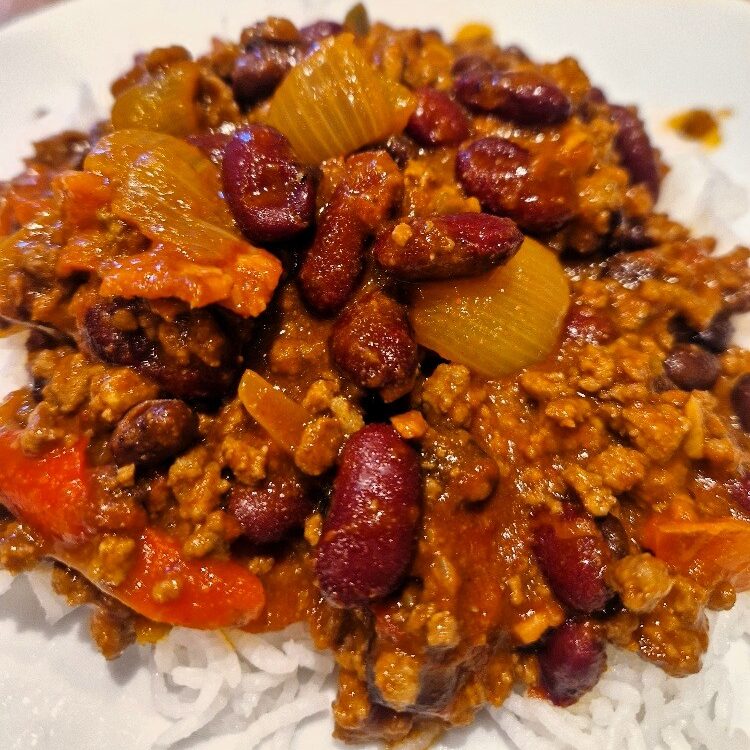
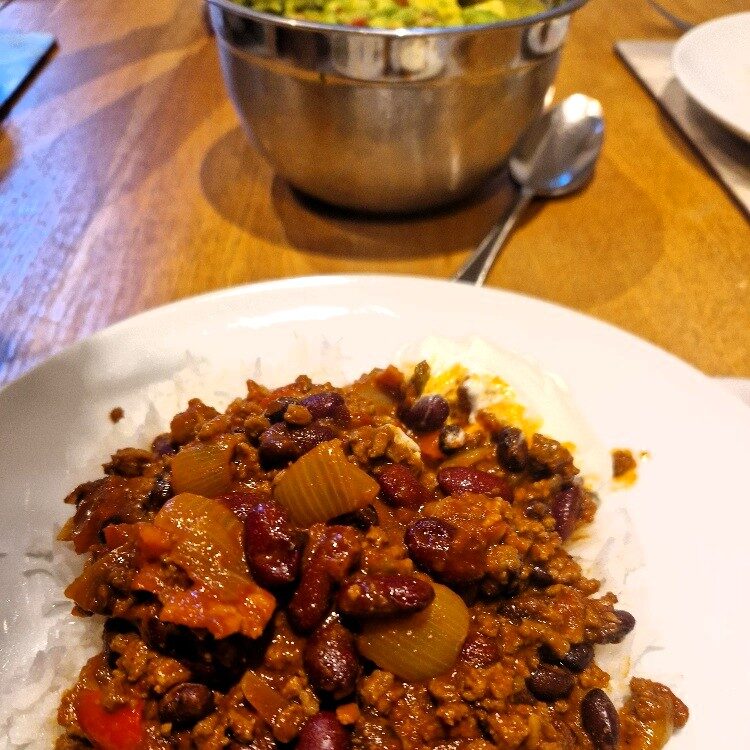
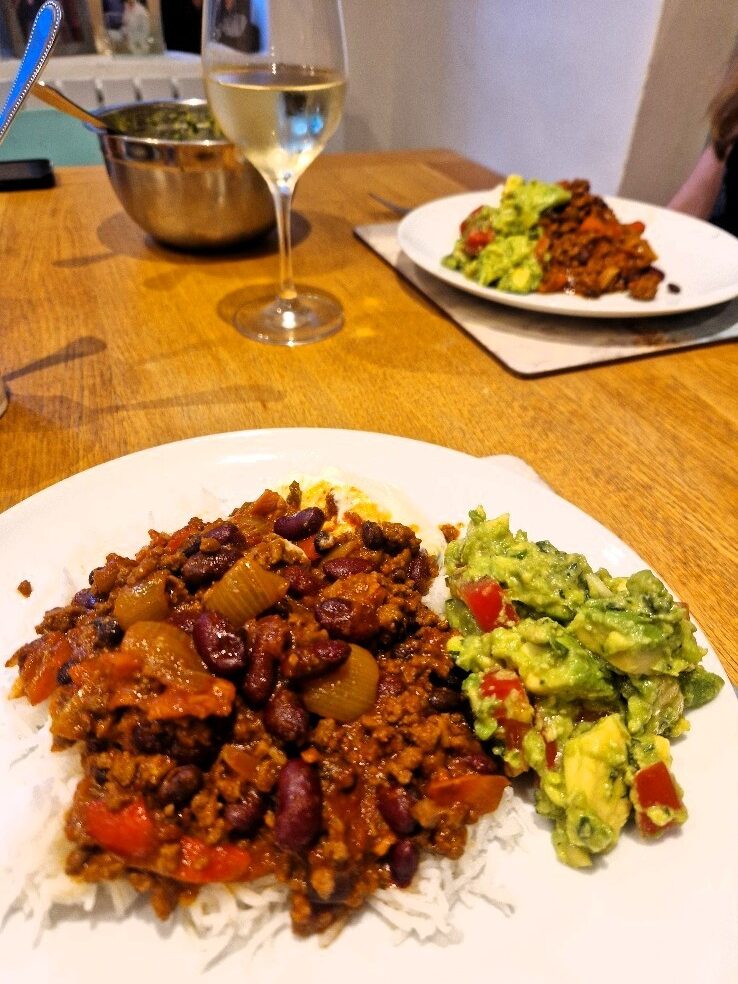
Today with served it with a dollop of soured cream and our homemade Best Guacamole, find out how to make it here.
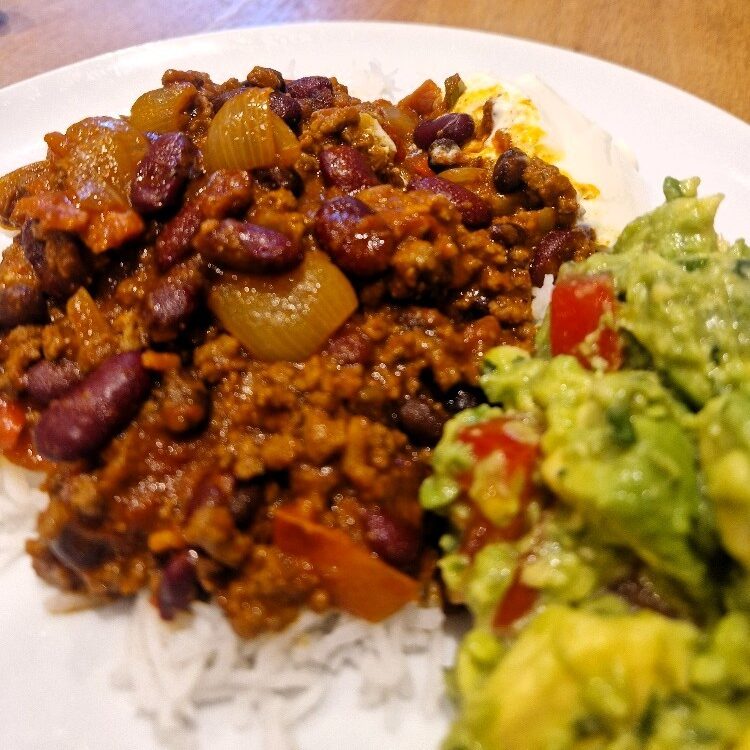
Enjoy!
Our Best Ever Chilli Con Carne
Ingredients
Equipment
Method
- Remove the rind from the bacon, then chop into medium pieces. Chop the onions, medium. See our onion Tip.
- Cut the top off the pepper & remove the stem. Also remove any seeds & white pith from the body. Slice into rounds, then chop, medium, including the lid. Chop the garlic finely. See our garlic Tip.
- Add a very little oil to the large pan you will use to cook the chilli con carne, and set over a medium heat. When the oil is hot – test it by hovering your hand above – add the bacon. Fry, stirring, until the fat runs and the bacon is well-coloured and starting to crisp, a few minutes. Remove with tongs or a slotted spoon to a plate covered in kitchen paper.
- In the same pan, fry the mince. Only add more oil if you think it needs it (it shouldn't). Fry until the meat is about half-browned, then add the chilli powder, ancho chilli, cayenne, paprika & cumin. Stir well while adding. The cayenne is by far the hottest spice, so if you like it less spicy, cut this one back (or add more if you like it extra spicy!). Keep stirring the meat until it is fully browned. In total, this can take 5 to 10 minutes.
- When the mince is browned, add the onions and peppers, plus the pickled jalapeños. Chop the jalapeños up a bit before adding. Stir, and fry until the vegetables are just beginning to soften, a few minutes. Then add the chopped garlic, and fry for another minute or so.
- Add the beef stock and the canned tomatoes, breaking these up if they are whole. Add a shake of Worcestershire sauce, and stir.
- Drain both cans of beans in a sieve, then rinse thoroughly under the cold tap. Add to the chilli. Stir well, then add the crisped bacon. Add the sugar, and season with salt & black pepper, bearing in mind you have salt already from the bacon & stock, and heat from the spice mix.
- Add a good squeeze of tomato purée, plus a little more water if you think it needs it – at this stage the chilli con carne should be quite wet.
- Stir well, then taste, bearing in mind the chilli will taste quite 'raw' at this stage, and the flavours will develop & soften with the long, slow cook. Adjust any seasoning to taste.
- Bring the chilli to the boil, then turn the heat right down and/or move to a slower hob. Simmer, uncovered, stirring and checking the flavour and consistency occasionally. The minimum cook time from here is about 30 minutes, but ideally the chilli con carne should be cooked for an hour or more – up to about two hours. The finished chilli should be well reduced and glossy. Once cooked, it can be kept with the lid on until you are ready to serve.
- About 20 to 30 minutes before you are ready to serve, cook the rice. See our rice Tip.
- Serve the chilli con carne with the rice and sides/toppings of your choice. We like a dollop of soured cream, and a serving of guacamole – preferably our homemade Best Guacamole, see how to make it here.
- Enjoy!