


Skills you will learn in this recipe
Making a classic risotto base; learning the five keys steps for a perfect risotto
Links to the last recipe
Cooking with stock & wine; flavouring with lemon; slowly adding warm liquid to starch
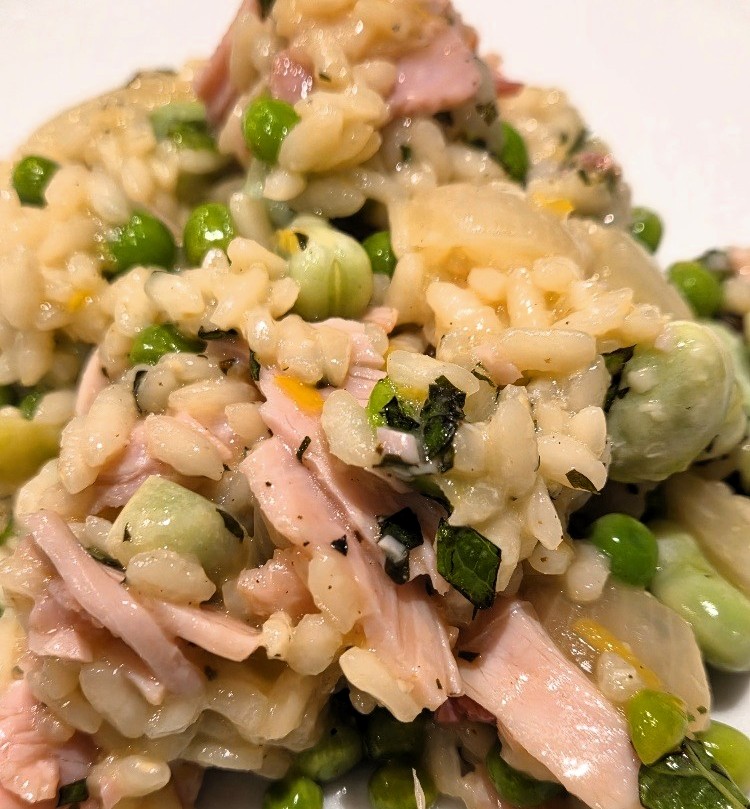
The very first recipe in our Cookery Course was Bibi’s Tomato & Bacon ‘Risotto’. That was really more of a pilaf, and we promised we’d feature a ‘proper’ risotto later in the course. It’s taken us 35 recipes to get there, but here it is! It’s worth the wait however – broad bean, ham & mint risotto is one of our favourite dishes.
We make it using a classic risotto base made with rice, stock, white wine and flavoured with a little lemon. We then stir in both broad beans & peas, followed by some cooked ham. The risotto is finished with fresh mint, and lots of Parmesan. It really is a lovely flavour combination. Leave out the ham if you don’t eat it or to make a vegetarian version, swapping the chicken stock for vegetable. In fact, you can flavour the classic risotto base with anything you like – we’ll give some ideas later in this post.
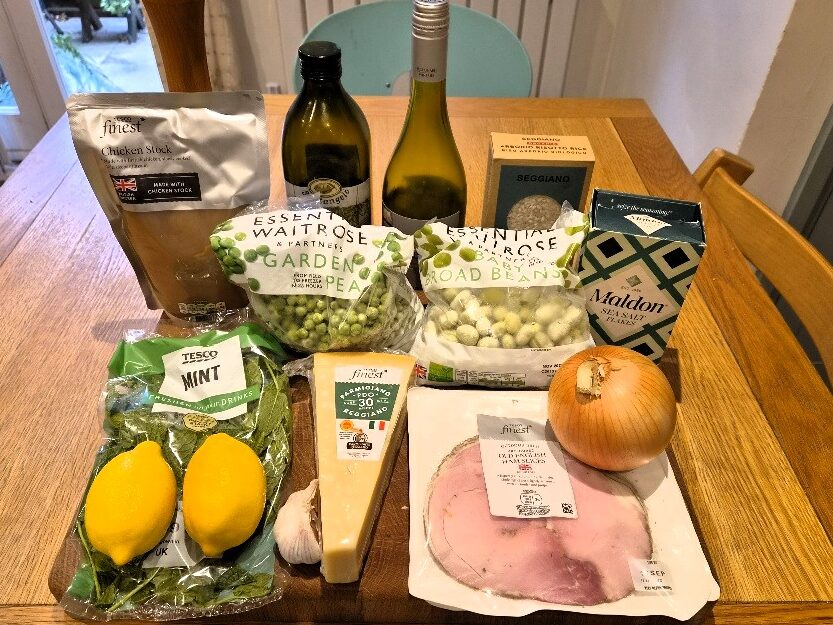
Risottos are easy to make, but you do need to follow the method, and have a little patience, to get the best result. A risotto should always be made to order – end-to-end it will take about 30 minutest to cook. But you can do the preparation in advance, then start to cook about half an hour before you want to serve.
Preparation
Most classic risottos start with some sort of onion. Today we used a large brown onion, but shallots would also be a nice choice. We’d only advise that if your risotto is going to be light in colour – as ours was today – to not use red onions. They would taste fine, but can look quite grey in the finished risotto. It’s fine to use them in a darker risotto.
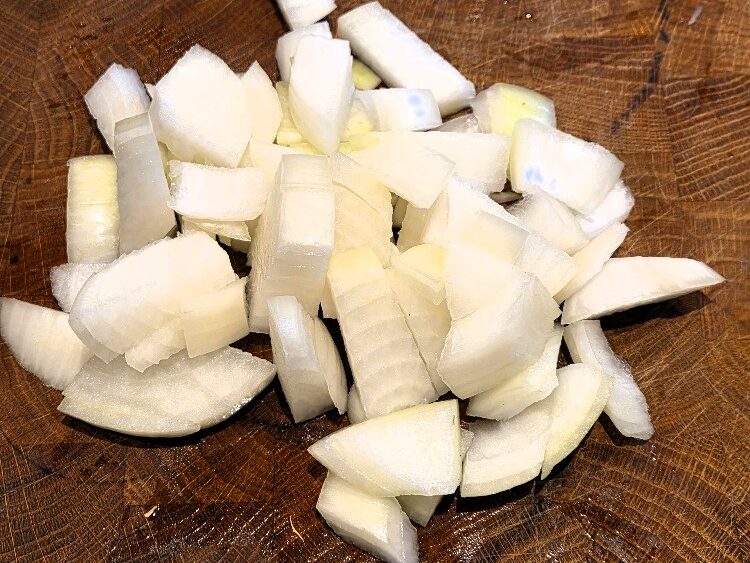
Peel then chop the onion into medium pieces. See our onion Tip.
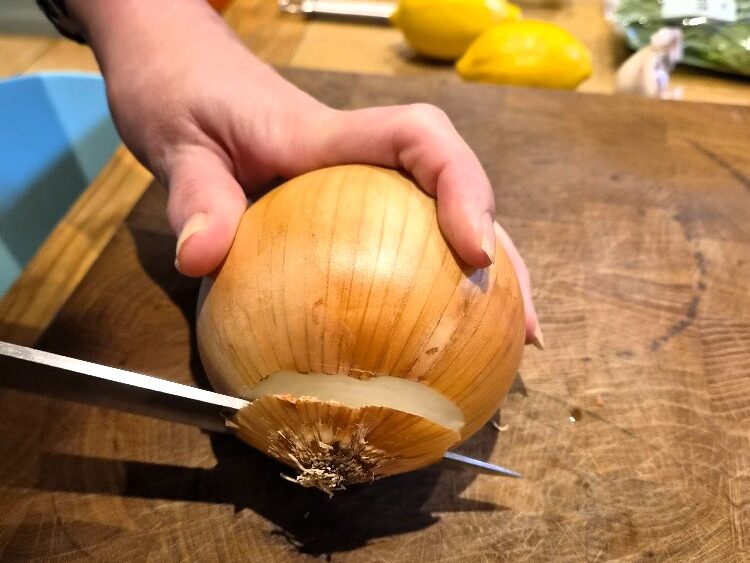
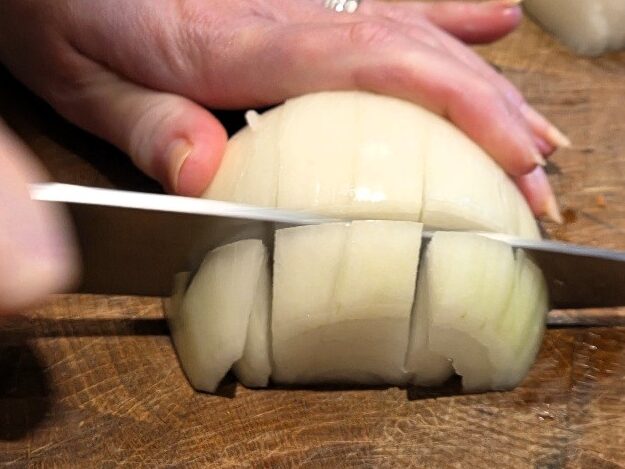
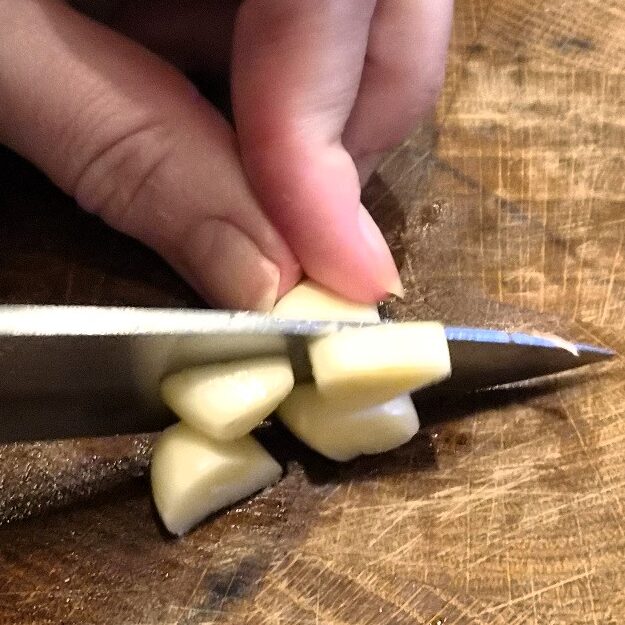
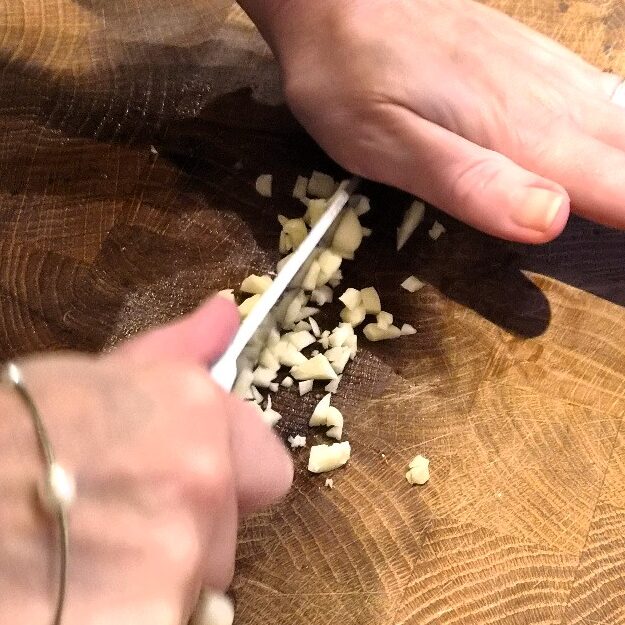
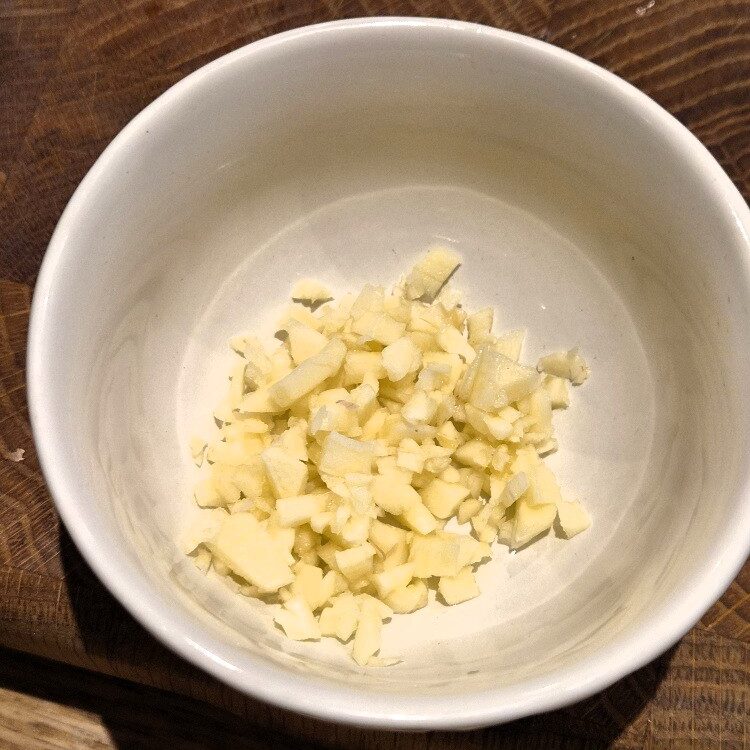
Garlic is optional, but we like to add a little. Today we used two cloves. Peel and chop them finely. See our garlic Tip.

Jake sticks his nose in
We love garlic. But the flavours in this dish are quite subtle so don’t overwhelm them by adding too much.
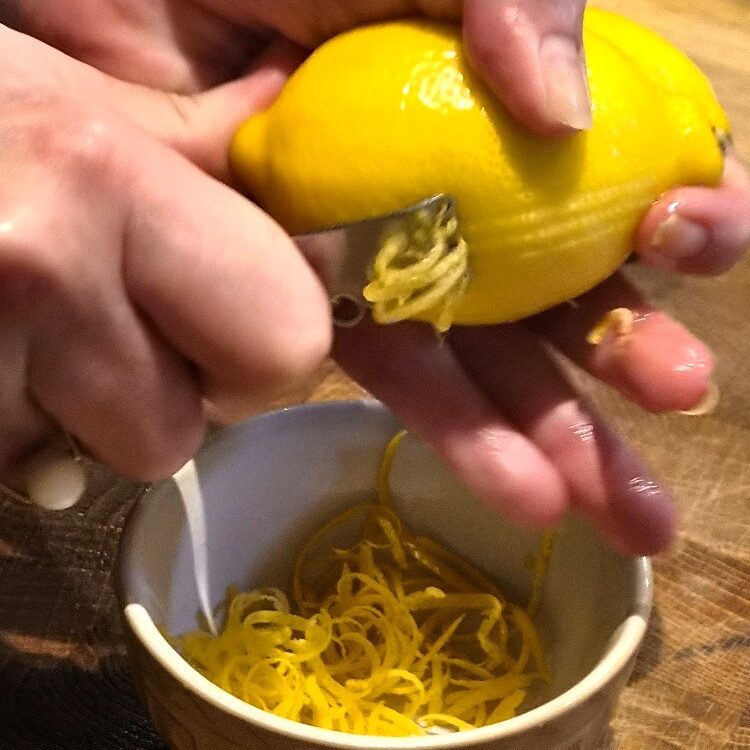
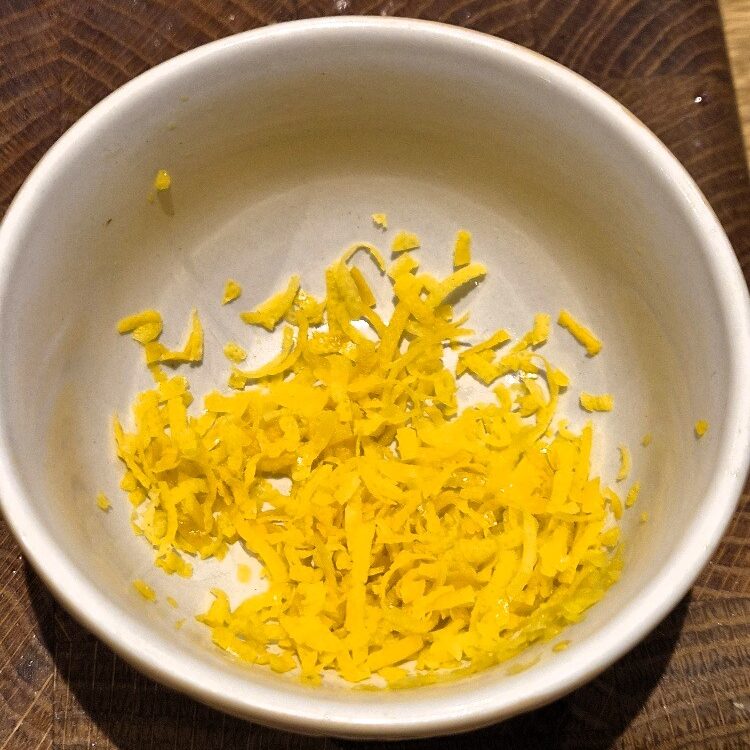
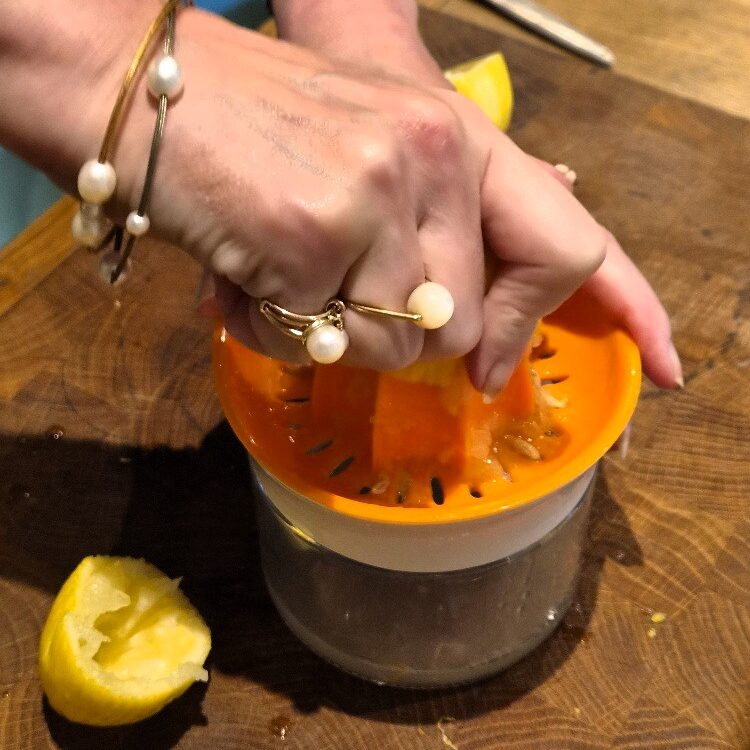
Next zest & juice the lemons, cutting the zest finer with scissors. See our lemon Tip. Today, in our risotto for four people, we used two unwaxed lemons.
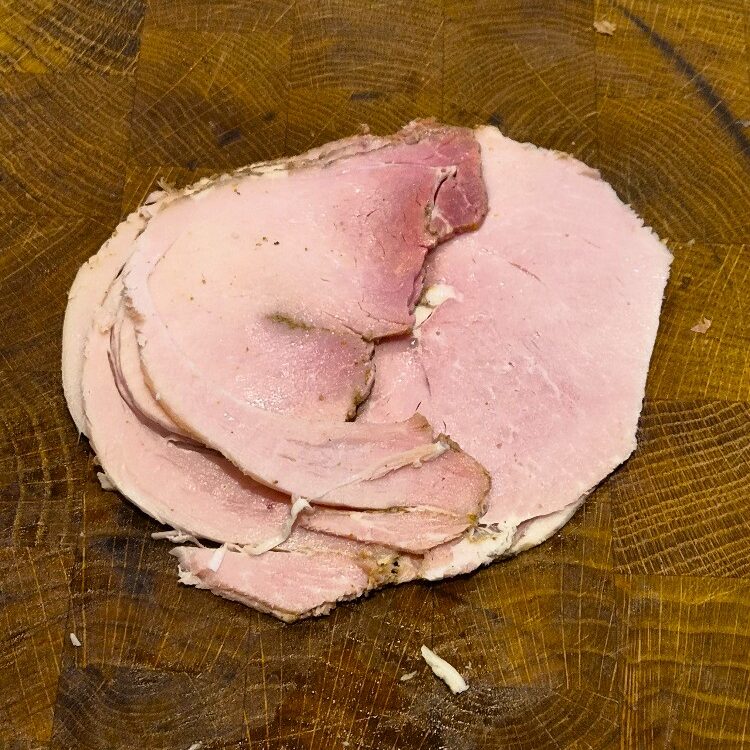
Now chop some ham. You can use any ham you like, though we prefer a cooked ham like a traditional plain British ham, as we used today, or a prosciutto cotto. We used six slices, which admittedly is a lot! But we like ham. Four slices would be fine. Replace or leave it out if you don’t eat pork.
Trim off any fat from the edges or middle, then chop the ham into medium squares with a sharp knife, or you can use scissors. If you chop the ham in a pile, which is quicker and as we did today, you’ll need to separate out the pieces.
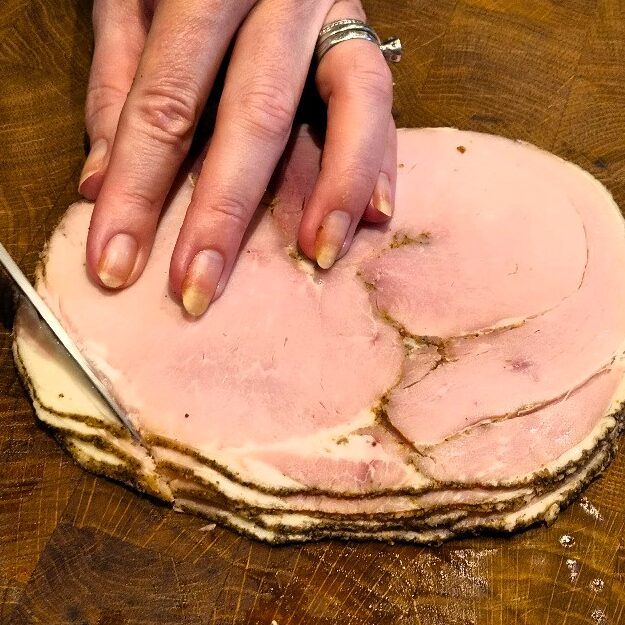
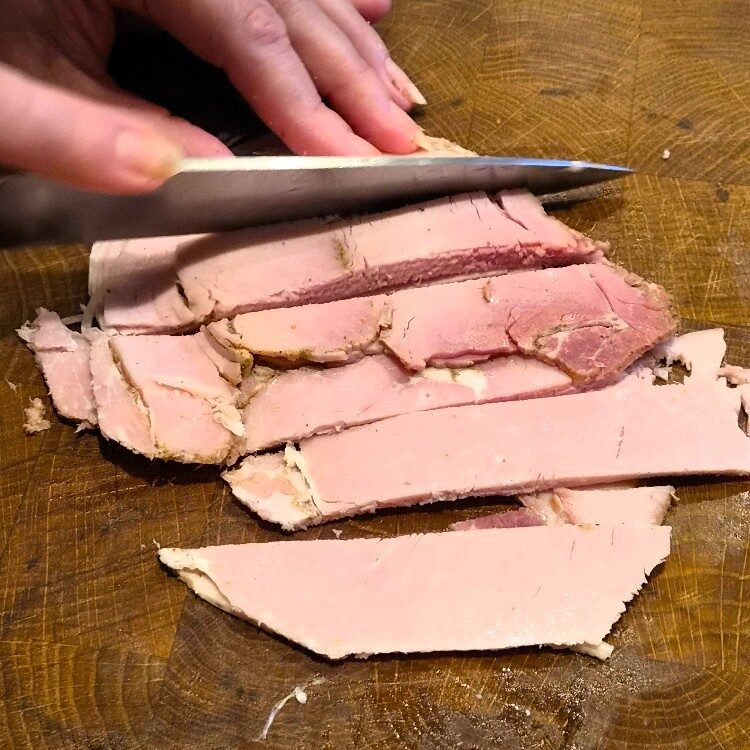
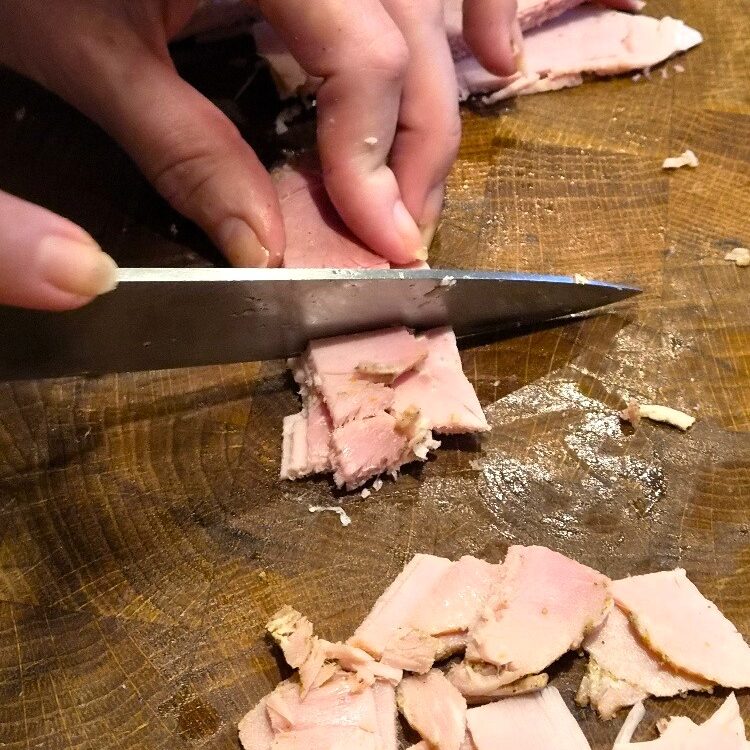
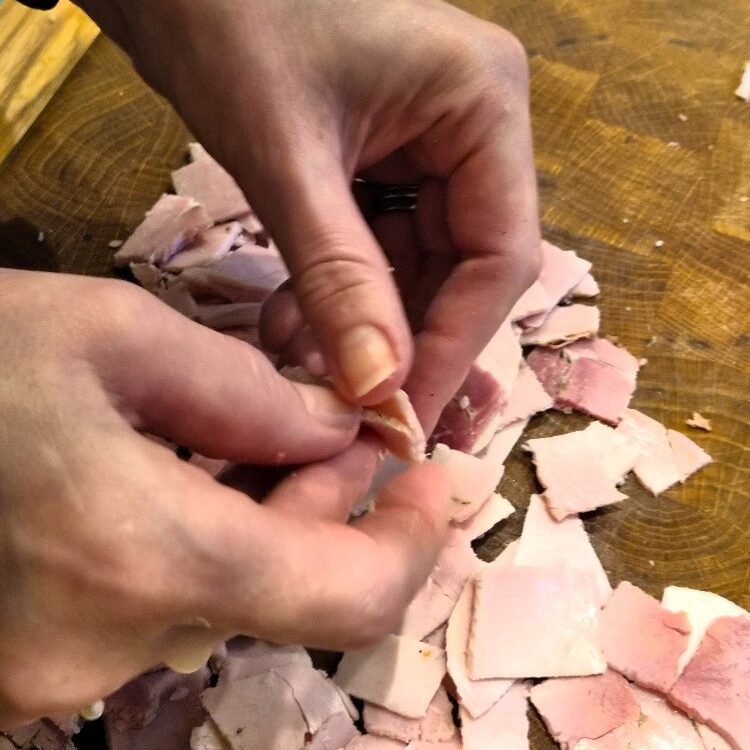

Jake sticks his nose in
It may seem like a faff to separate out the ham. But it is worth doing. If you try to separate it in the pan when you add it to the risotto (as you might do with, say, bacon) it will likely break up and turn into mush.
Next grate some Parmesan. You need enough to add a generous handful to the risotto, plus extra to serve, if liked (we do!).
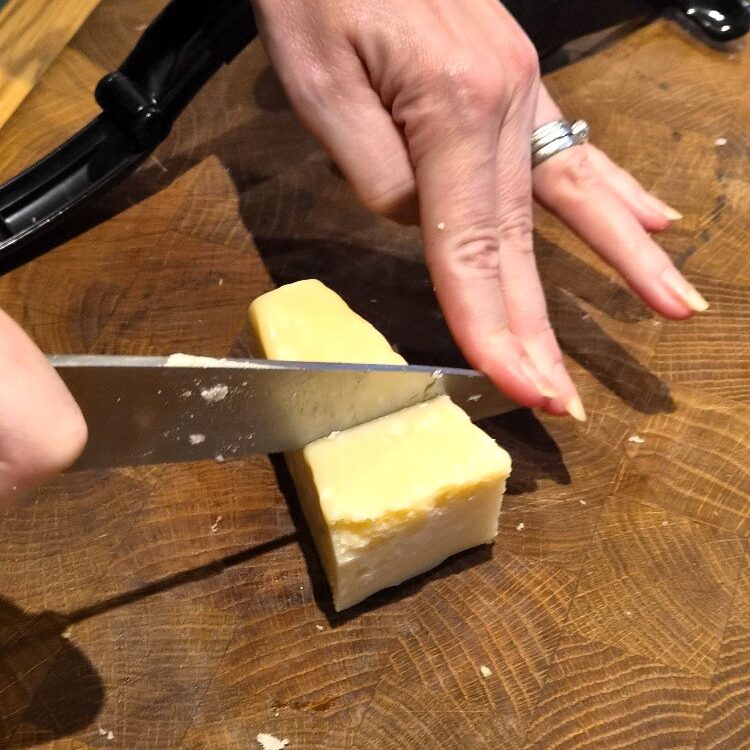
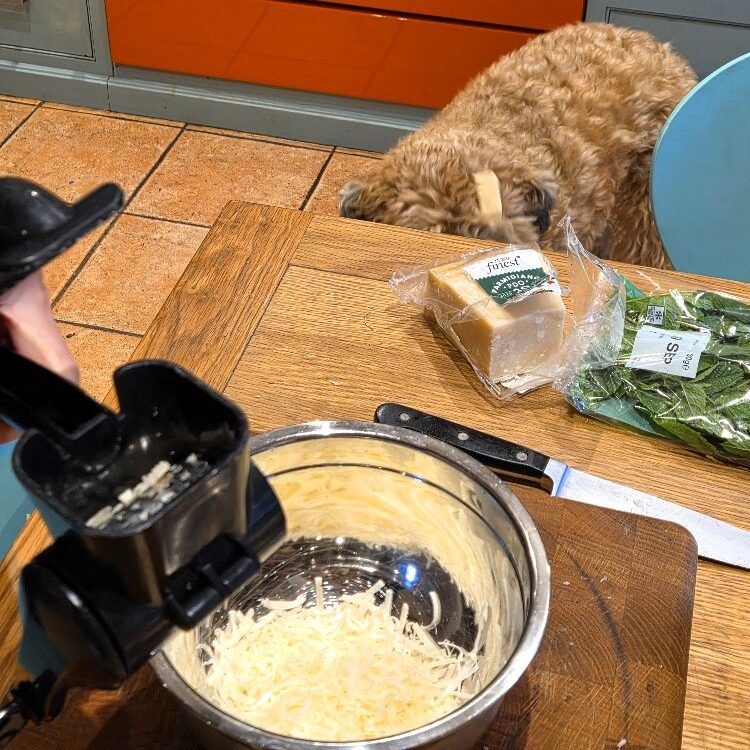
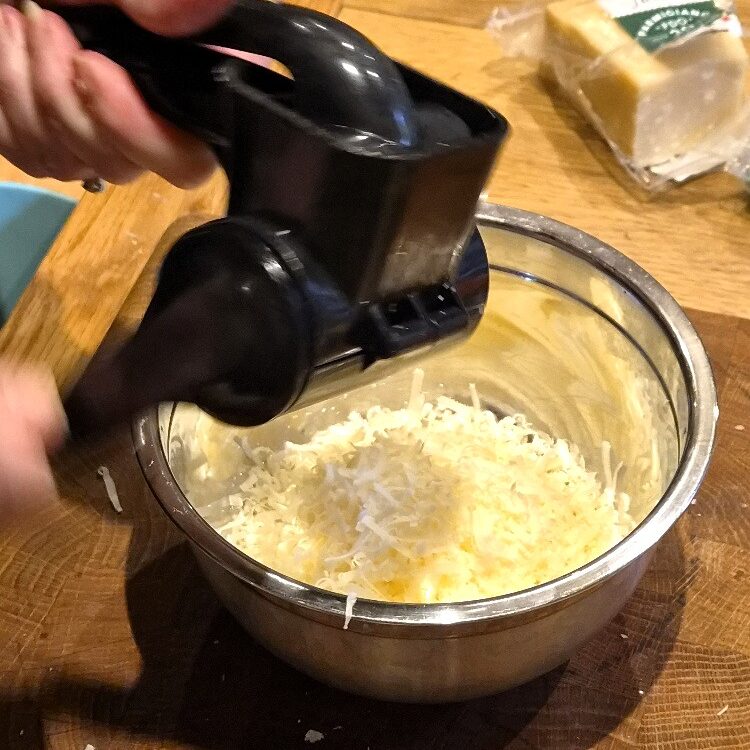
Jake sticks his nose in
Yes that’s me in the background of the second picture! I was very interested in the preparation for this dish, as cheese & ham are two of my most favourite foods. I benefited from the ham scraps, and you might just spot a piece of Parmesan Estella threw to me!
Finally, chop some fresh mint. See our herb Tip. We particularly like the classic combination of ham, peas & mint, but you could use another herb – parsley or tarragon would also work well. If you use mint, it can be quite woody, so do thoroughly remove the leaves and discard the woody stems.
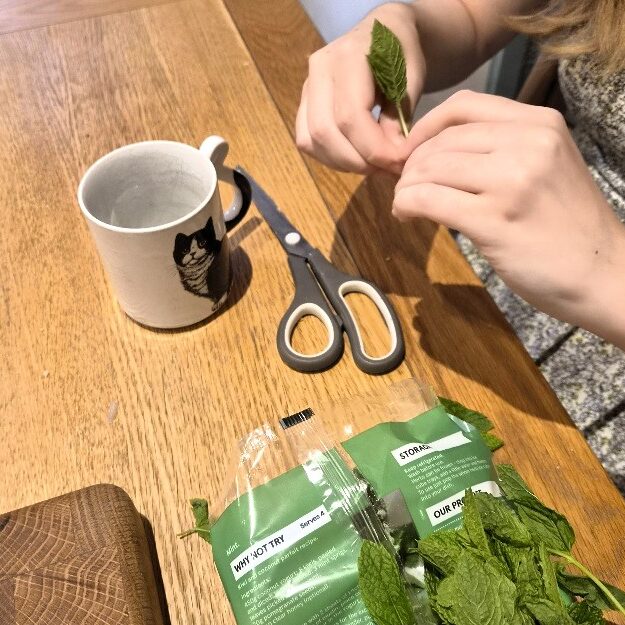
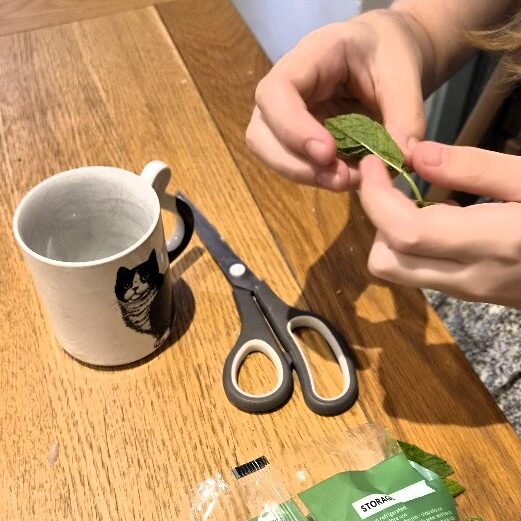
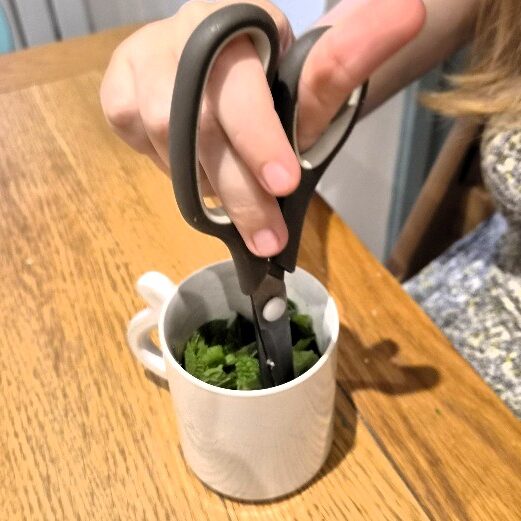
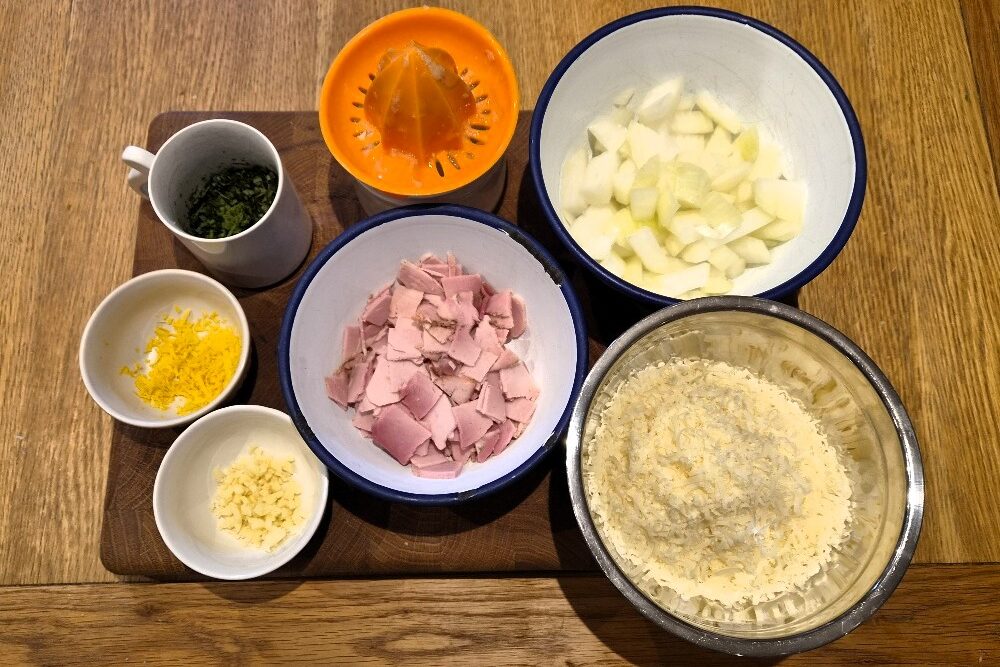
Your mise en place is done. You can keep everything until ready, covered (put the ham & cheese in the fridge if preparing well ahead).
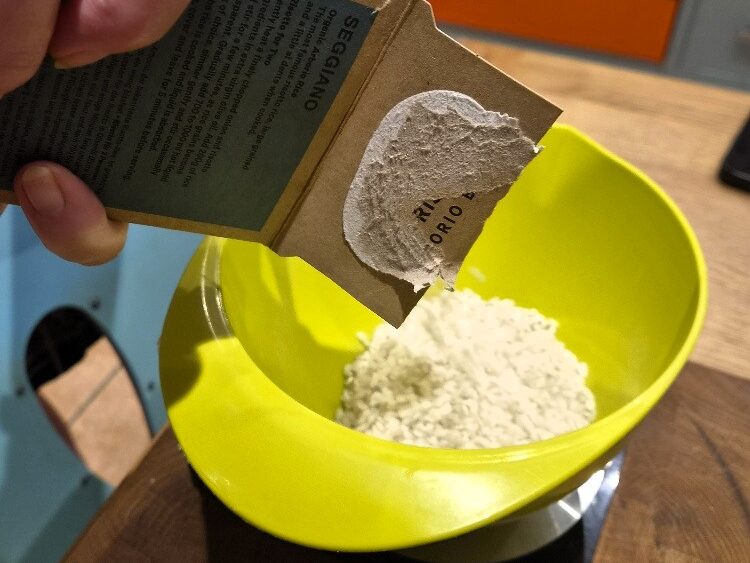
Shortly before you wish to start cooking, measure out the rice. To make a classic risotto you will need to use a risotto-specific rice, like arborio. This short-to-medium grain type of rice gives risotto its signature creamy texture, but without the rice going too soft.
Jake sticks his nose in
There are several types of risotto rice. Arborio is probably the most commonly found, and gives good results. We used this today. But we also really like carnaroli, which holds its shape well and gives good creaminess. Vialone nano is less common (look out for it if in Italy) and gives a softer, more liquid result – which is very traditional.
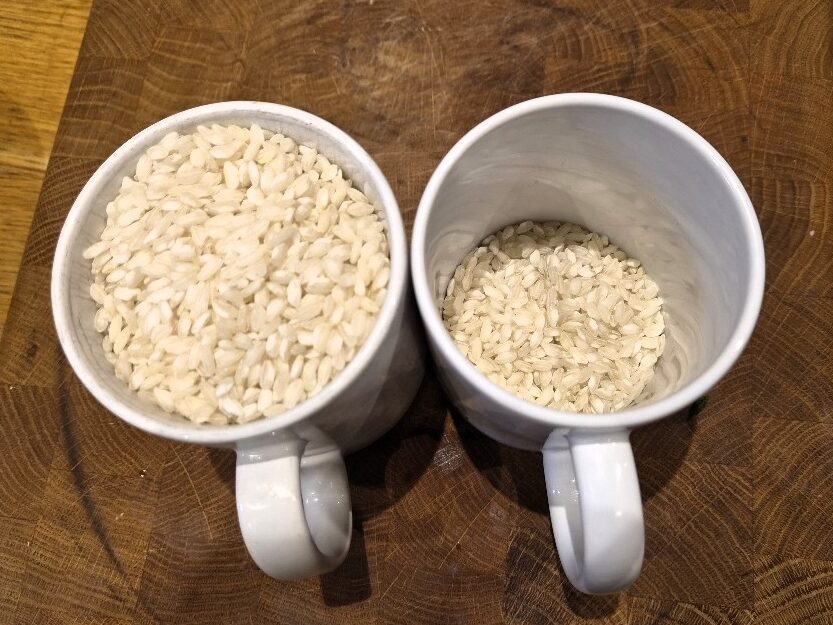
How much rice you use depends on how hungry you are, and how substantial the additions to your risotto will be. Today, for four hungry people and with some substantial add-ins we used about 350g. The resulting risotto could easily have served six people. We normally judge rice by eye, or with mugs, but you can weigh it if you prefer. 350g translates to about 2 1/2 mugs.
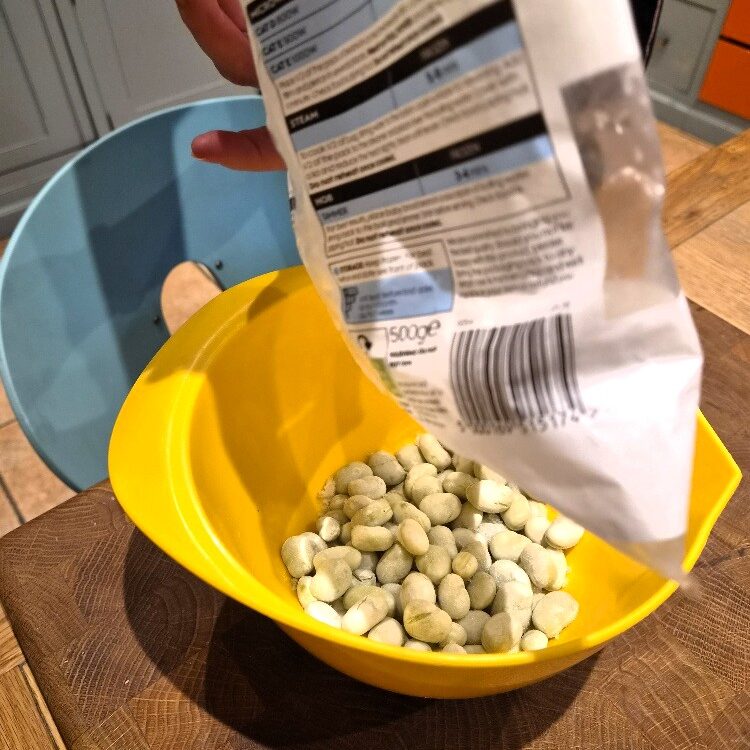
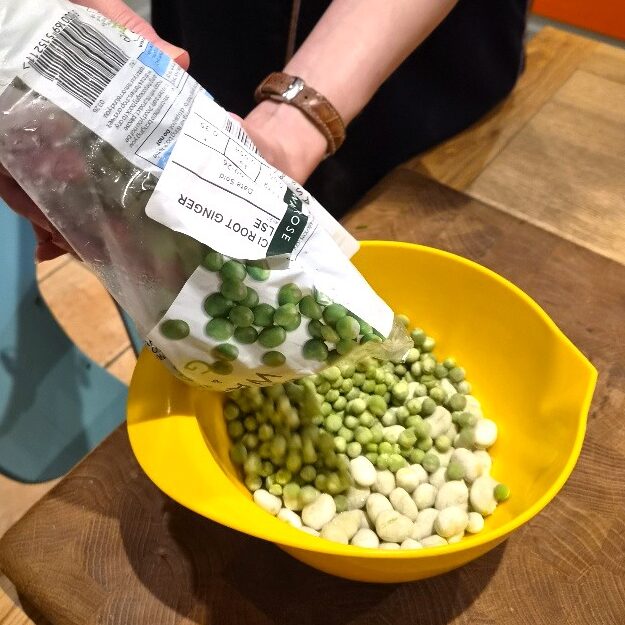
In our broad bean, ham & mint risotto we use frozen vegetables. These work very well, and are economic, plus any you don’t use can be easily kept for another dish. You can use fresh if you prefer, but don’t used canned, which will be too wet/soft. If using frozen, get the portion you need out at least half an hour, or ideally an hour or more, before you start to cook, so they can defrost a little. They can be used straight from frozen, but then they risk cooling the risotto down too much when added.
Jake sticks his nose in
Don’t be worried about using frozen vegetables – the quality is generally excellent. Many cooks prefer them, especially peas & beans, as they are frozen straight from the plant so are arguably ‘fresher’ than fresh!
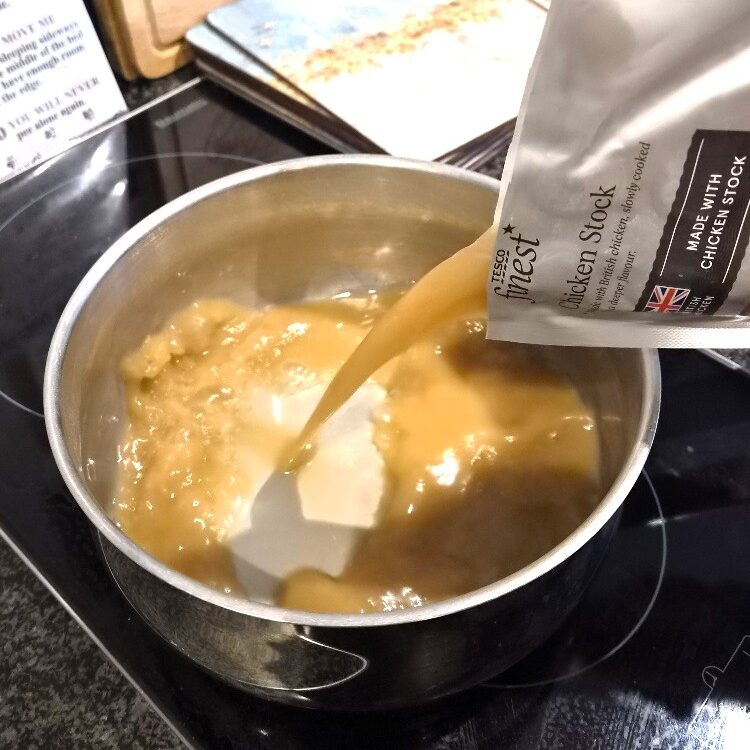
How much you use depends on personal taste – we like a lot of vegetables in this particular risotto. We measure by eye, but the combined peas & broad beans today weighed about 350g to 400g, which is a generous portion, so you could use less. It depends if you want your risotto more ‘ricey’ (which is also more traditional), or more ‘loaded’. We just really like the texture a large amount gives to this particularly risotto, and we also love broad beans, peas & ham! Also measure out your stock into a saucepan. Today, with 350g rice, we used about 1.3 litres of stock. We used fresh chicken stock today, but ham or chicken stock from a cube or gel is fine. You could also use vegetable stock.
Your preparation is done.
Cooking the broad bean, ham & mint risotto
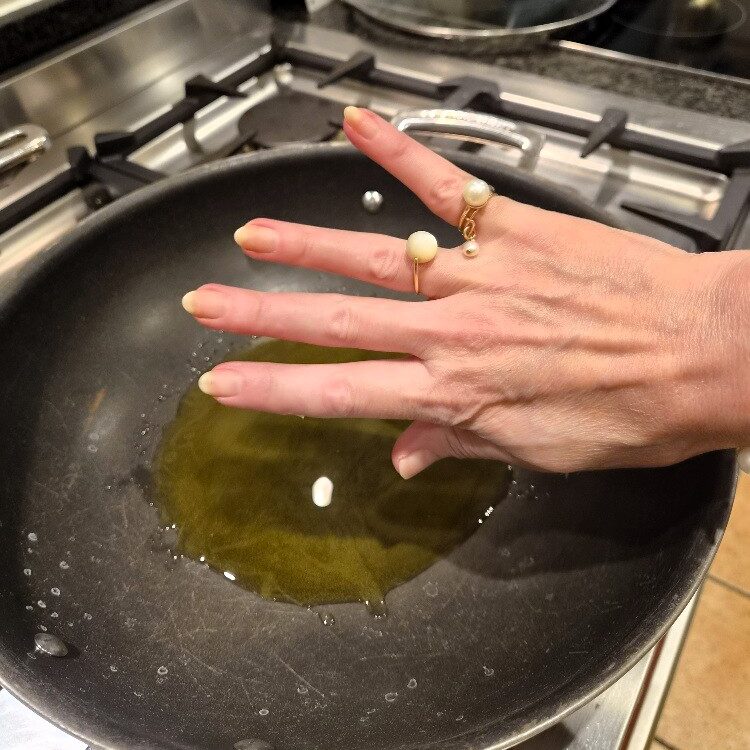
About half an hour before you want to serve, heat some olive oil in a pan large enough to fit the finished risotto. When it is warm – test it by hovering your hand over it – add the onion.
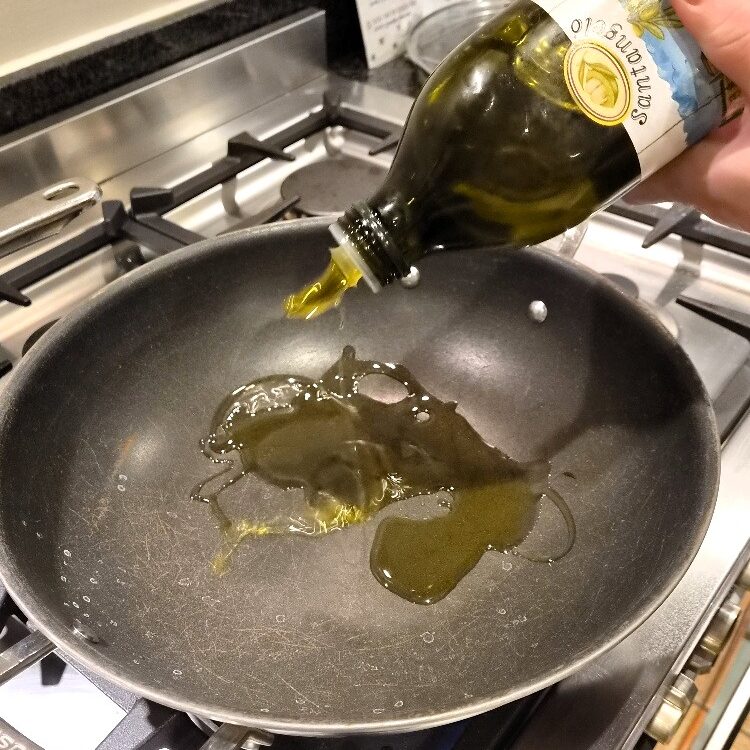
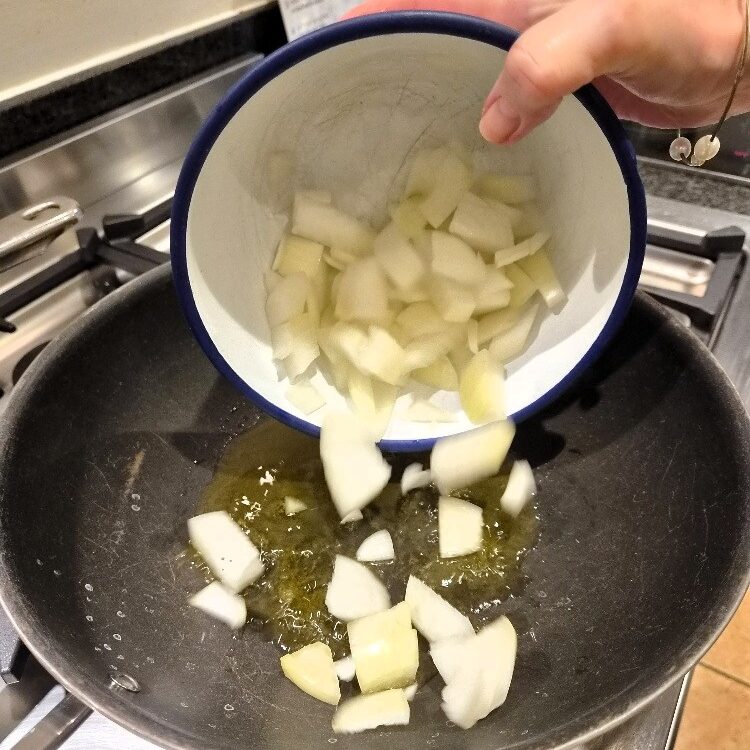
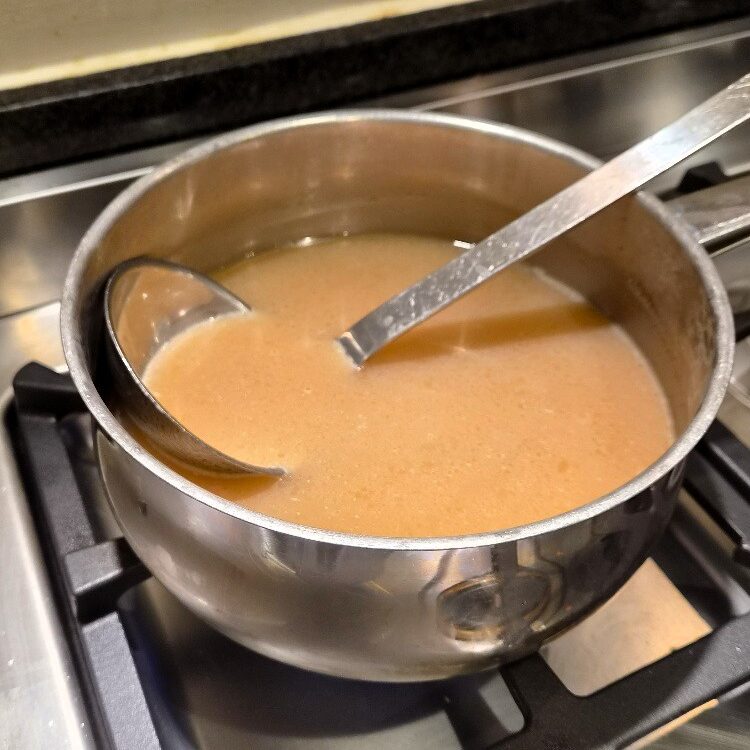
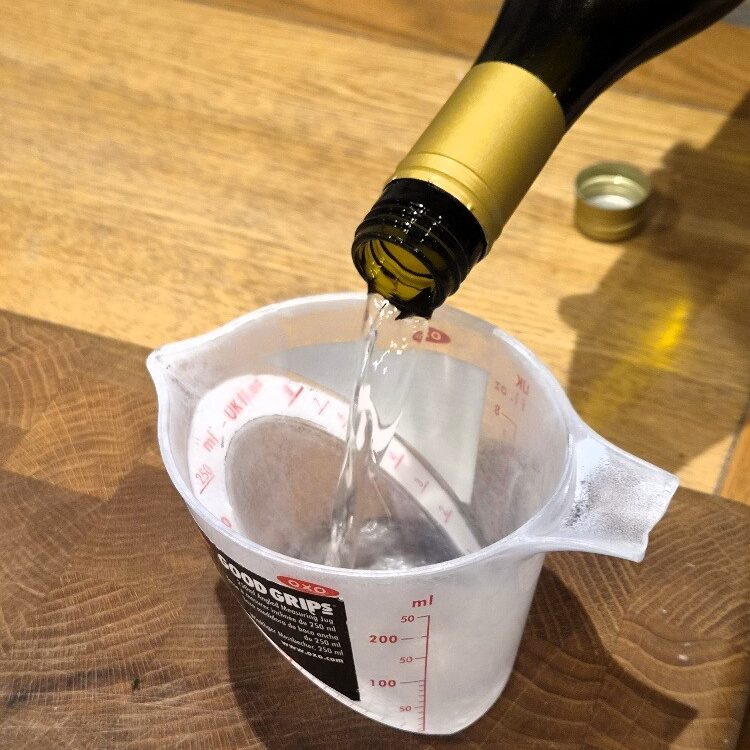
Fry the onions over a medium low heat, stirring occasionally and breaking the pieces out with your spoon or spatula. Meanwhile, get the stock on to heat up over a medium heat. It is handy to have a ladle for it, but if you don’t, use the largest spoon you have. Also measure out the white wine. You won’t need much, about a glassful or 150ml to 200ml. A dry, crisp wine works best, but any white wine will be fine.
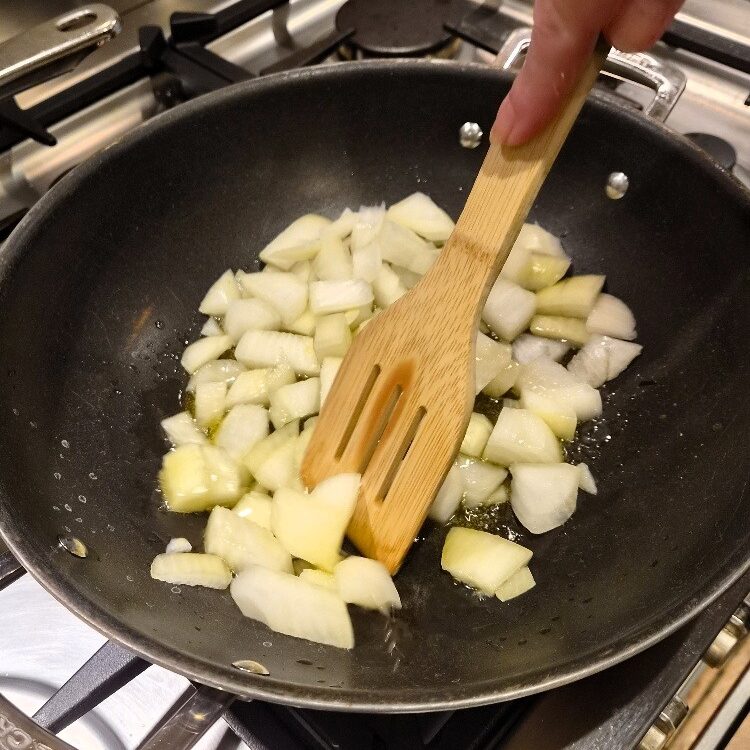
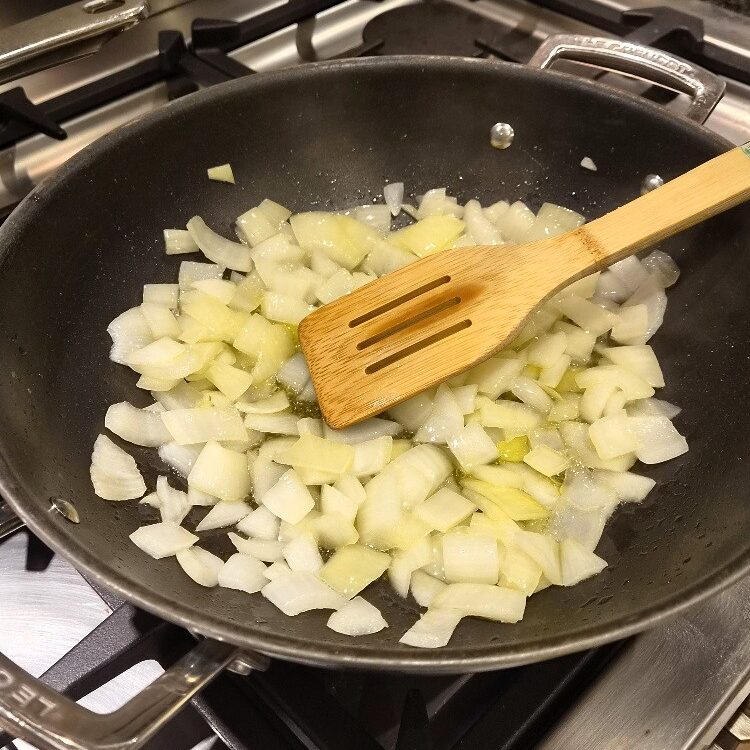
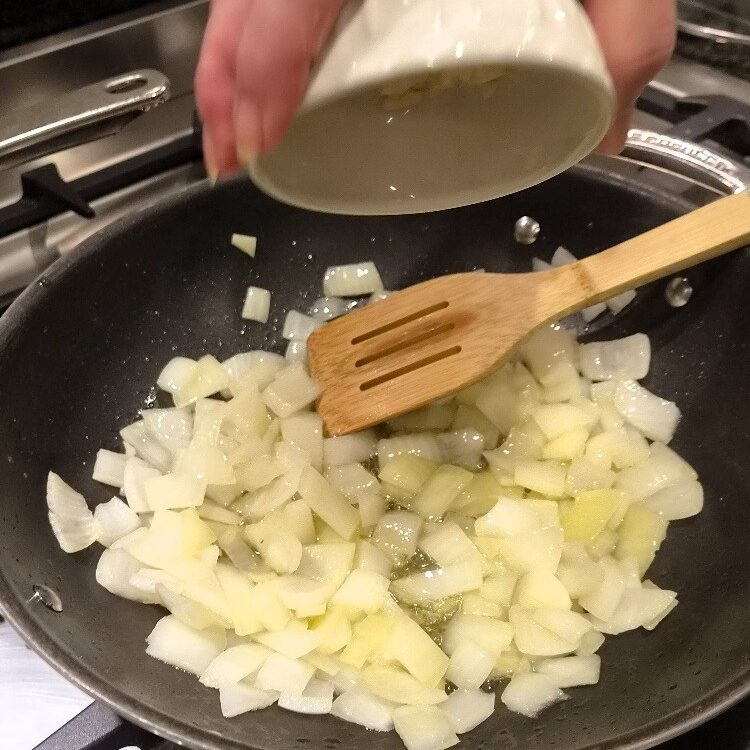
The onions are done when they are starting to soften and turn translucent, but still retain some bite, about 5 minutes or so. Next add the garlic, and stir for another minute or two, until the garlicy smell rises.
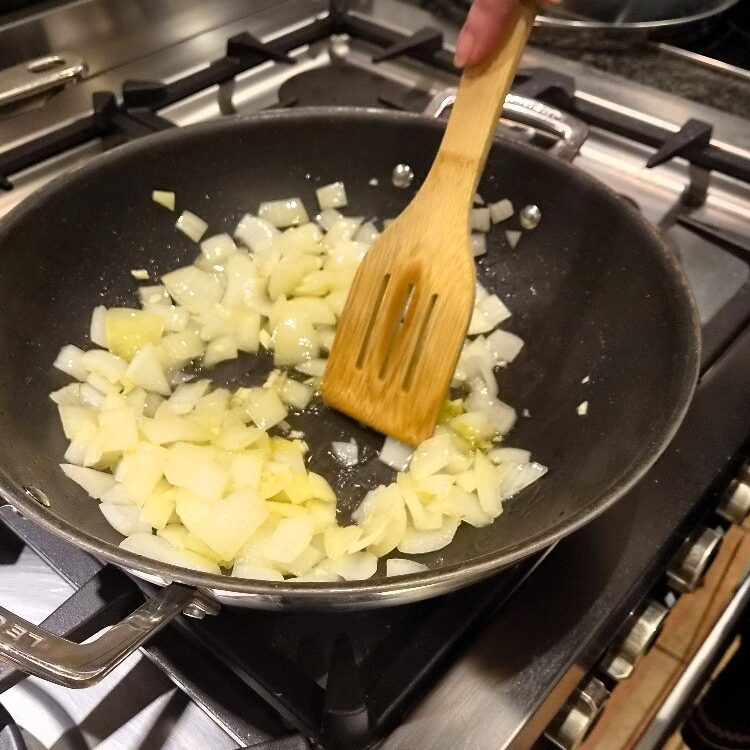
You are now ready to add the rice. There are several simple but critical steps to ensure your risotto is perfectly cooked, and we’re now at the first one.
Key step one: Cooking the rice in the oil
Keeping the heat medium, add the rice to the pan, all at once. Now stir and keep stirring it in the oil from the onions, until the grains start to go translucent. This is where many cooks go wrong with risotto – they don’t cook the rice long enough at this stage.
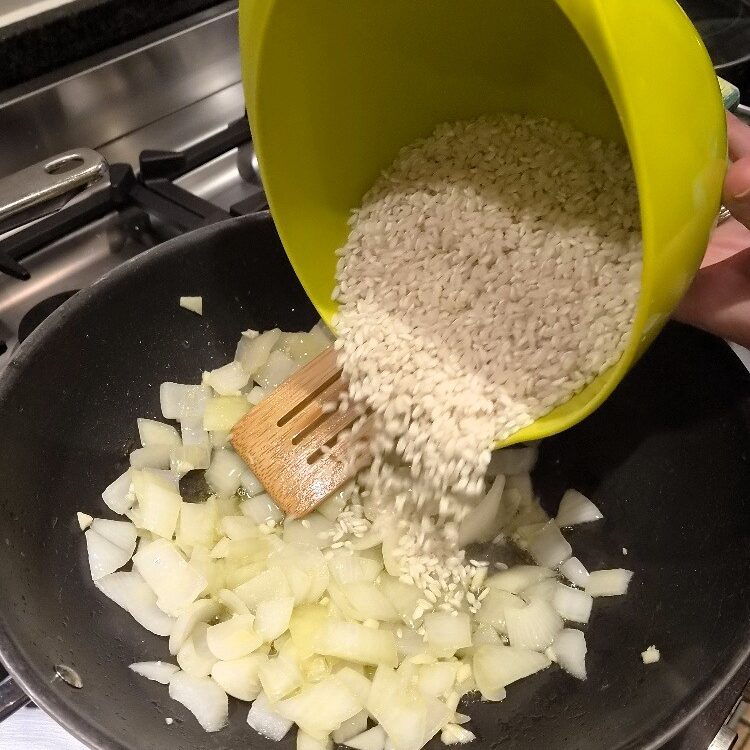
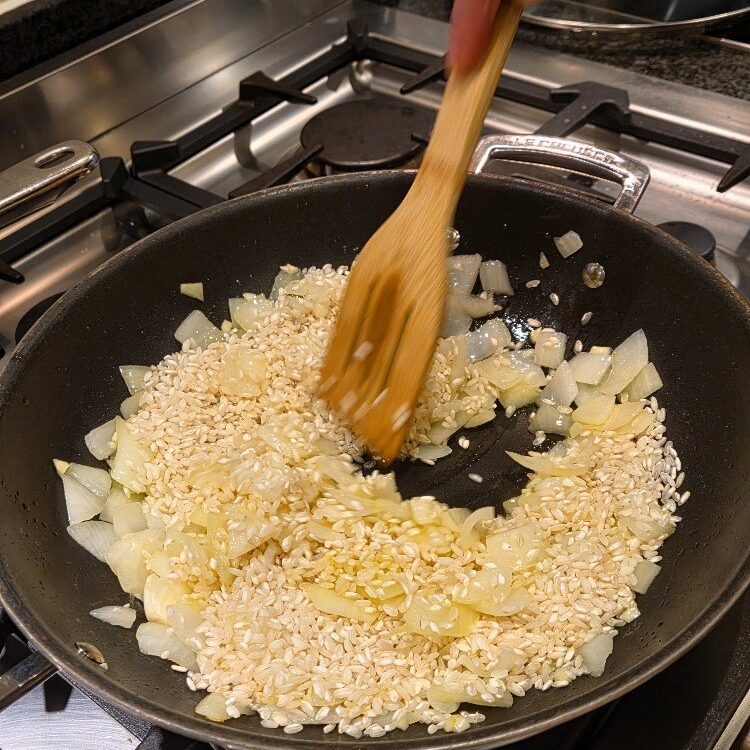
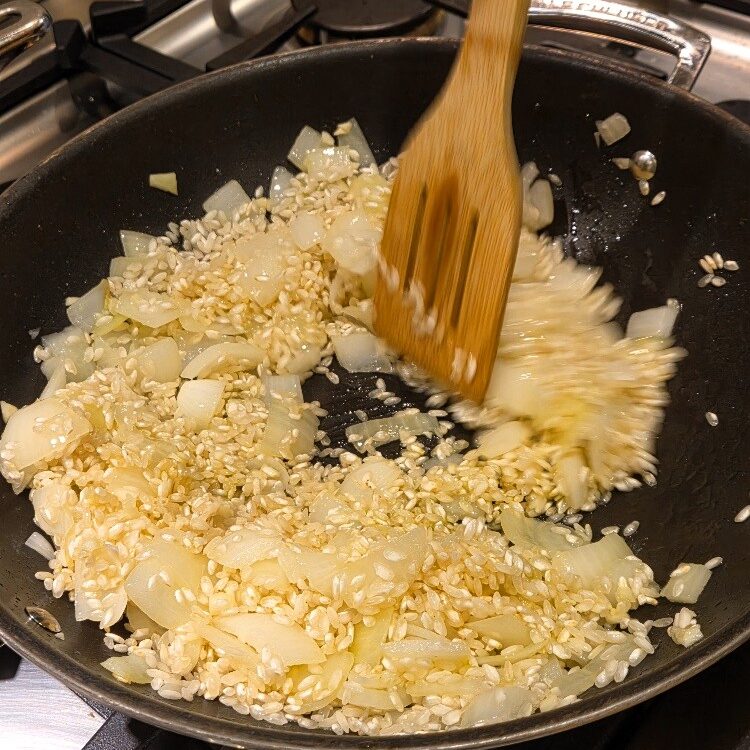
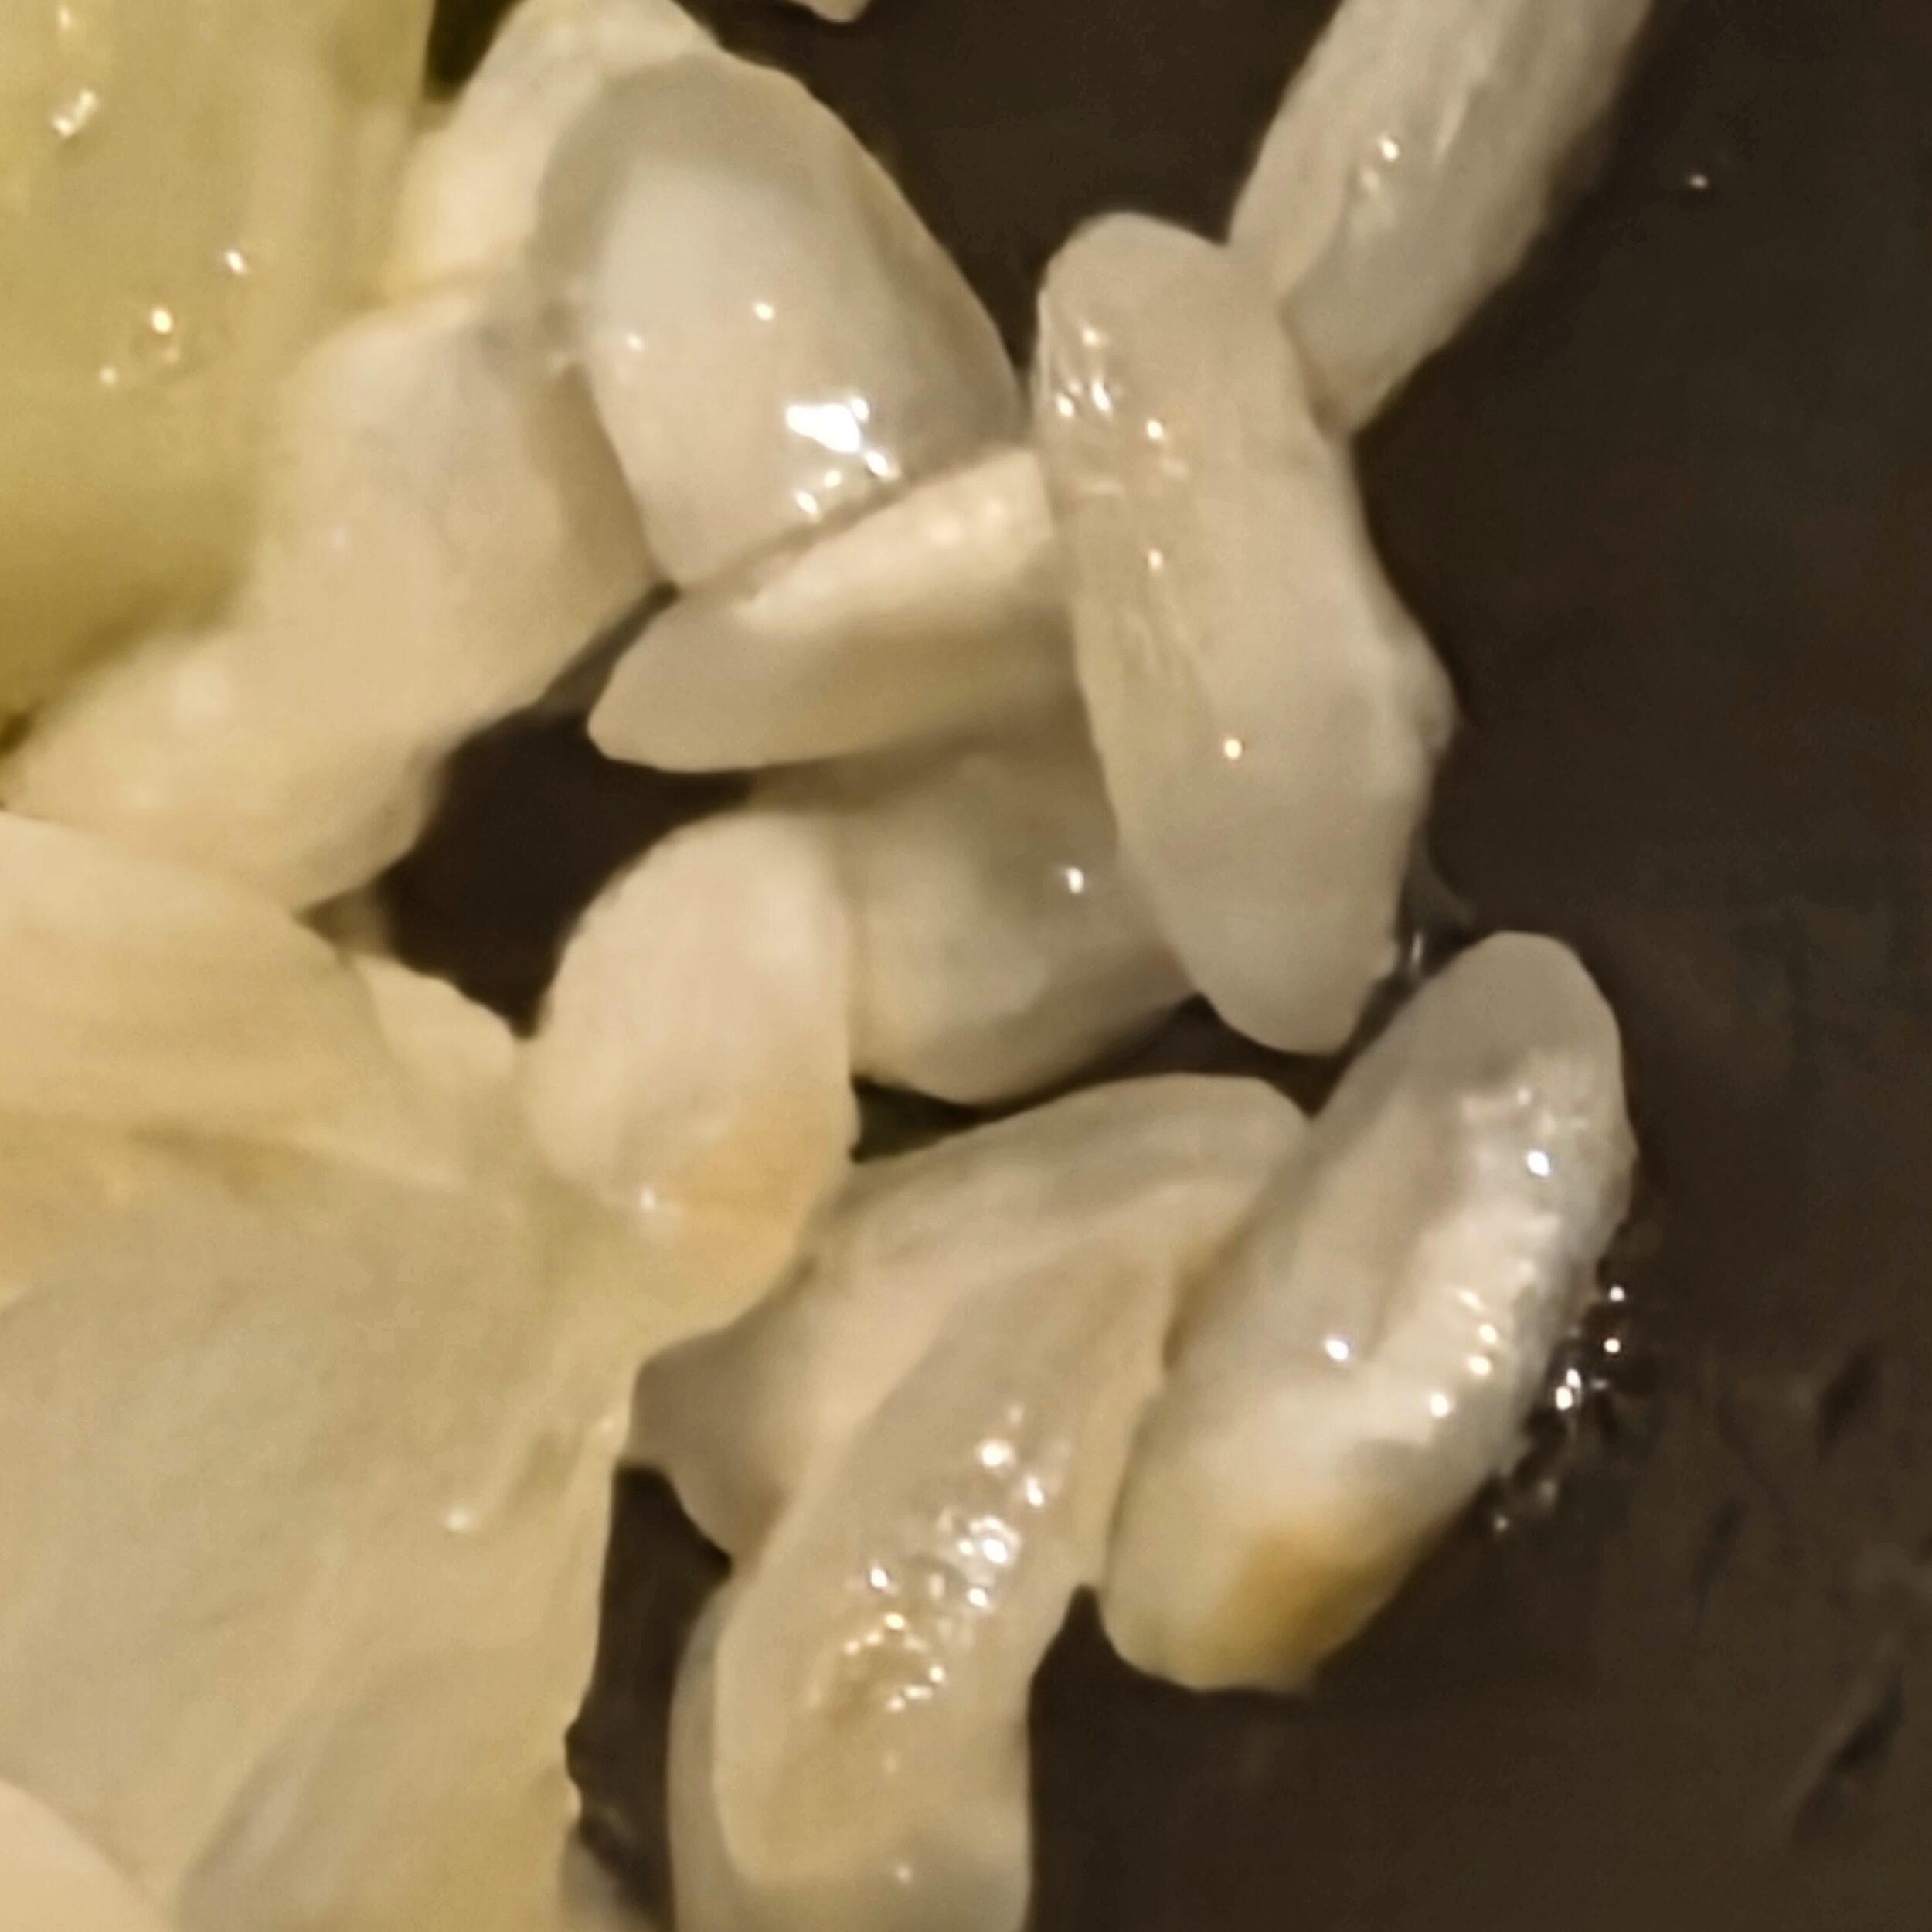
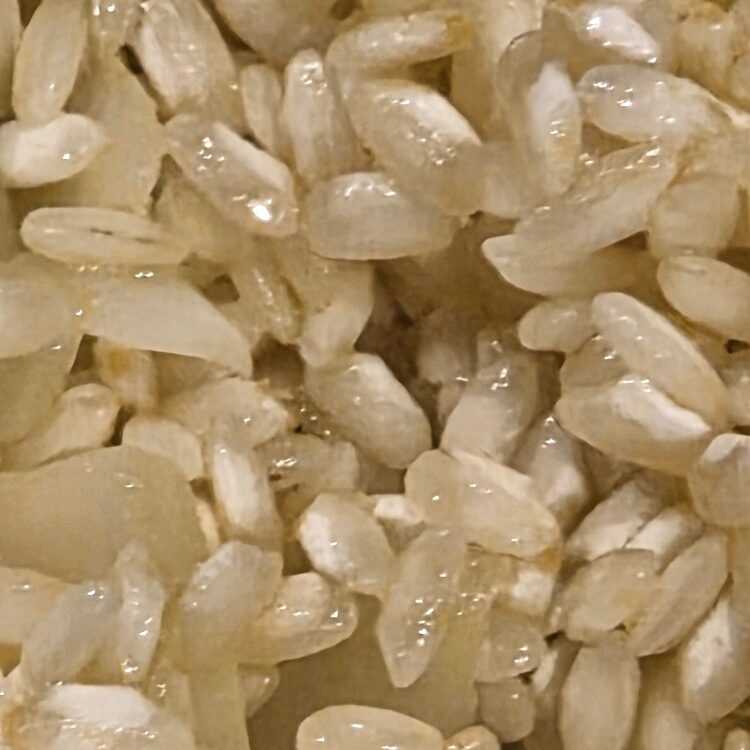
The grains need to go transparent at the edges, with just a little white at the core. This can take longer than you think, about 3 minutes or more depending on your rice. Be patient – waiting now makes a big difference to the finished result. We’ve tried to capture the look when it’s ready in the pictures below. The rice should also smell a little nutty.
The rice is just starting to go translucent in the first three pictures below, but isn’t quite there. The ones in the bottom row really show what you are looking for!
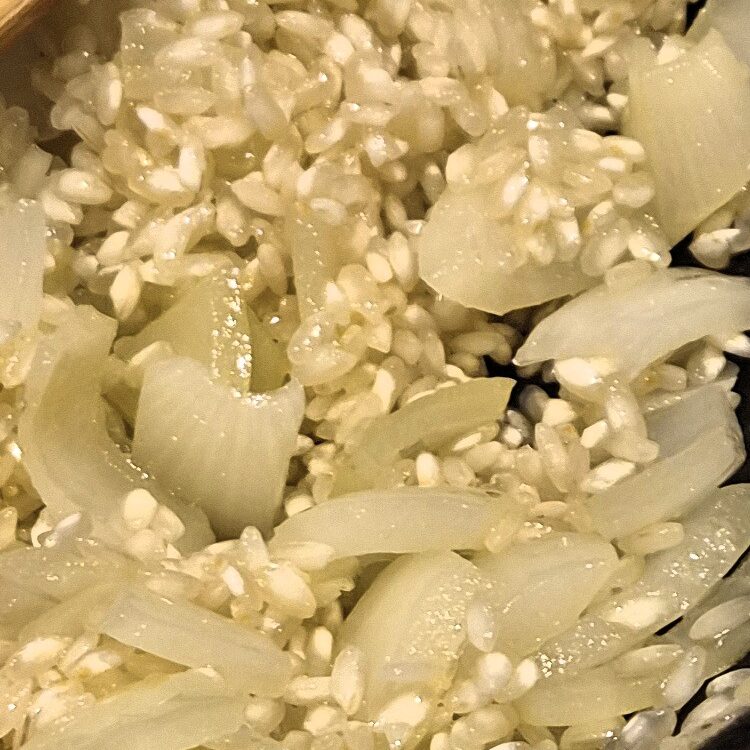
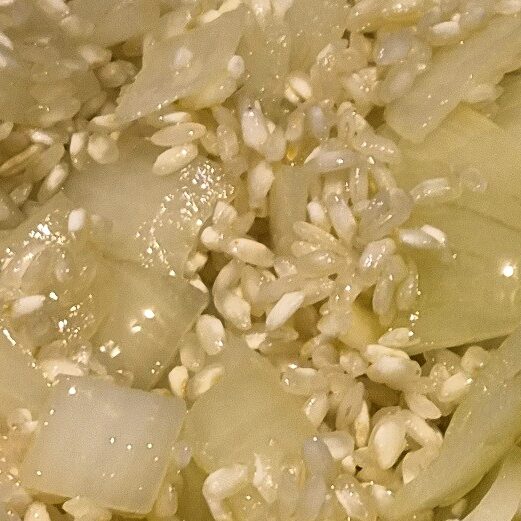
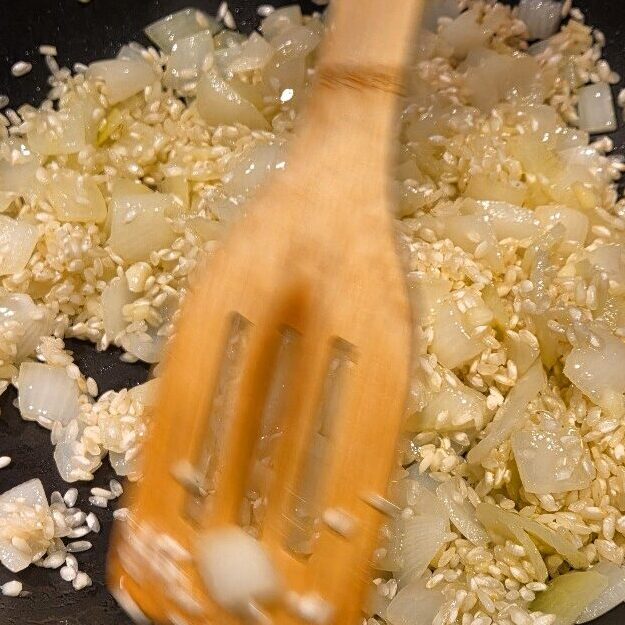
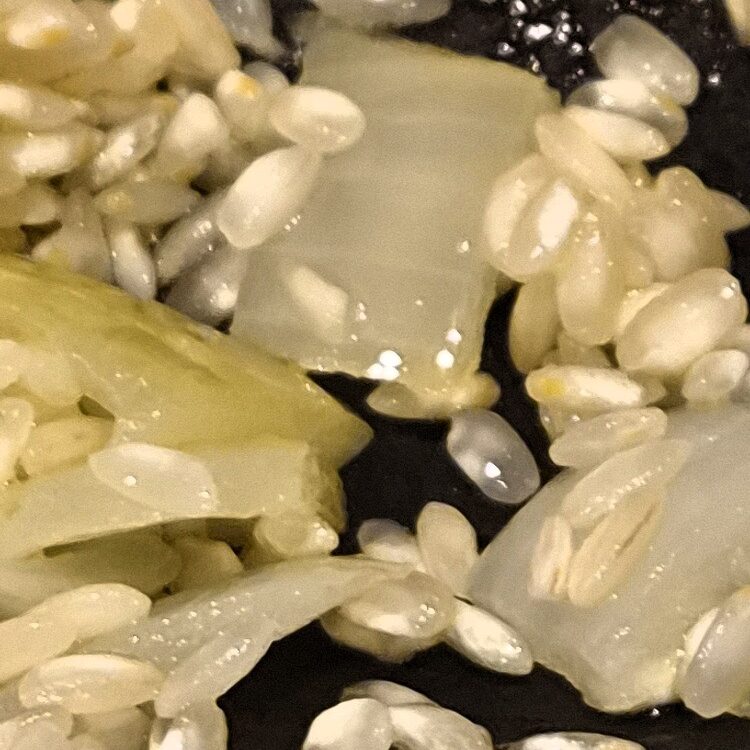
Jake sticks his nose in
This process is called tostatura, or ‘toasting’. It both gives the rice a protective coating, so it doesn’t go mushy with all the later stirring, and also ensures it releases starch slowly, giving the risotto its signature creaminess. So don’t skimp on your toasting!
Key step two: Adding the wine
We’re sorry to non-drinkers of alcohol, but wine does really make a difference in a risotto. Yes it adds taste & acidity, and also serves to deglaze the pan to maximise any flavour in it. But more than that, it seems to help emulsify the water from the stock with the oil in the pan, adding creaminess. We’ve tried making risottos without it, but they are never as good.
Of course if you really can’t have alcohol you can leave it out, and add a little citrus juice or verjuice at this stage instead. And the good news is, the alcohol will burn off during the cooking, so it is safe for children and other types of non-drinkers, if they are happy. We suggest if you are OK using even a little wine wine, do, as it does make the texture & flavour better.
Add the wine all at once, and stir well until it has completely evaporated, a minute or two. The wine will definitely sizzle and possibly spit as it hits the hot pan – if it spits, let it settle for a second on two before going in to stir so you don’t scald your hand.
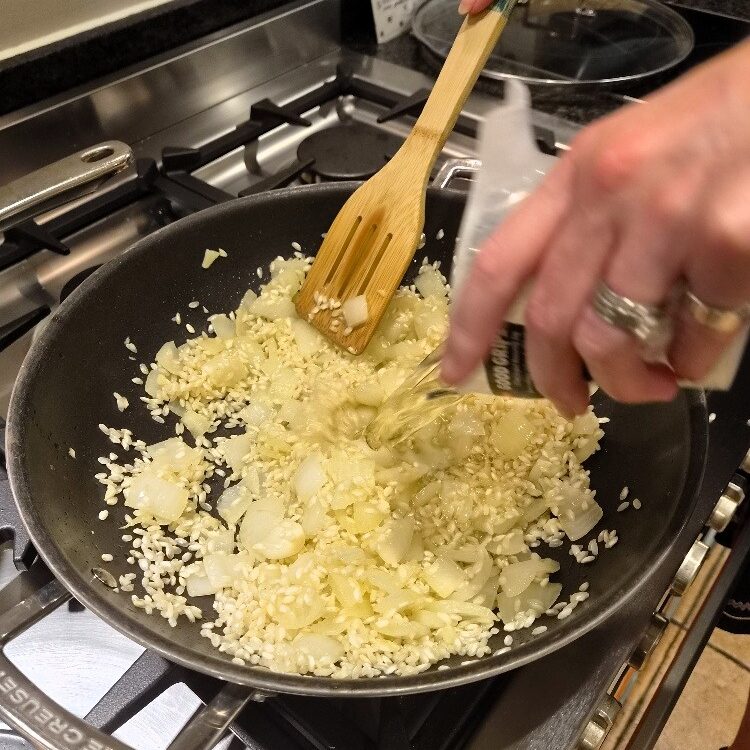
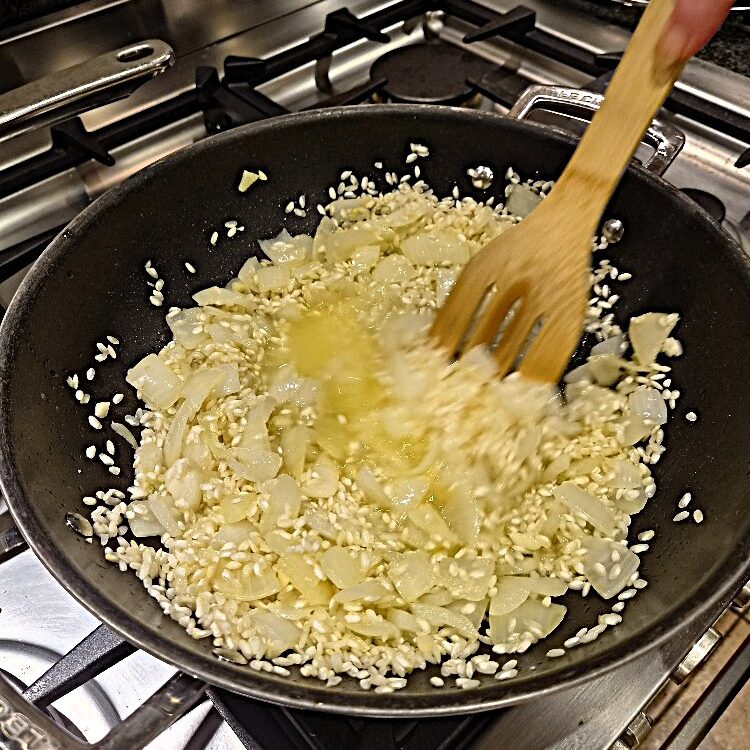
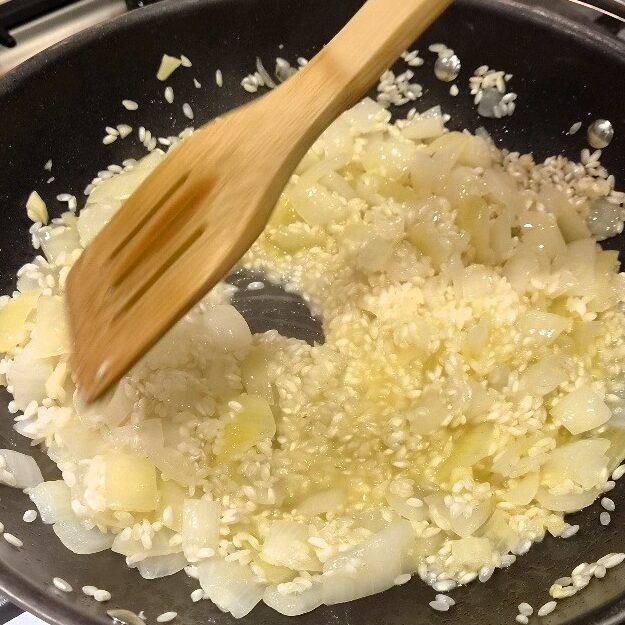
You might notice that the rice starts to look a little creamier once the wine is in, as in the third picture above. This is good, and the wine doing its job! You are now ready to start adding the stock, which is the third key step.
Key step three: Adding the stock
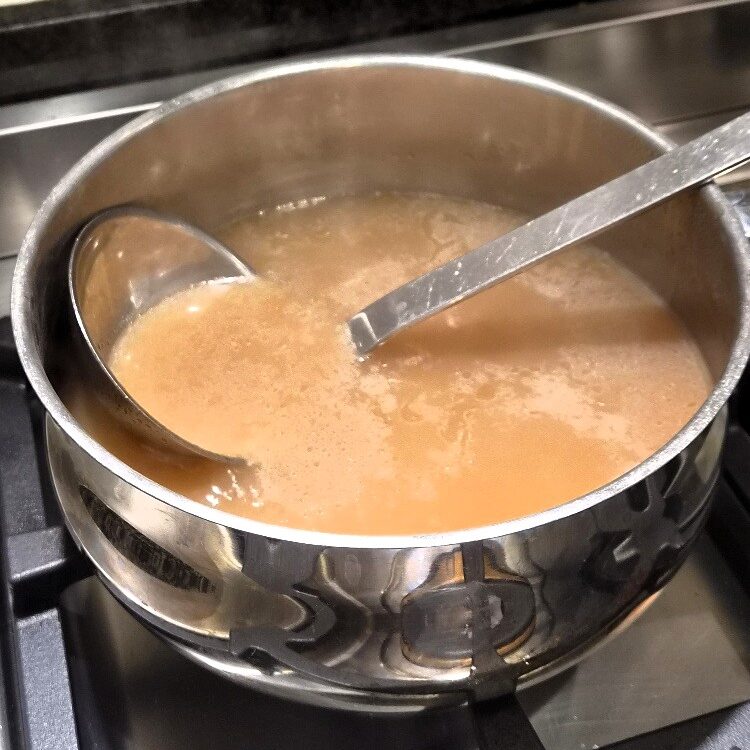
You need hot stock to make a risotto; keep your stock in the pan at a simmer over a low to medium heat while you add it. It’s helpful to have the stock pan right next to the risotto pan on the hob.
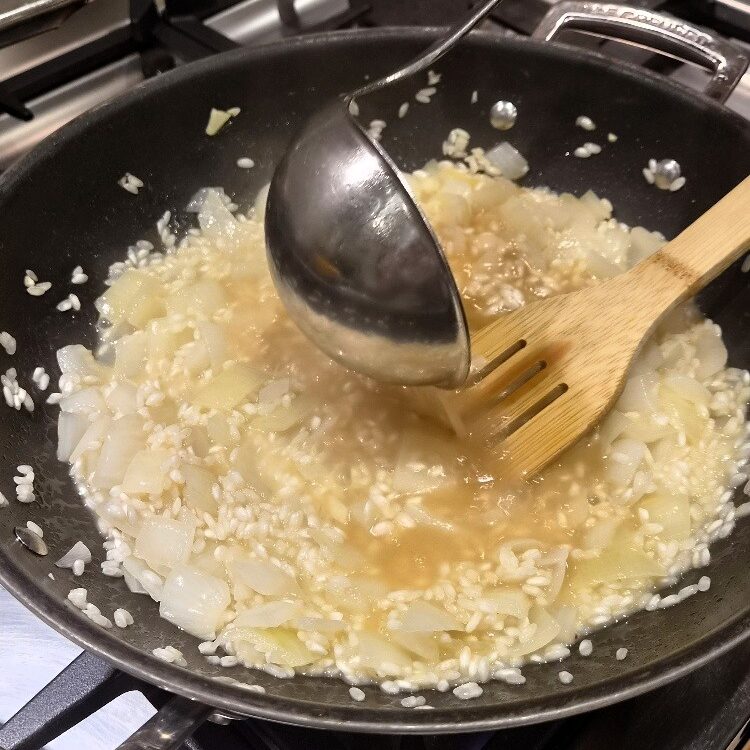
Add the stock one ladle-full at a time. And stir well between each addition, until each ladle of stock has been fully absorbed by the rice. This is time consuming, but a key risotto-making tip. Do not add the stock too quickly, and do keep gently stirring the risotto all the time. Again, don’t skimp here – constant stirring helps the stock absorb and prevents sticking, but also, importantly, develops the creaminess you want in the finished dish. It’s a similar process to that which we use in white sauce-making – patience adding the liquid is rewarded with good results!
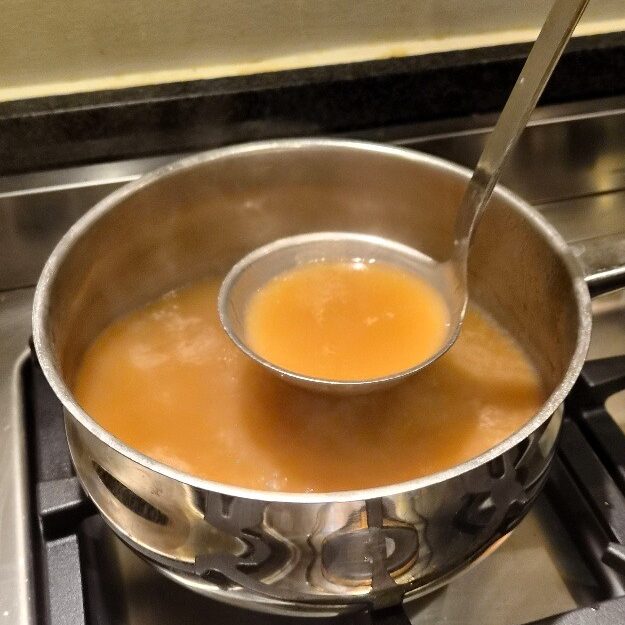
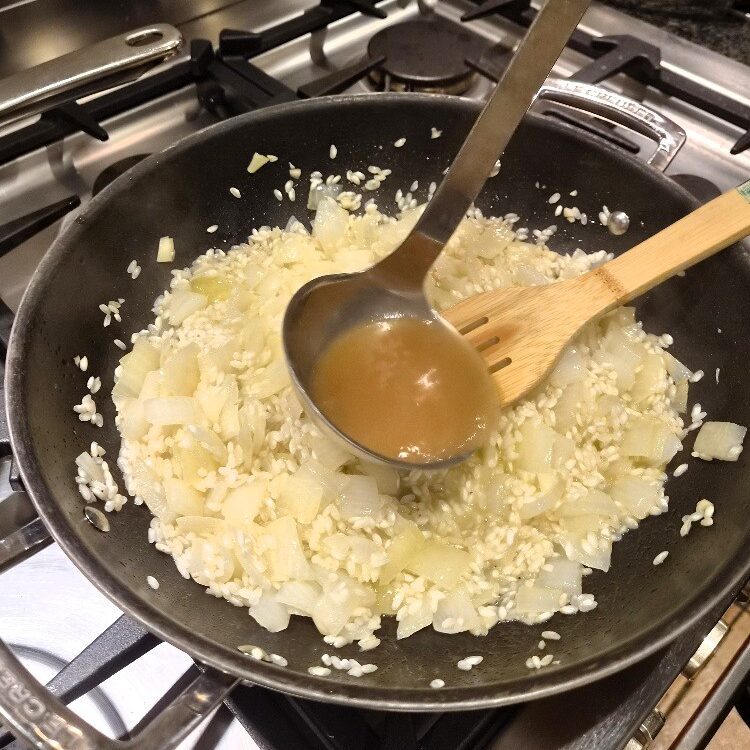
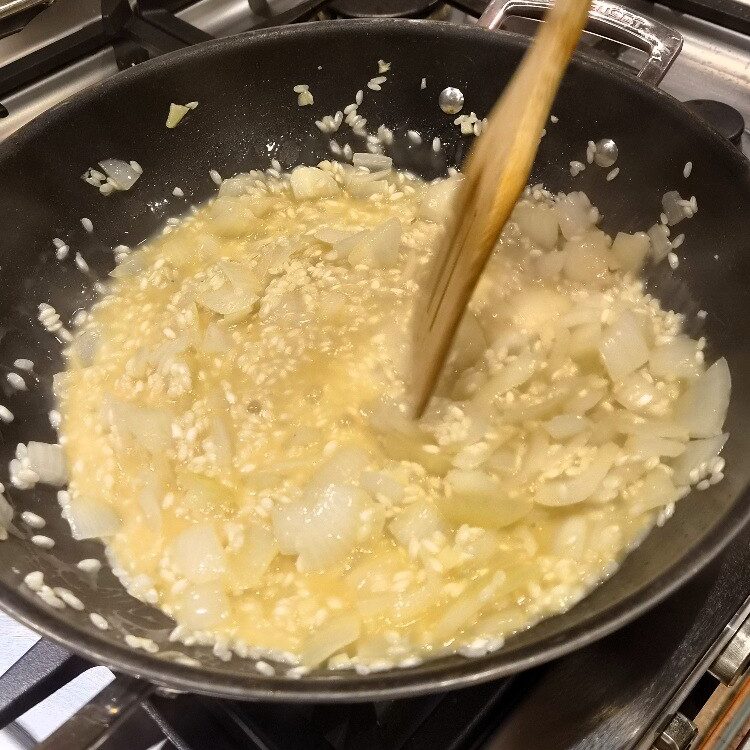
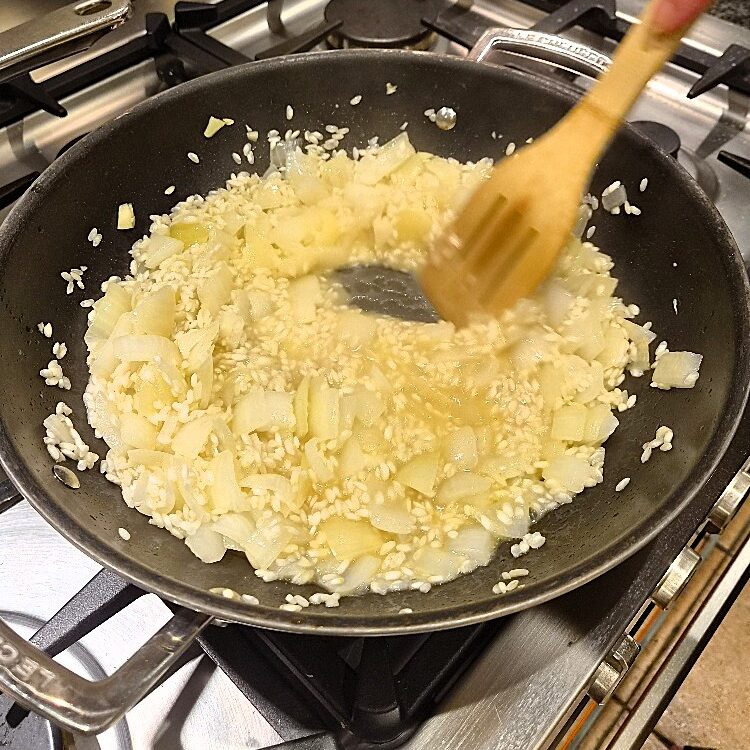
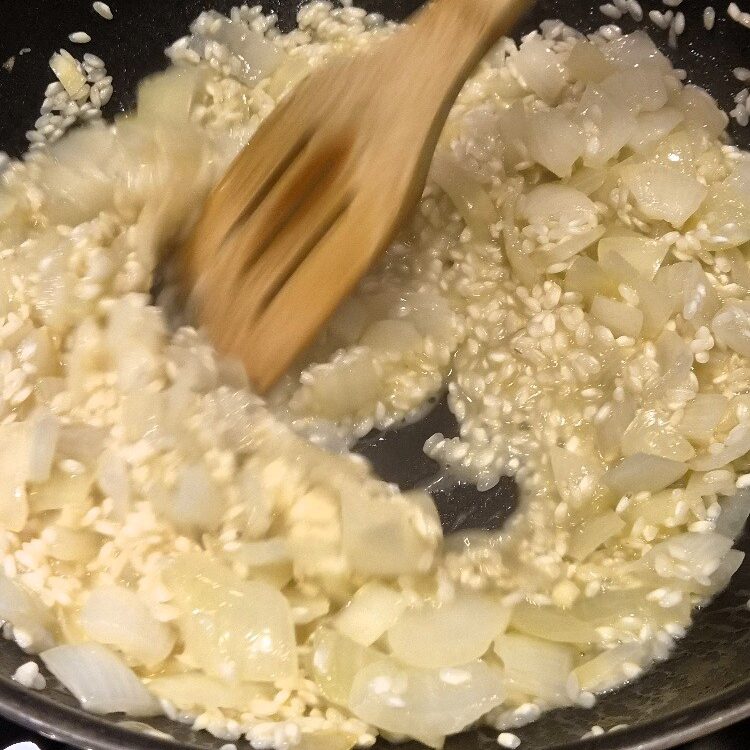
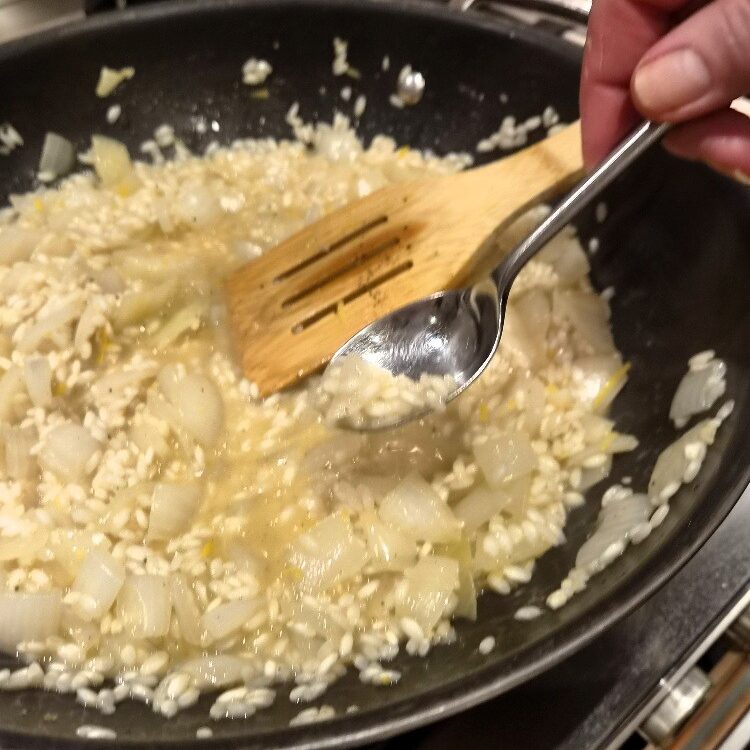
You can hopefully see in the last three pictures above how the stock absorbs as you stir. Once it’s looking dryer, you can add the next ladle. After you’ve added another ladle or two, stirring between each addition, add the lemon juice (reserving a little to adjust at the end) and the lemon zest, and stir again.
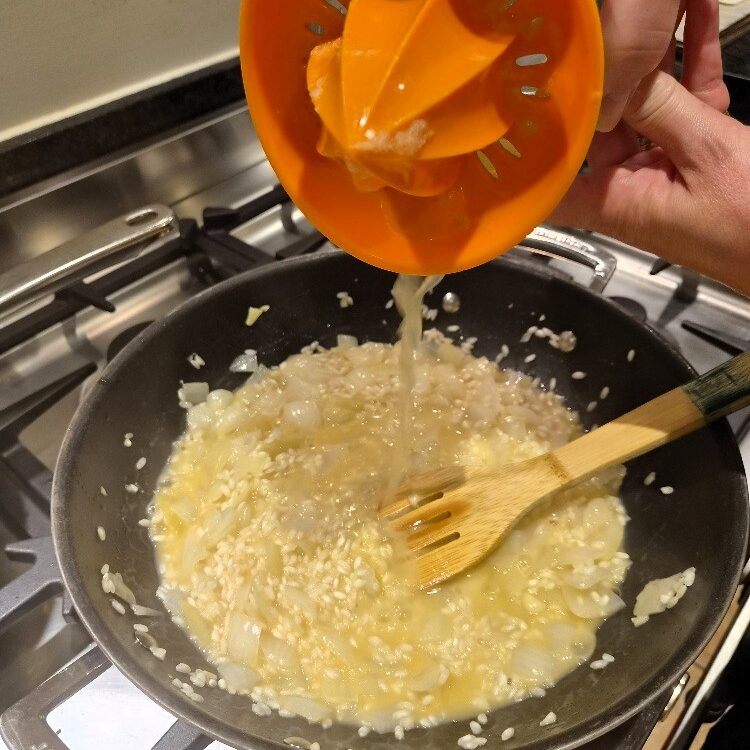
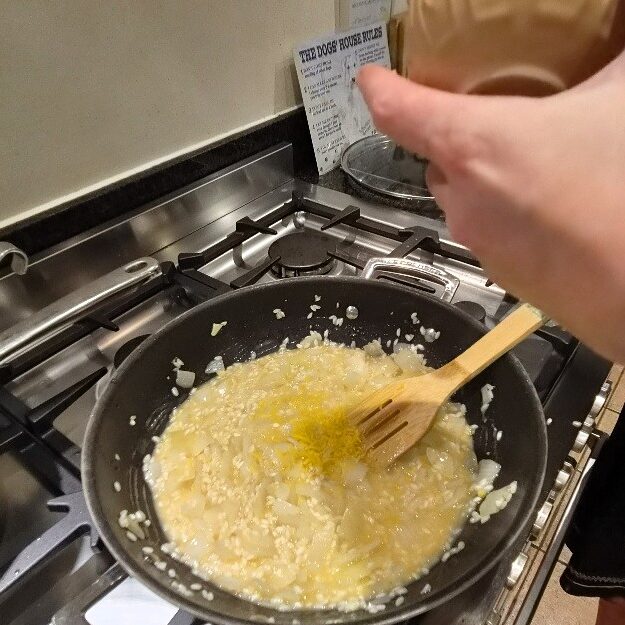
Jake sticks his nose in
A word on stirring. Emily was once told by an excellent Italian chef to always stir the risotto in only one consistent circular direction, round and round the pan. So now she does this, clockwise in her case! We’re sure this isn’t completely essential, but there’s definitely something in it – it’s gentler on the rice and helps prevent it breaking up. It’s surprisingly relaxing too!
Also season with black pepper to taste. Keep adding the stock, ladle by ladle & stirring, until the rice is tender. How long really depends on the rice, but usually about 20 minutes. The only way to tell is to test a few grains. If they are still firm or chalky, cook longer, adding more stock. If they are tender and yield easily, even if they still retain a little bite (al dente is good), the risotto base is done.
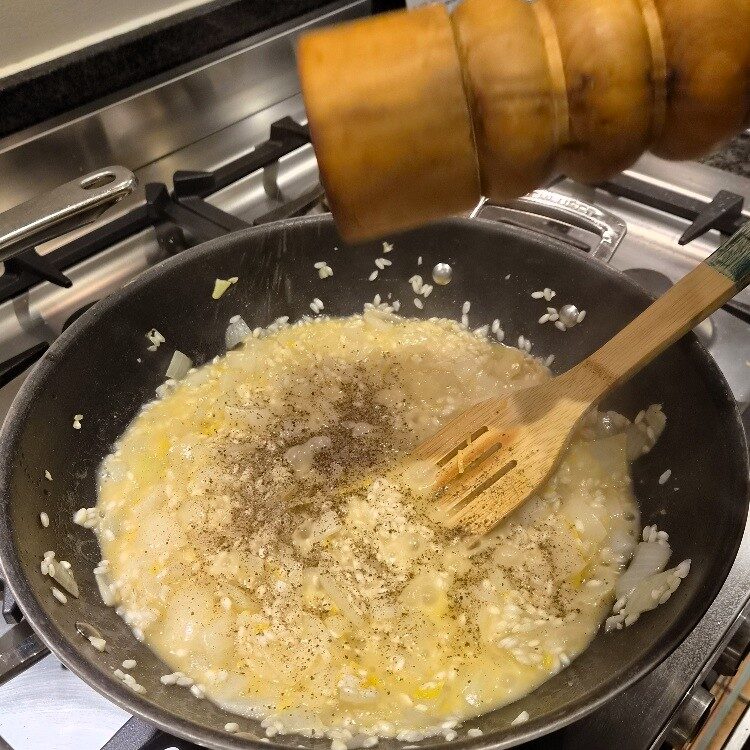
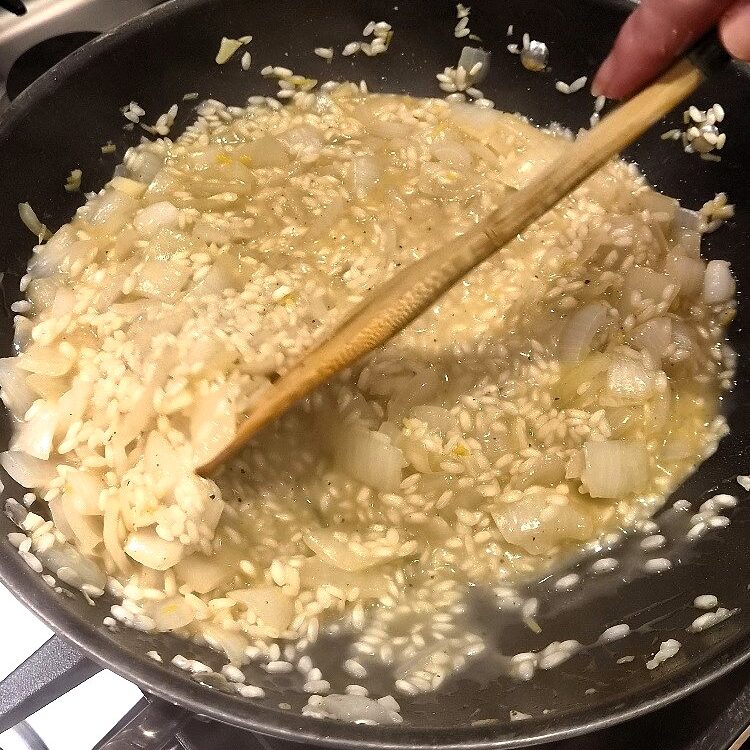
Jake sticks his nose in
You don’t need to add all the stock – the risotto is done when it is done, and rice varies. And if you run out of stock before the rice is tender, quickly make up some more from a cube, or just use boiled hot water for the last little bit.
There’s no better way than biting into a few grains to tell if the risotto is cooked, but as a guide it should look like the below:
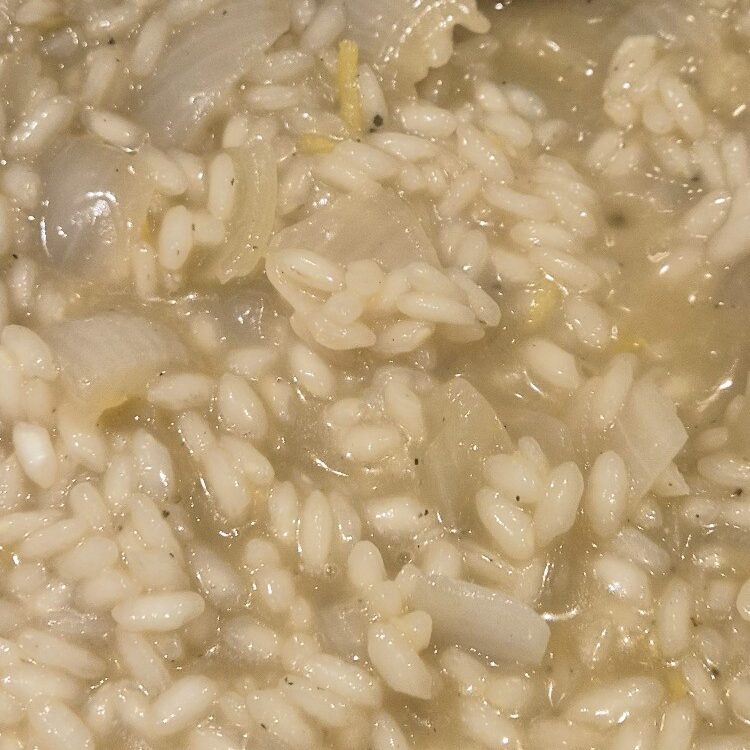
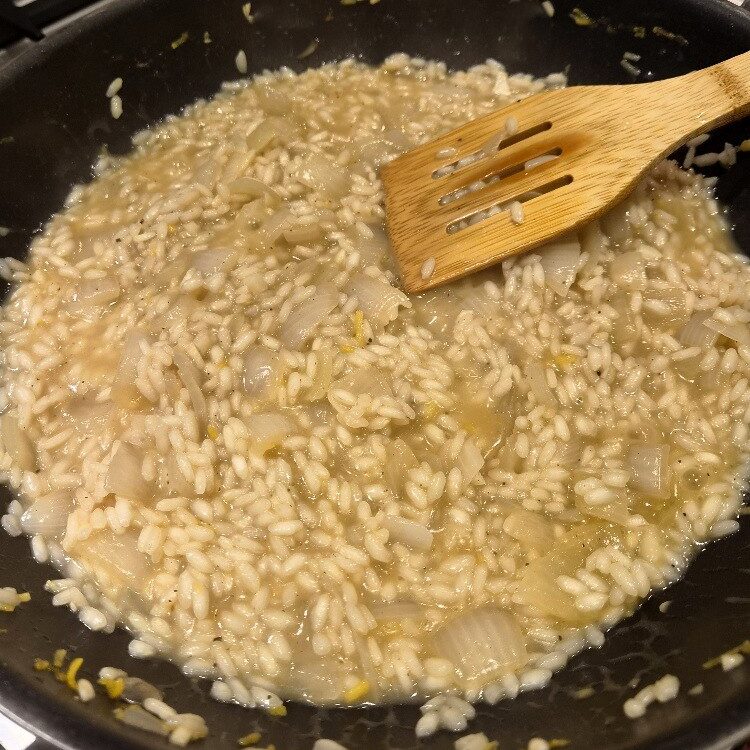
Congratulations, you’ve just made risotto! This classic risotto base can now be flavoured up & finished a number of ways to make various different types of risotto. For example, if you added a little butter & Parmesan now you’d have the very simplest risotto, risotto bianco, which is delicious in its own right or as a foil for seafood. If you also added some infused saffron, you’d have another delicious simple risotto, Milanese, traditionally served with osso buco or breaded meat cutlets.
But today we’re going to flavour with our broad beans, peas, ham & mint, which is the next step. We’ll give some other ideas for flavourings at the end.
Key step four: Adding the other key inclusions
Our key add-ins today are quick to cook, or just need to be warmed, so we can add them straight to the risotto base. (Other inclusions may need to be pre-cooked or added earlier in the process.) As we mentioned, it’s better however if the beans & peas have been out of the freezer for a while to warm up.
Add the broad beans & peas first, and stir well. Turn up the heat a little – it is important the risotto comes back up to temperature and the peas & beans cook, though this should only take 3 or 4 minutes. You don’t want the risotto to over-cook however, so test for temperature and doneness early. You may need / want to add a very small amount more stock if the risotto stiffens up too much, but don’t add too much or the rice will over-soften. We didn’t need to today.
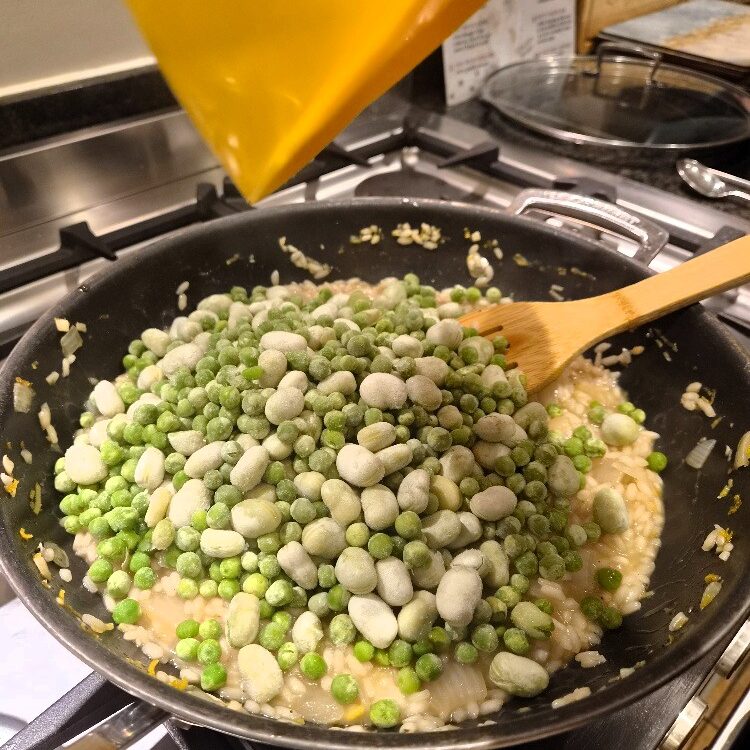
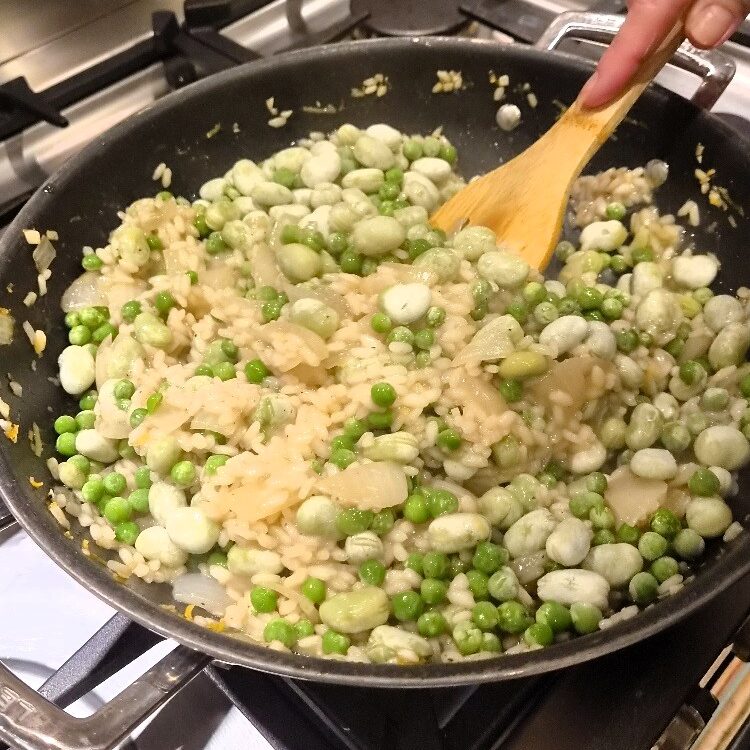
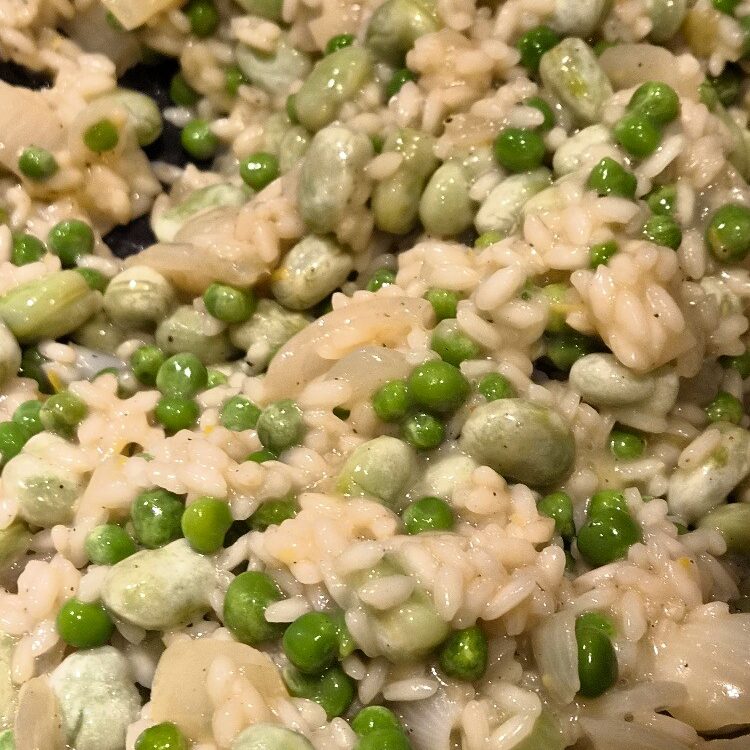
Taste, both for flavour & temperature / done-ness of the peas & beans, and add more lemon & black pepper to taste if needed. You shouldn’t need to add salt because of the stock, and you will be adding more salty flavours with the ham & Parmesan.
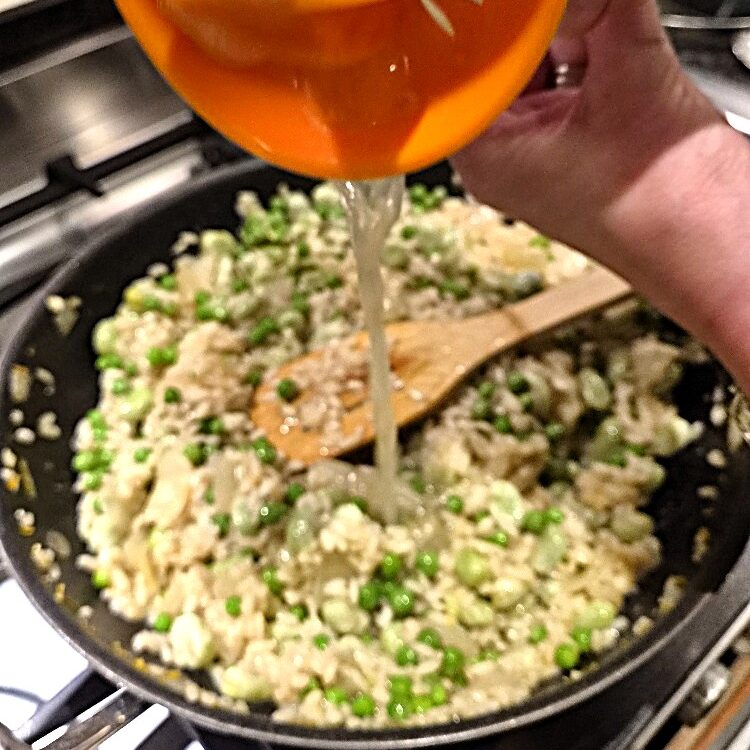
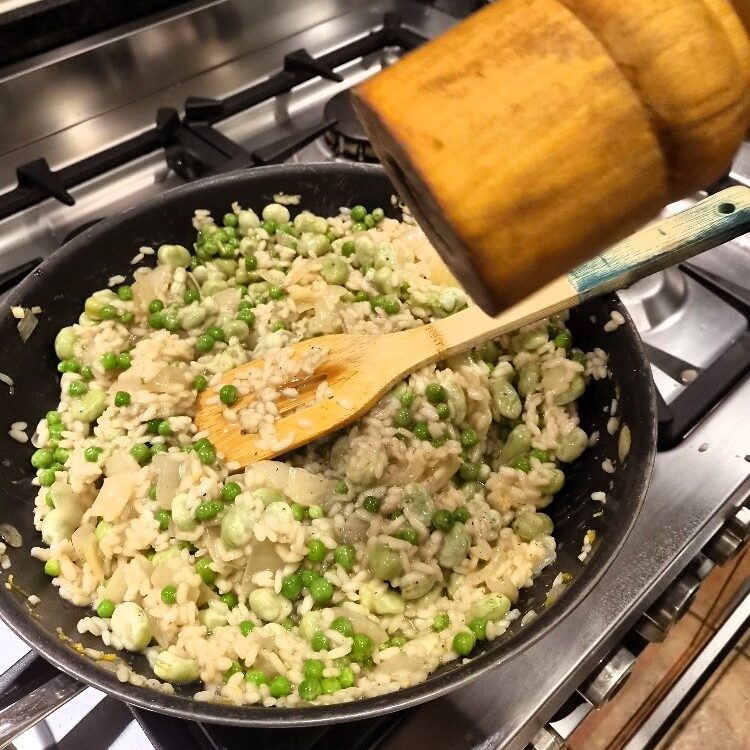
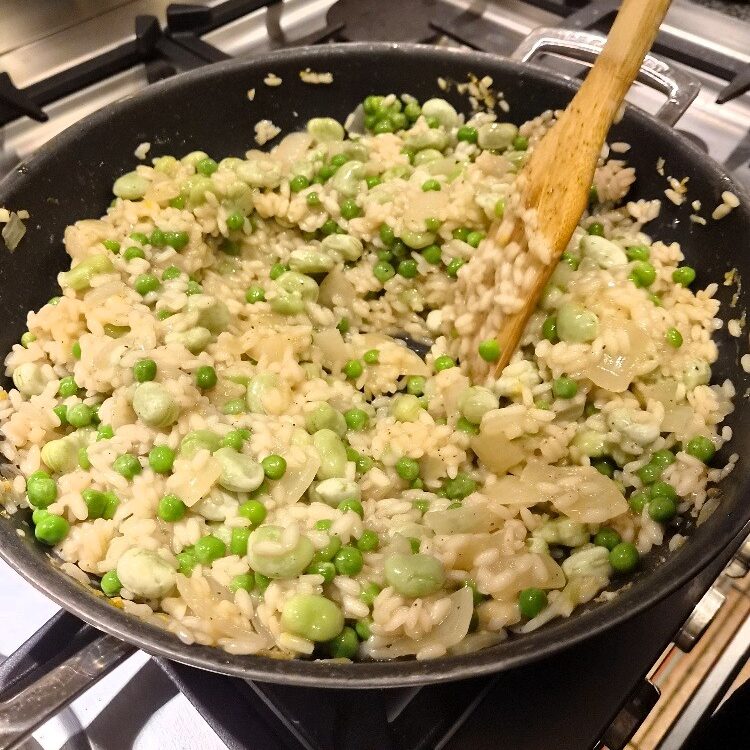
Now add the ham, folding it in well but gently so the pieces don’t break.
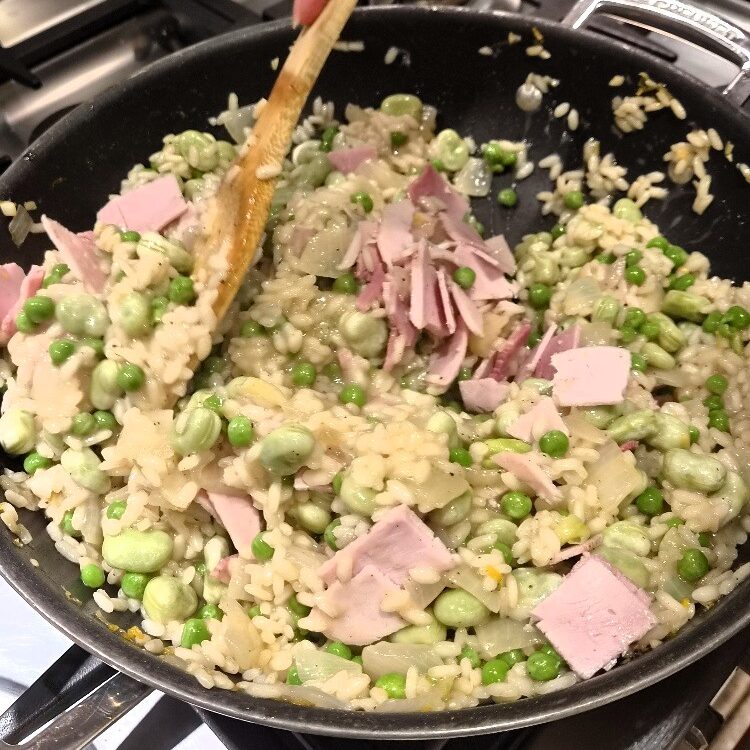
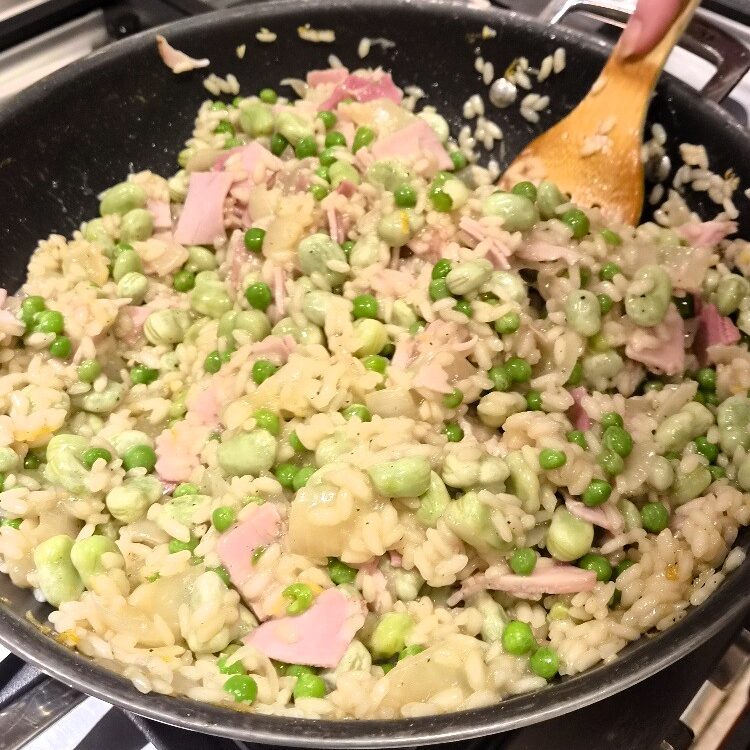
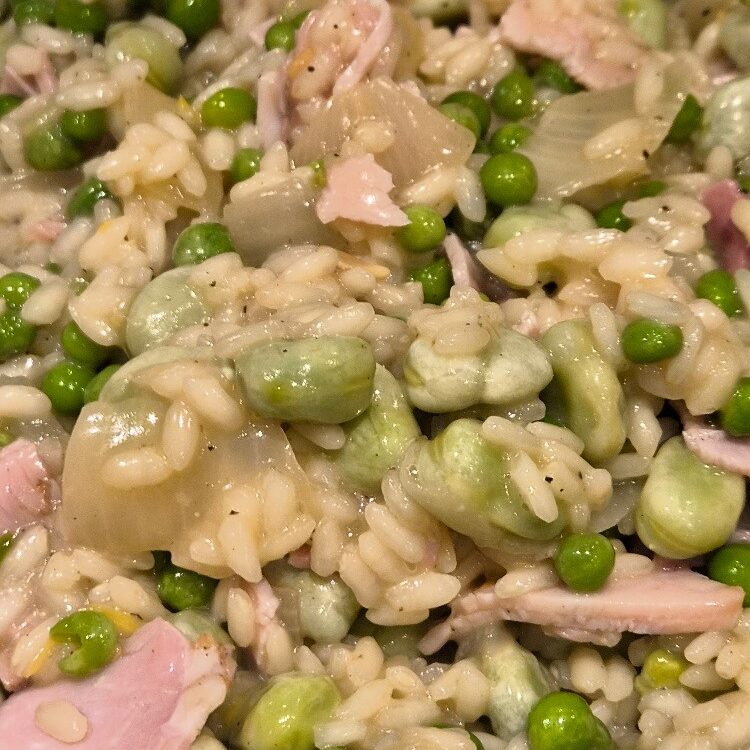
As you can see we like to add quite a lot of the add-ins to this risotto. An Italian, particularly a Northern Italian, where risotto comes from, might laugh at us. And it’s true, most Northern Italian risottos are less loaded than this, and also slacker in texture (and delicious). And we do also make many risottos, particularly fish & vegetable ones, in that style and love them. But for this one we just think the peas & beans work so well with the rice, and give the risotto a lovely ‘pop’ of texture.
You are now ready to finish the risotto, the final step before serving.
Key step five: Finishing the risotto
Risottos can be finished in several ways, the traditional one being adding both butter and Parmesan. You need to stir these in, and then rest the risotto after this. We often do this, and you could add butter here too. But today, to keep the risotto slightly lighter, we added just Parmesan, though a generous handful.
Some cooks alternatively finish with cream or mascarpone, or replace the Parmesan with a different cheese. And this can work, depending on your other flavourings, though it’s not traditional. In particular we find cream or mascarpone overwhelms the delicate natural creaminess of the rice, so now we tend not to use it, except in some very particular risottos. Again, a Northern Italian would agree!
Add the Parmesan to the risotto, we like to add quite a lot. Immediately pull the risotto off the heat, and stir the cheese in well.
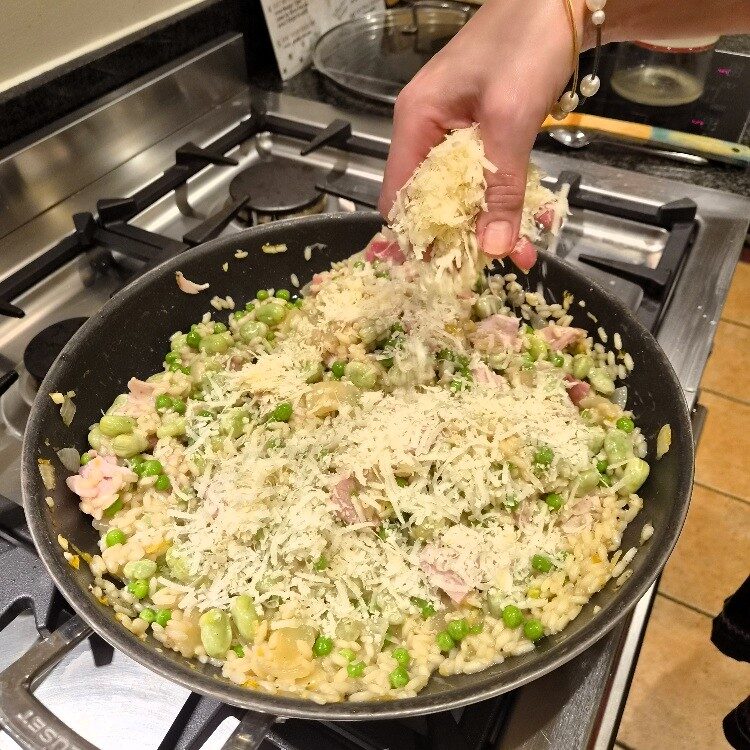
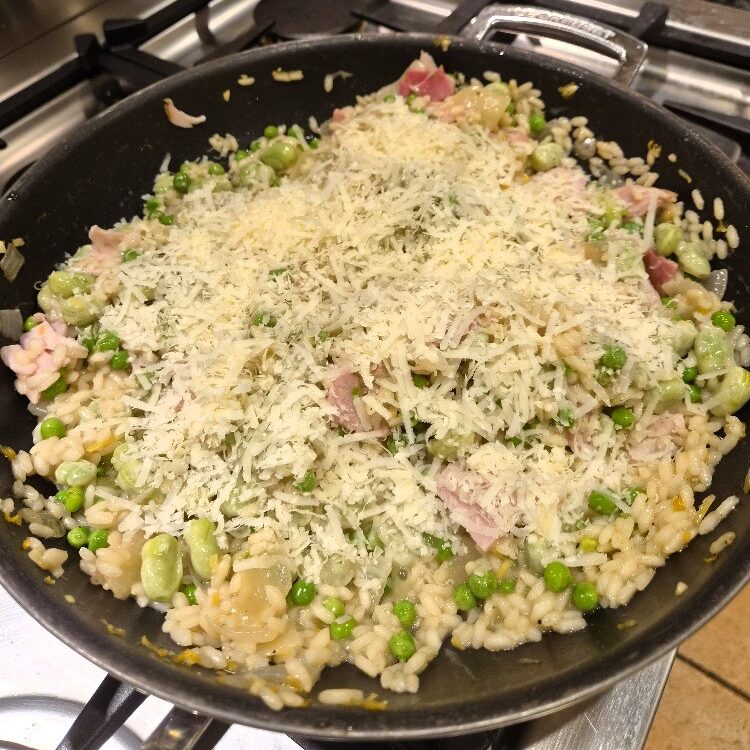
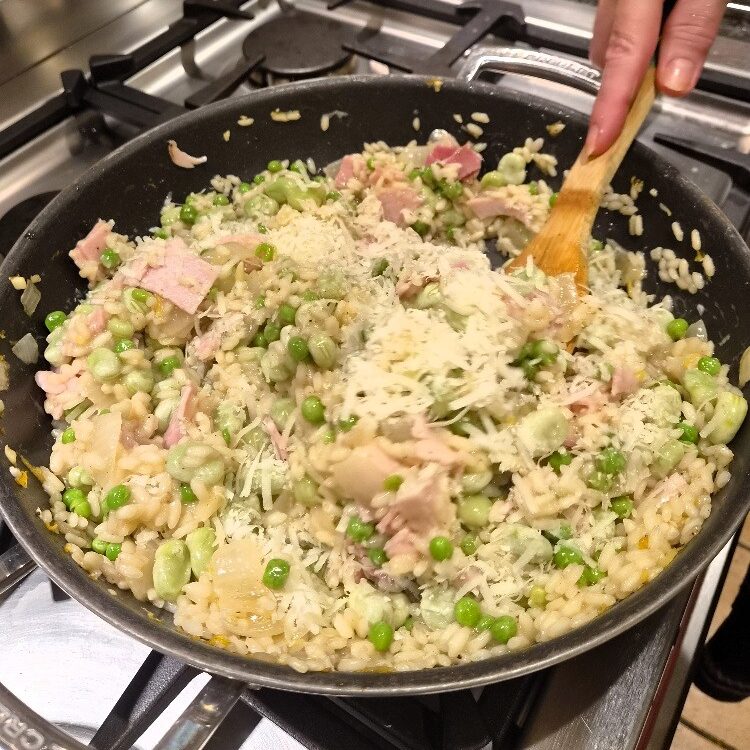
Also add the mint, and stir in. Cover the broad bean, ham & mint risotto with a lid, and allow to stand, off the heat, for a minute or two to let the flavours settle & develop.
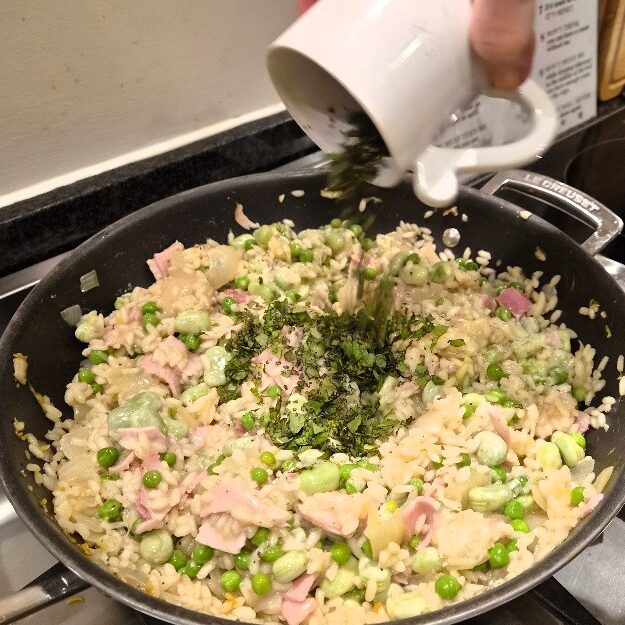
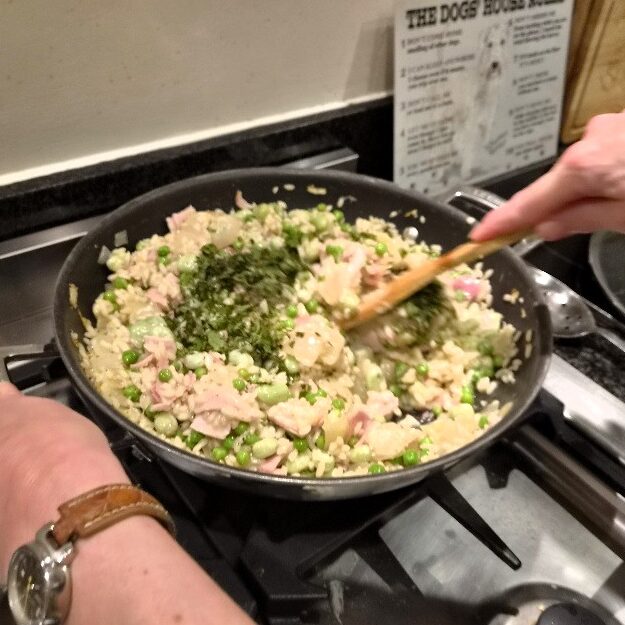
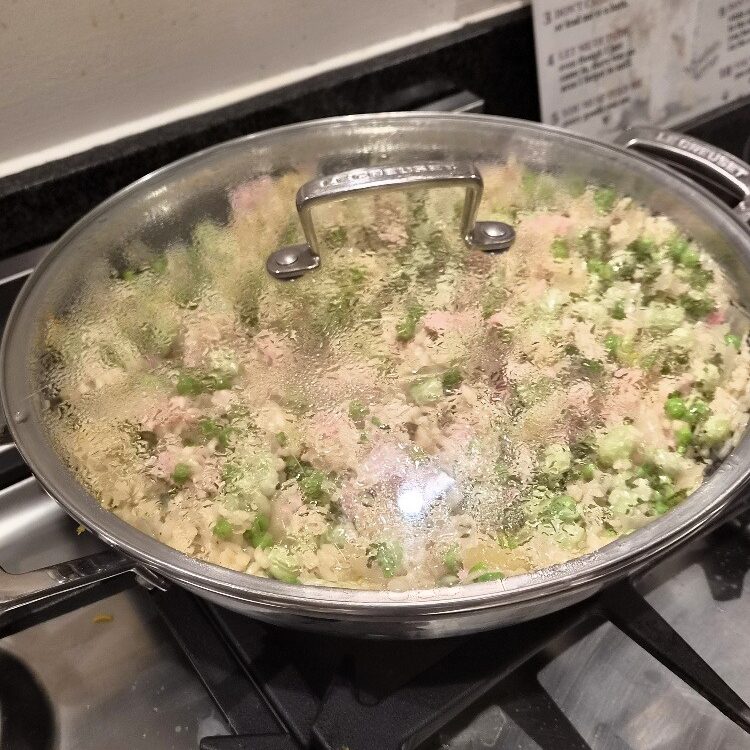
Once the risotto is rested, you are ready to serve. Taste, & adjust the seasoning with more lemon, pepper or salt, if needed. We didn’t need to today.
Serving the broad bean, ham & mint risotto
This risotto is a meal in itself, so we don’t tend to serve with any sides, though you could have a few dressed leaves if you like. More traditionally, risotto in Italy would be served as a starter, to precede a more protein-rich main. If you wanted to do this with this dish, we’d halve the amount of all the add-ins, and finish with both butter (add a couple of small cold pieces) and Parmesan, adding less of this, for a lighter, creamier finish.
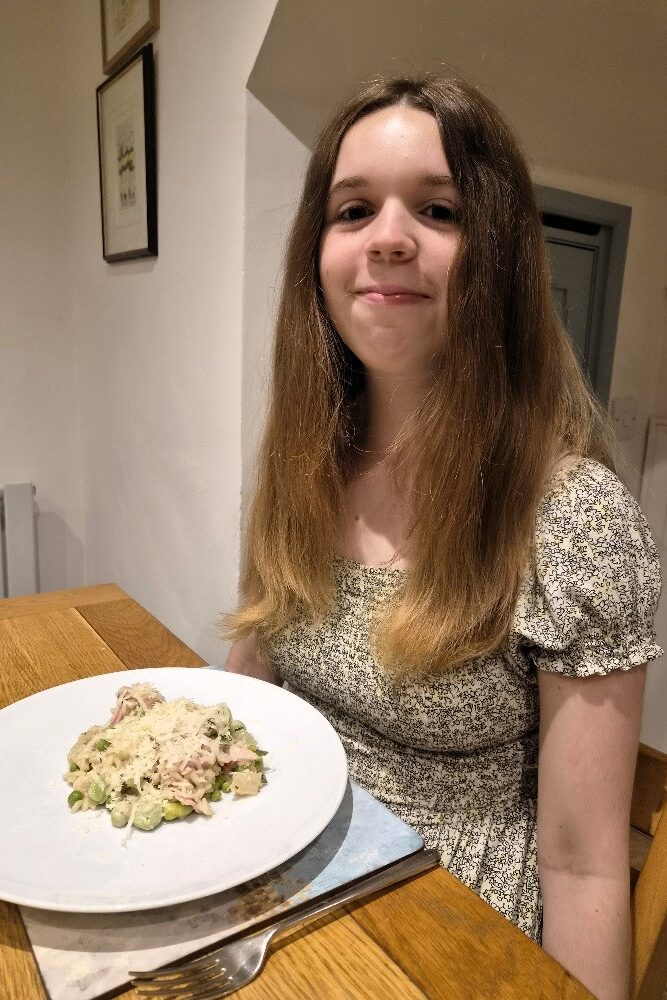
Once the broad bean, ham & mint risotto has rested, plate it, and top with more Parmesan if liked. There is a lot of Parmesan in this dish, so this is a personal choice. Today, Emily kept hers plain, but Estella topped with more cheese.
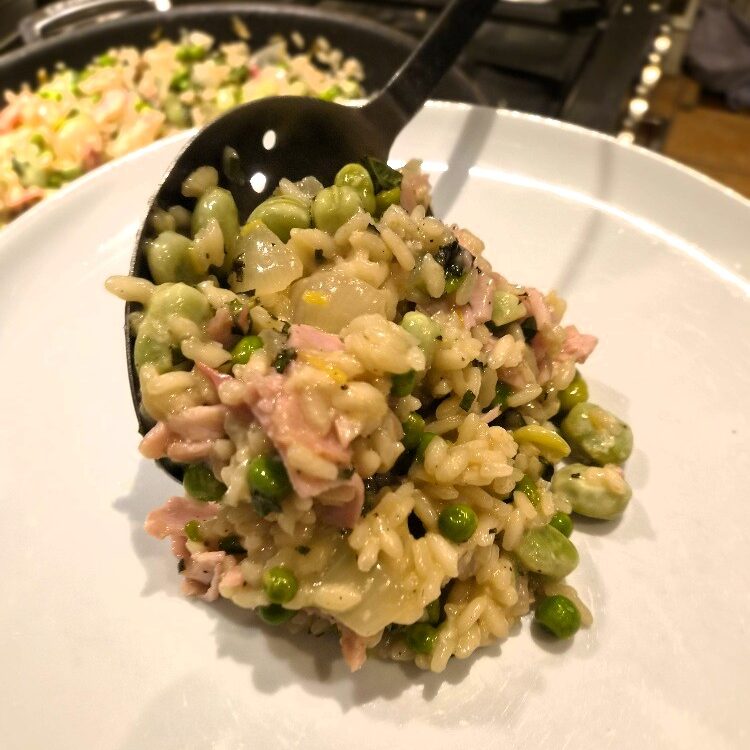
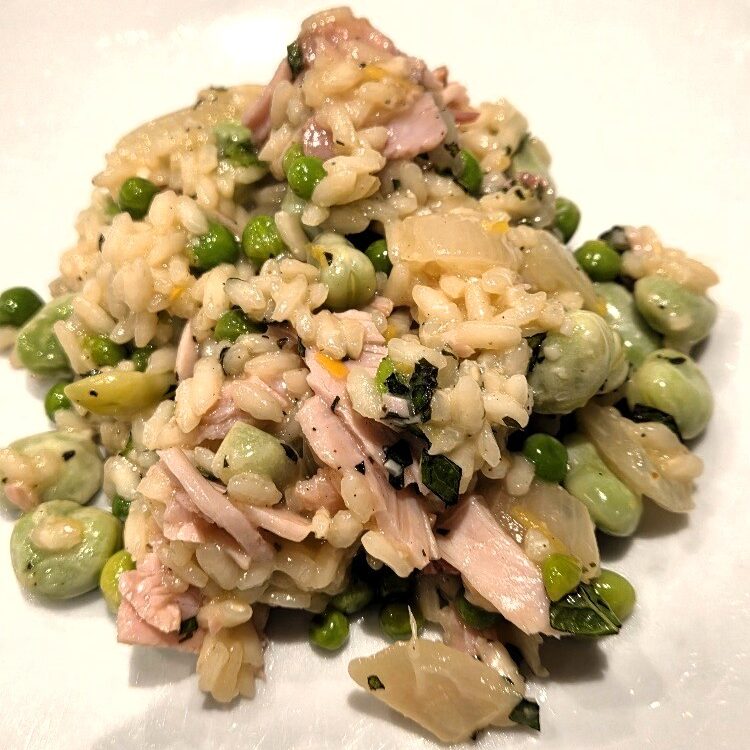
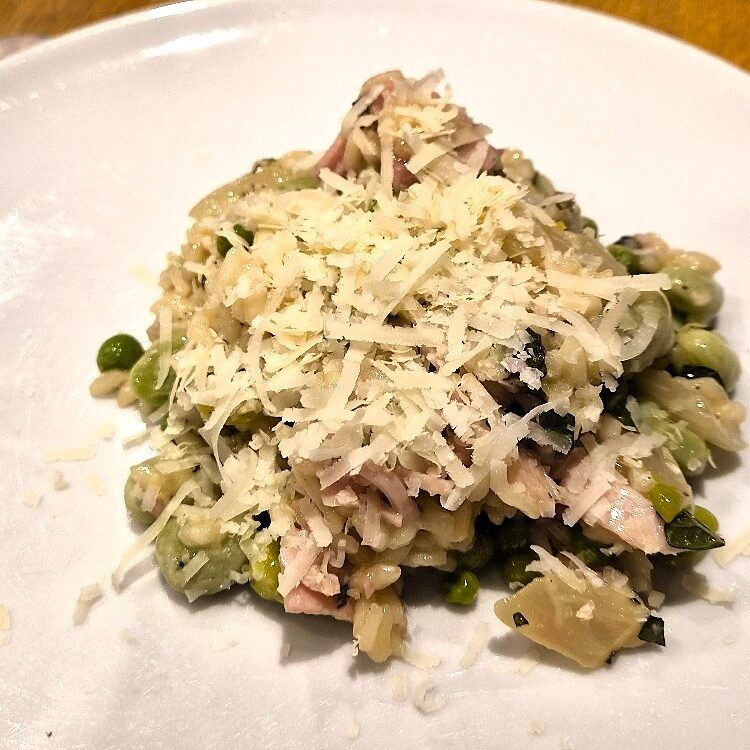
We hope you enjoy this lovely take on a classic risotto, but a few other suggestions follow.
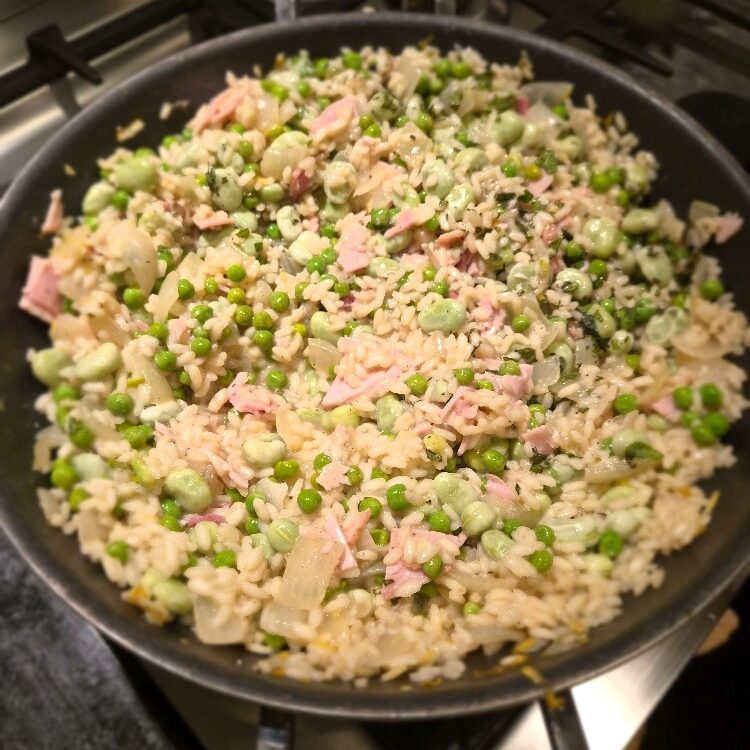
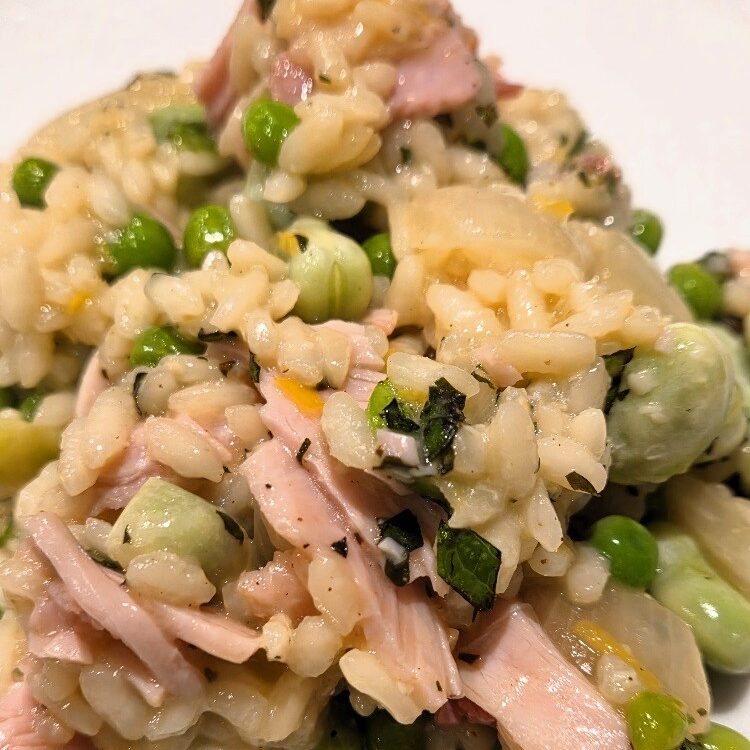
Other suggestions to add to your classic risotto base
- Mushrooms, especially porcini and mixed mushrooms, with thyme & lemon
- Spring vegetables, especially courgettes, asparagus, peas & leeks
- Grilled prawns, with lemon & chilli – these are best layered on top of a risotto bianco
- Seared scallops & pea shoots – again best served on risotto bianco
- Pancetta & leek risotto, topped with crispy Parma ham
- Roasted pumpkin & sage risotto
- Gorgonzola & balsamic onion risotto, topped with either pear & walnut, or crispy ham
- Roasted tomatoes – top a risotto bianco, flavoured slightly with chilli, with these, and some mascarpone, if liked
- Radicchio risotto
But the list is endless and do come up with your own favourite combinations, or do a tomato-based one instead. The final suggestion, radicchio risotto, is a particular family favourite of ours, but needs a little special treatment to prepare. It will be a future recipe in our Cookery Course.
But for now, enjoy your brilliant broad bean, ham & mint risotto!
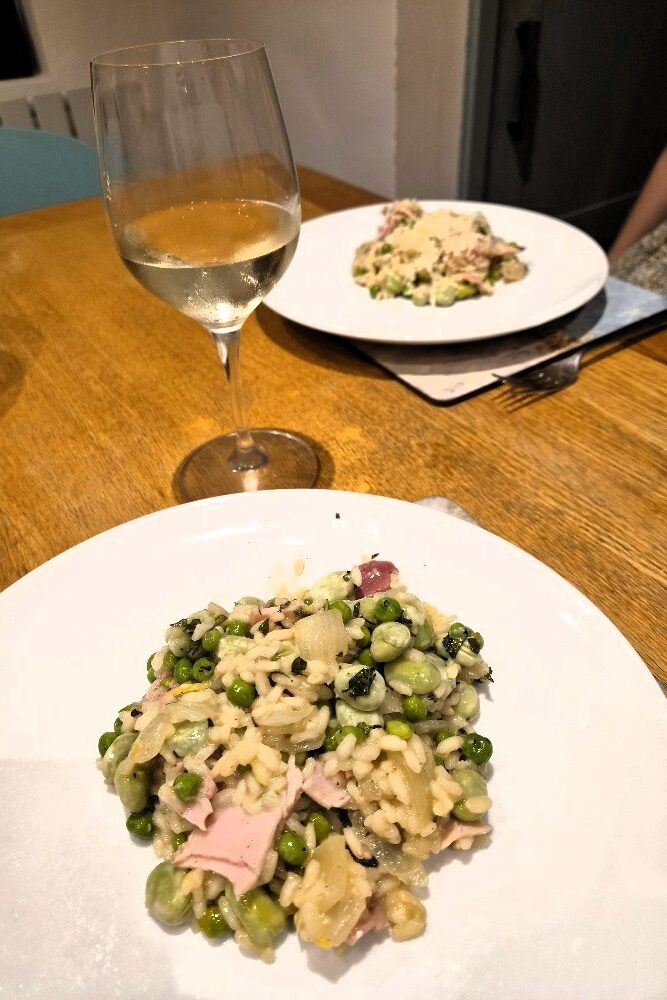
Brilliant Broad Bean, Ham & Mint Risotto
Ingredients
Equipment
Method
- If using frozen vegetables: About an hour before you wish to start cooking, take the beans & peas out of the freezer to warm up a little.
- First peel & chop the onion, medium. See our onion Tip. Also finely chop the garlic. See our garlic Tip.
- Zest the lemons, and cut the zest smaller. Also juice both lemons. See our lemon Tip. Remove any excess fat from the ham, and chop into medium pieces, separating them out.
- Grate enough Parmesan to add a generous handful or two to the dish. Also grate extra for serving, if liked. Remove the woody stems from the mint, and chop finely. See our herb Tip.
- Just before you wish to start cooking, measure the stock into a saucepan, and place over a low to medium heat. Also measure out the rice.
- The risotto should be cooked to order, and you need to allow about 30 minutes before serving for this. First add a little oil to a pan large enough to hold the finished risotto, and set over a low to medium heat. When it is warm – test by hovering your hand over it – add the rice all at once.
- Stir and keep stirring until the rice turns translucent at the edges, with just a little white at the core. This will take about 3 minutes or more. See our tips, detailed instructions & pictures in the post above.
- Keep the stock at a simmer, close to the risotto pan.
- When the rice is translucent, add the wine to the pan. It will likely sizzle & spit, so take care. Stir and keep stirring until the wine is fully absorbed. The rice should start to look creamier.
- When the wine has absorbed, add one ladle of the stock and stir and keep stirring until it is fully absorbed by the rice. You can then add another ladle, and stir well – again until absorbed. Keep going, one ladle-full at a time, stirring.
- When you have added a few ladles of stock, also add the lemon juice (keeping some back to adjust at the end) and lemon zest. Also season with black pepper. Do not add salt, as the stock will be salty and you will add more salty flavour with the ham & Parmesan later. Stir.
- Keep going, adding the stock & stirring, until the rice is tender. How long will depend on your rice, but usually about 20 minutes. The best way to test is to bite into a piece – if it is chalky or firm, keep cooking, adding more stock. If it is soft and yields, even if it retains a little bite (this is good), the risotto base is done.
- Add the broad beans & peas together, and stir well. Bring up the heat – it is important that the risotto comes back up to temperature and that the vegetables cook, about 3 to 4 minutes, but be careful not to overcook the rice. Add a very little more stock if the rice becomes too tight.
- When the risotto has warmed, add the ham and fold in thoroughly but gently, to prevent it breaking.
- Now add a generous handful or two of Parmesan, or to taste, then remove from the heat and stir in well. Add the chopped mint and stir again.
- Allow to stand, covered and off the heat, for a minute or two to allow the flavours to develop. Taste, and adjust with lemon, pepper or salt to your liking, if needed.
- This risotto is a meal in itself, so we serve just as it is, though you can add a few salad leaves on the side if you prefer. Top the risotto with a little more Parmesan, if liked.
- Alternatively, a risotto would traditionally be served as a starter before a more protein-heavy main. If you wish to do this with this risotto, halve the quantity of add-ins and finish with a few knobs of cold butter (and a little less Parmesan) before resting, for a lighter, creamier finish.
- Enjoy!
Leave a Reply