Skills you will learn in this recipe
‘Cooking’ raw onions; making a textured salad
Links to the last recipe
Working with canned fish; using a fish and carb pairing
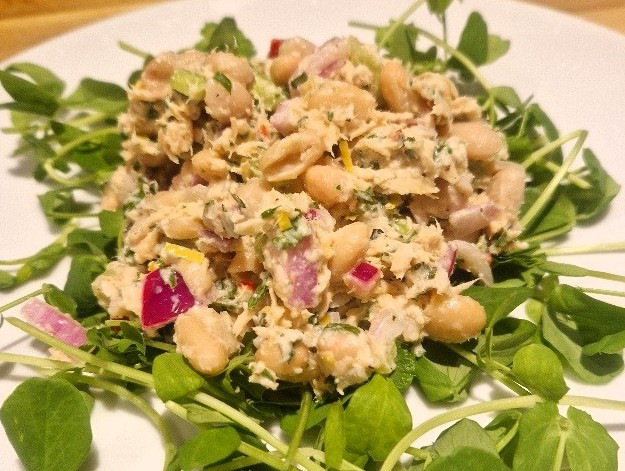
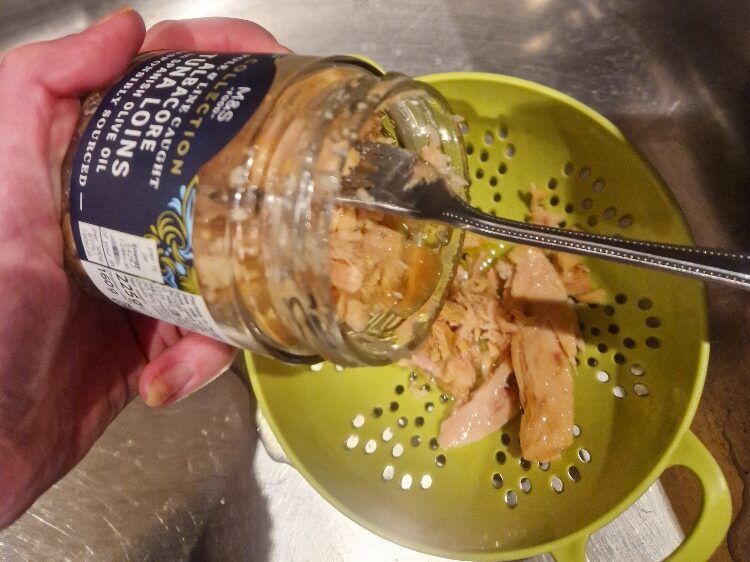
Tonno e Fagioli is an Italian classic salad – often seen as a restaurant starter or light lunch dish. But it makes a great, high protein dinner too, served simply on a bed of leaves and with some crunchy bread. Traditionally it is finished just with olive oil, but we make it even lighter and with some 0% Greek yoghurt. It’s super quick and easy to make, and the skill lies in layering the flavours and textures. The key is to use good quality tuna, the best comes in jars packed in olive oil, but a decent quality canned version will also do fine – just make sure it is in oil or spring water, not brine.
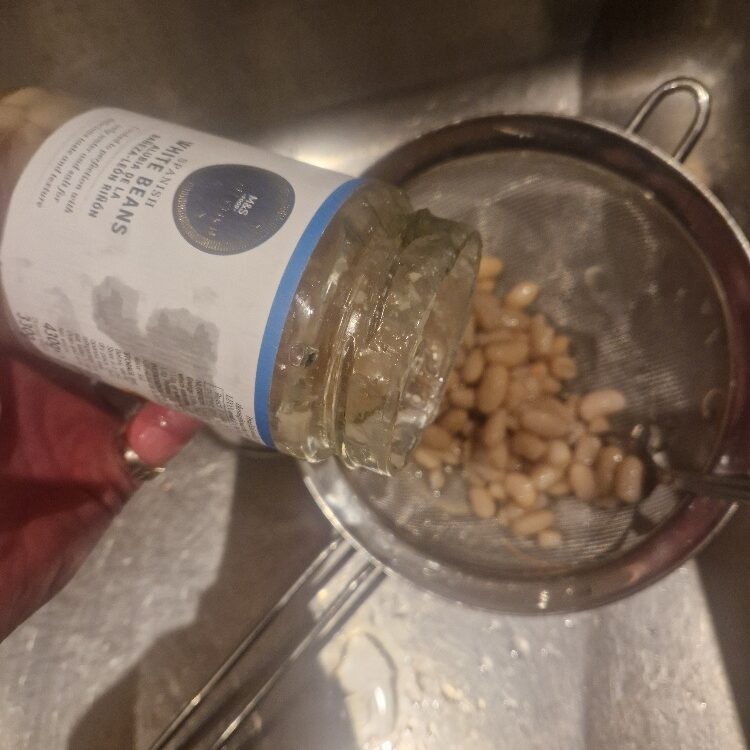
You can also use any white bean you like, or indeed any canned or jarred bean, or a mixture. Canned cannellini beans are traditional, inexpensive and work well. Or, if you can find them, the jars of Spanish, Italian or French speciality white beans are lovely – we used Spanish here, cut with standard cannellini to reduce cost. Cannellini beans alone are great however.

This recipe requires very little in the way of technique, but looks impressive and packs a real punch of flavour! The top tip is to constantly taste the tuna mix to get the flavour balance right between sharp, salt, rich and spice, and also to balance the texture between soft and crunch. The onion and celery are a great counterpoint to the soft, creamy beans and rich tuna, if balanced well.
The main skills you’ll need are fine chopping an onion, chopping fresh chillies, chopping herbs and zesting and juicing lemons. All techniques that have been seen in previous recipes, and all of which can be found in our Tips! And one key watch out is not to overmix the salad at the end, as the beans can be quite delicate and will go mushy if overhandled – make sure the beans are coated with the tuna mix, but fold them through gently.
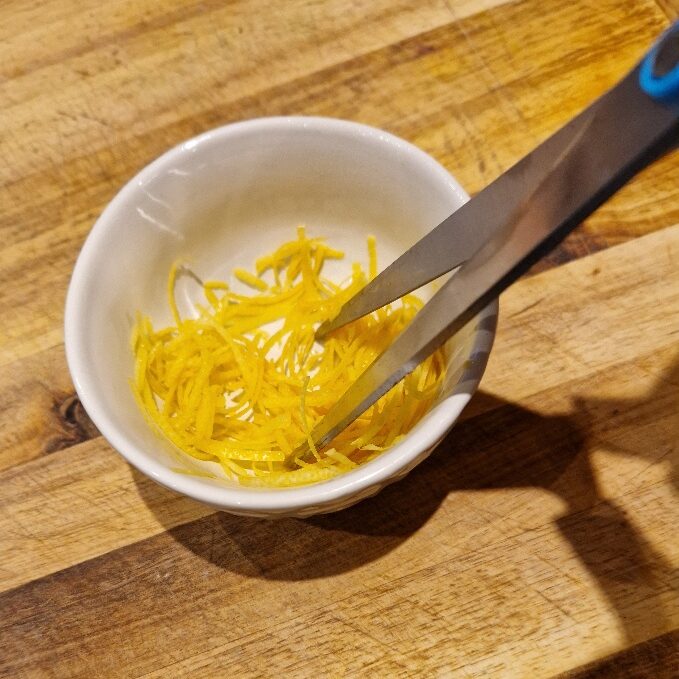
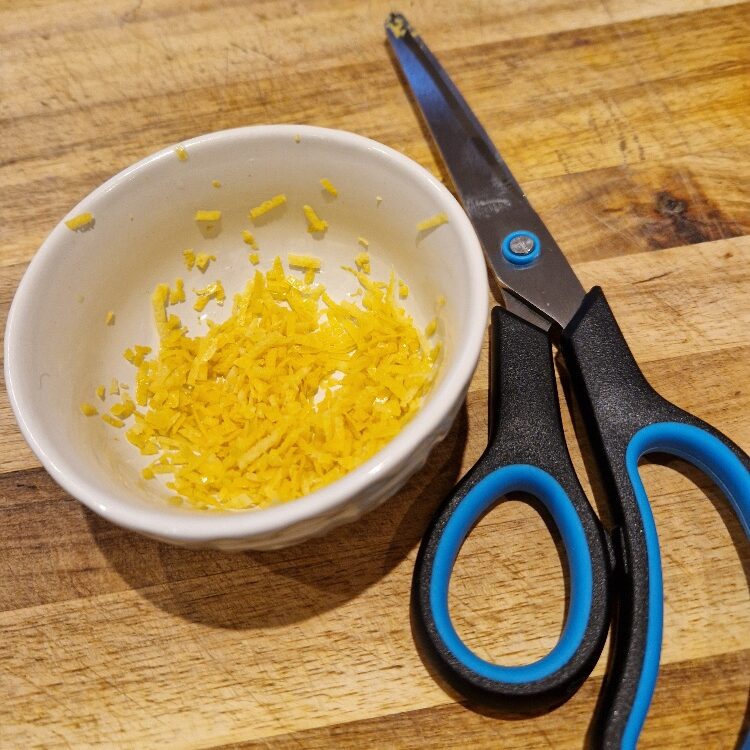
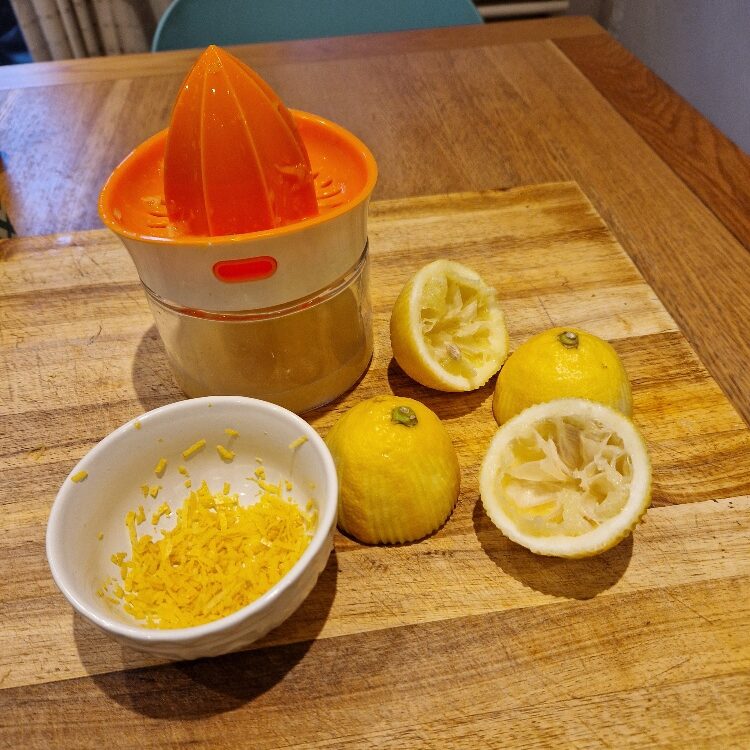
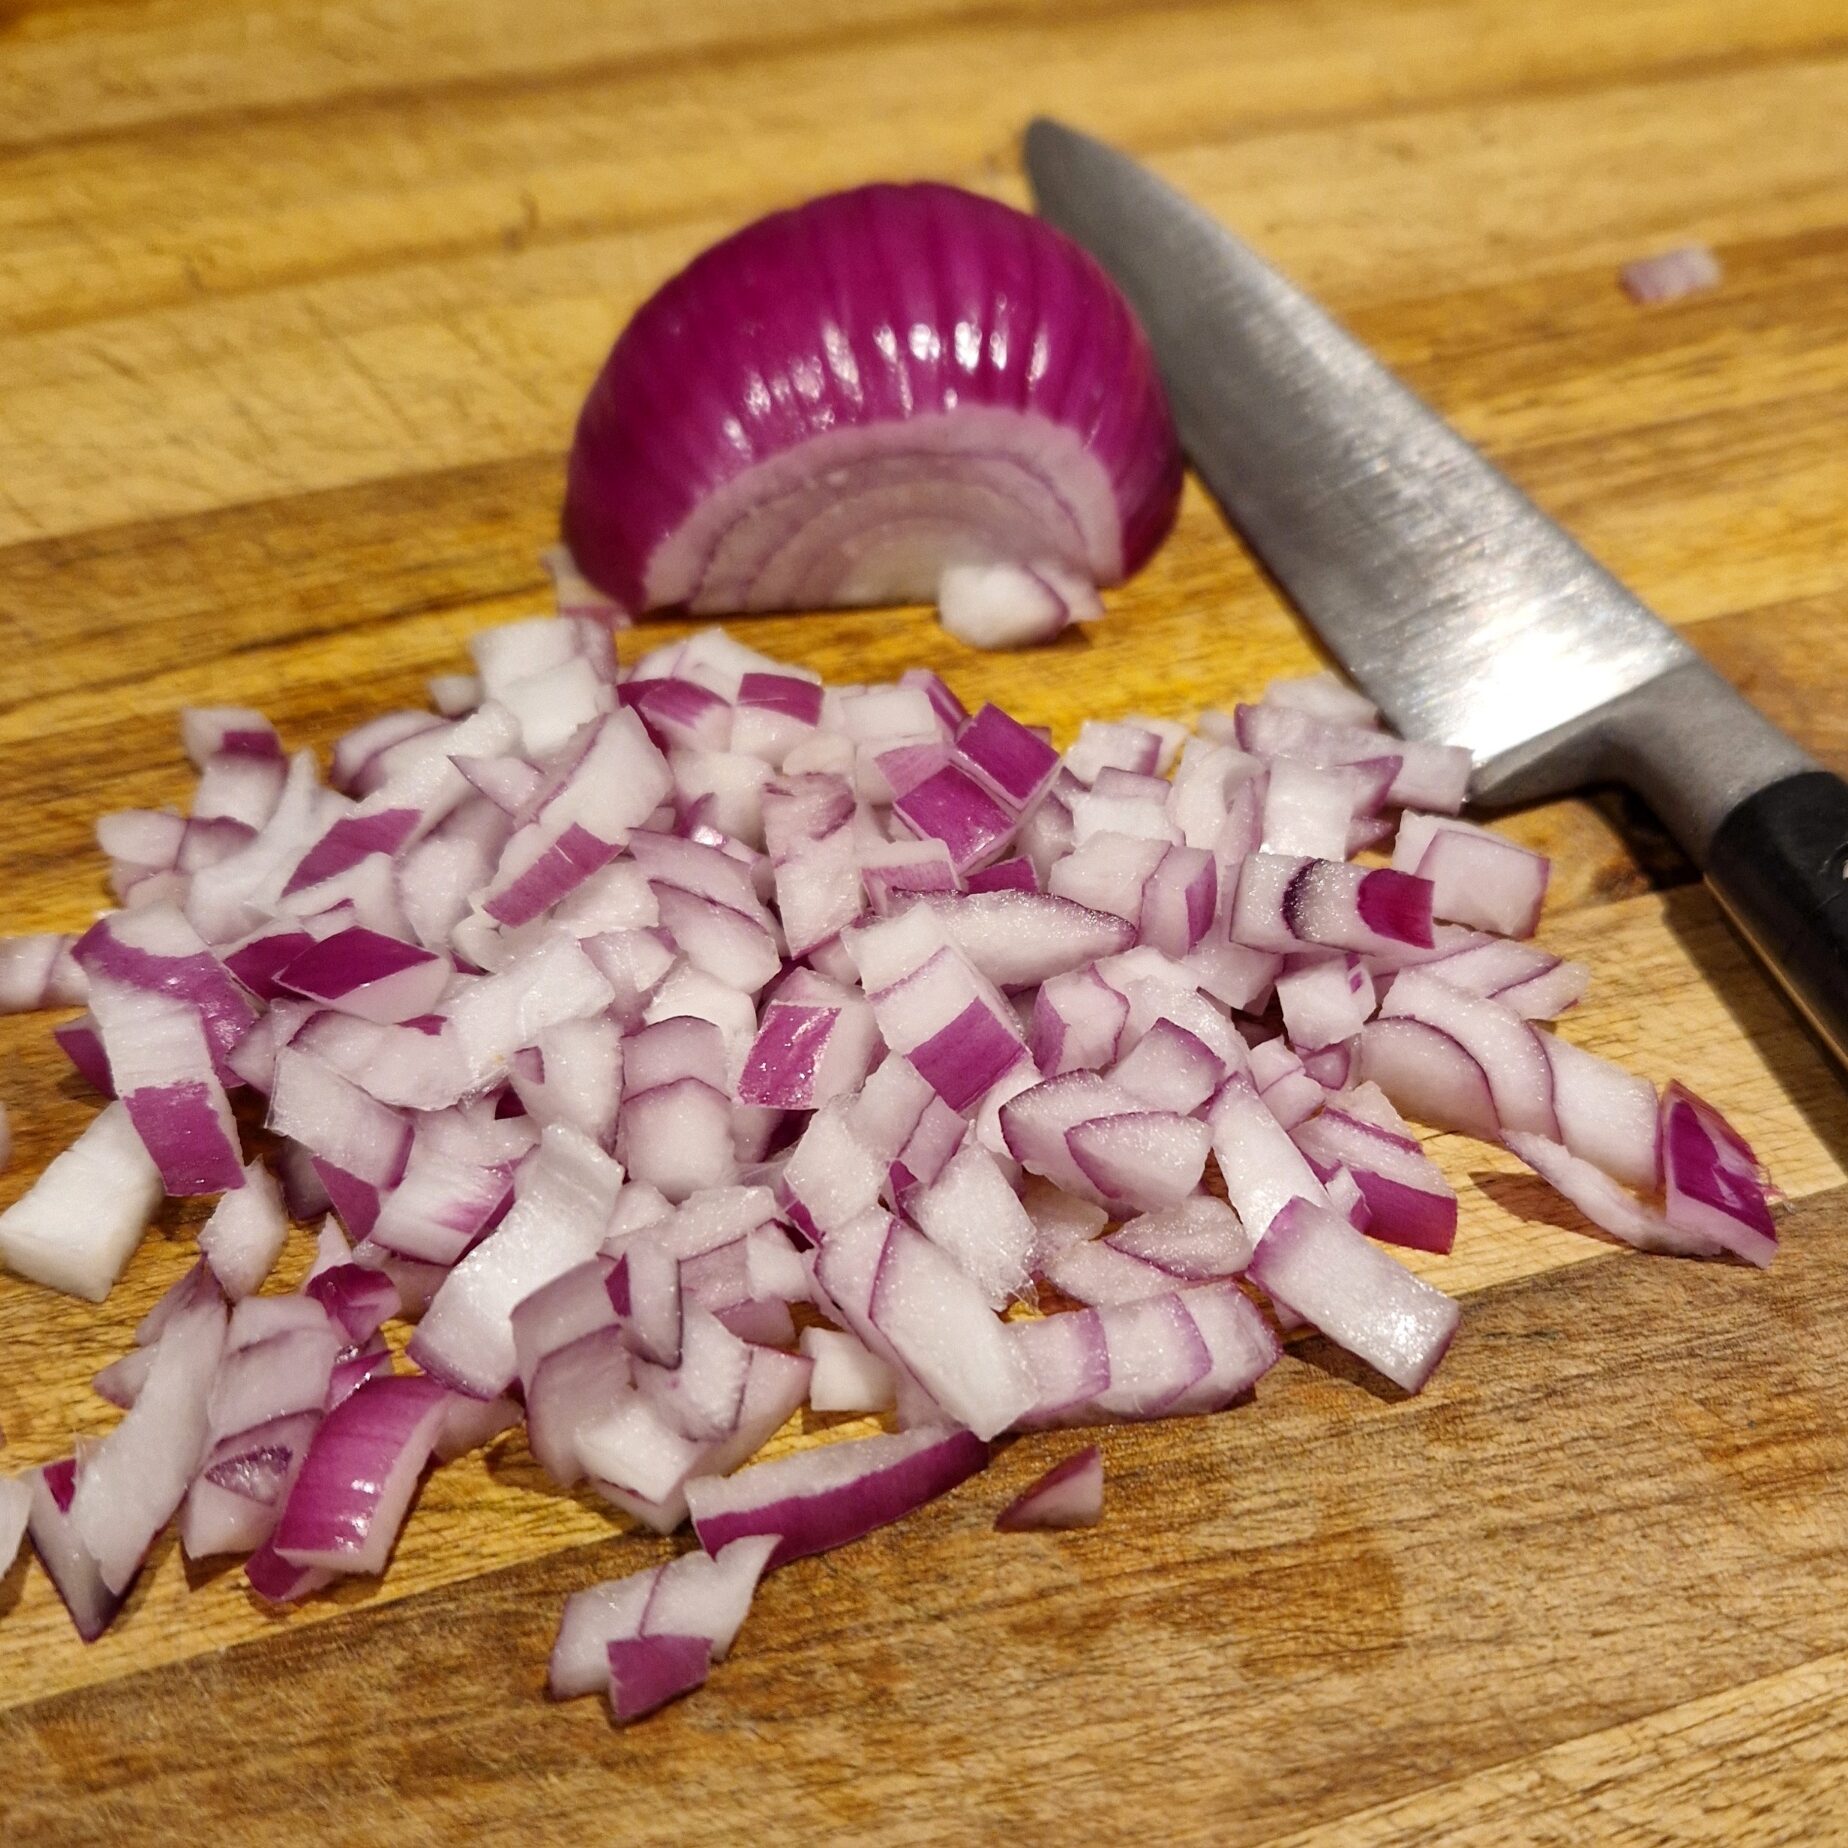
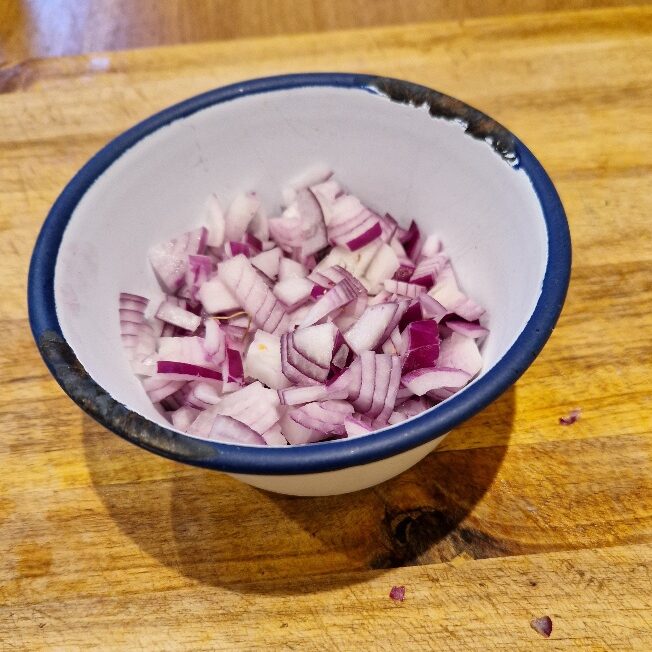
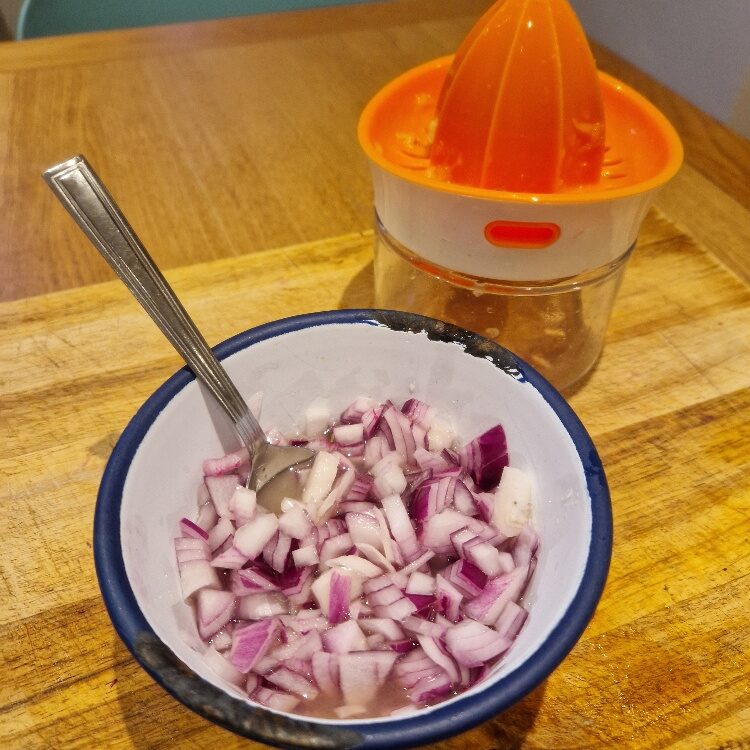
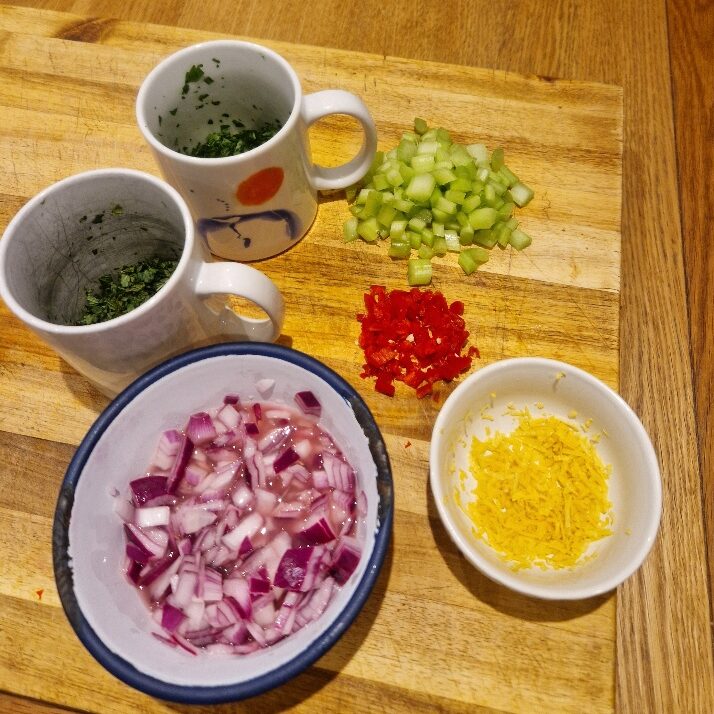
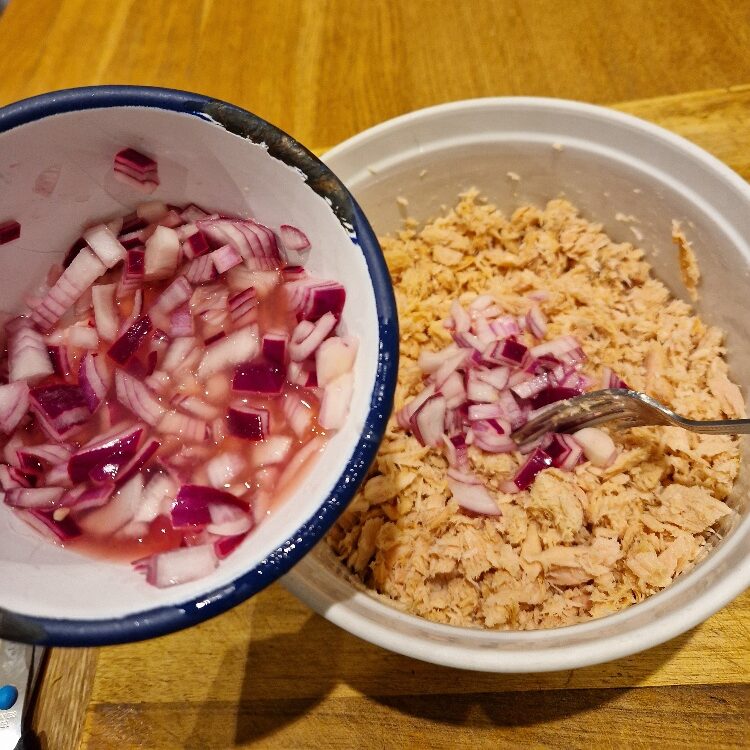
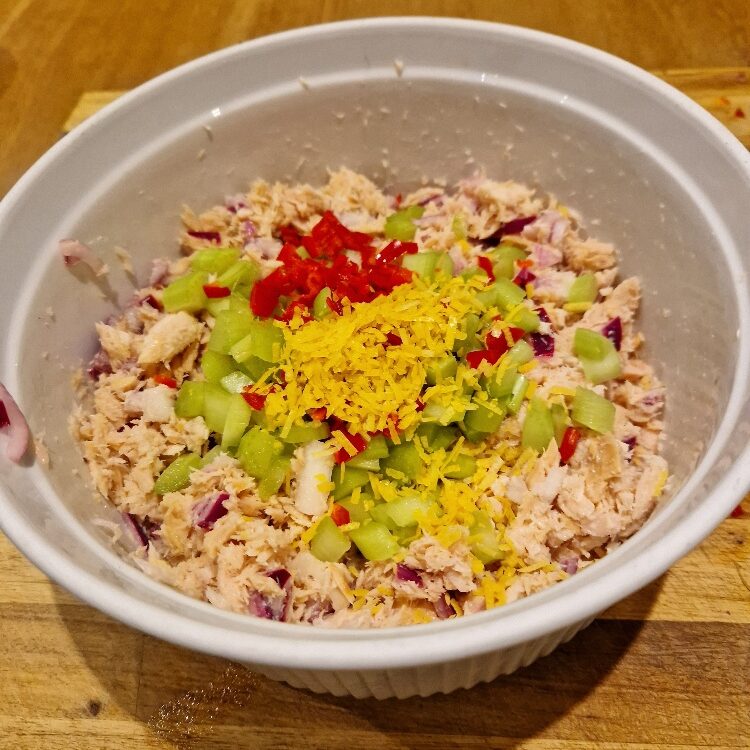
Start by chopping an onion – a red onion is traditional, but you could alternatively use shallots. You want the onion to but cut fairly fine – find out how in our Tip. Raw red onions are quite harsh, so a top tip is to temper them in lemon juice – this ‘cooks’ the onion, and takes away the strength, while still keeping crunch and bite. Zest one lemon first, cutting the zest finer – see our Tip – then juice it. Stir the chopped onion in the lemon juice, then leave it to steep – it will temper in about 5 minutes.
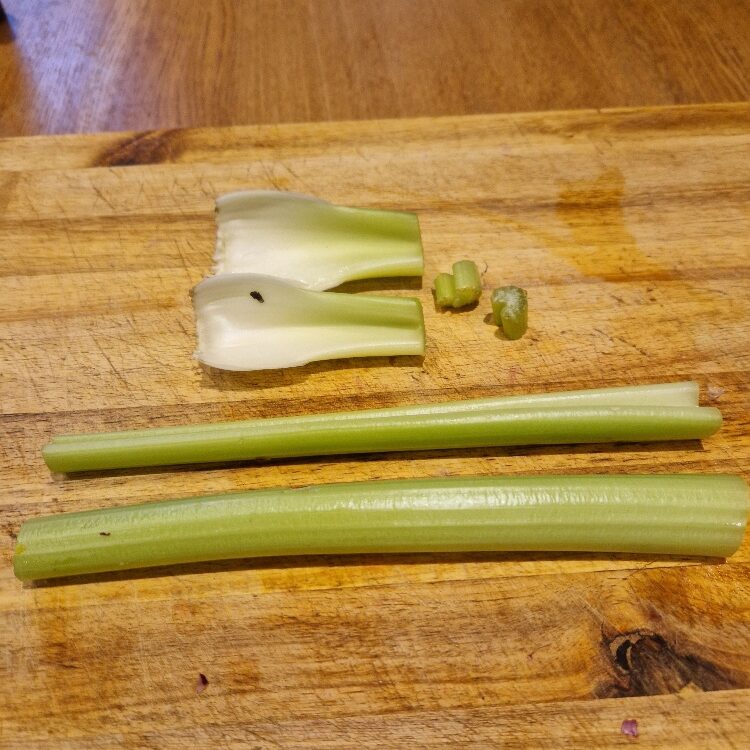
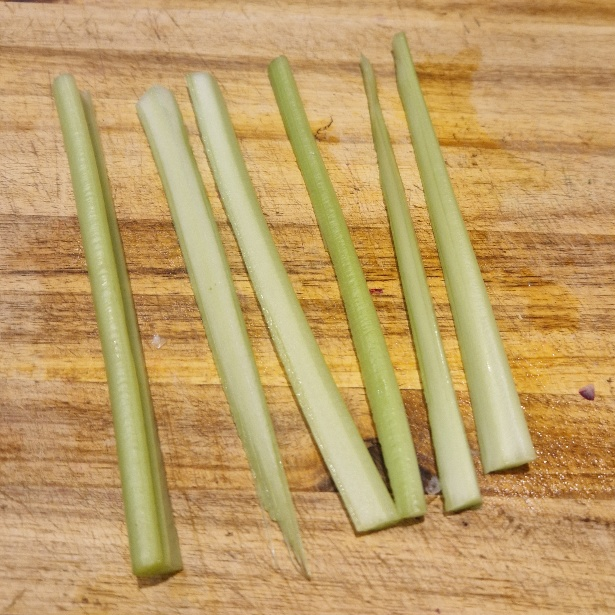
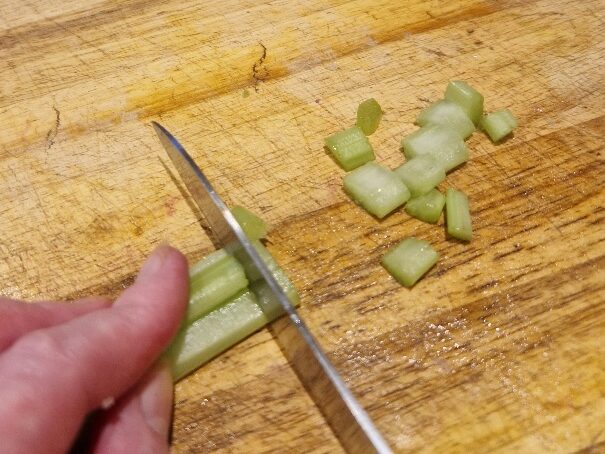
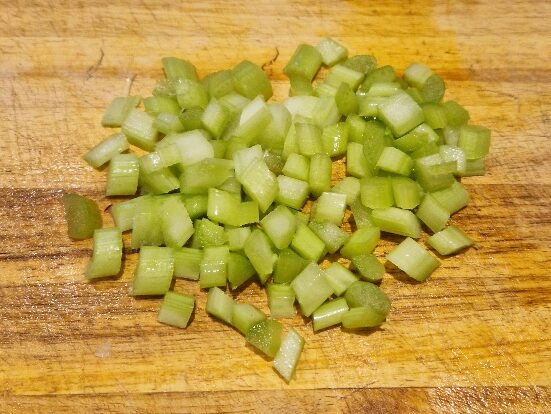
Now chop the celery, again keeping it fairly fine. Celery is a key textural component, bringing more freshness and crunch. You need enough to balance the beans, but not so much that it overpowers. We used two large stalks. Top and tail them, then slice down the length and chop.


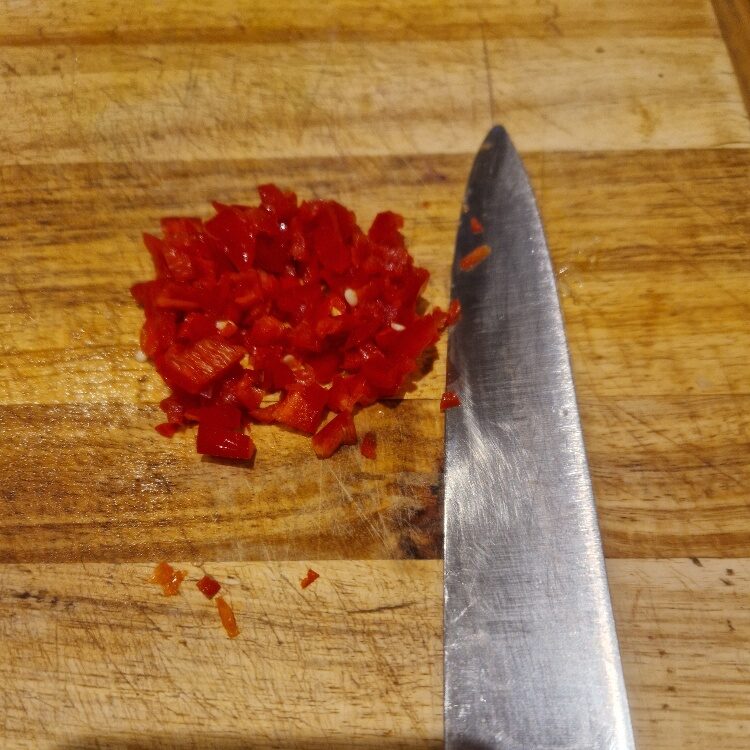
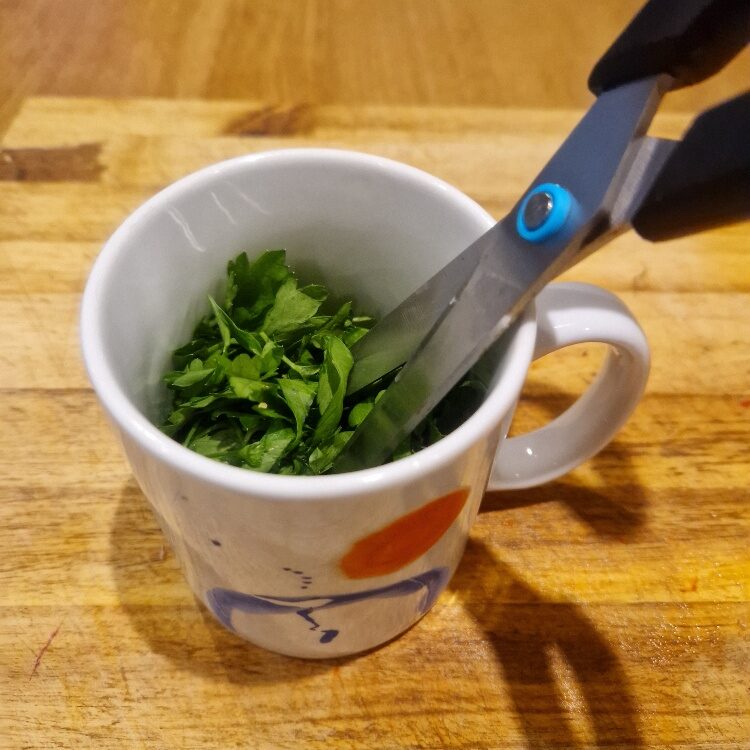
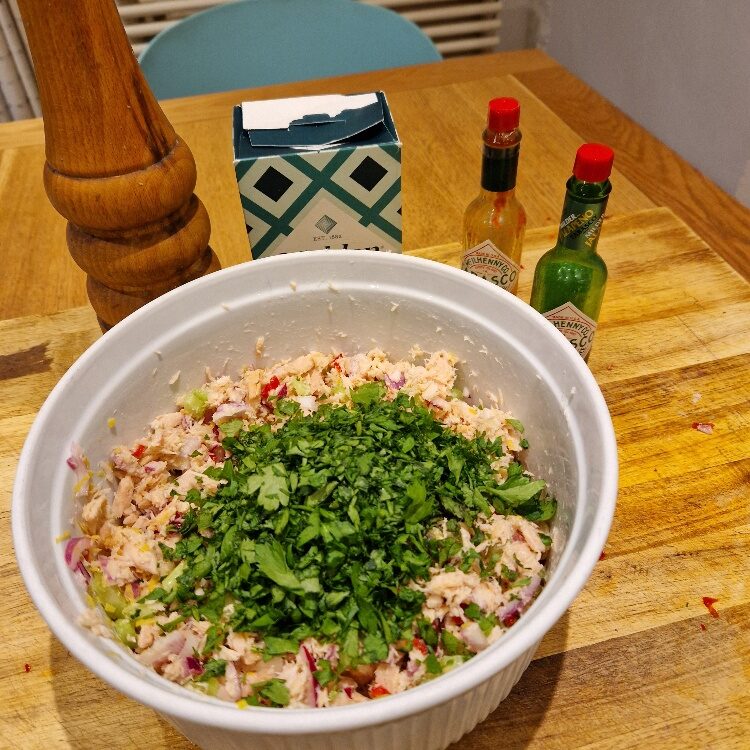
Now chop the chillies, we like red ones best in this dish, and they need to be quite finely chopped. Find out how in our chilli Tip. A little spice is traditional, but how much you use is your choice. We personally like it spicy, so we use a combination of fresh chilli and green and red Tabasco (red gives heat, green gives sharpness and is a nice match with the tuna), but any hot sauce will work. Also chop the parsley and, if using, the mint. Find out how to chop them easily in our herb Tip. The parsley is a key flavour component, but the mint is optional – we think a small amount of it adds more depth and complexity to the salad, however.
Your mise en place is ready!

Jake sticks his nose in
Be careful when chopping chillies, they can be HOT. Do not touch your face (and especially eyes) when chopping and really scrub your hands after. You may want to use kitchen gloves!
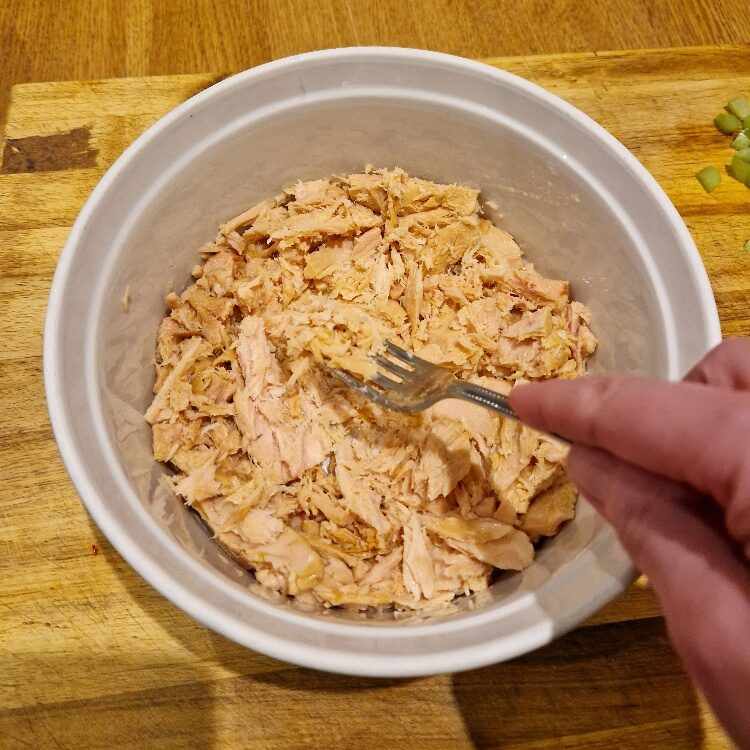
You are now ready to assemble the salad. Drain the tuna, then rough it up a bit with a fork.


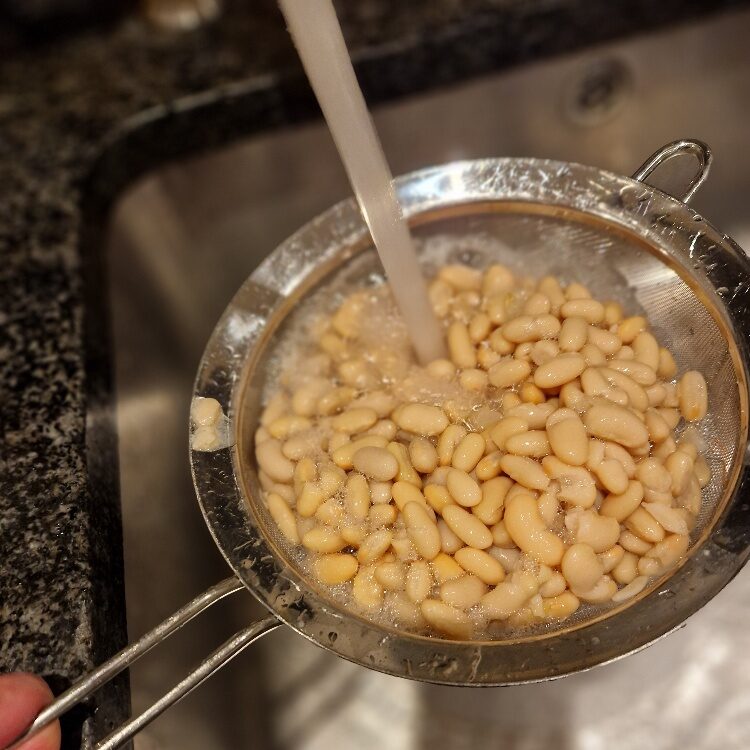
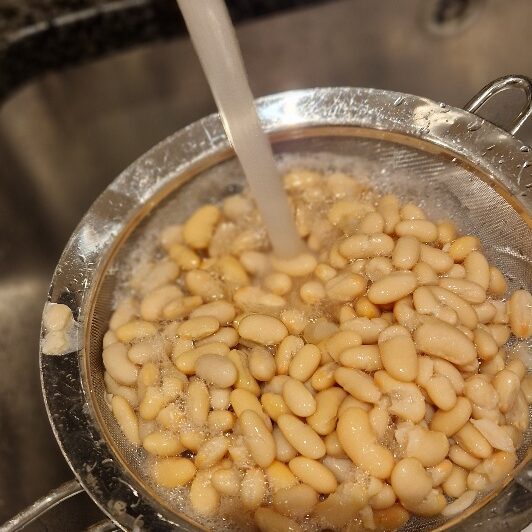
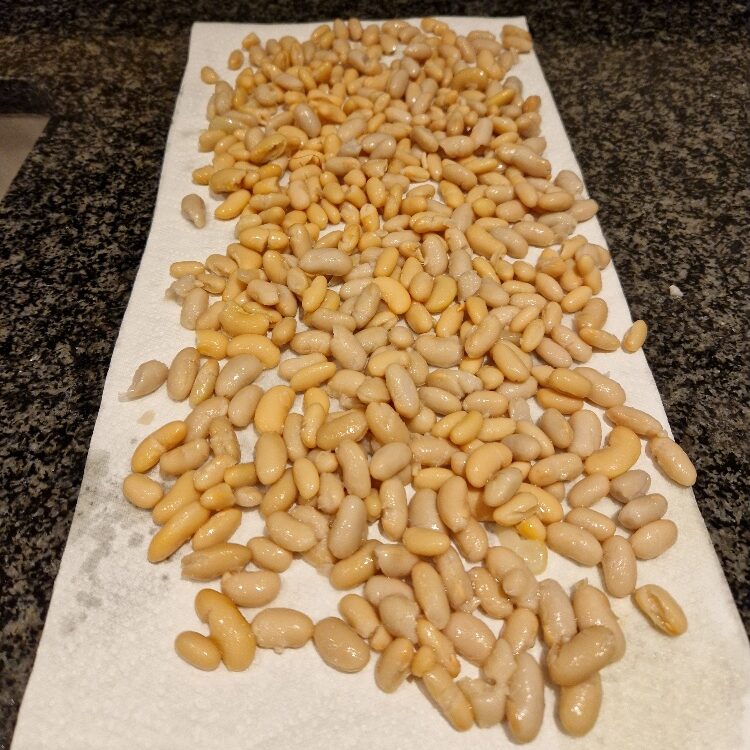
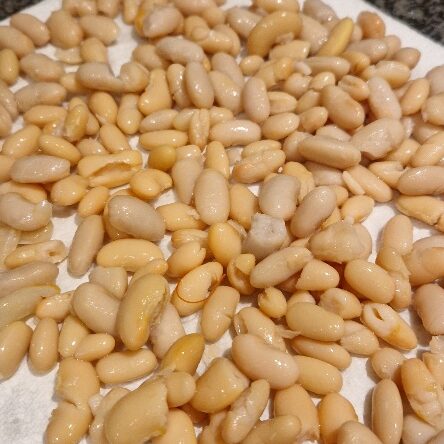
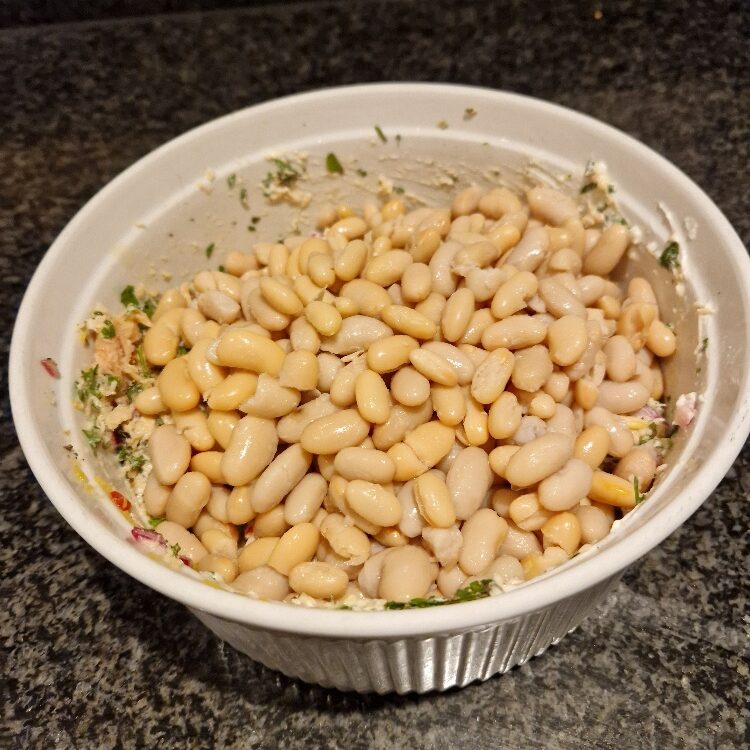
Also drain the beans, taking care not to mash them as they can be quite delicate. They generally come in a slightly slimy liquid – wash this off under the cold tap. Dry the beans on kitchen paper before using.

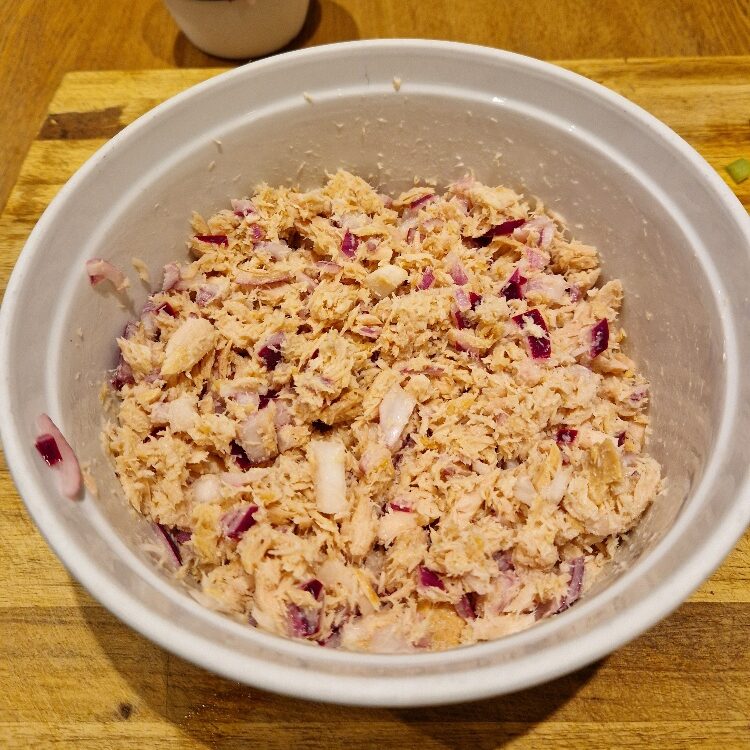
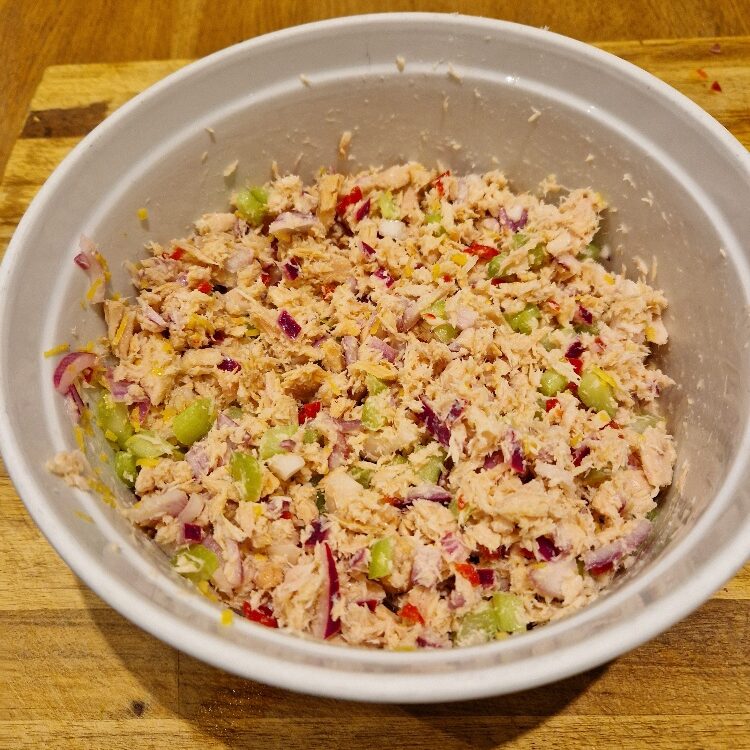
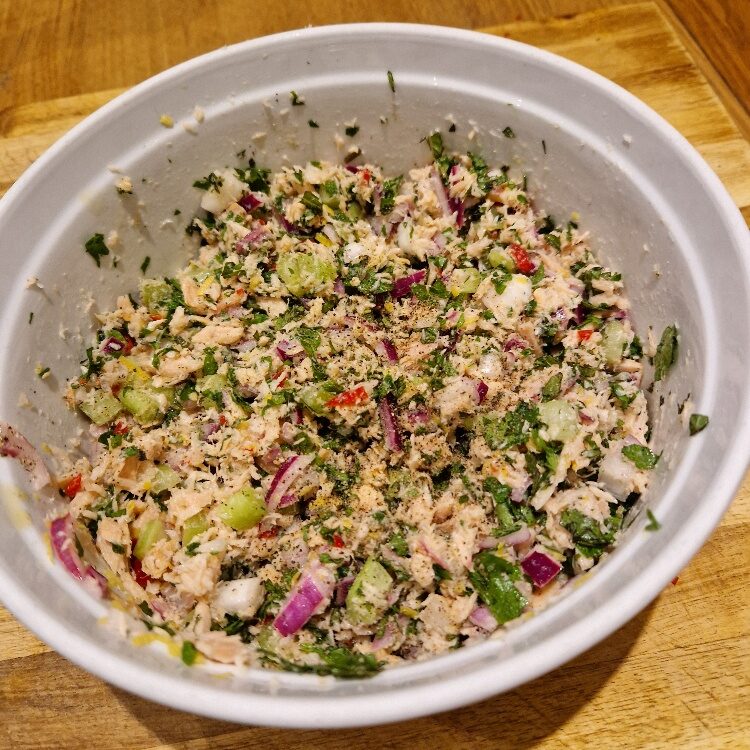
Add the tuna to your serving bowl, and break it up slightly with a fork. You don’t want the tuna mashed here, but you don’t want big lumps – flaking it is the idea. Add the red onion, together with some of the soaking lemon juice, and mix to combine.
Jake sticks his nose in
You’ll probably end up using all of the soaking juice – but it depends how large and juicy your lemons are. It is a good idea to add a little first, taste and add more as needed. As we keep saying, you can always add more but you can’t take away!
Now add the celery, chopped chilli and lemon zest, followed by the chopped herbs, and mix well. Season with salt, black pepper and a little red and/or green Tabasco (or other hot sauce) if liked.
Taste frequently while adding to get the spice level and acidity right, remembering it is easy to add more, but almost impossible to take away. And spice it to your taste. Do always check the spice levels of both the fresh chillies and the sauce, if using, before adding – for today’s recipe we thought we’d use one large red chilli (milder) and two little birds eye chillies (hot), but the little ones were so hot we only used one. The heat in a chilli is mainly in the seeds and especially the white pith – remove and discard these if you don’t like it too hot.
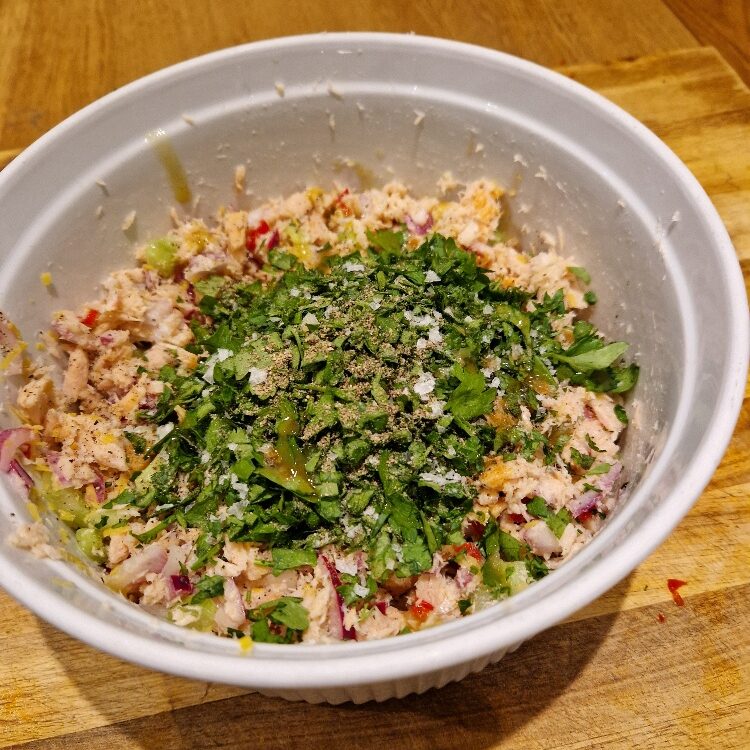
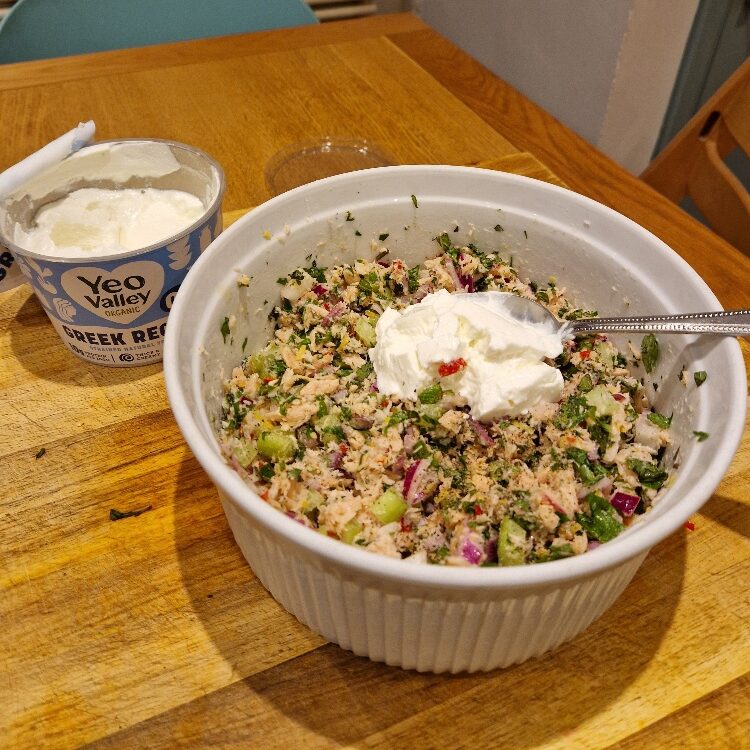
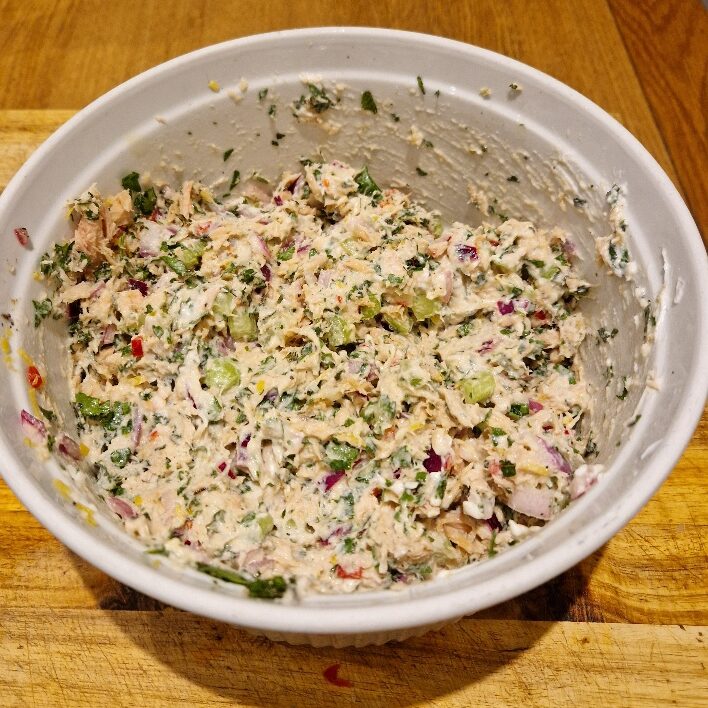
This salad would traditionally be made richer/wetter by adding olive oil, but we find this can still leave it a little dry. One addition might be mayonnaise, if you like it, but that will mask the salad’s fresh flavour profile somewhat, so we use yoghurt. We started using 0% yoghurt when having a week of healthier meals, and now we prefer it! Whatever you add, you don’t need much, use just enough to make the salad come together. Mix well.
Jake sticks his nose in
We make this salad lighter & lower fat by using 0% Greek yoghurt but any other good quality yoghurt will work. To make the salad even lighter, rinse any oil off the tuna before adding.
Taste again and add more seasoning, yoghurt, lemon or chilli, if needed, until you are happy.
Now carefully fold in the beans, taking care not to mash or break them. A large metal spoon works best
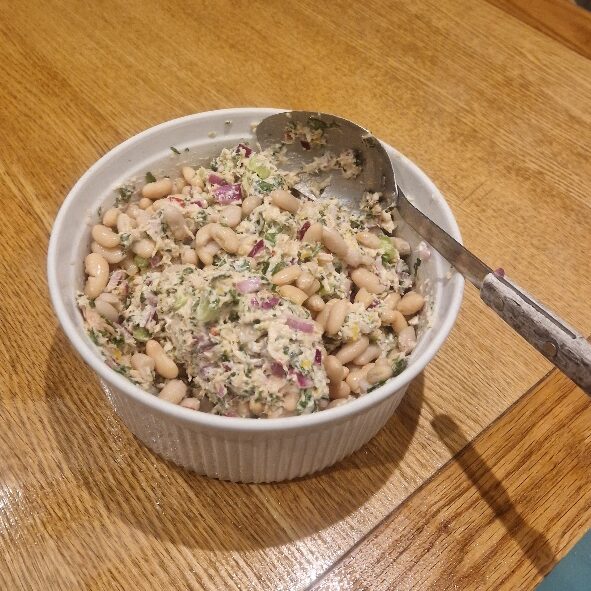

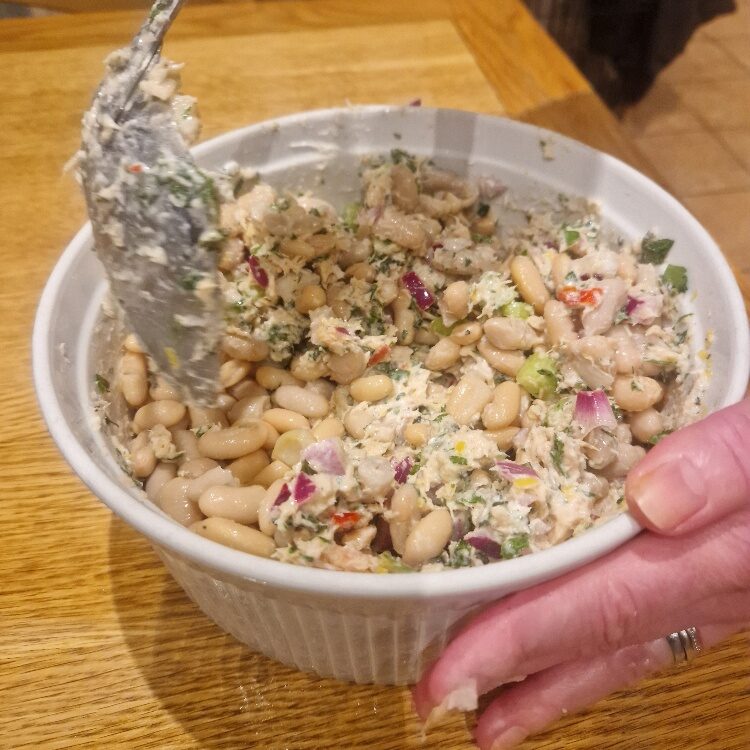
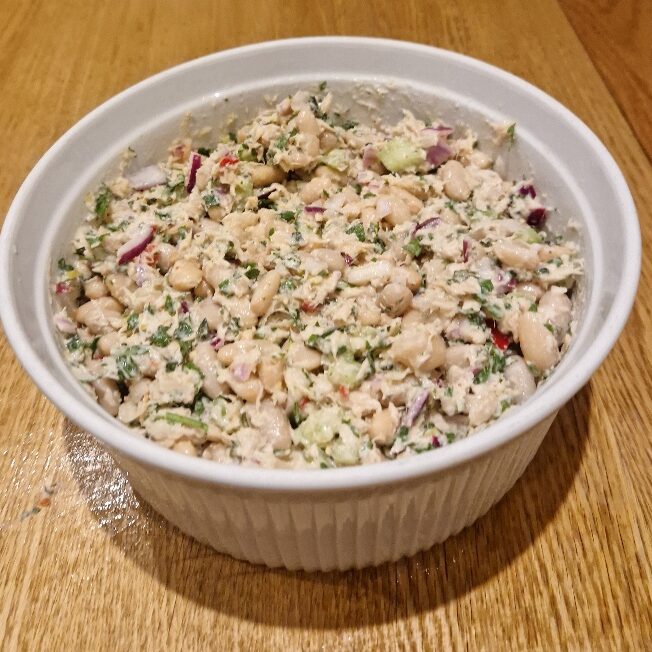
The salad is now basically ready, but it needs to be well chilled for the flavours to develop. An hour in the fridge is fine, or you can prepare ahead and leave it in longer. Just remember to get it out about 30 mins before you serve, as if it’s fridge cold you won’t taste all the lovely flavours.
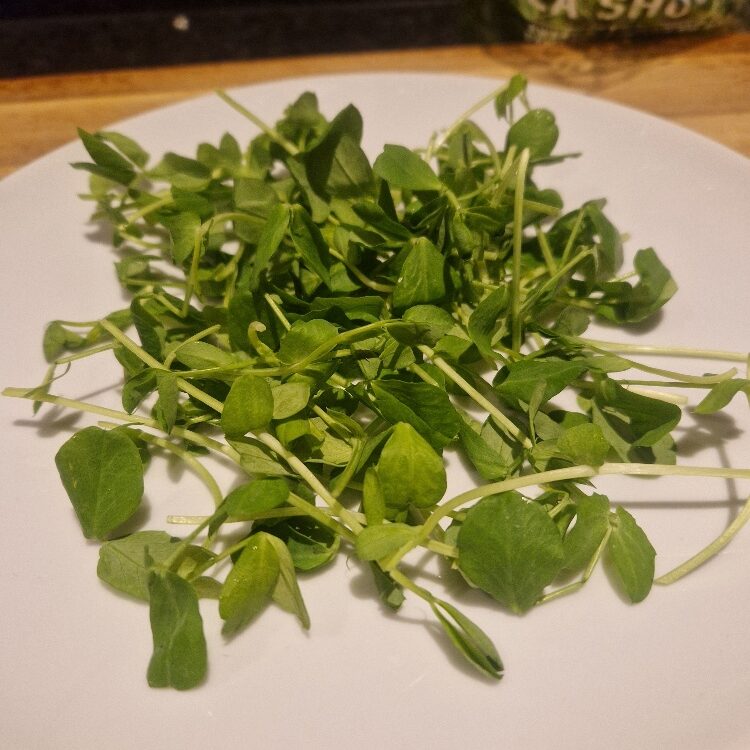
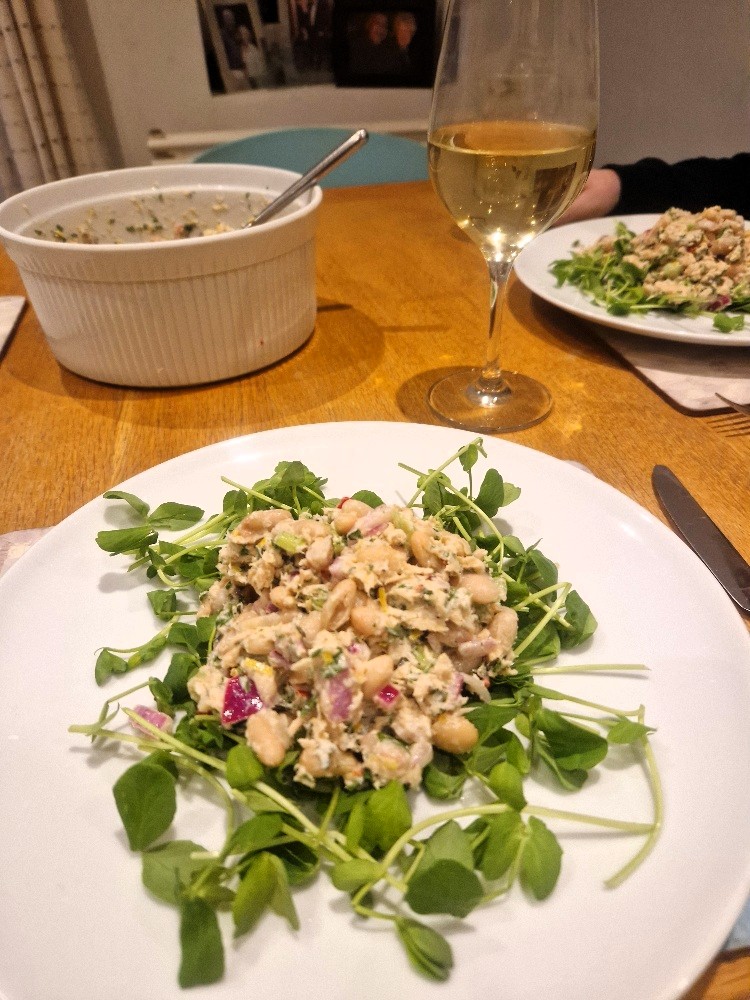
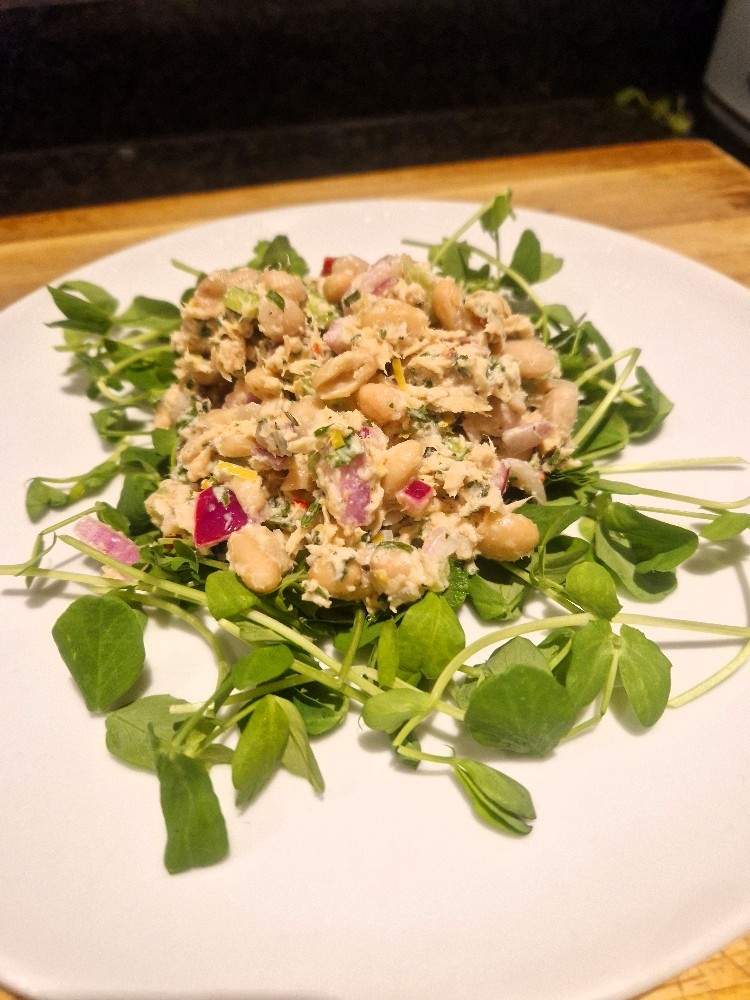
Serve the salad on a bed of leaves – any leaves or lettuce you like will do fine here, but we tend not to use rocket as it is a little too strong for this dish. Watercress or baby spinach are good choices, or a packet mixed leaf salad. We used pea shoots today, which give a slight sweetness and crunch (f you use these a top tip is to untangle them first, and perhaps snip them a bit, otherwise they clump!).
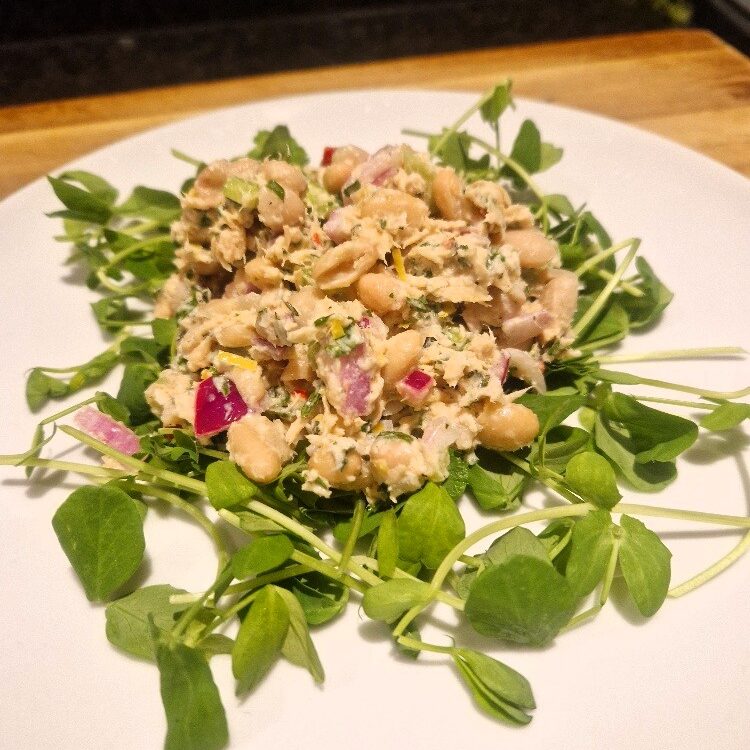

This makes a light but satisfying meal alone, or served with a bit of crunchy bread. And as a small portion it’s also a nice starter. Made in large quantity, it’s a good addition to a party spread, too.
Bon appetit!
Quick & Tasty Tuna Bean Salad
Ingredients
Equipment
Method
- Peel and finely chop the onion. See our onion Tip.
- Zest and juice the lemon(s), then cut the zest smaller with scissors. See our lemon Tip.
- Combine the onion with the lemon juice and leave to sit while prepping the other ingredients. This will 'cook' the onion, and take away its harshness.
- Drain the tuna in a sieve (wash any oil off if you want it lighter), then place in the bowl in which you plan to serve, and flaker thoroughly with a fork, but do noy mash
- Chop the chillies finely, removing the seeds and pith if you want it less hot. See our chilli Tip.
- Chop the parsley and, if using, the mint. See our herb Tip.
- Drain the beans in a sieve, rinsing thoroughly in cold water. Dry on kitchen paper..
- Add the onions to the tuna, together with the soaking lemon juice to taste, and stir to combine. Add the chopped chillies, herbs, lemon zest and a shake of both green and red Tabasco, if using, to taste. Season with salt and black pepper. Add the yoghurt, just enough to make the salad moister and come together. Taste frequently when adding the seasonings to get the spice level, acidity and flavour profile right – you can add more chilli, lemon, yoghurt or seasoning until you like it. Stir well.
- Carefully fold in the beans with a large metal spoon until they are coated, but do not over-stir or the beans will break
- Chill the mixture in the fridge for about 1 hour to allow the flavours to develop. Remove from the fridge about 30 mins before serving.
- Serve on a bed of salad leaves and enjoy!