Chicken and other poultry can be cooked in a variety of ways – oven or pan roasted, or grilled for example – but poaching is a good way to cook it quickly and healthily. It’s also a great option if you want to shred your chicken to add to soups, sauces or fillings.
This method also keeps the chicken lovely and moist, and it’s a low fat option too as you remove all the skin and surface fat, and use no fat in the cooking either.
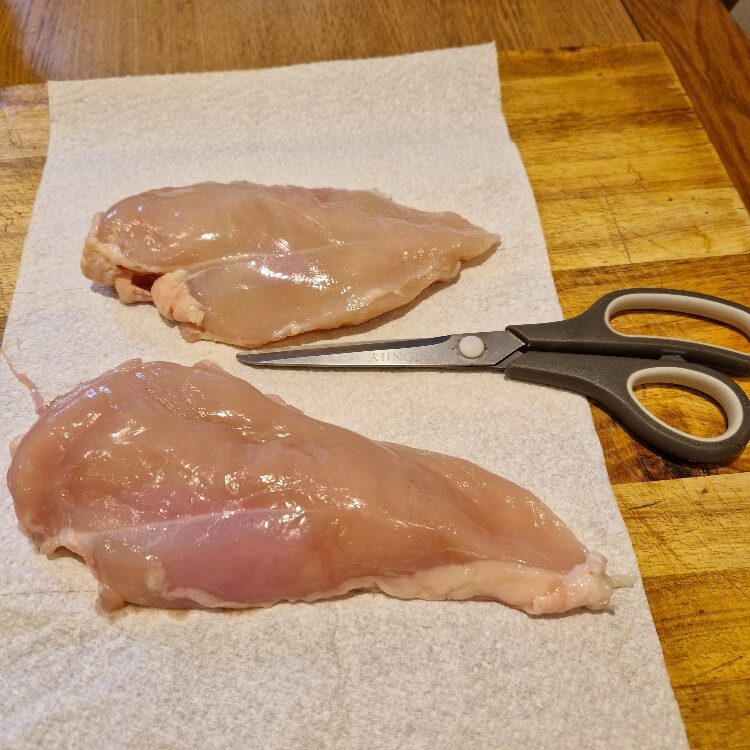
Start by preparing your chicken. Today we were using skinless, boneless chicken breast, but you can poach other cuts too. And if your cut has skin on, do remove it first. If it has bone in, leave that in during poaching as the bones will be easier to remove when the chicken is cooked. We find that skinless, boneless breasts are the most commonly found breast meat option in most shops.
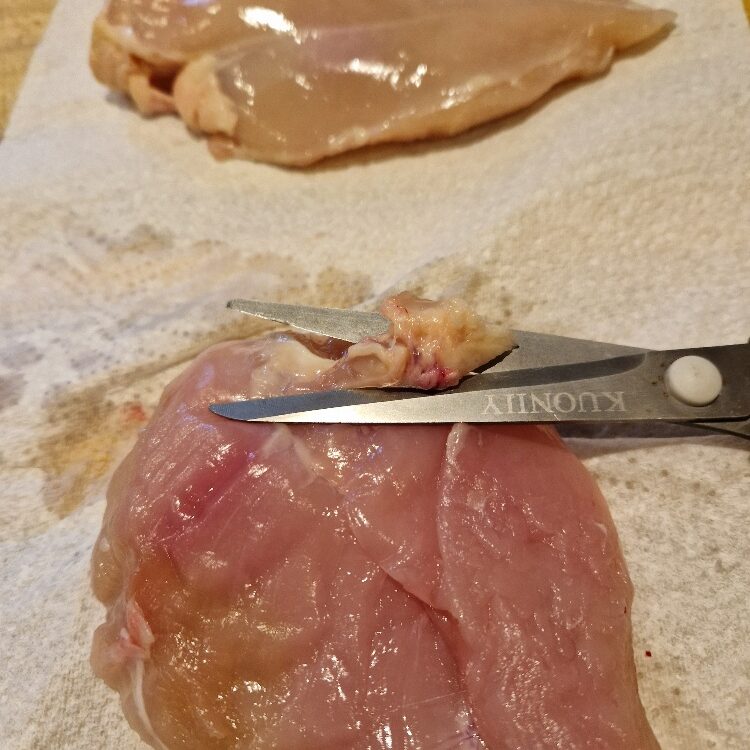
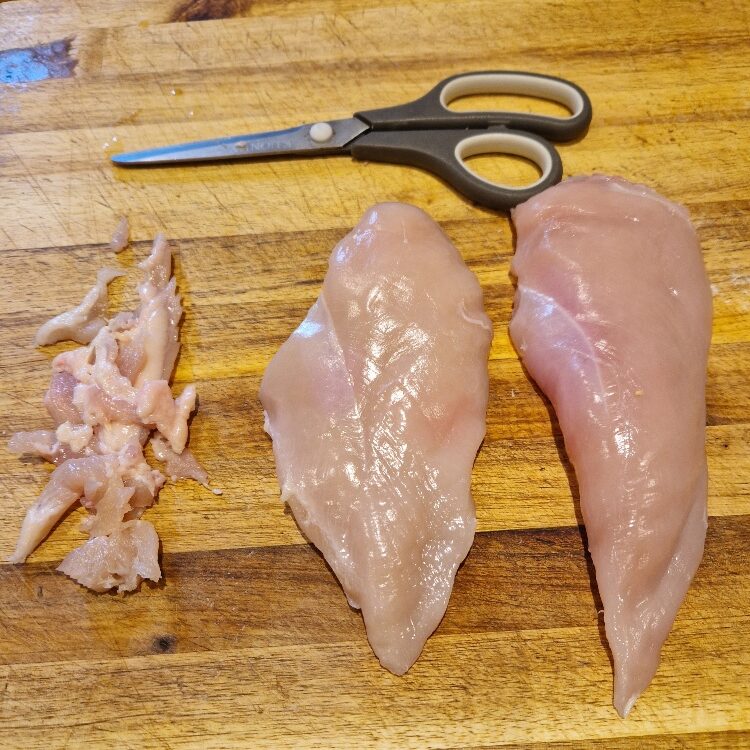
First pat your chicken dry with kitchen towel, then remove any skin including any skin residue on skinless cuts. Also remove any obvious white fat or sinew – you want a nice, clean breast portion. We find this is easiest to do with sharp scissors.

Jake sticks his nose in
Never wash raw chicken, as it can spread potentially harmful bacteria. And wash your hands frequently when handling it, plus wash and wipe down, ideally with antibacterial cleaner, any surfaces or tools raw chicken has touched before using again.
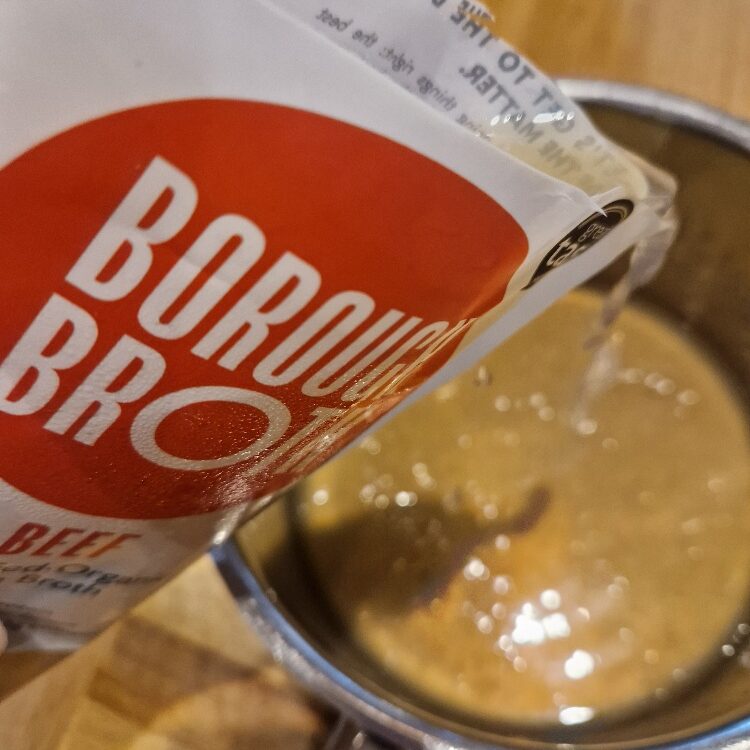
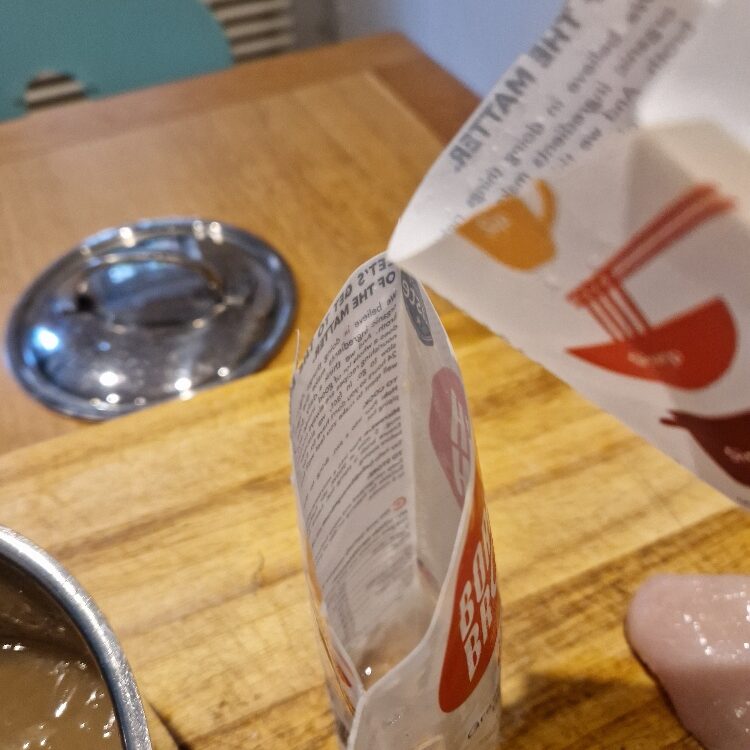
You can poach chicken in water, but we like to poach it in stock or bone broth. Any poultry, meat or vegetable stock is fine, and you can use fresh, or make up stock from cubes or gels. Today we were making a soup which would also use the poaching liquid, so we used a high quality fresh beef bone broth (which is also higher protein and lower fat than most stocks); if we’d only wanted the chicken meat and were throwing away the liquid, we would have used a cheaper option.
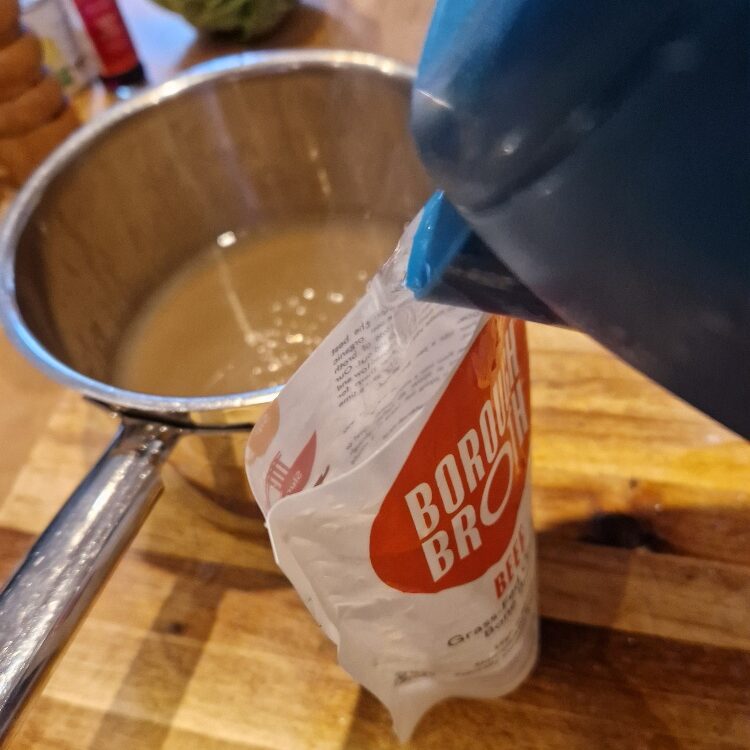
Add your stock to the pan and then bring to the boil. You need enough liquid to completely submerge the chicken and rather than use more stock, we add a little boiled water. A nice tip if using fresh stock is to rinse out the stock packet(s) with this boiling water before adding, so you get no waste.
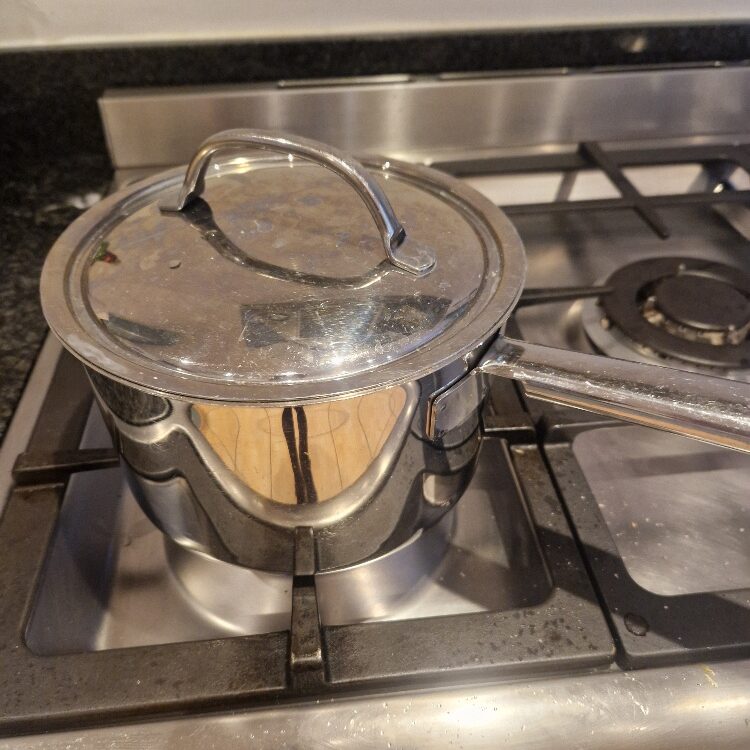
You want your stock at the really rolling boil before you add the chicken – it will bubble and froth. Add your chicken breasts, making sure they are fully covered with the liquid – if they’re not add more boiling water. Cover with a lid, turn the heat down to simmer and cook until done.

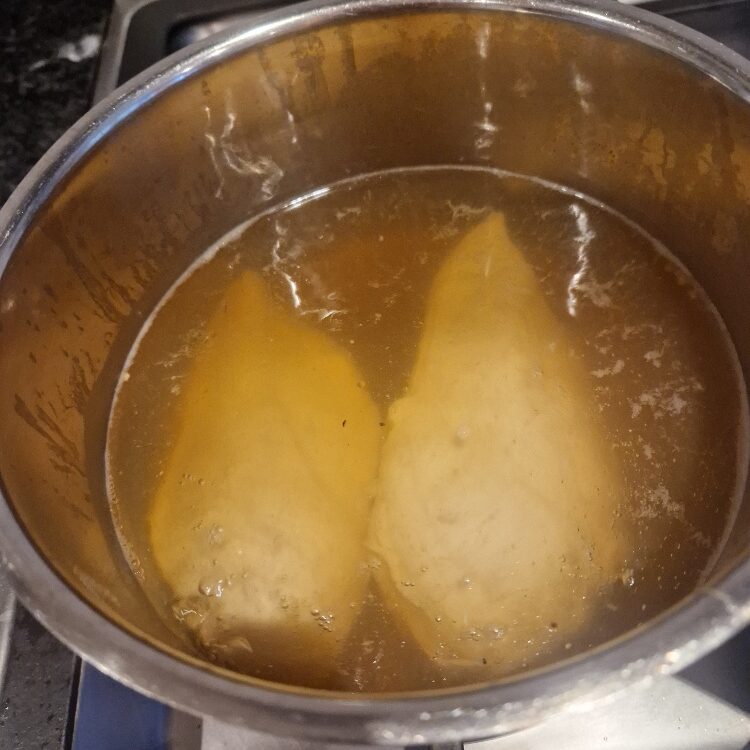
How long you cook for depends on the type of meat or poultry, the cut, and the thickness of your cut. Thinner chicken breasts will cook in as little as 10 to 12 minutes. Today ours were thicker however and took more like 15 minutes. Duck and other darker meats will also take longer.
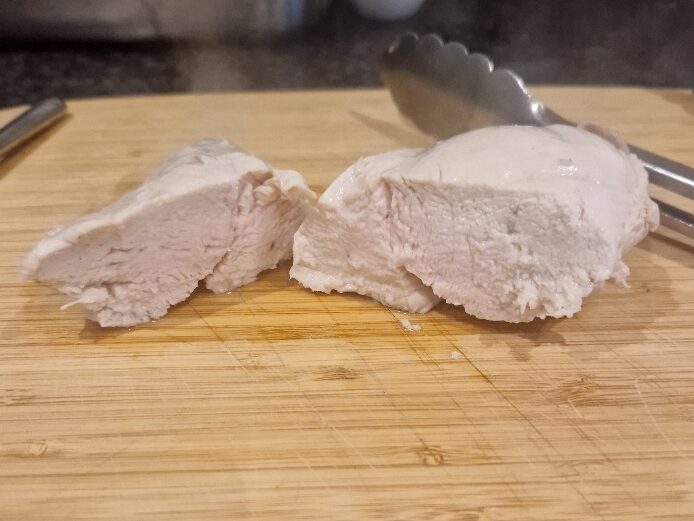
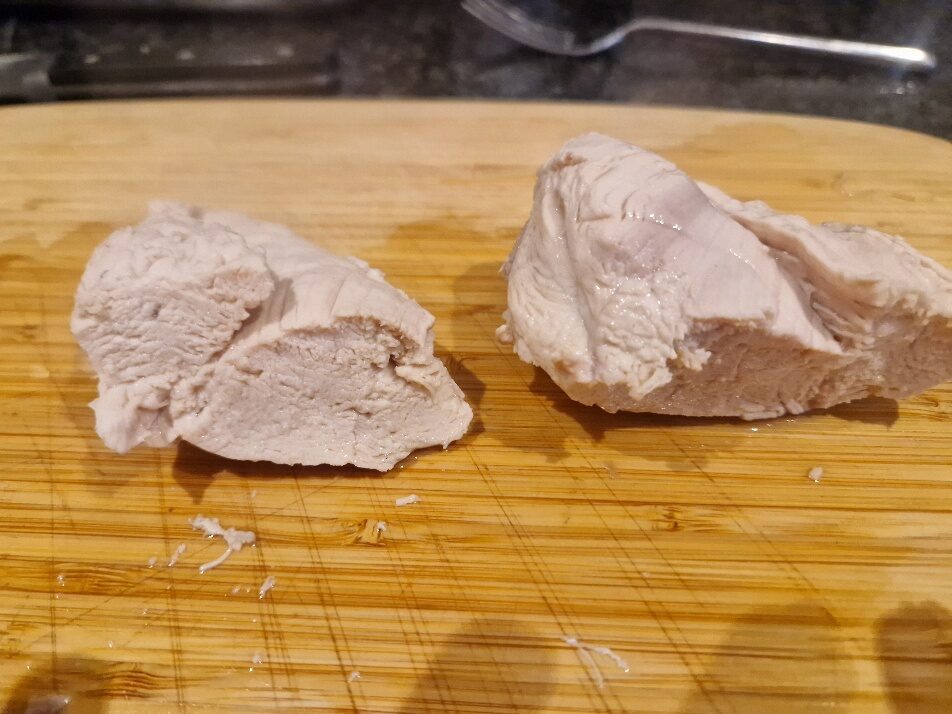
The cooking time is the only slightly tricky part of this process. You definitely don’t want undercooked meat, especially not chicken, but if you overcook it it will become tough, dry and difficult to shred. The best way to check is to cook for the lowest likely cooking time, in this case about 10 minutes, then remove and cut into the breast. If any pink or red is left in the centre, your chicken is not cooked. Today, at the 10 minute point we tested and could still see pink – you may just be able to see this in the centre picture below. We cooked for another 5 minutes, and the fully cooked appearance is on the right.

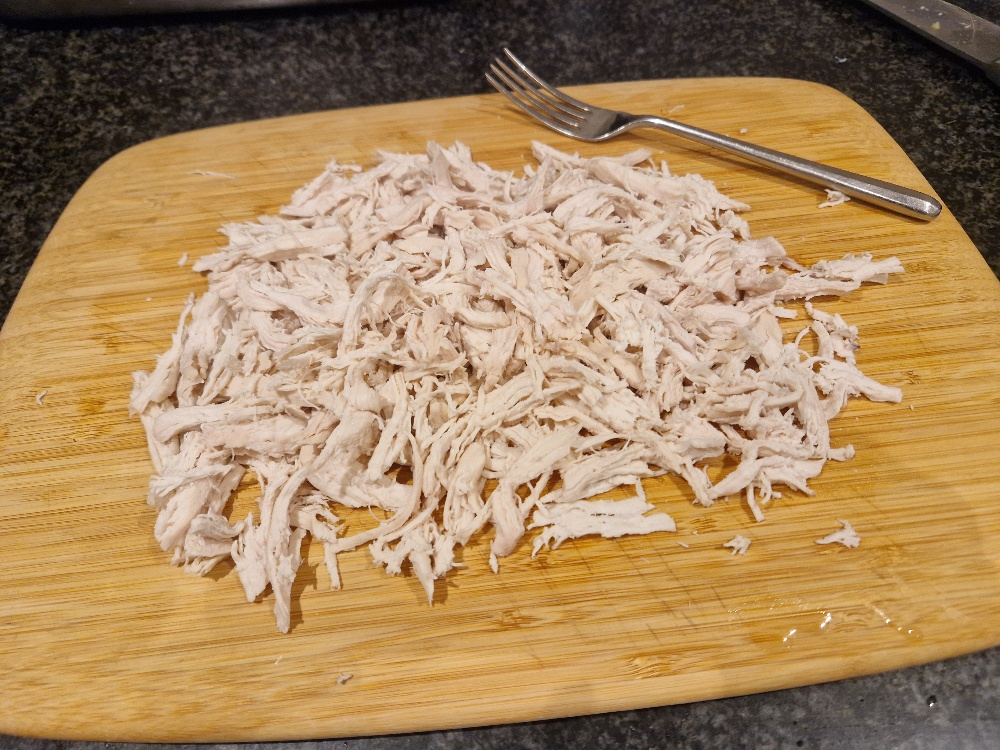
Allow your chicken to cool a little before slicing or chopping as needed. Today we wanted shredded chicken, and this is easy to do with poached. But you can also shred roasted chicken, or other poached or roasted meats.
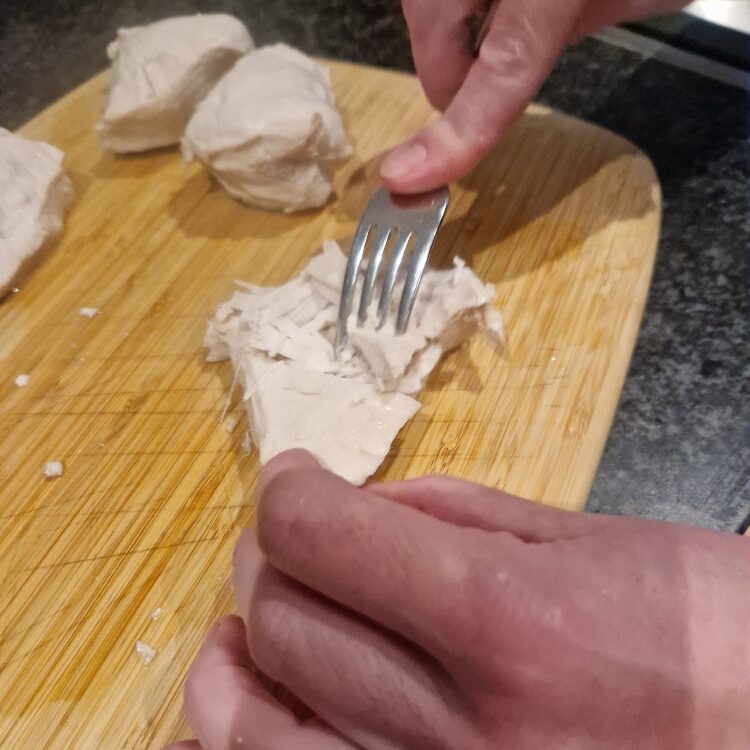
Shredding is best done with a large fork. Hold the chicken firmly with one hand, and shred the meat with the fork. Chicken – and in fact all meat – has a ‘grain’, which means that the meat fibres all run one way. The idea with shredding is to pull apart these fibres into their natural strands. As you start shredding, particularly with poultry breasts, you will easily begin to see this grain emerge. Work with the grain and you should get nice long shreds of meat easily.
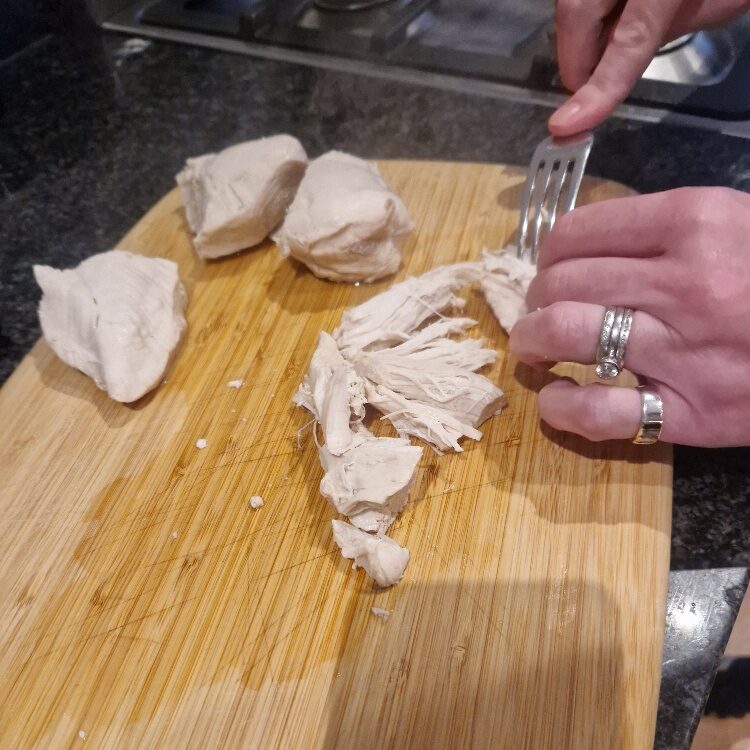
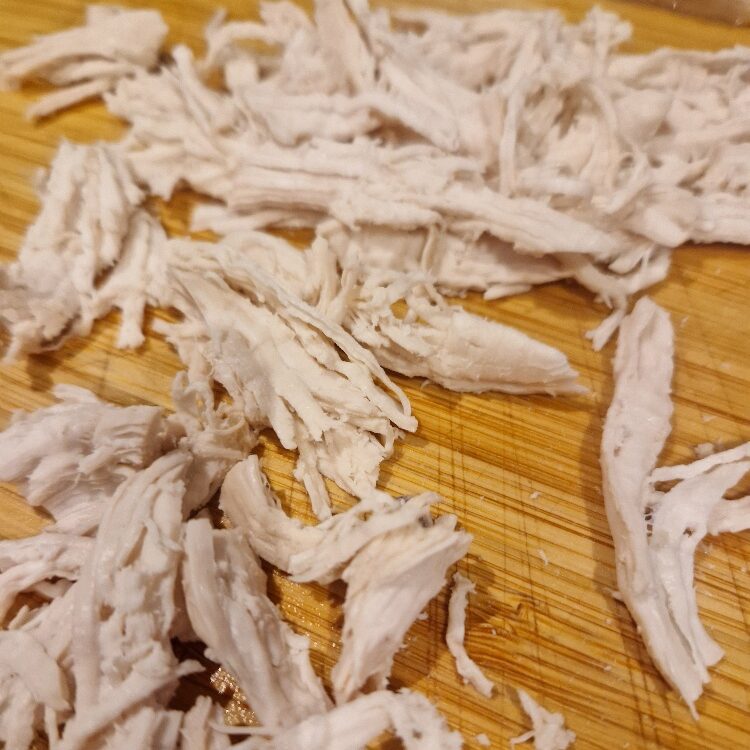
You now have lovely, moist, shredded meat to add to your dish. The meats we shred most often are chicken and duck, but this technique can work well with any meat, and is very good with pork, for example.
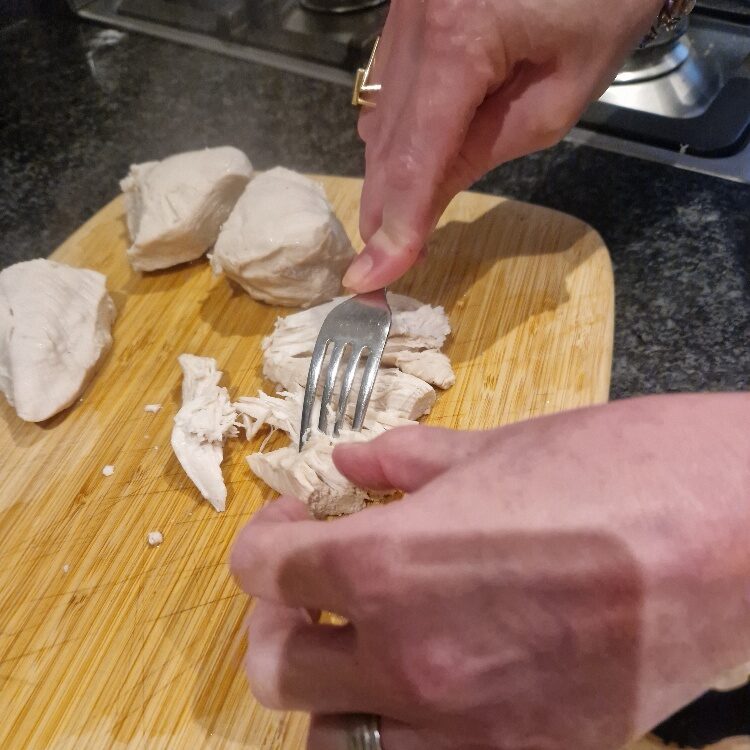
If using chicken, the result should look like the below.