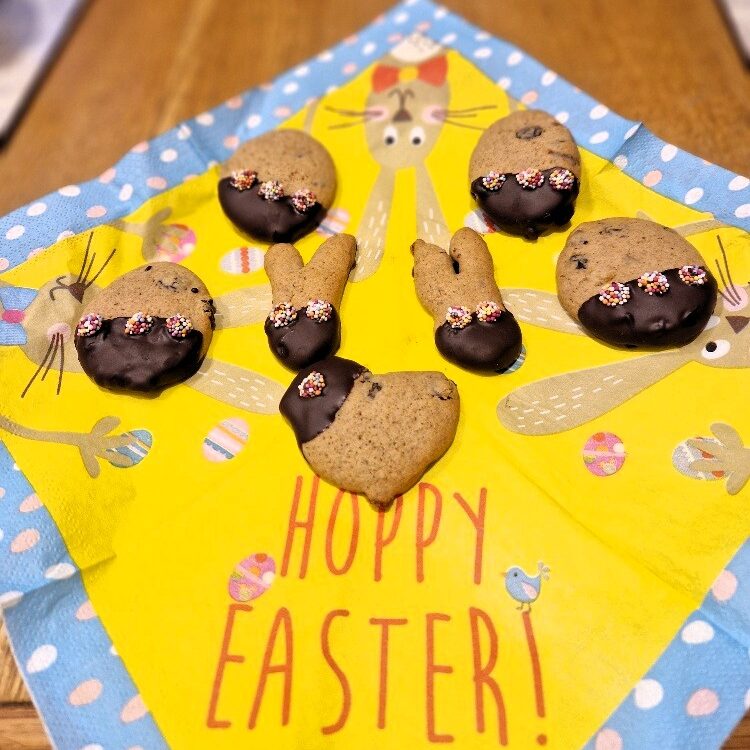
Easter biscuits were one of the first recipes Emily learnt to cook with Bibi. So they were one of the first things she taught Estella, too. OK, they’re not exactly a supper, but they’re definitely simple to make! Plus they’re our favourite Easter treat, so we wanted to share Bibi’s recipe. They smell amazing while cooking too, and are so tasty and moreish – we’re willing to bet you won’t be able to eat just one (today we each ate five!). Fill your kitchen with the smell of Easter, and give them a go!
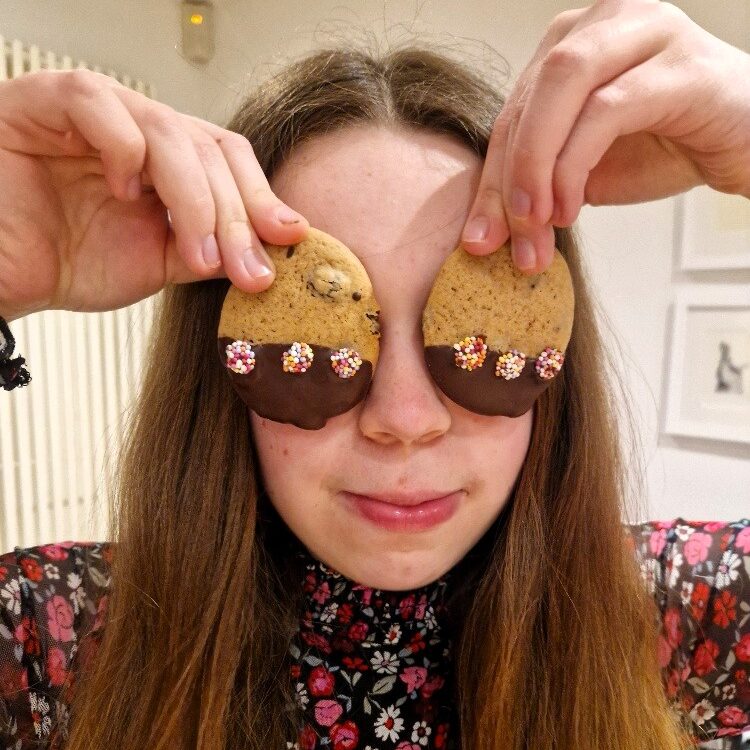
These biscuits are spicy, fruity and crisp, yet still soft in the centre. They are a real family favourite, and make us wish it was Easter every weekend.

Bibi’s recipe is the one she taught to her students, and we still use her original handwritten notes. It is slightly unusual, in that you rub in plus add baking powder, but the result is the trademark crisp-but-soft finish.
These Easter biscuits are very easy to bake, but the one skill you need is rubbing in – a staple skill for making many sweet dishes, especially pastry. You can find out more in our pastry Tip. Rubbing in is easy to master, but you do need to be methodical and patient. You also need the butter to be fridge-cold.
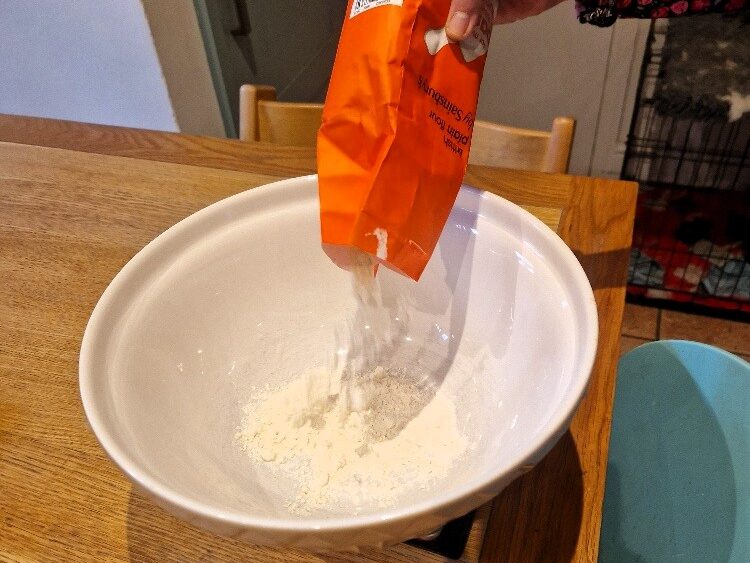
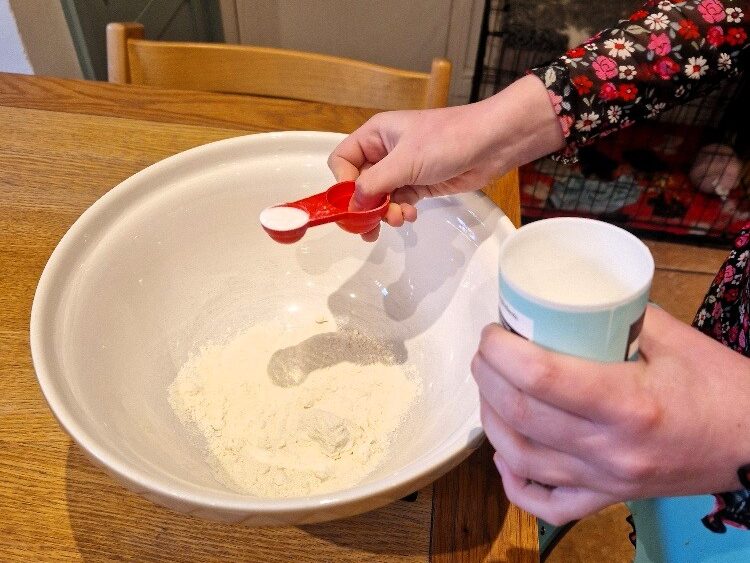
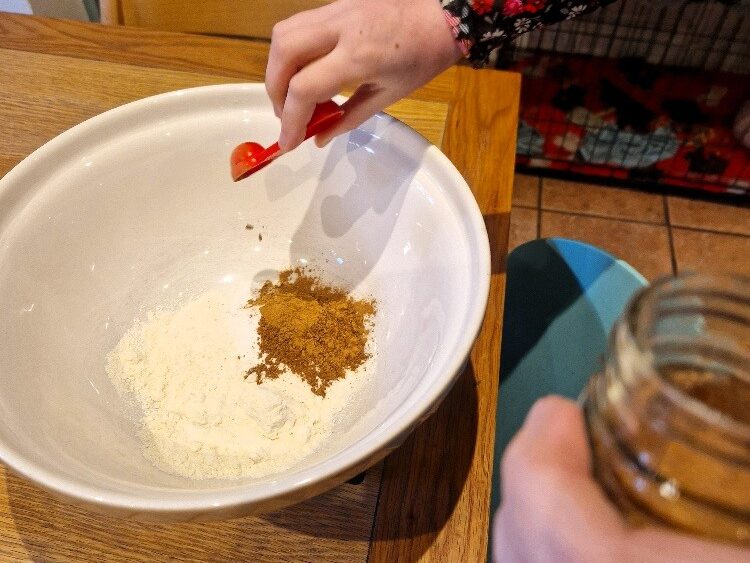
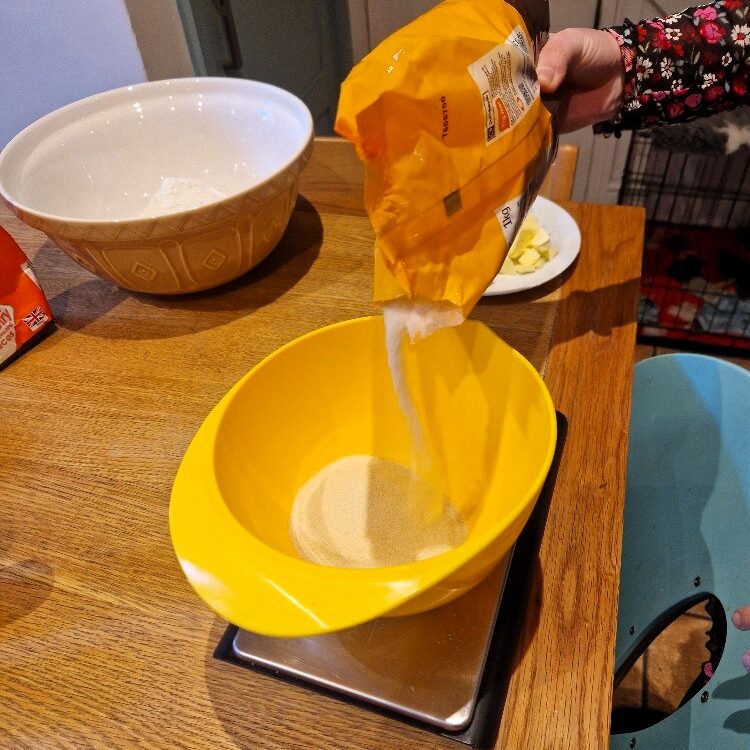
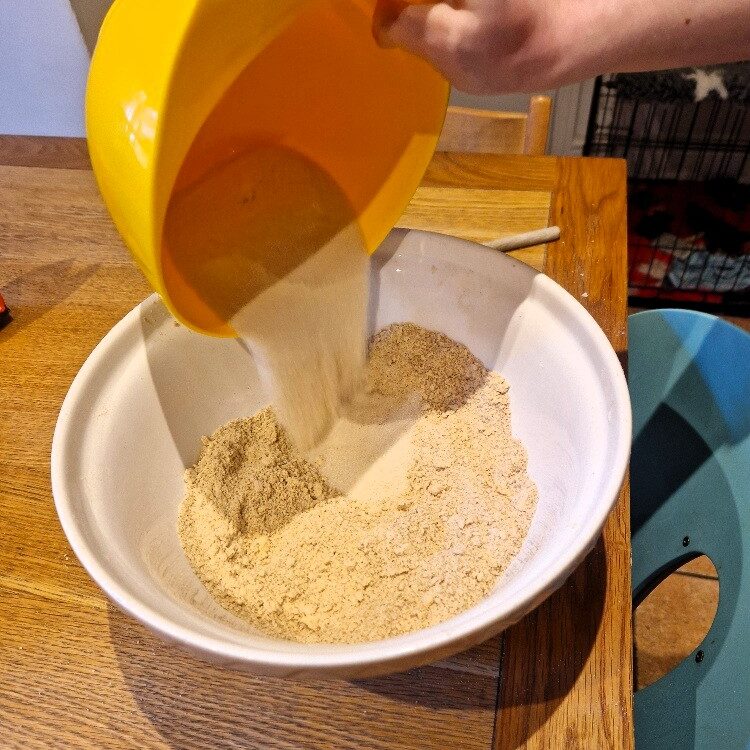
First, weigh the flour into a large mixing bowl, and add the baking powder. Next add the spices – mixed spice is traditional, but we add a little extra cinnamon, as Bibi did. We like the biscuits quite spicy, so we are generous with the quantity, especially the mixed spice. Stir to combine. We know we’ve added enough spice if the mix is slightly brown and you can smell the spices!
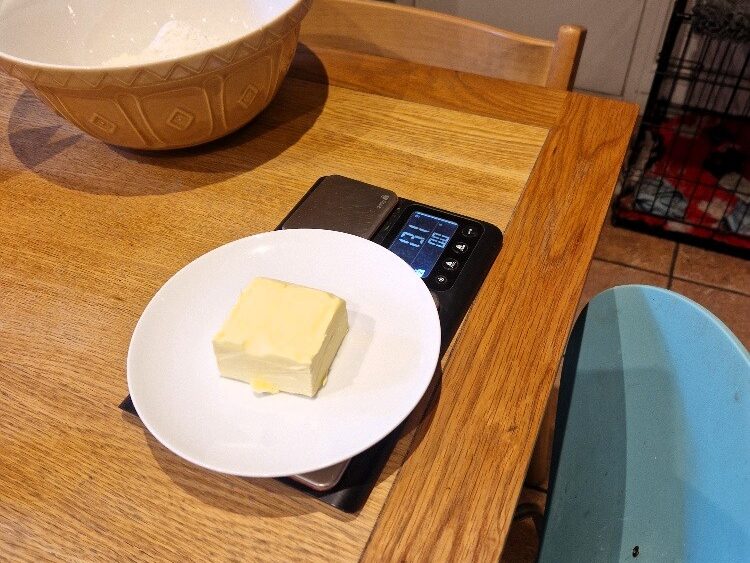
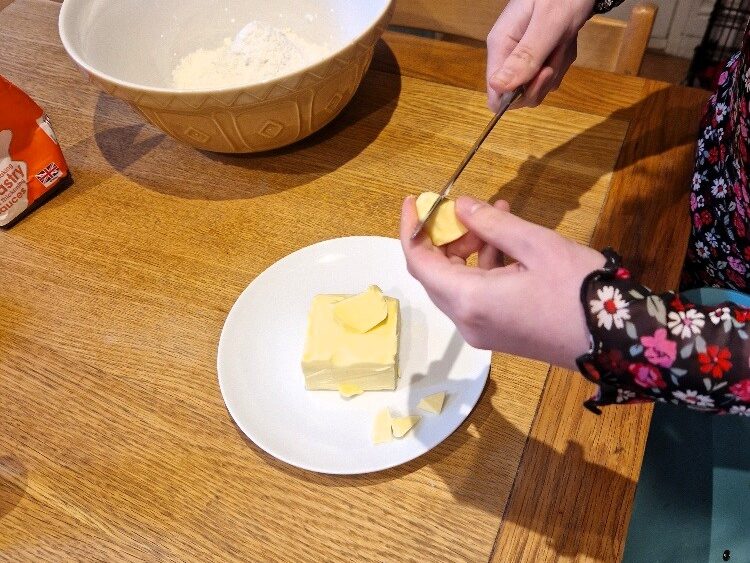
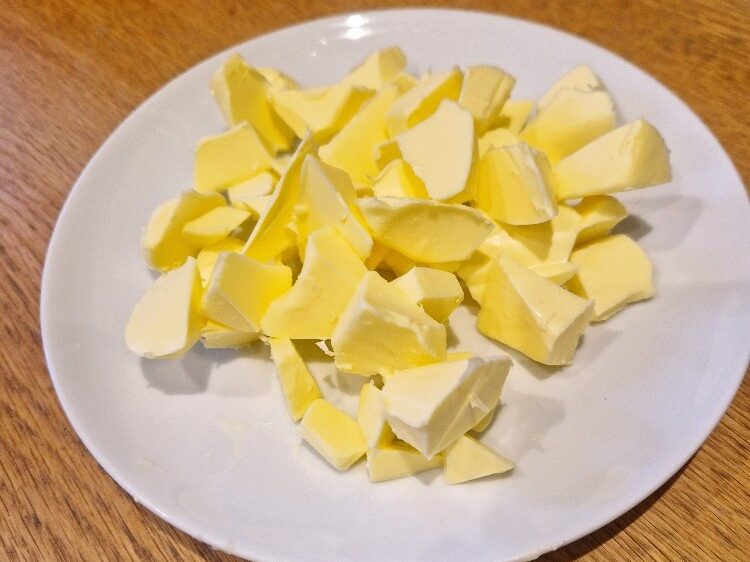
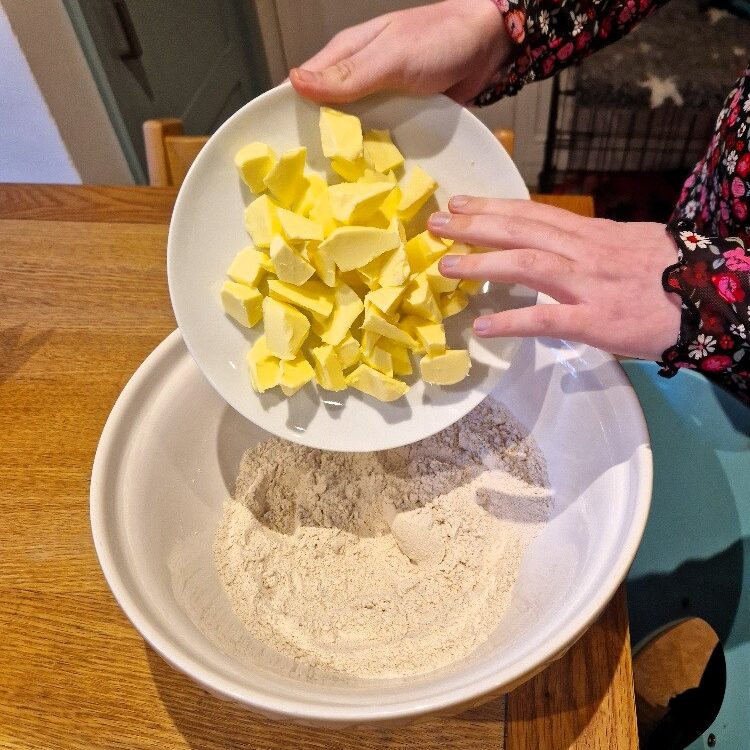
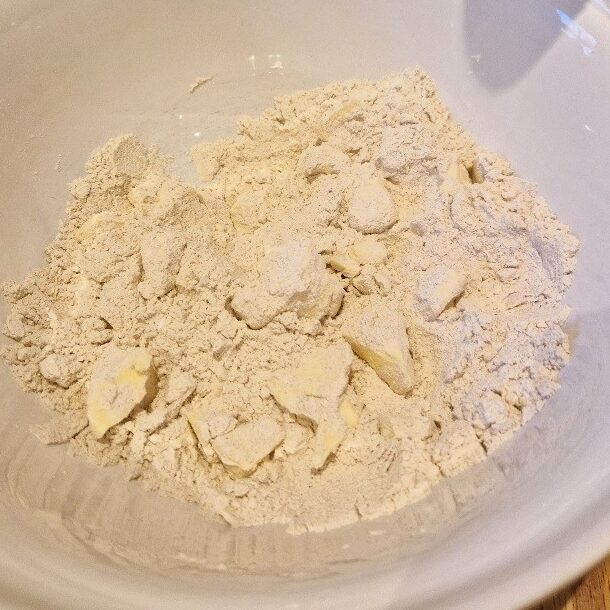
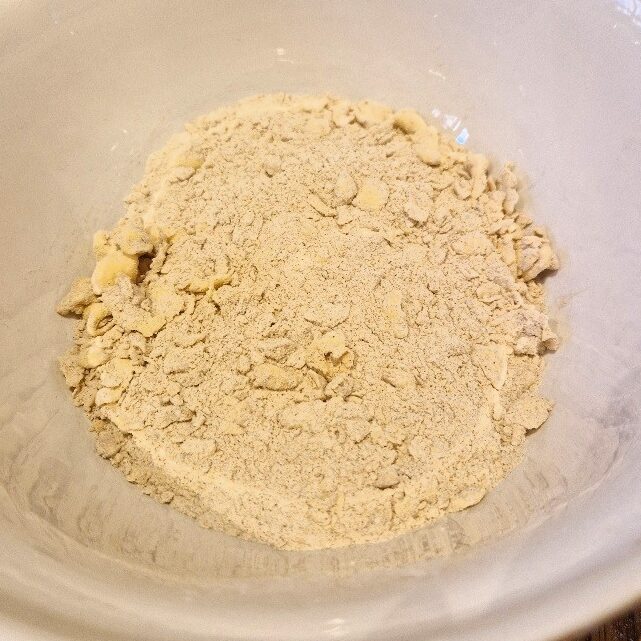
Weigh the butter, and cut into small chunks. Add to the flour, and stir to coat the chunks.

Jake sticks his nose in
It may sound simple, but coating the butter in flour is a key tip. The butter will be much easier to rub in if it is thoroughly coated in the flour.
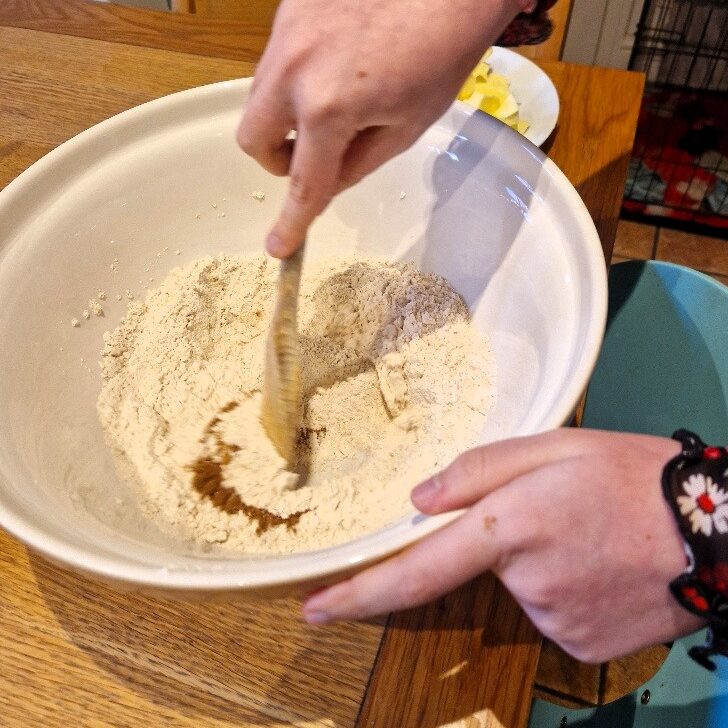
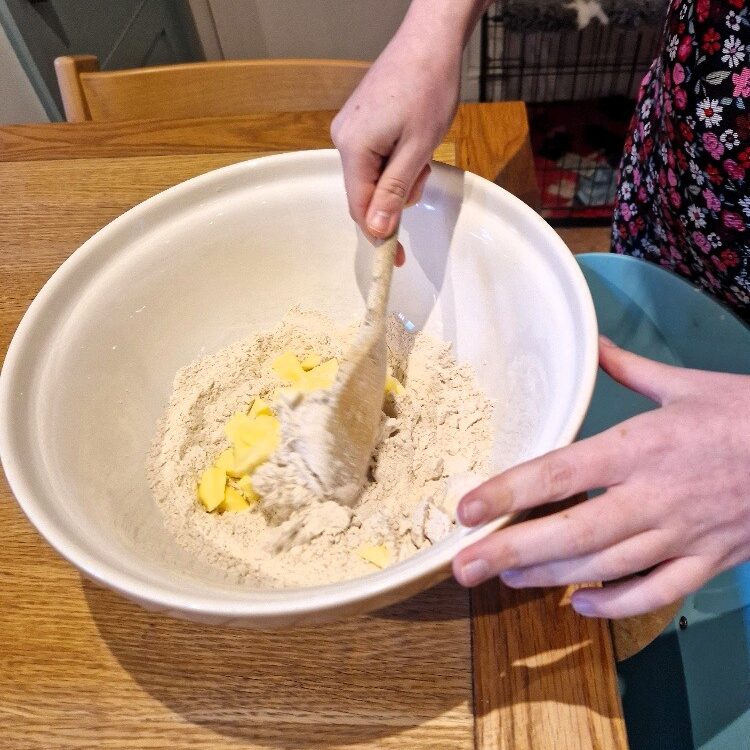
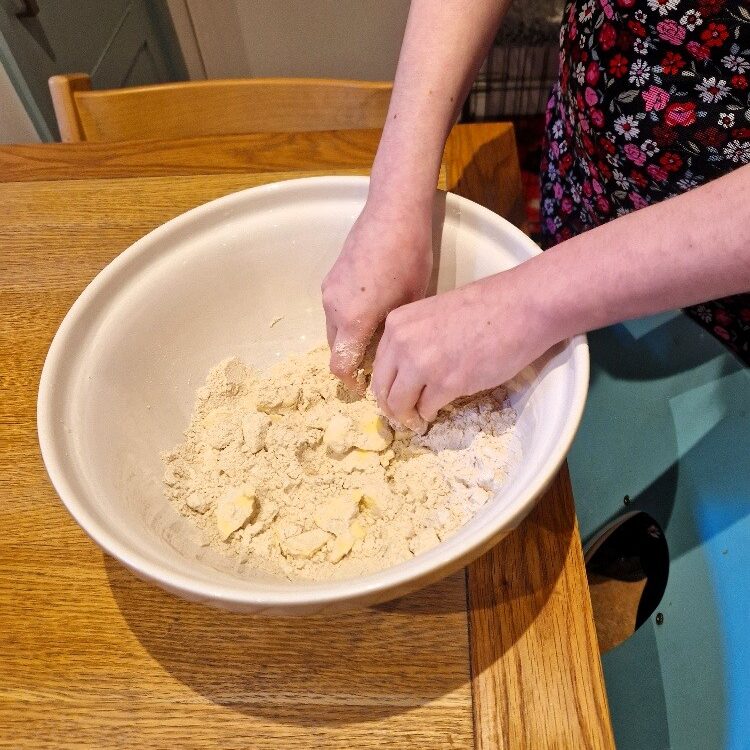
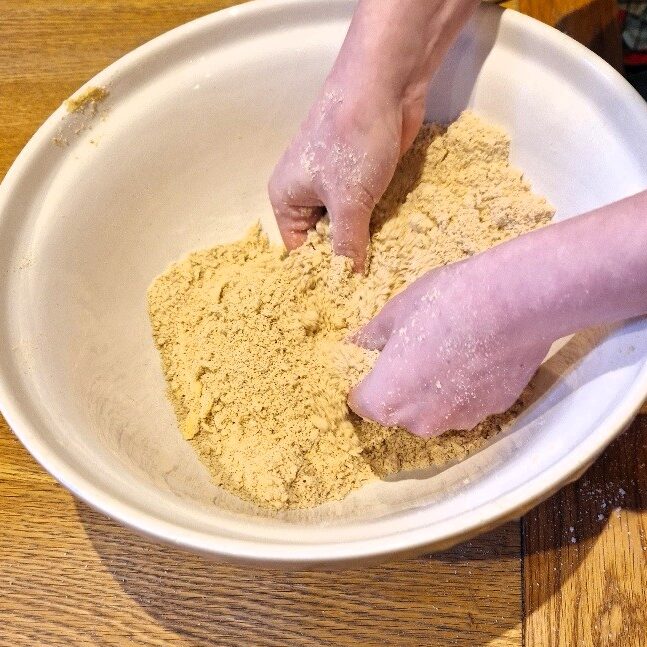
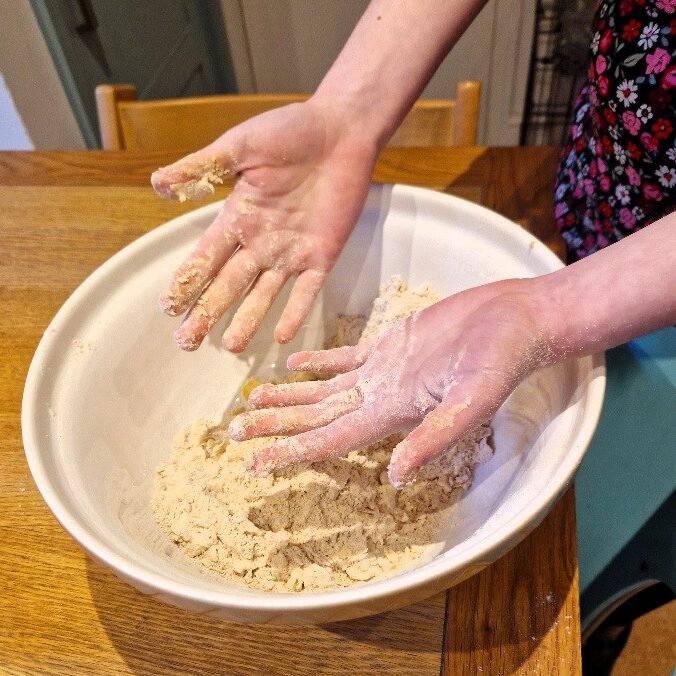
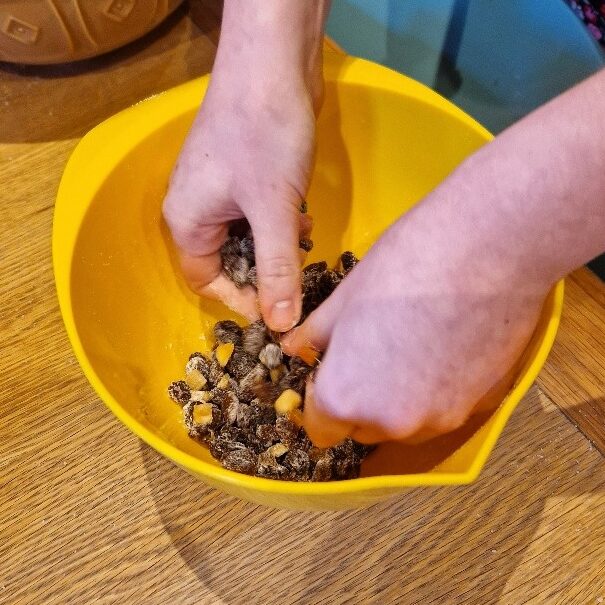
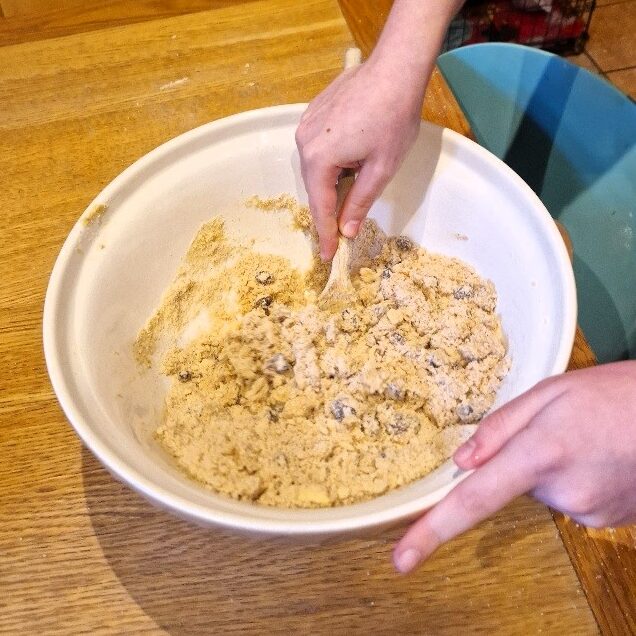
You now need to rub the butter into the flour. Do this with the tips of your fingers. Keep the butter moving, and scoop up the flour from the bottom of the bowl as you go. It will take time to get the butter properly incorporated, but it is well worth the patience as your biscuits won’t cook properly if there are large lumps of butter in the dough.
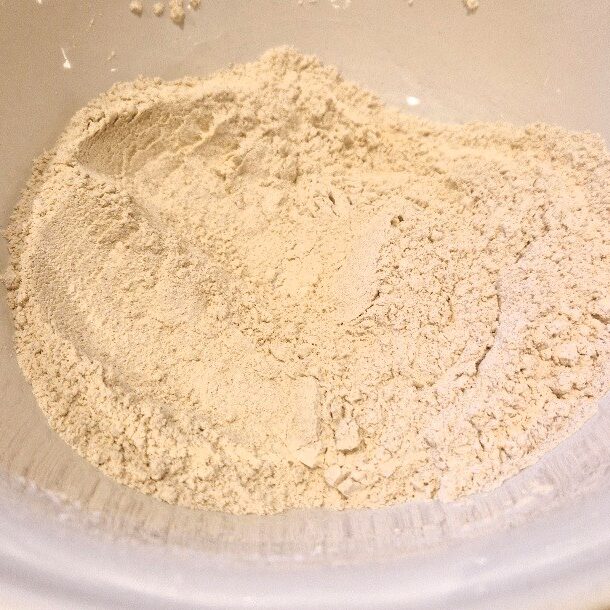
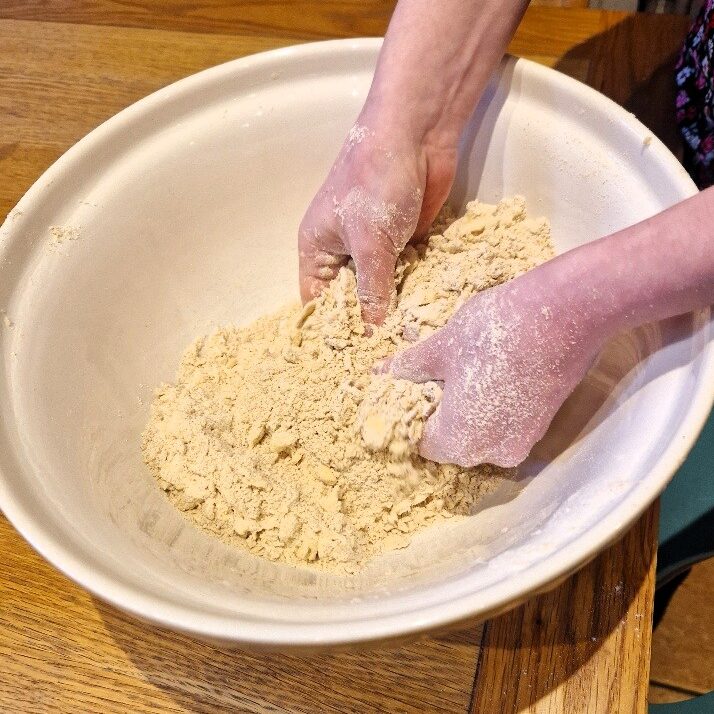
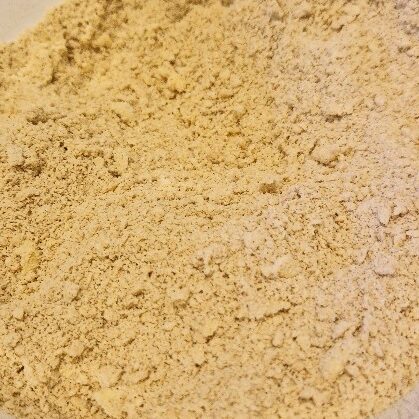
Most recipes will say you want the end result to be the texture of breadcrumbs, and this is a good rule of thumb. We find, however, that it is worth the extra few minutes to take it a bit further – more to the texture or sand, as in the pictures below. A top tip is to shake the bowl occasionally – the bigger lumps of butter will magically come to the top and you can prioritise rubbing these in!
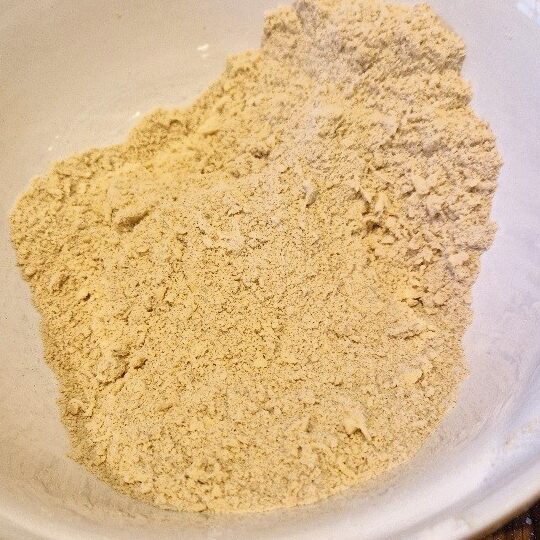
Jake sticks his nose in
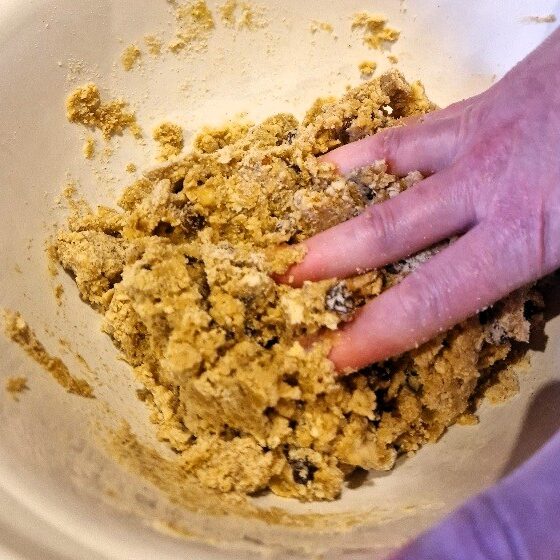
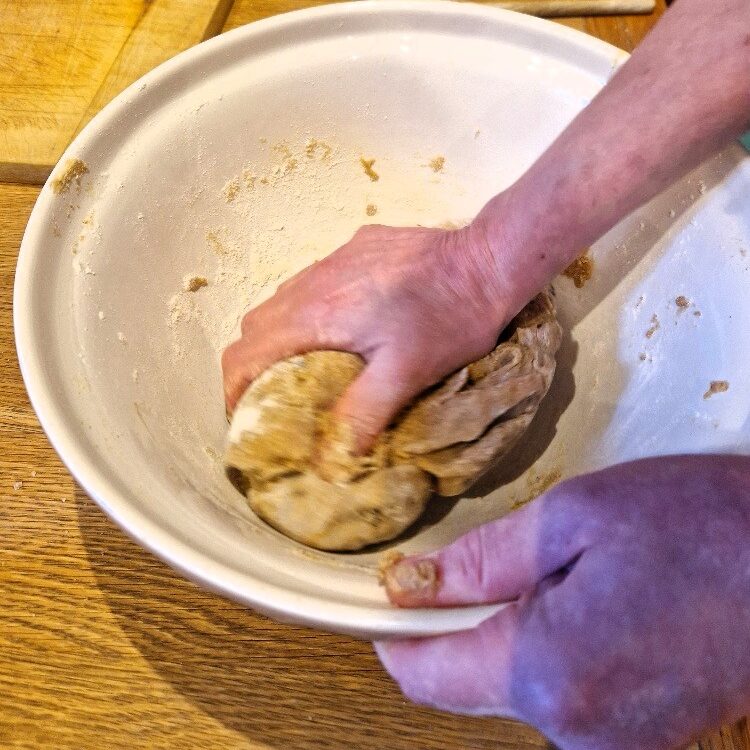
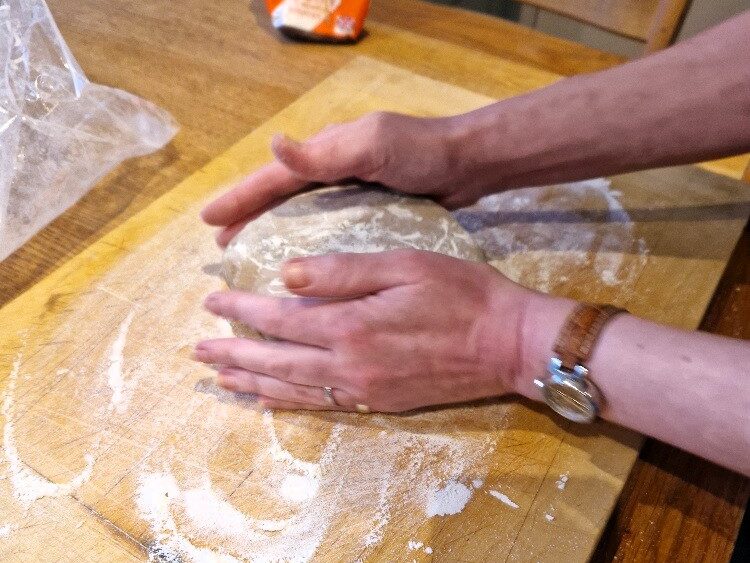
Bibi always used to say that you know if your rubbing in technique is right if your fingers get doughy, but your palms remain clean. See Estella’s hands below!
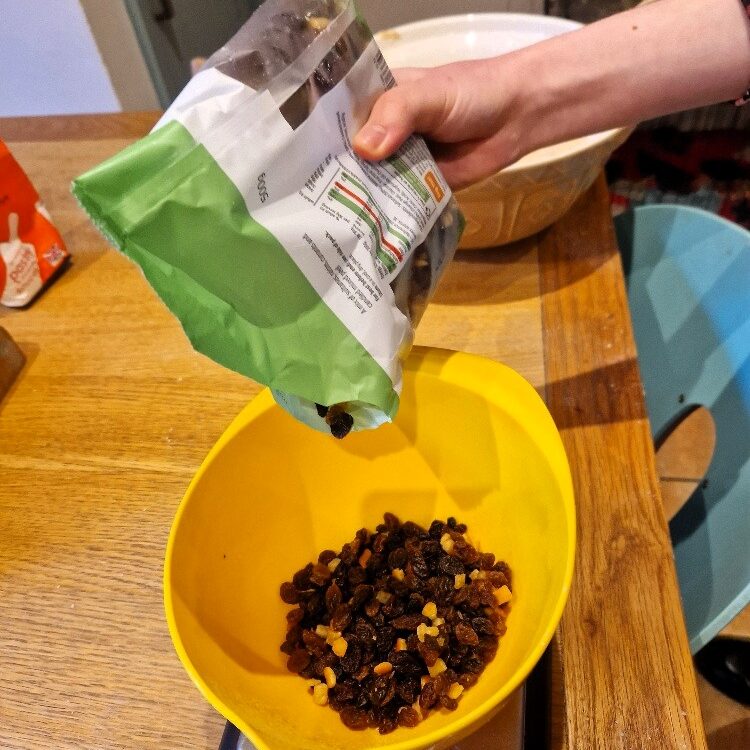
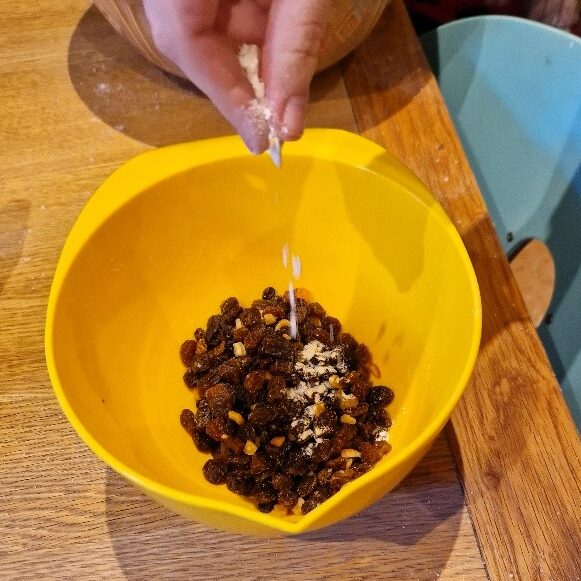
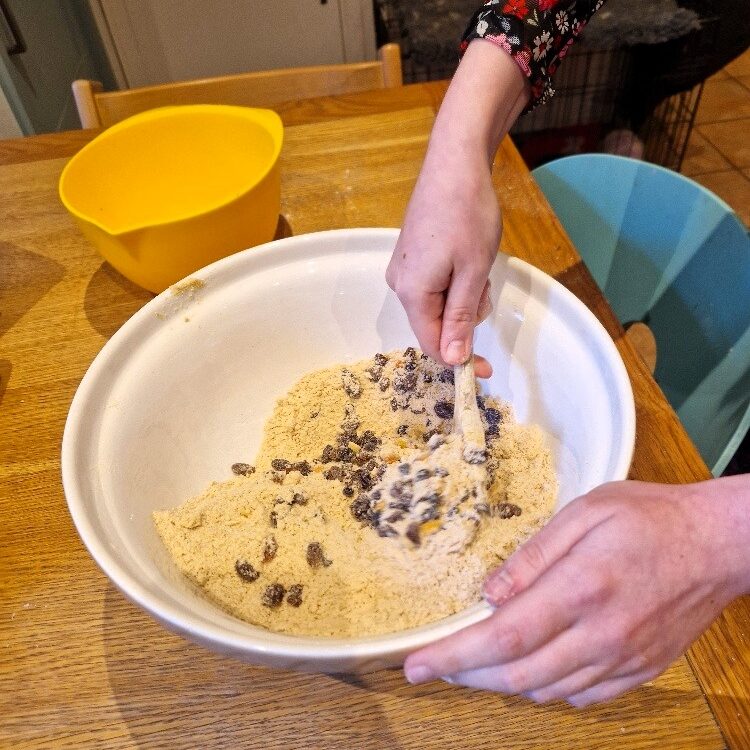
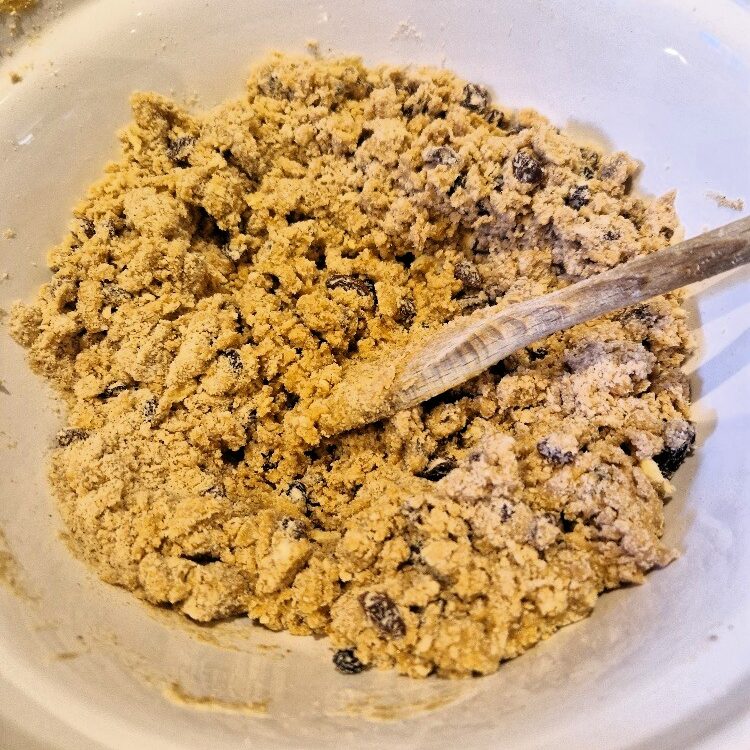
Now weigh the sugar, and stir into the dough. Weigh the mixed fruit, and coat in a little flour, breaking up the fruit so the pieces are separate. Add to the dough, and stir to combine.
We like to use mixed fruit, but you could use just currants instead as Bibi’s original recipe suggests, and which would be a traditional choice. Bibi added mixed peel too, but this is already in the mixed fruit we use.
Jake sticks his nose in
Coating the fruit in a little flour is a good tip – it stops the fruit from clumping in the dough, and helps an even distribution of fruit in the finished biscuits.
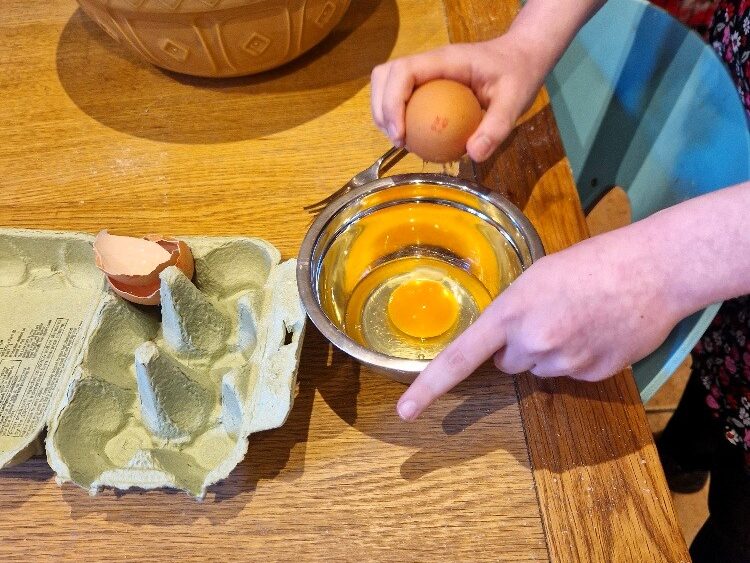
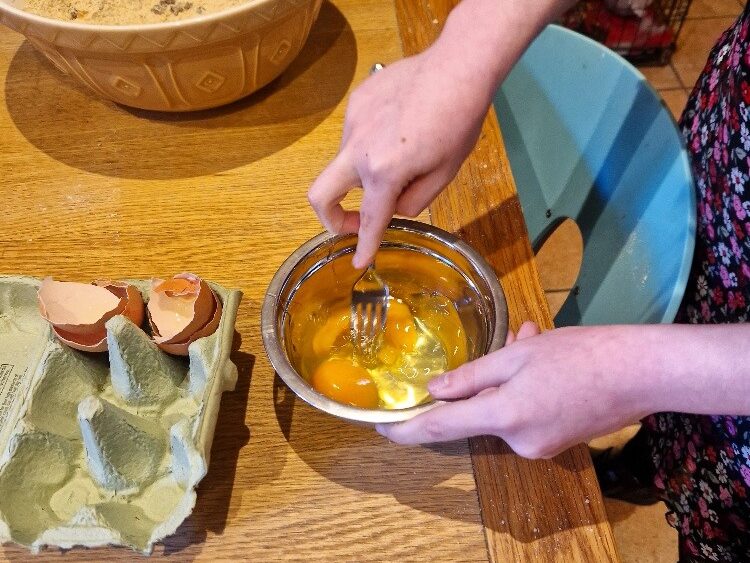
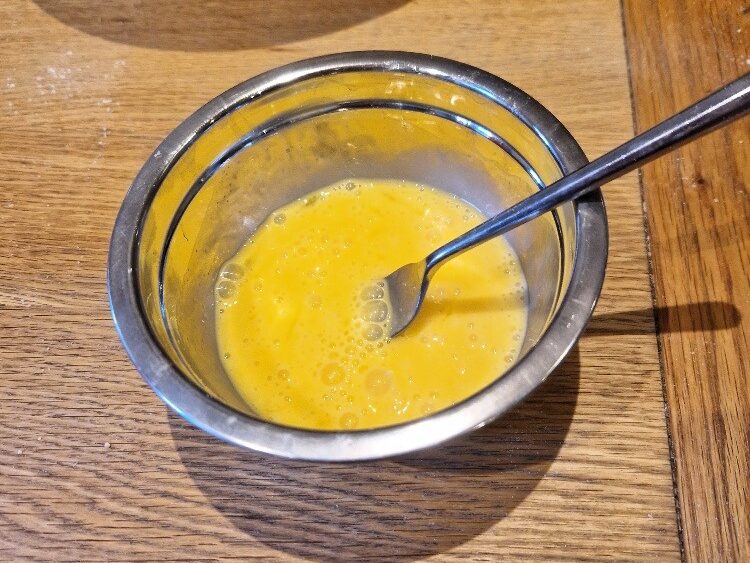
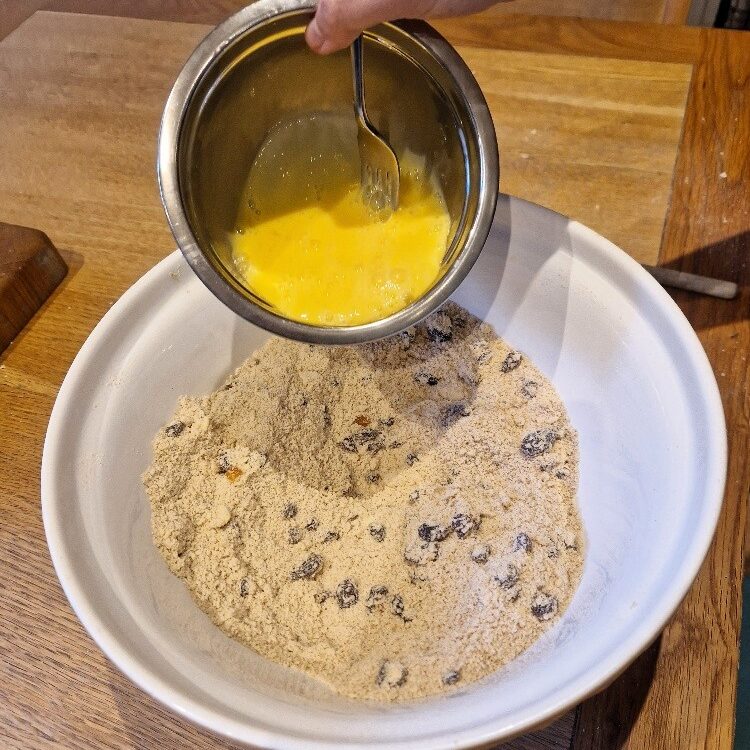
Next, crack the eggs, and mix with a fork. See our egg Tip. How much egg you need will depend on their size – two medium eggs, or one large egg plus one egg yolk. Add the eggs to the dough mix – being sparing at first, you can always add more, and you don’t want the dough to be too wet. Stir with a wooden spoon until the dough begins to come together.
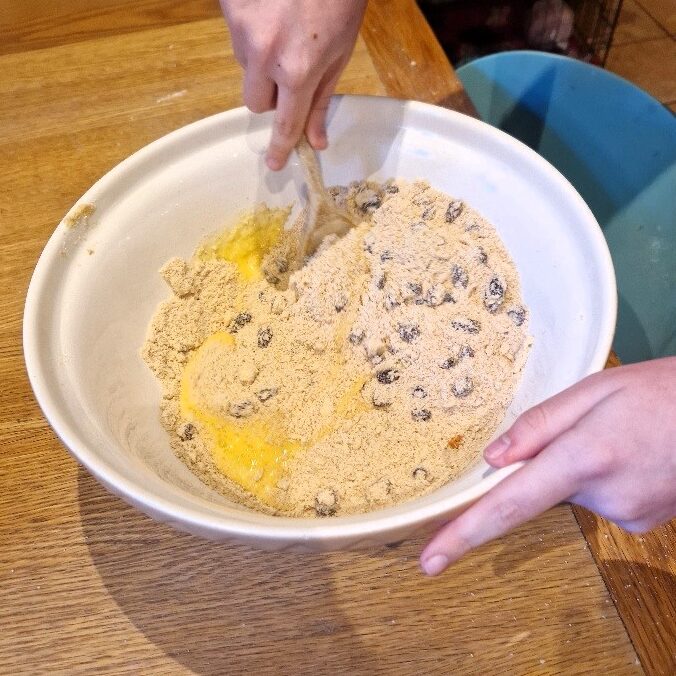
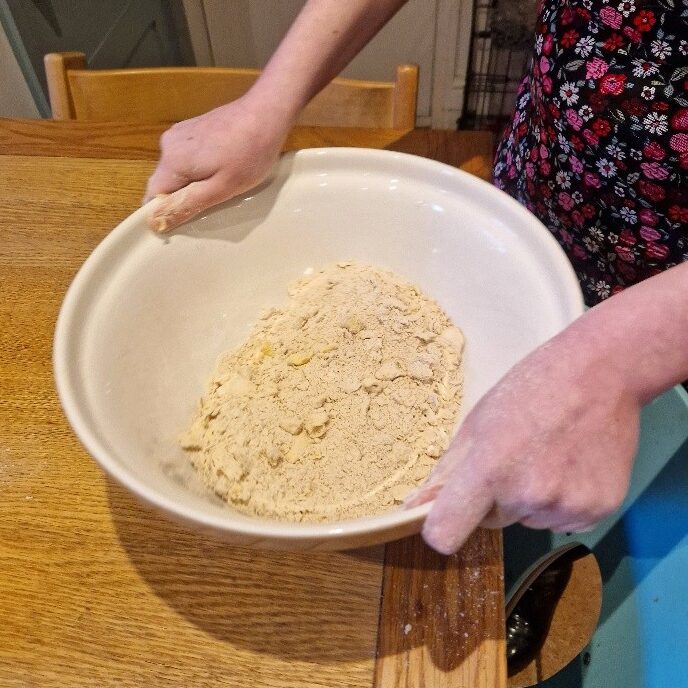
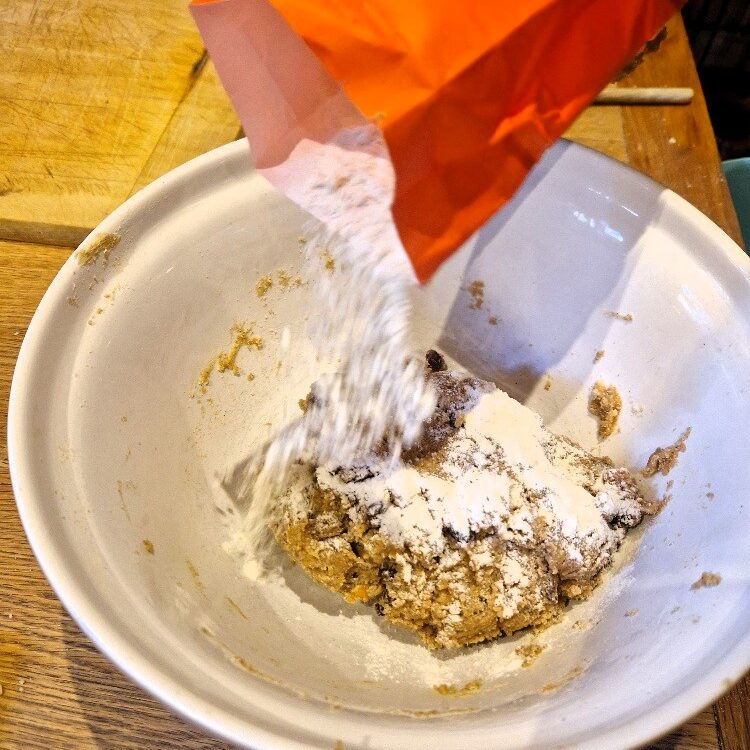
You now need to mix the dough with your hands. Press it together, and push against the sides of the bowl, turning the dough over and over until it forms a ball, and the sides of the bowl are clean. Add a little more flour if you think the dough is too wet – ours was today.
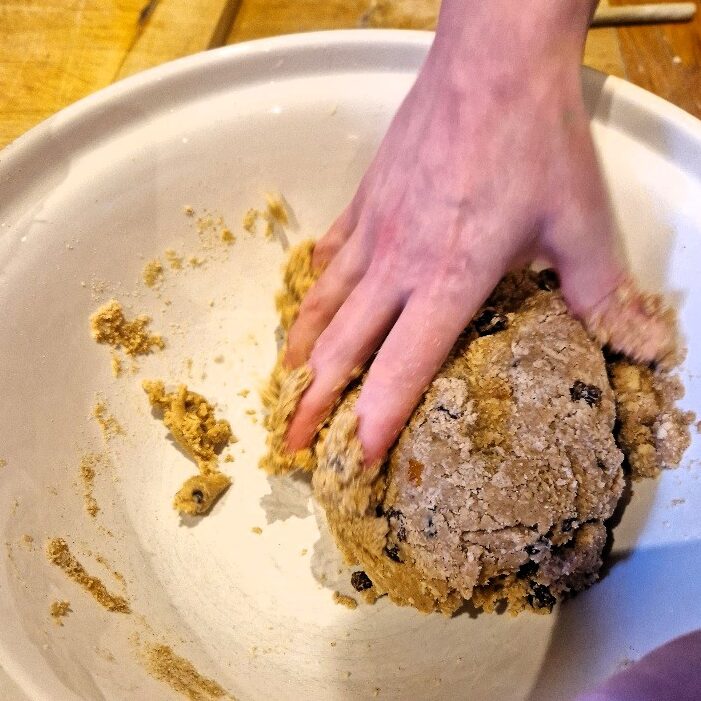
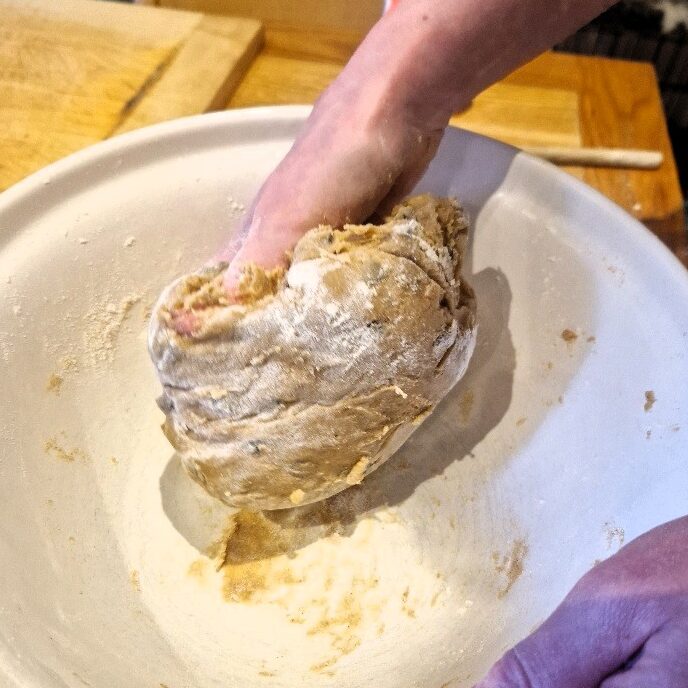
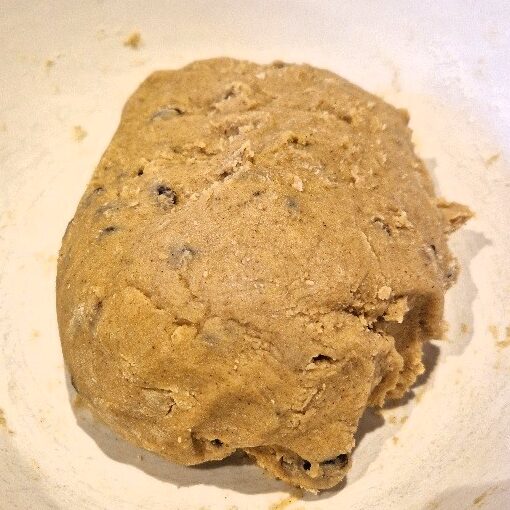
You want a nice, firm, glossy dough, as below. Knead the dough a more few times on a board.

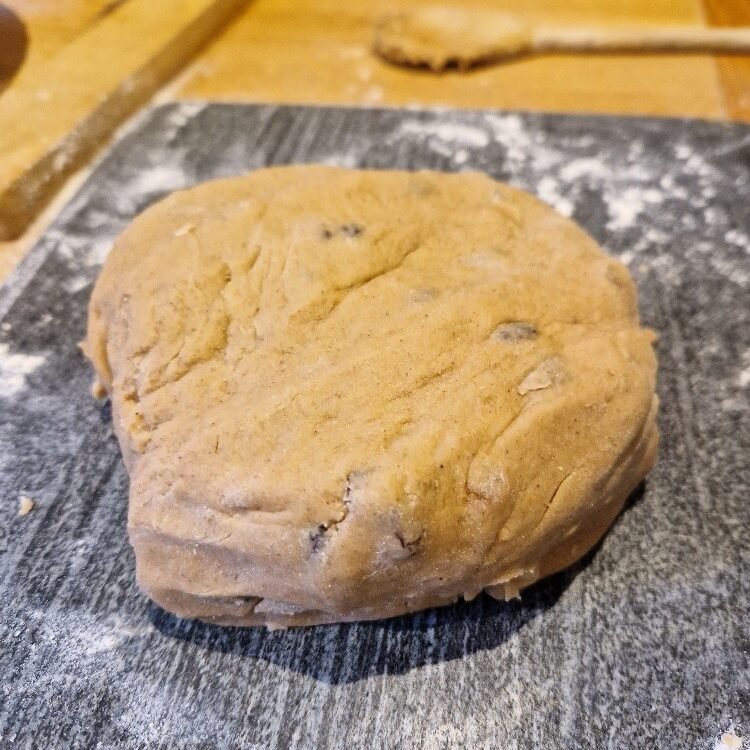
If your dough is really firm, you can roll and use it immediately. We find it is much better however if you chill the dough first. Today, we placed the dough into a plastic bag (or you can wrap in cling film), and chilled it in the fridge for 20 minutes – this makes it easier to roll, and less likely to stick.
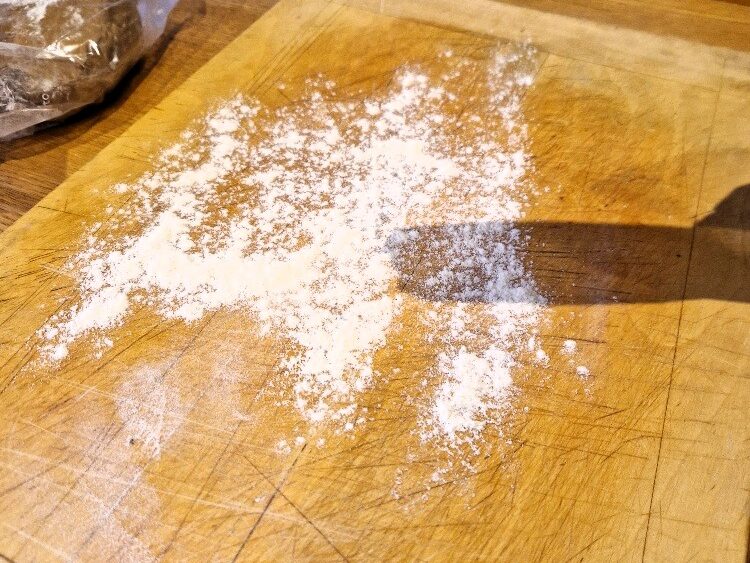
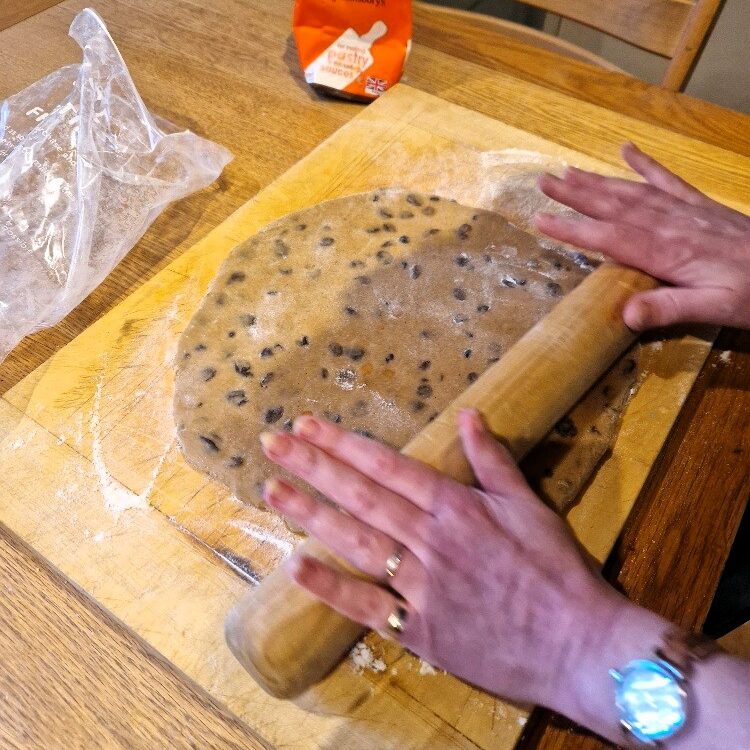
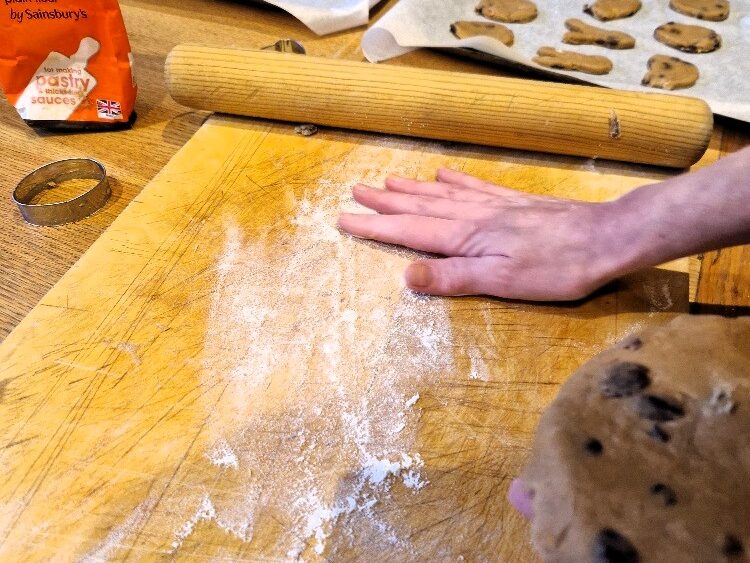
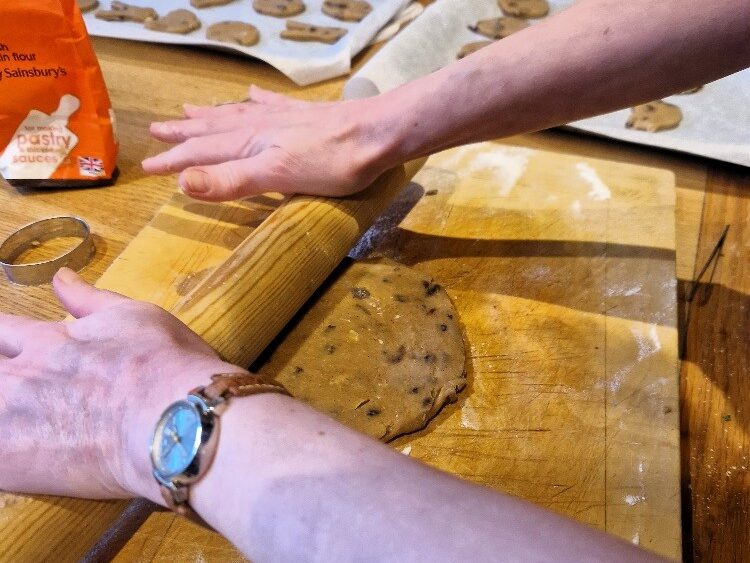
While the dough is chilling, heat the oven (to 180C or 160C fan). When you are ready to roll, dust a large board with flour, and shape the dough into an even ball. Flatten it slightly. Also flour your rolling pin.
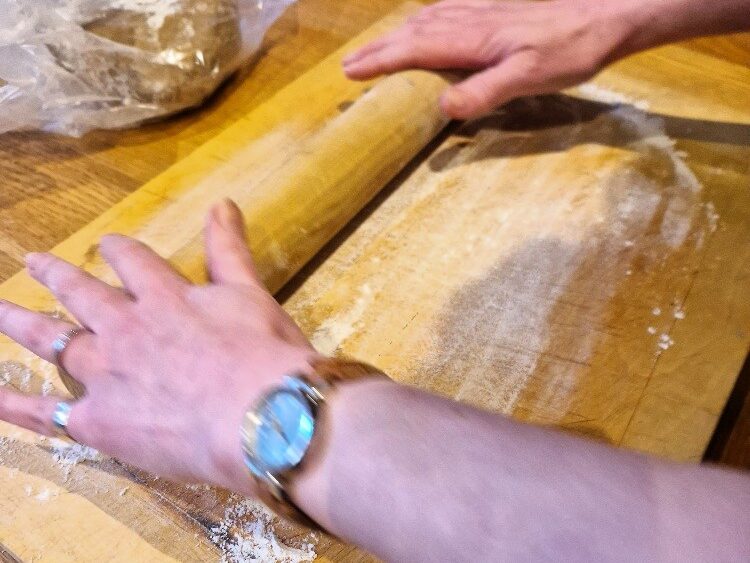
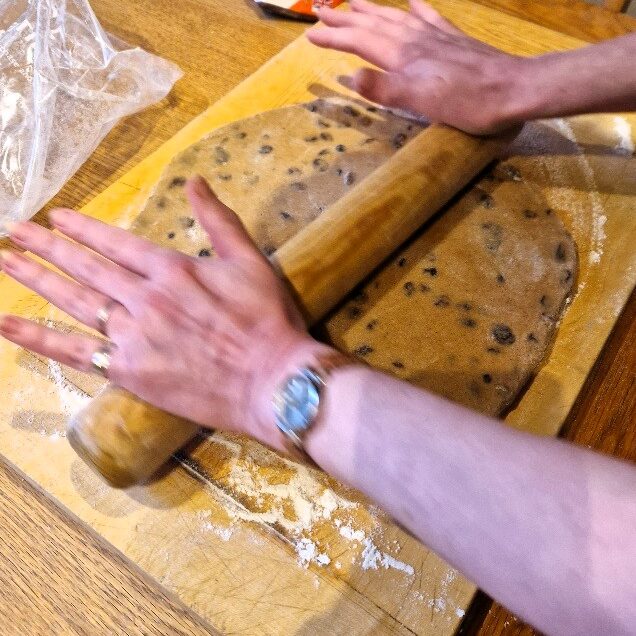
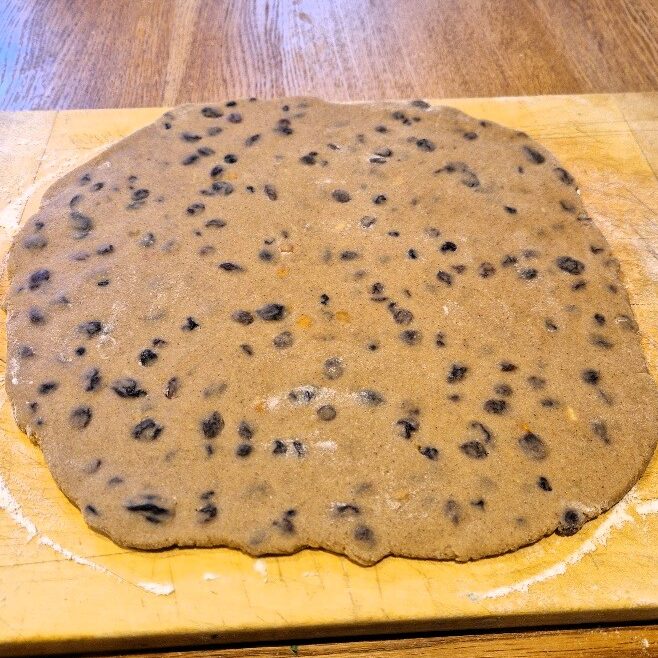
Now roll out the dough, turning it 90 degrees every now and then, until you have a large even sheet – about 0.5cm thick, but trust your judgement. Dust with a little flour every now and then if the rolling pin sticks.
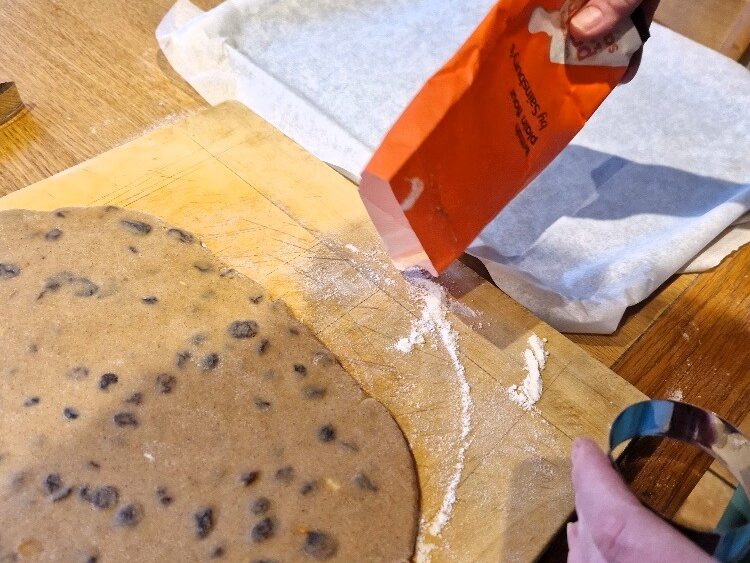
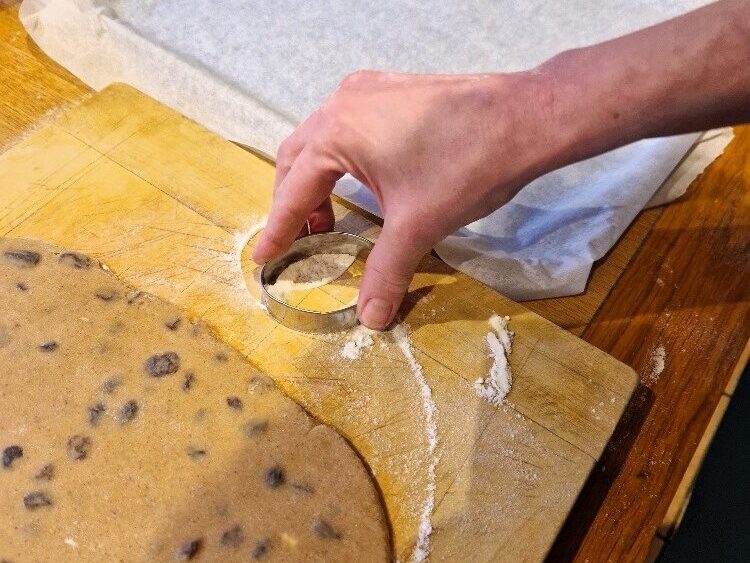
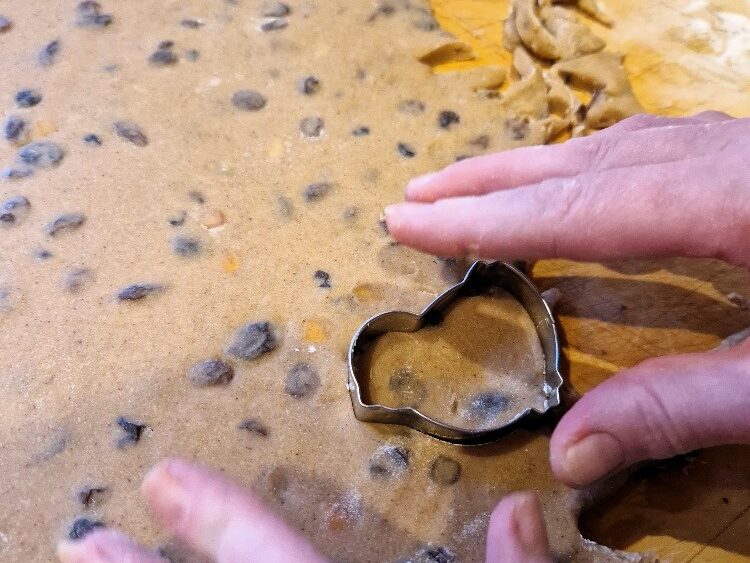
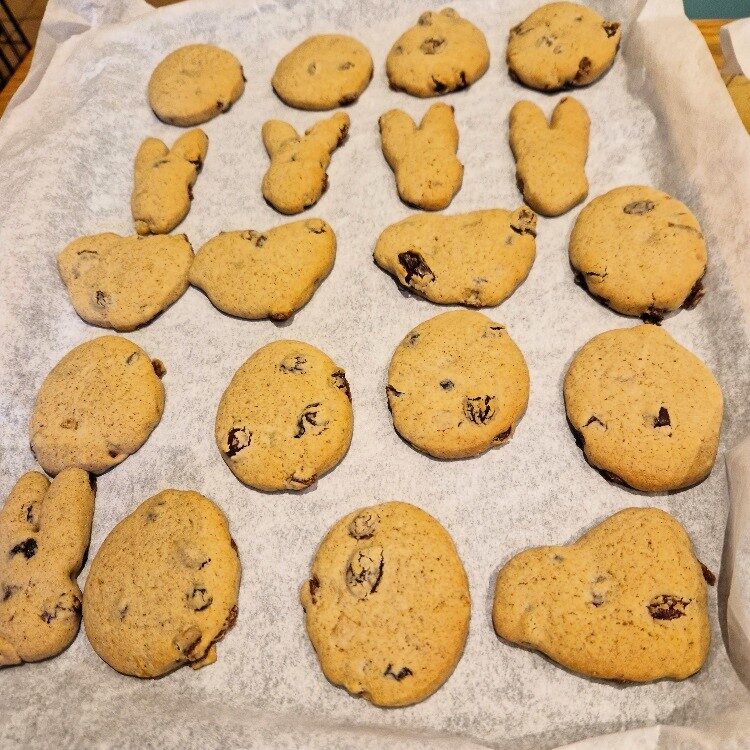
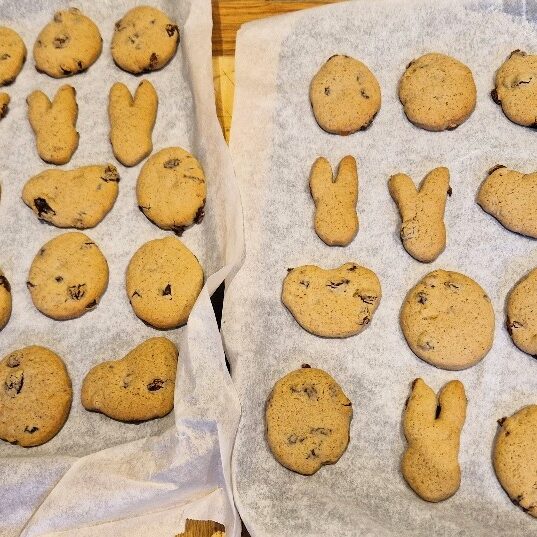
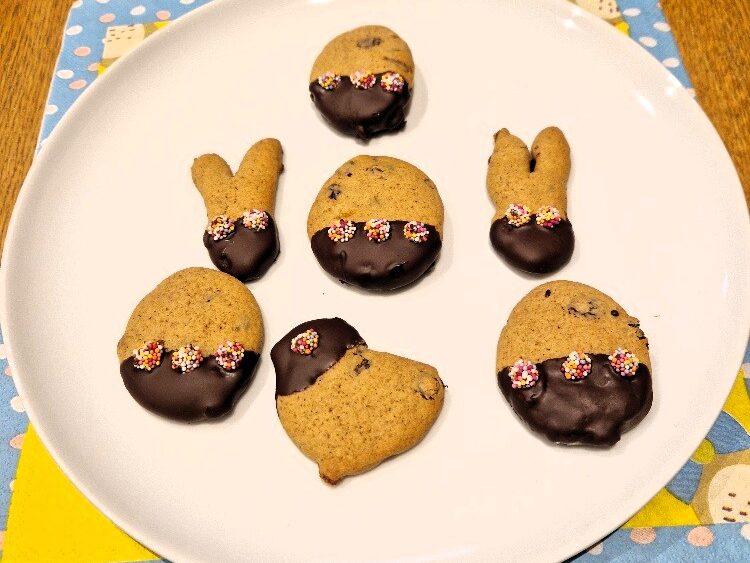
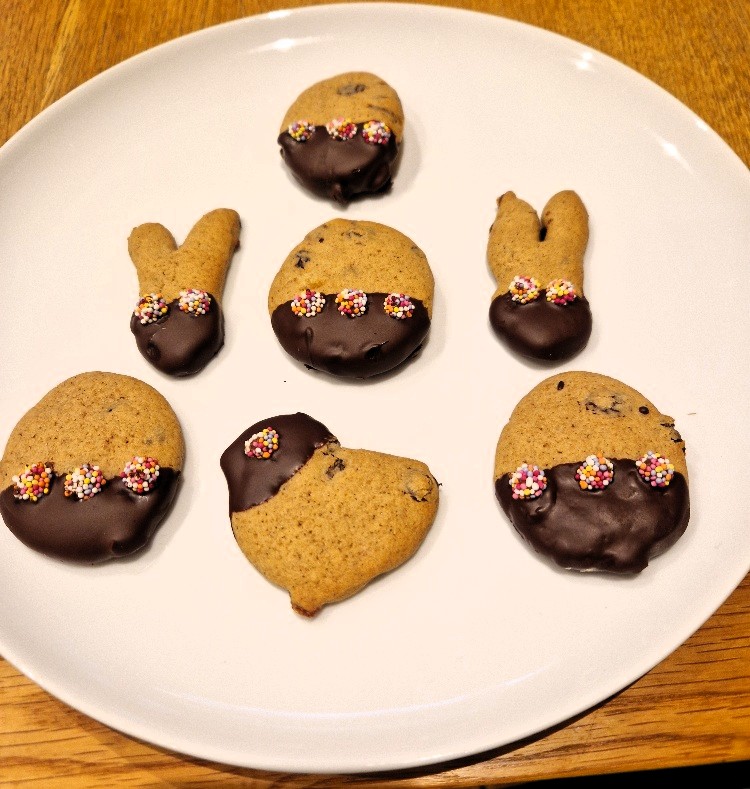
You are now ready to cut out the biscuits. Today we used some fun Easter shapes (some more successful than others!), though rounds are traditional. A good tip is to flour the cutter, so it doesn’t stick to the dough.
Jake sticks his nose in
Make sure you are using the right side of the cutter! Most cutters have a sharp side and a blunt side – you need to cut with the sharp side. This may sound daft, but it is sometimes hard to tell which side is which…!
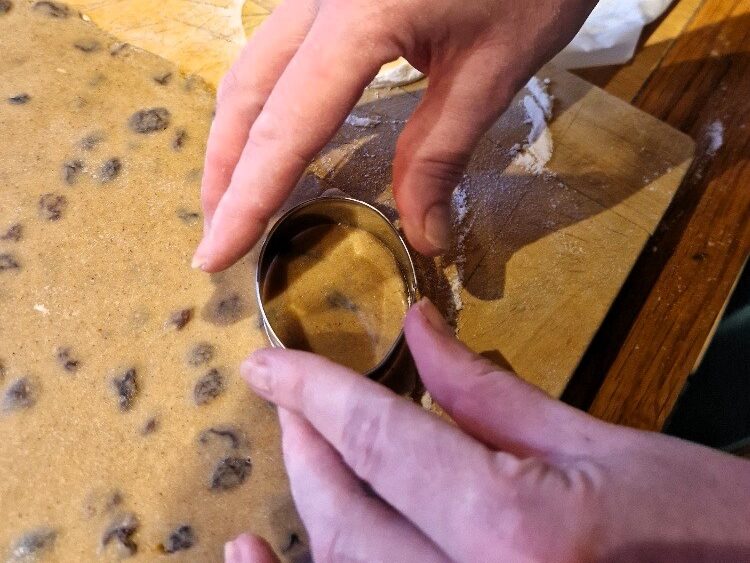
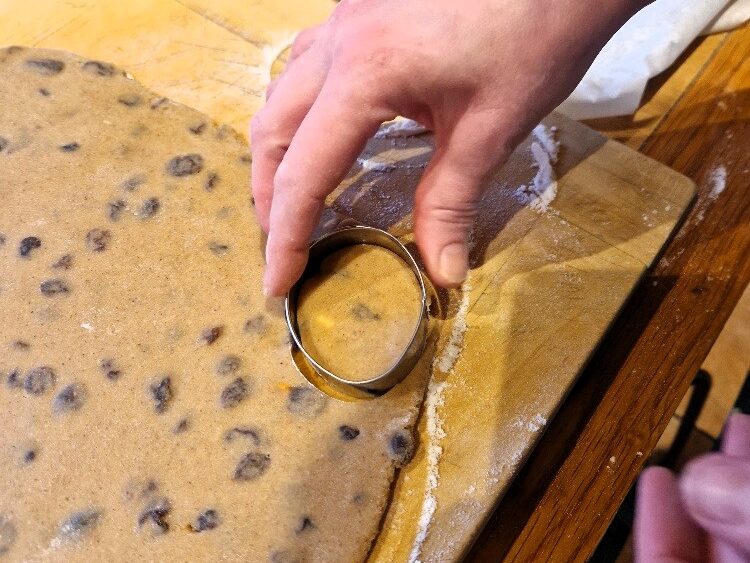
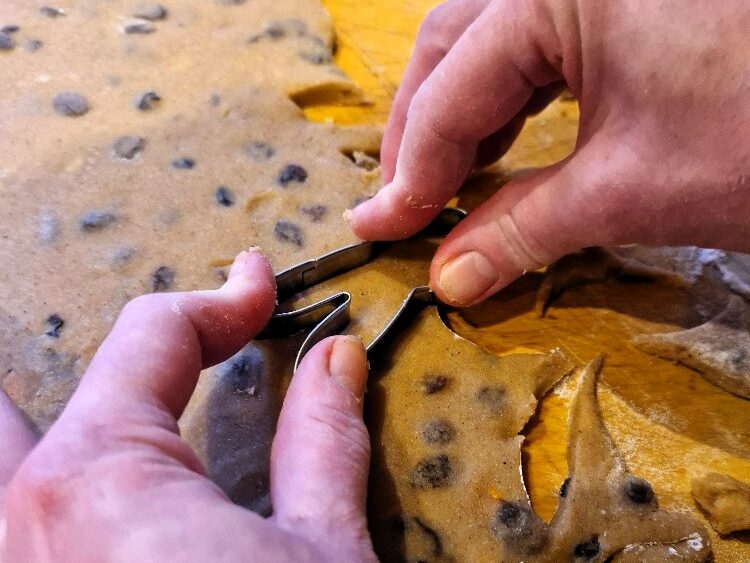
Carry on cutting, keeping each cut close to the last one to maximise the use of dough. It is a good idea to try to position the cutter so the fruit is not too near the edge, as it sticks and spoils the shape of the biscuit. If you do trap some fruit on the edge of the cutter, just gently peel it off. Place the biscuits onto a oven tray lined with baking paper.
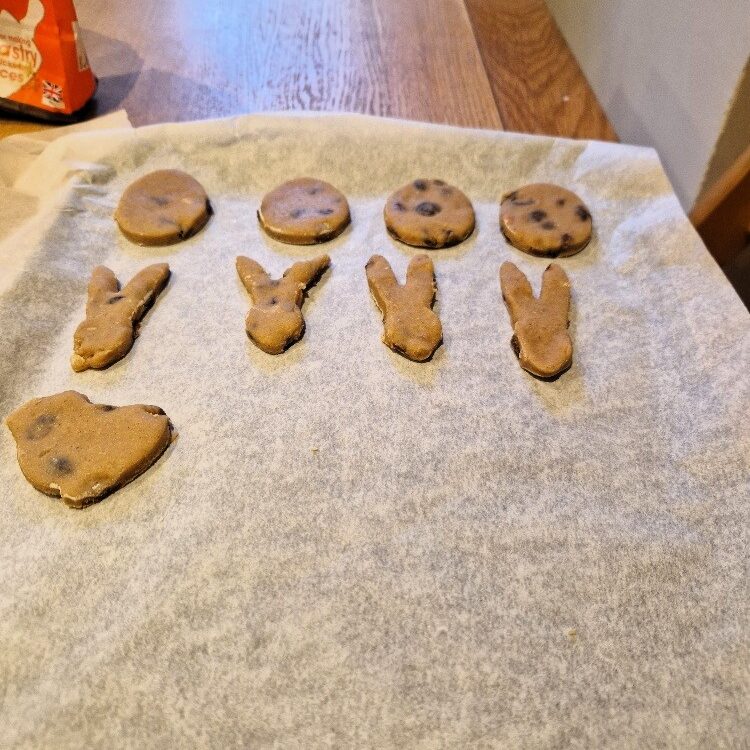
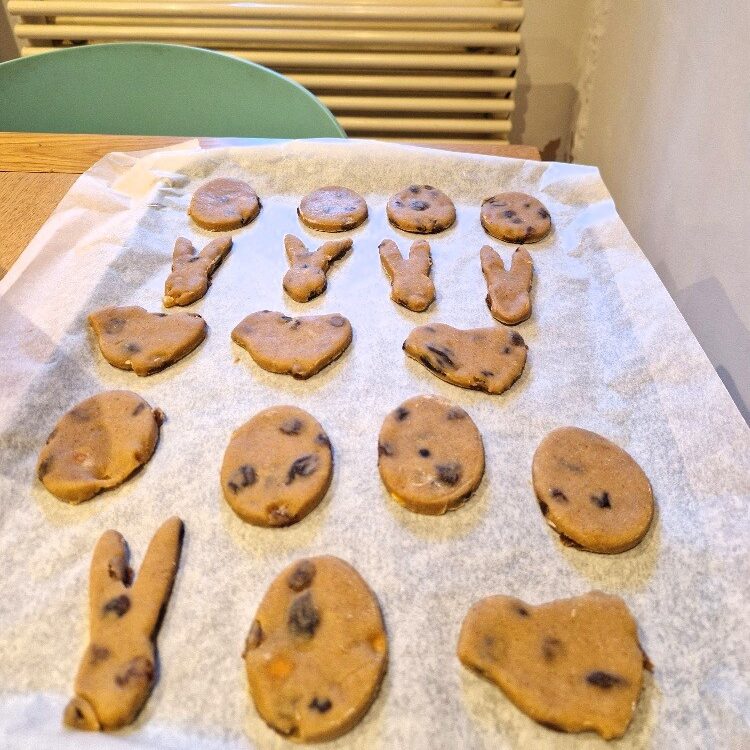
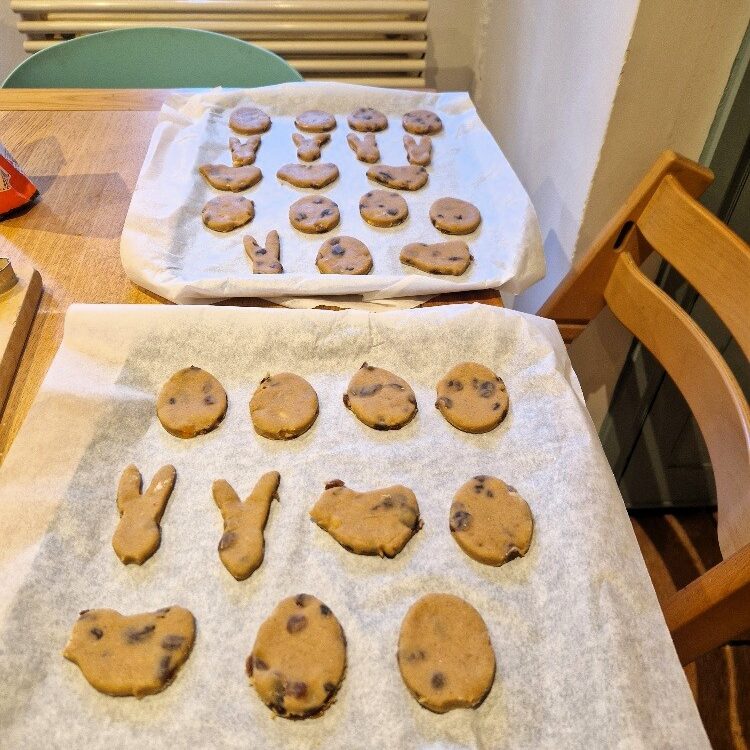
You can re-roll any scraps of dough into another ball to make more biscuits and use up the mixture. Place the cookies into the centre of the oven, and cook until golden brown, about 15 to 20 minutes, depending on size.
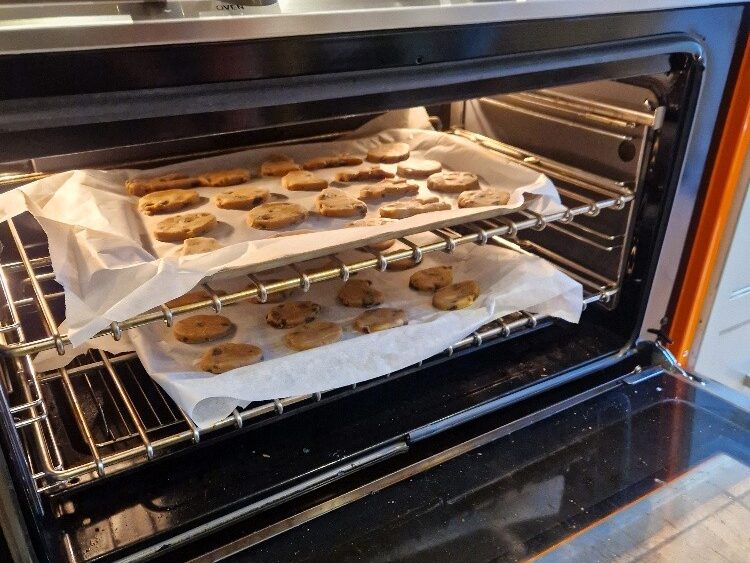
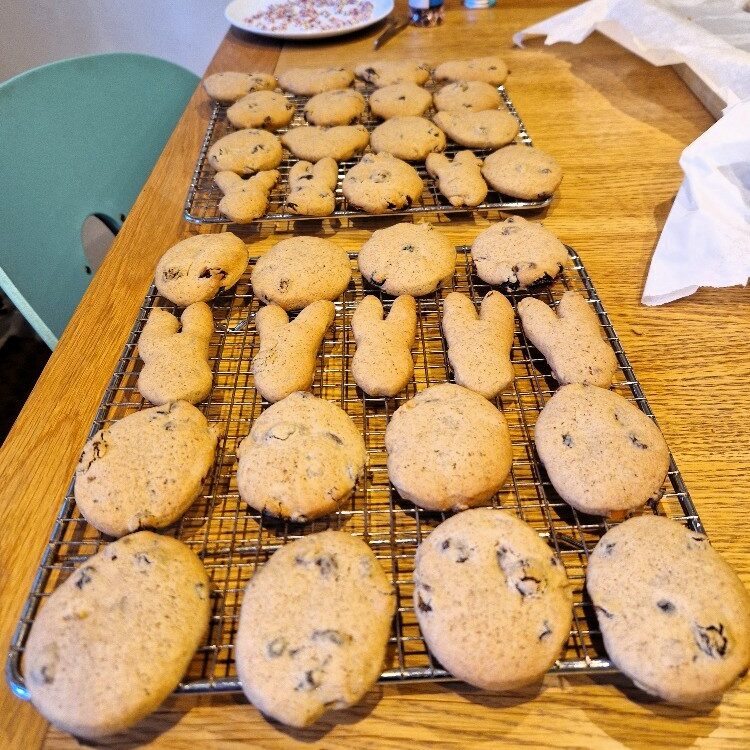
Our Easter biscuits today were quite small, and took about 18 minutes to cook. You can test them for done-ness by tapping them – they should feel firm and slightly crisp. (They will crisp up further as they cool). Place on a rack and allow to cool right down before decorating. The one exception is if you plan to decorate with sugar only (as is traditional). Caster or granulated sugar should be sprinkled over the biscuits while they are still hot. But for icing or chocolate decorations, you need the biscuits to be really cold and firm.
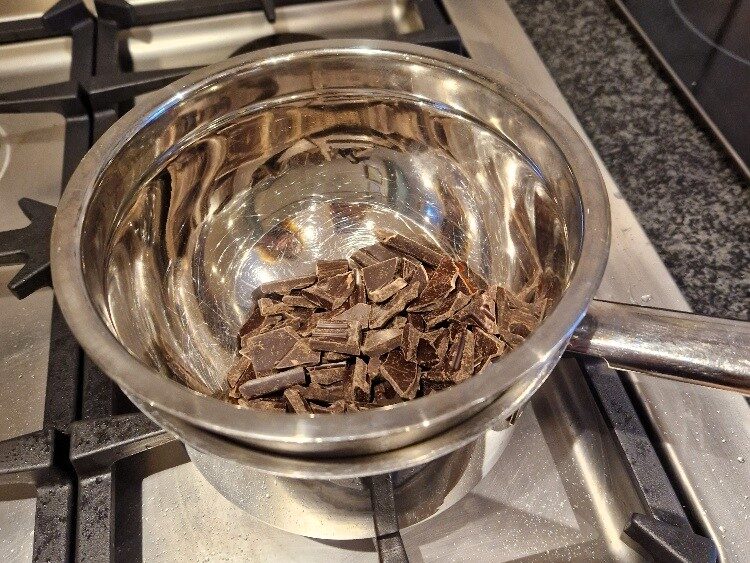
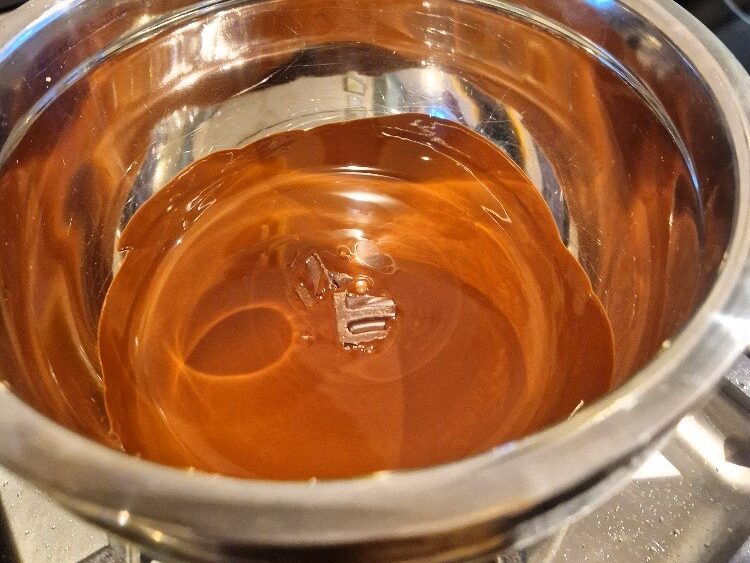
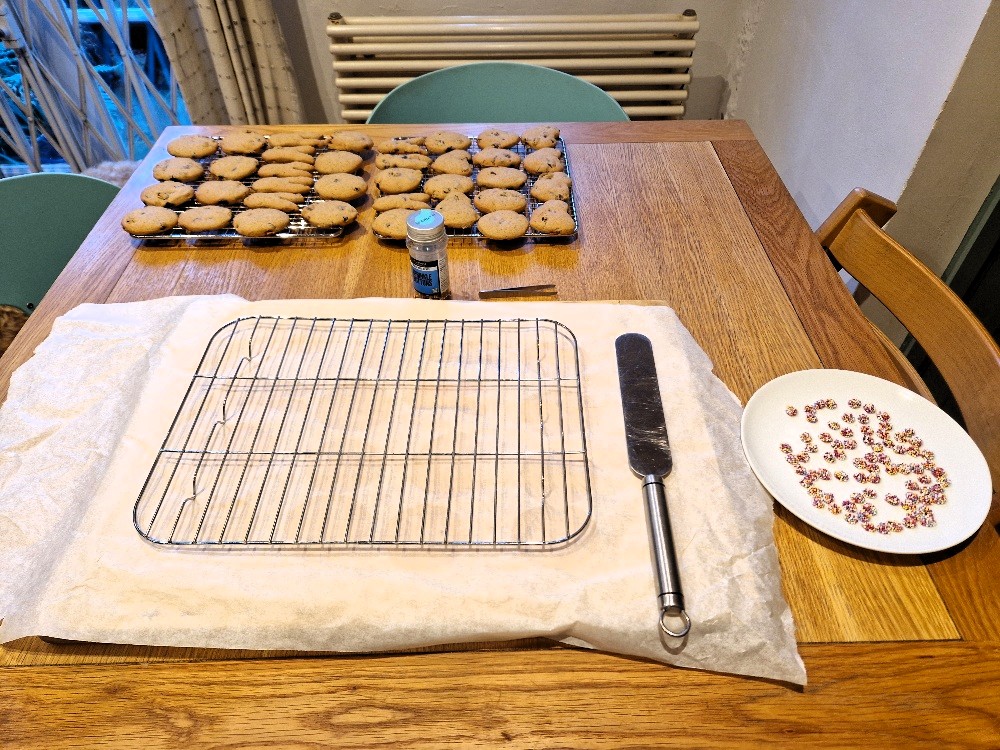
While the biscuits are cooling, prepare your decorations. Today we used melted chocolate and sprinkle buttons. Melt the chocolate in a small heatproof bowl over hot water – find out how in our Tip. Also get your decorations and tools ready.
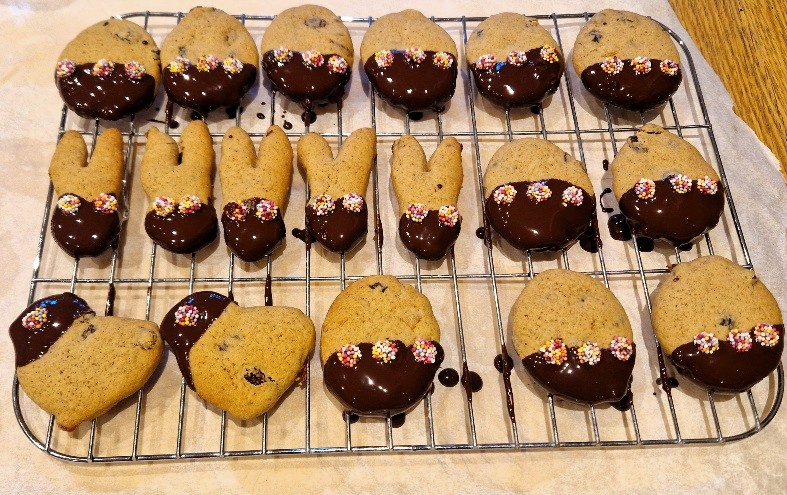
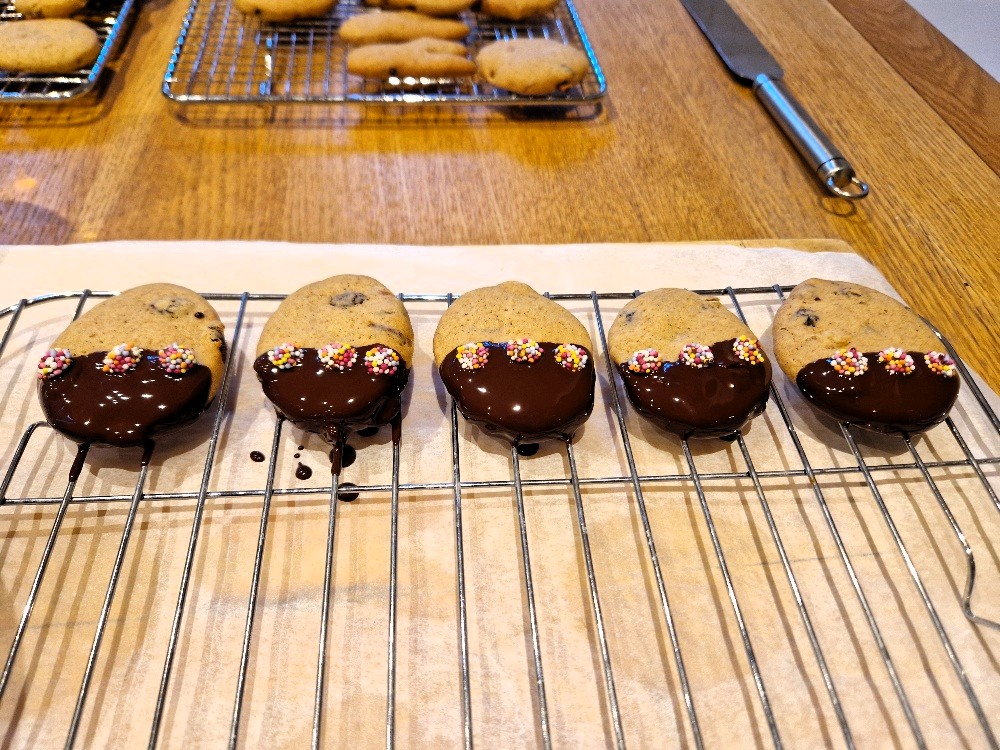
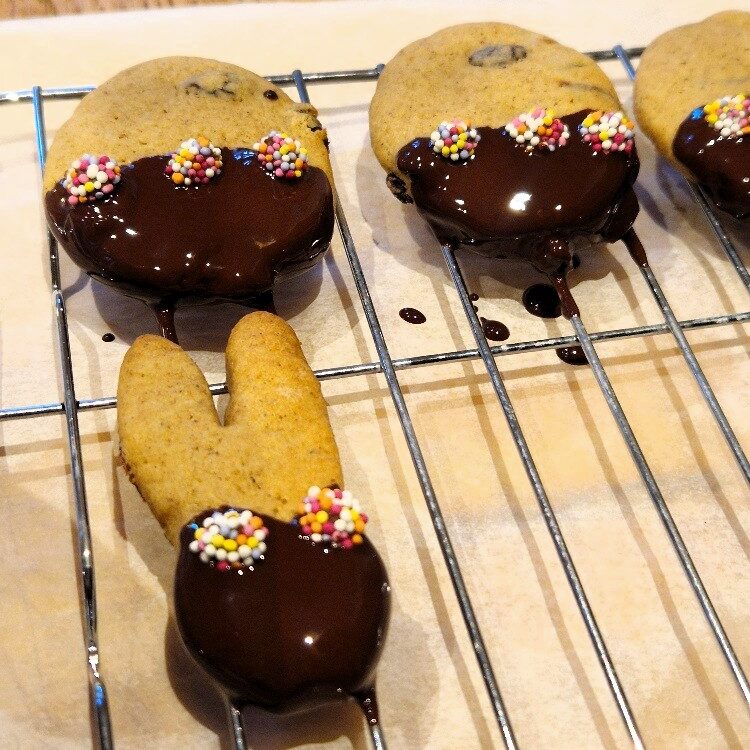
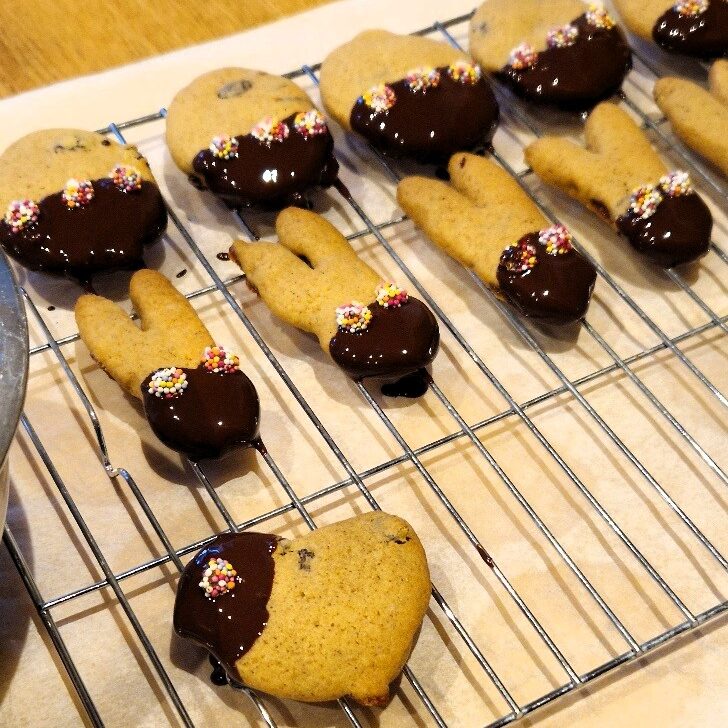
The biscuits are lovely plain – and we did leave some plain today – but they are also nice dipped in chocolate, especially dark chocolate. We like them half-dipped, and used a good quality 70% cocoa chocolate.
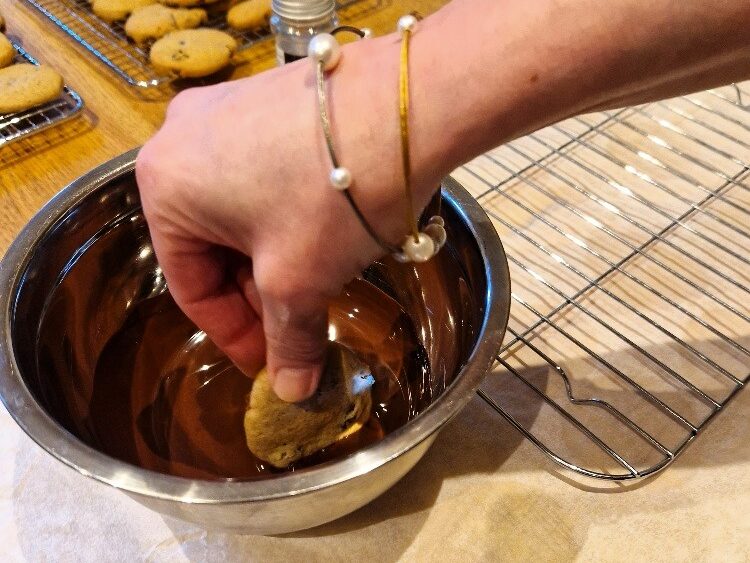
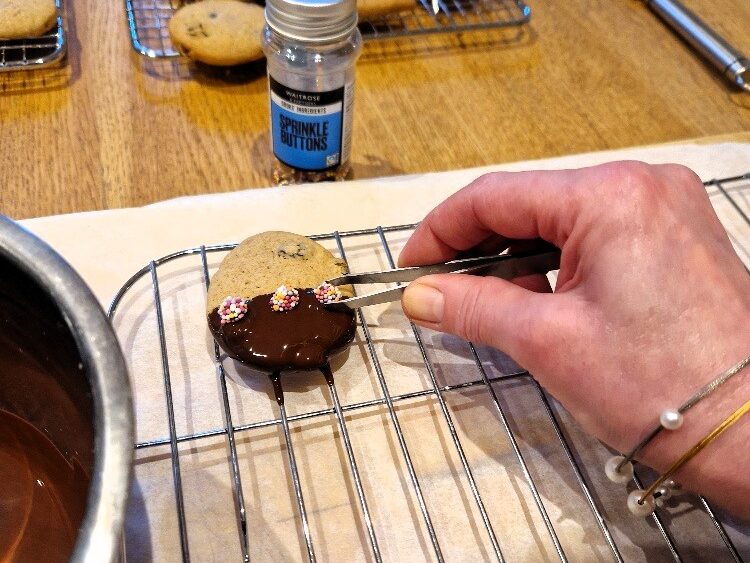
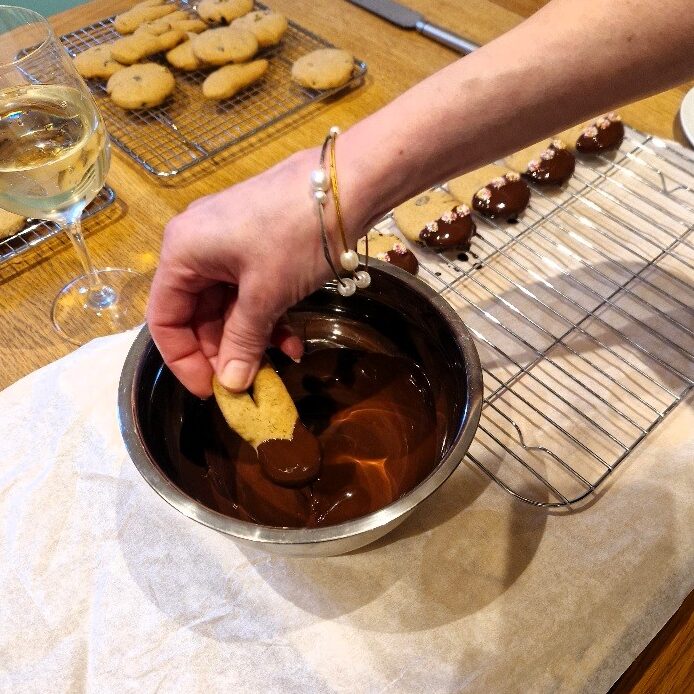
To half coat, place a rack over some baking paper or foil (to catch drips). Hold a biscuit at one end, and dip in the melted chocolate, then place on the rack. Add any decorations. Today we used sprinkle buttons which are easier to put in place with tweezers. They will stick to the warm chocolate. Repeat. Work fast, as you don’t want the chocolate to firm up, though you can place it back over the hot water if it does.
Jake sticks his nose in
For dipping, you want the melted chocolate in as small a bowl as possible – this will make the chocolate pool deeper, and the biscuits easier to coat.
Allow the chocolate to cool and firm before serving the Easter biscuits.
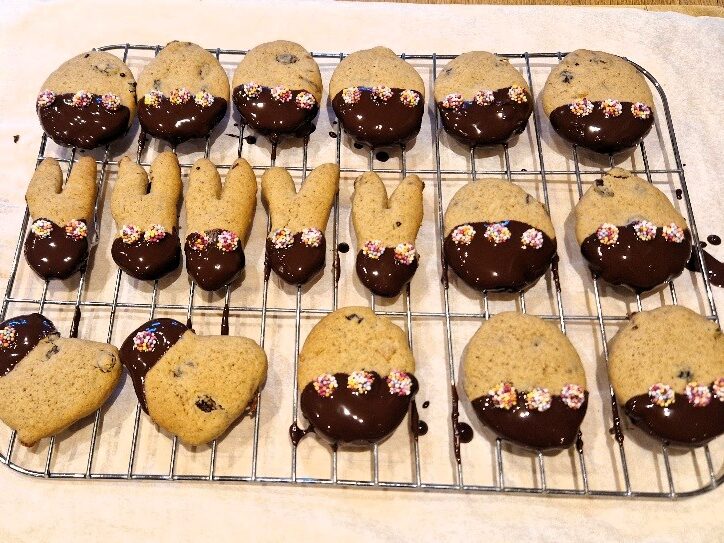
Enjoy! And Happy Easter!
Bibi’s Easter Biscuits
Ingredients
Equipment
Method
- Place the flour, spices and baking powder in a large mixing bowl, and stir to combine.
- Cut the cold butter into small cubes, and rub into the flour until well combined – to the texture of breadcrumbs, or, ideally, sand. See our Tip.
- Stir in the sugar and fruit.
- Beat the egg(s) in a small bowl with a fork. Add sparingly to the dough mix – you can add more as needed. Stir with a wooden spoon until a soft dough forms.
- Knead the dough well, adding a little more flour if it seems wet or sticks. You want a firm, glossy dough. The dough is easier to handle if chilled – place in a plastic bag, or wrap in cling film, and put in the fridge for about 20 minutes.
- While the dough is chilling, heat the oven to 180C (160C fan).
- Roll the dough out into a uniform sheet, about 0.5cm thick. Cut with a biscuit cutter, and place on an oven tray lined with baking paper.
- Bake until golden brown, and the biscuits feel firm and crisp to touch – about 15 to 20 minutes, depending on size.
- Allow to cool on a rack. Either sprinkle with sugar, or decorate to your choice. If using icing or chocolate, make sure the biscuits are fully cool before decorating.
- To half coat in chocolate, melt the chocolate in a heatproof bowl over hot water. See our chocolate Tip. Dip the biscuits into the chocolate and place on a rack over baking paper. Decorate with sprinkles.
- Allow the chocolate to firm. Enjoy!