
Skills you will learn in this recipe
Chopping & frying onions; prepping bacon; testing a pan for heat; chopping herbs; cooking rice; tasting as you go
Links to the last recipe
This is the first ‘foundation’ recipe in the series
For Emily growing up this was a regular weekday supper, and one of her childhood favourites. It’s also one of the first savoury recipes she learnt to cook herself. Estella has also loved it since she was small, and it’s a tasty, easy way to get started with cooking. OK, it’s not really a risotto (we’ll show you how to make ‘proper’ risottos in later recipes), but it is definitely delicious and very moreish – you will find yourself having seconds even if you are full!
It’s also a recipe that will get you started with a few techniques you will use in lots of later recipes – chopping onions, herbs and bacon, adjusting seasoning, working with tinned tomatoes etc. And it’s a classic one pot dish that’s quick and simple to prepare, with easy to find ingredients and very little special equipment. It also keeps well and is perhaps even nicer the next day, and very good cold too!
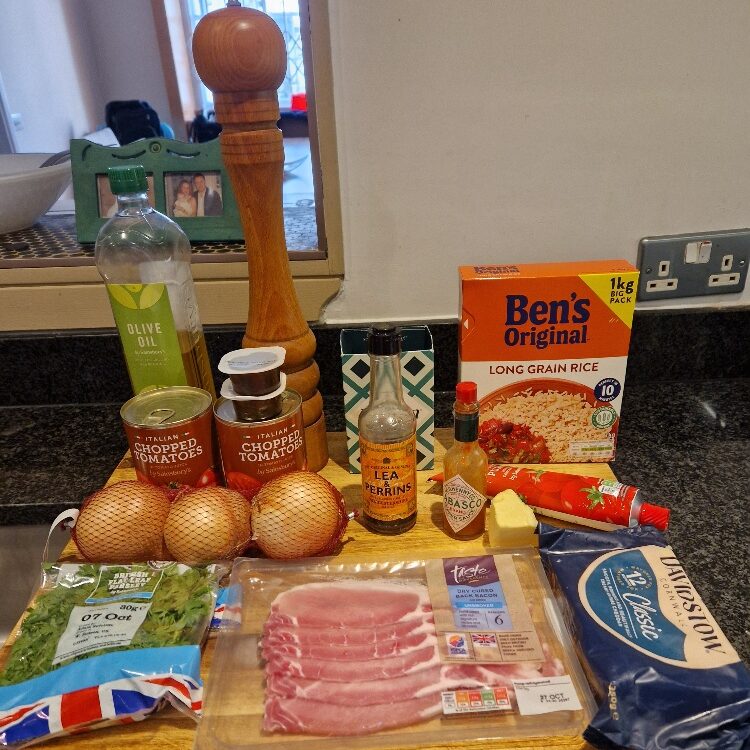
The ingredients are all store cupboard or fridge staples, and this is a dish that you can quickly rustle up for supper, and it’s tastier than its simplicity suggests. What makes it more of a pilaf than a risotto is that it uses long grain rice, and doesn’t require the constant stirring of the traditional type. This gives it a more robust texture, which, if not classic, is still very nice and also allows it to keep much better.
You start by chopping your onions and bacon. White or brown onions work best here; red ones won’t change the flavour, but the appearance of the dish will be less appetizing. We use unsmoked or dry cure back bacon. You can use streaky if you prefer (it has less meat and more fat, so can be tastier but less easy to cook out), just don’t use smoked bacon as this will overpower the dish.
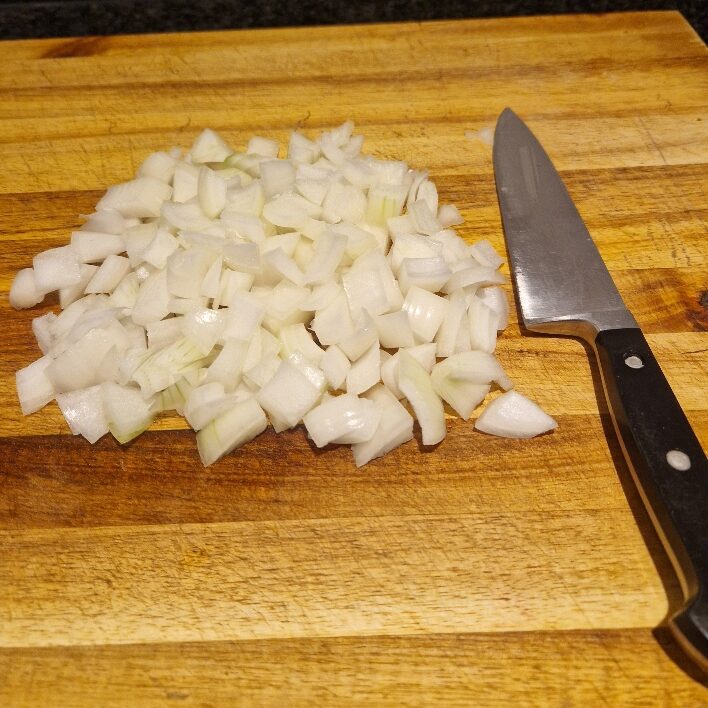
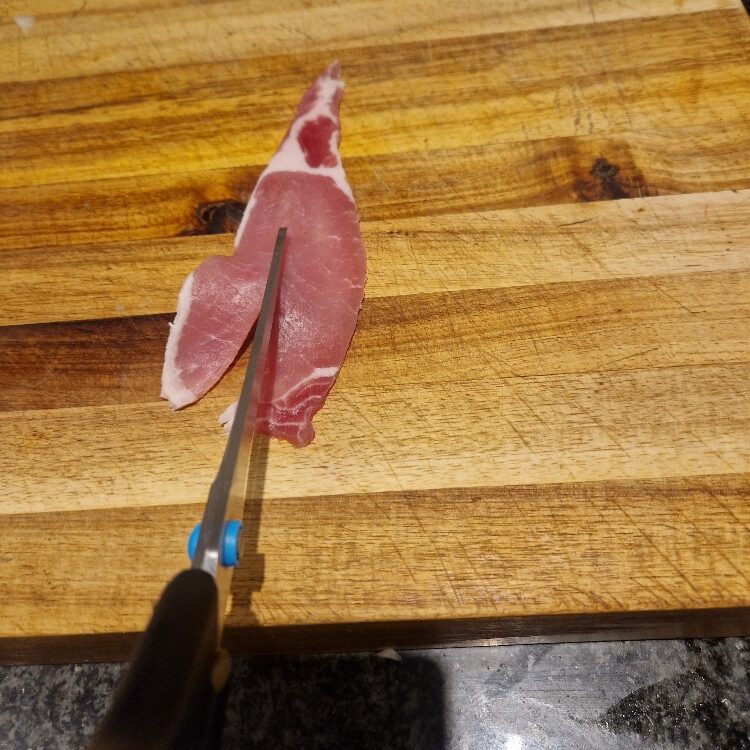
First chop your onions, you can find out how in our Tip. You want the pieces to be quite large for this dish, as onions are a key element of the texture. Remove the rind from your bacon, then cut it into strips down the length. This is easiest if you use scissors, but make sure they are nice and sharp.
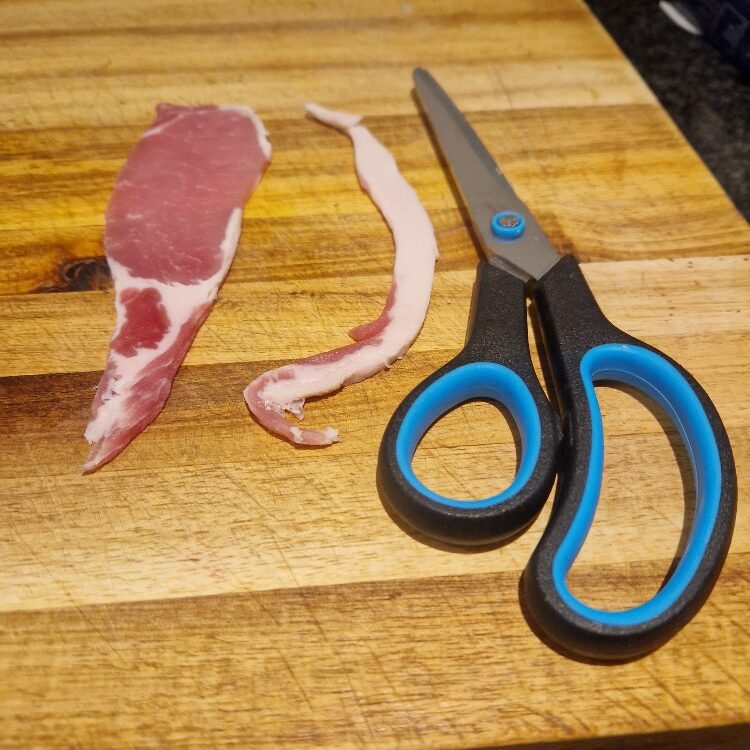
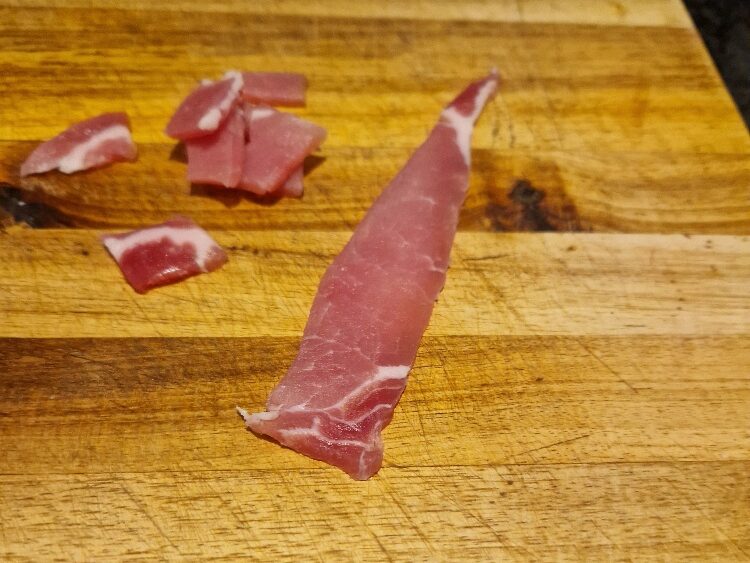
Now chop the bacon into medium sized pieces, again using scissors, as below.
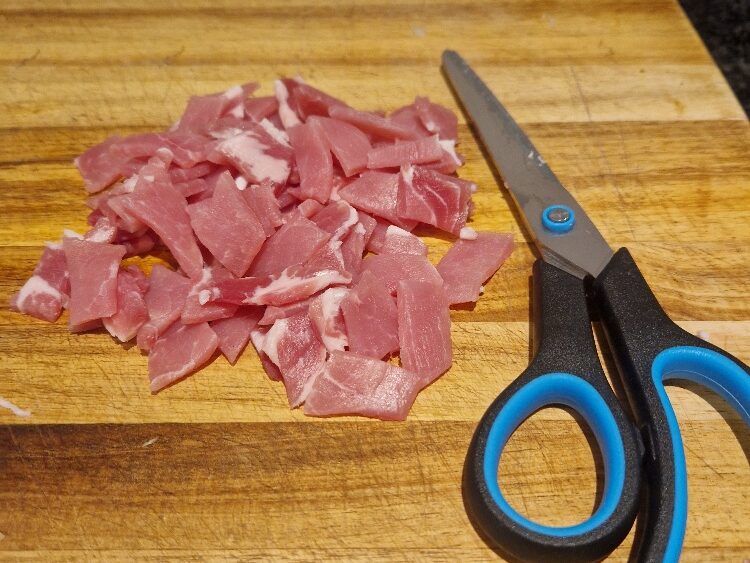

This is most of your base prep done. How easy was that!
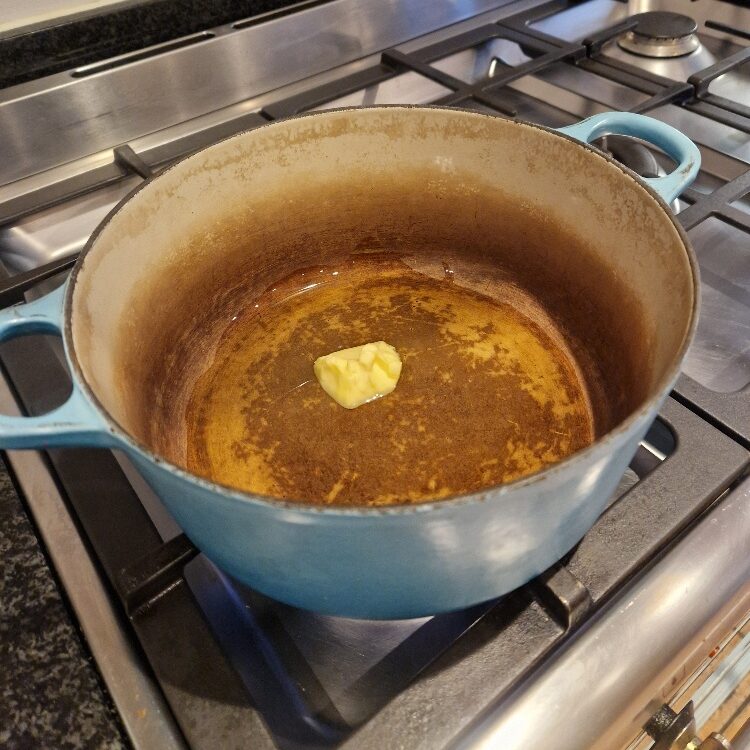
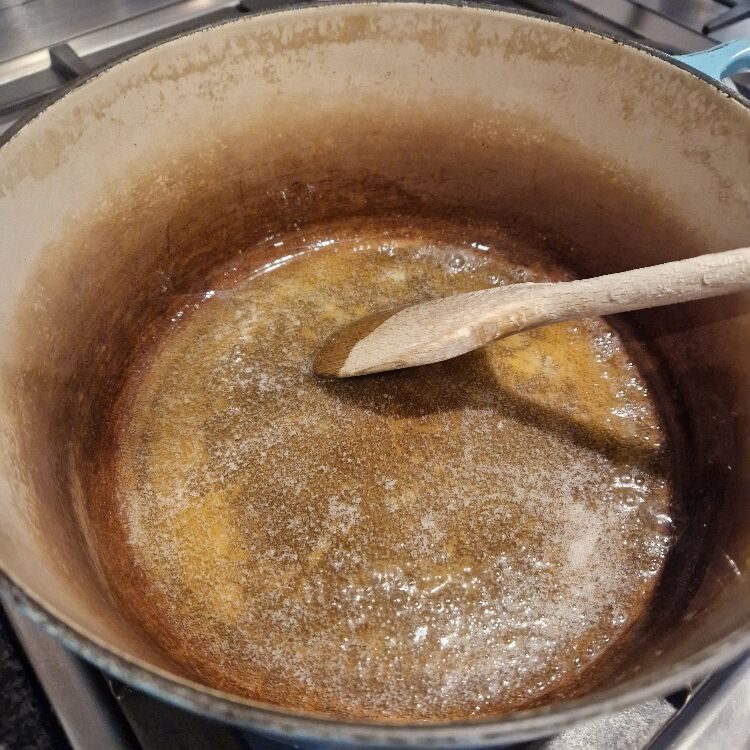
Put a casserole dish or large, high sided saucepan or frying pan over a medium heat, and add a knob of butter. Also add a generous glug of olive oil.

Jake sticks his nose in
You can use oil or butter alone, but Bibi’s tip is to use both together. Butter brings flavour, but can burn; oil helps prevent this and brings its own taste profile.
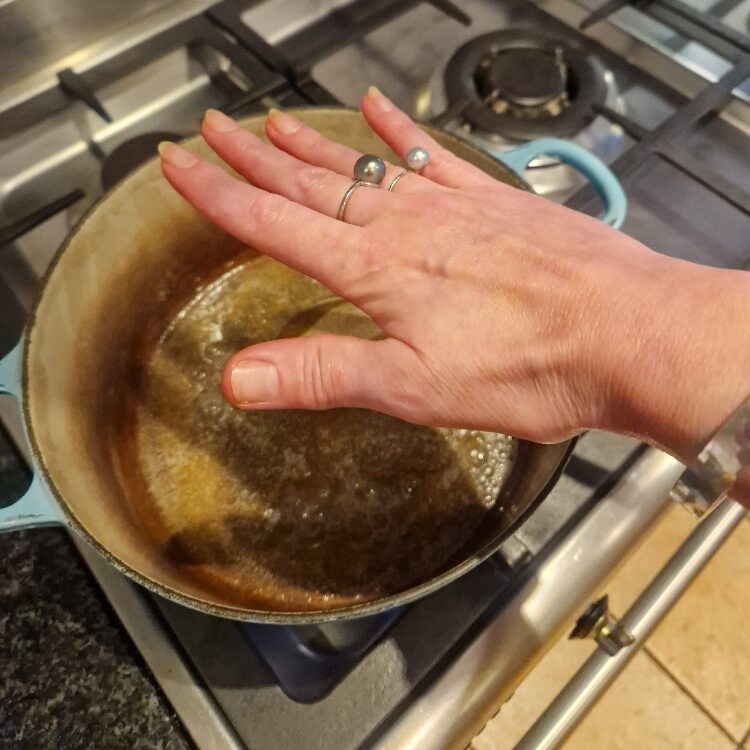
We’re going to use more fat in this recipe that we normally would for frying (usually only 2 to 3 tablespoons), but here we need more for when we later add the rice. Heat until the butter is melted and sizzling, and you can also test if the pan is hot enough by putting your hand over it. If you can feel the heat on your palm from quite high up, you are ready to cook.
Jake sticks his nose in
We repeat the ‘hand over heat’ tip a lot but it is a good one and the best way to tell if a pan is ready. If you feel you want to remove your hand due to the heat, that’s a nice hot pan, but so long as you can feel it you are ready to cook.
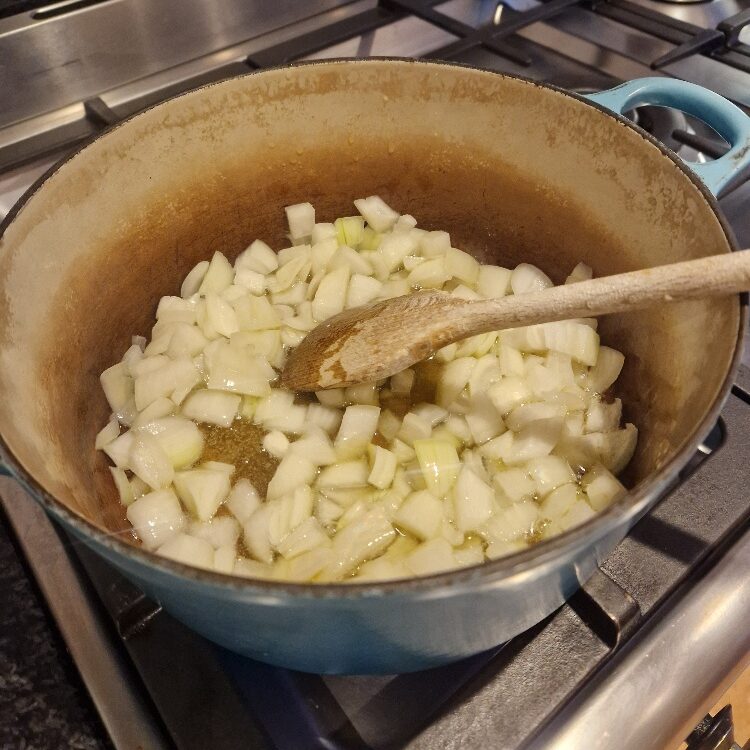
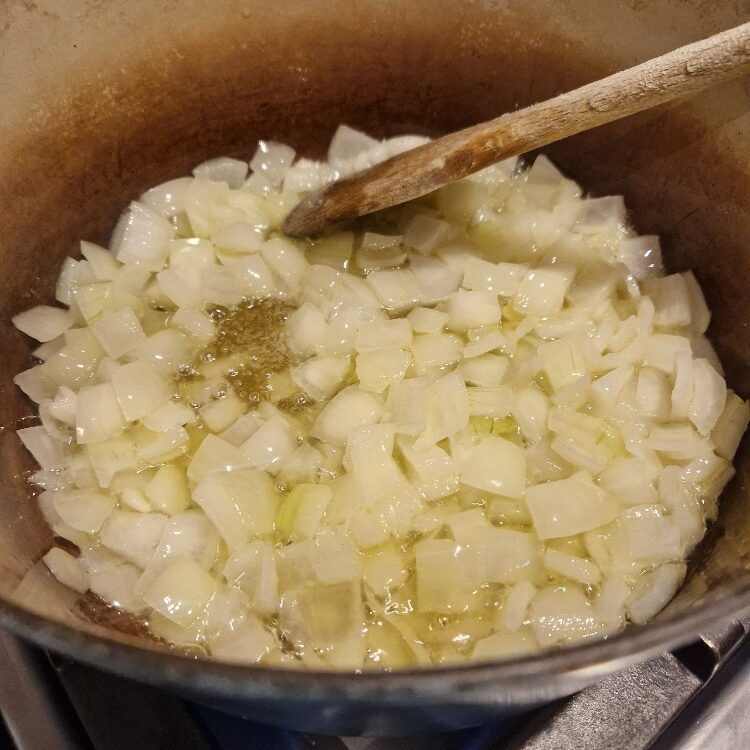
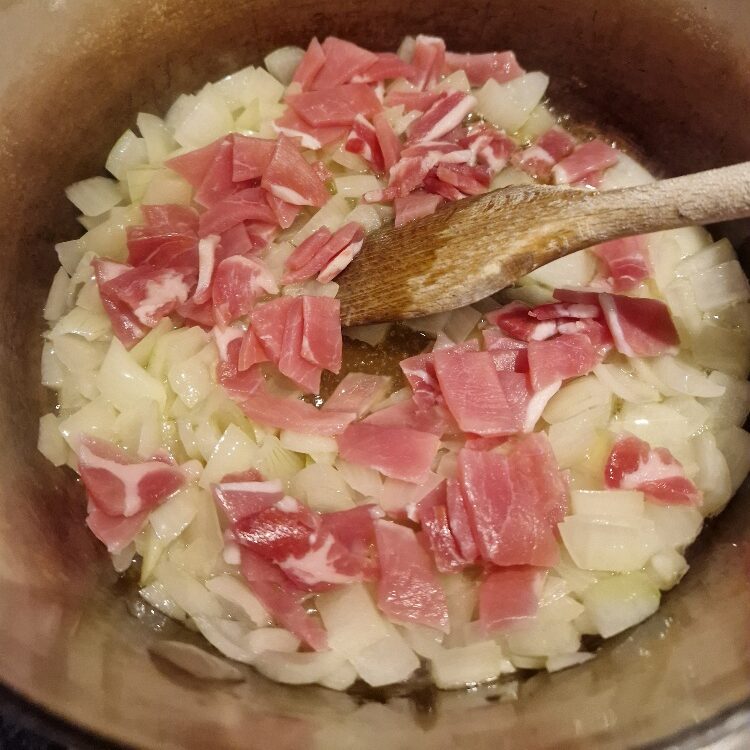
Add your onions to the pan, they should sizzle. Sometimes onions need a long, slow cook until they are really soft, but here we want them to retain some bite, so cook, stirring, for just a few minutes – when the onions just start to turn slightly translucent, as below, they are ready, probably about 2 to 3 mins. You can also add a little garlic here if you like, but we prefer this dish without.
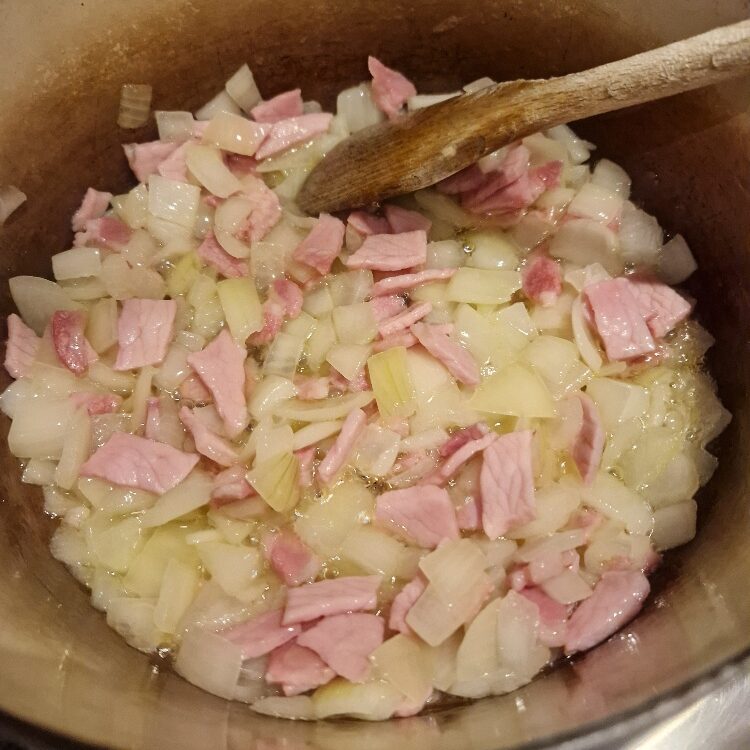
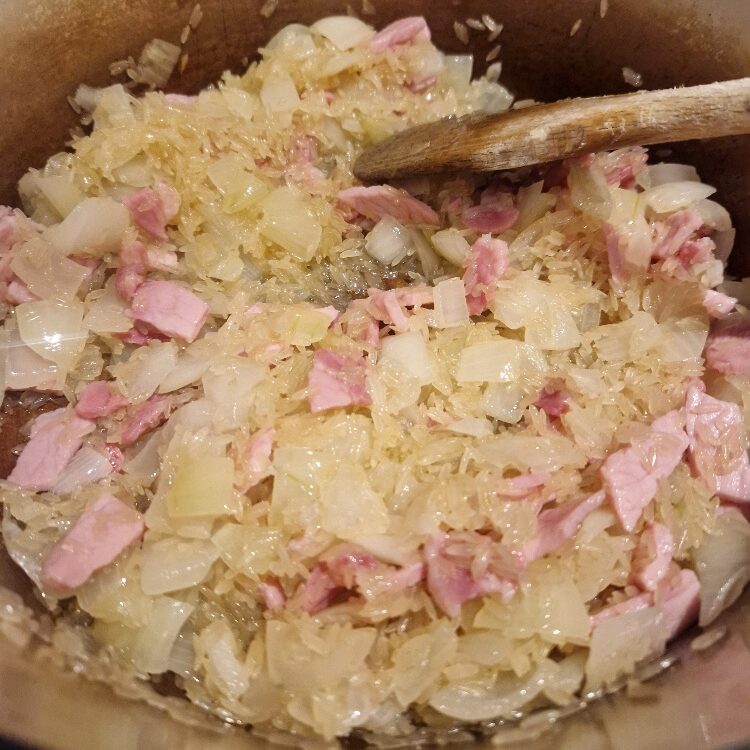
Now turn the heat up high and add your bacon. Keep stirring until it is cooked through, a few minutes, otherwise it will stick. You can tell when it is ready as the bacon will turn from reddish to pink or brown – make sure all the bacon no longer has any red, and that the fat is rendered as much as possible (rendering means the fat melting so you can no longer see it). You won’t get crispy bacon in this dish and you don’t want it – a soft, ham-like texture for the bacon here is part of the dish’s charm (and is a reason we don’t tend to use streaky here). You can see the colour difference between raw and cooked below:
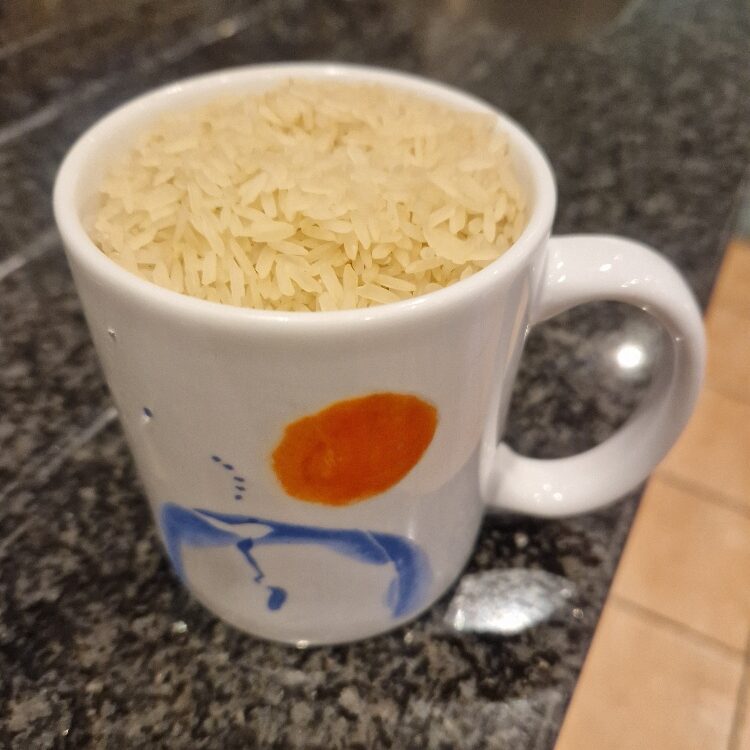
You can now add your rice. How much depends on how many you are serving. Today we wanted enough for two greedy people, plus leftovers. A tip for measuring rice is to use a mug. A fairly large standard mug filled to the brim is enough for about 3 to 4 generous portions. Or you can weigh your rice, and about 100g per person is a good rule to aim for.
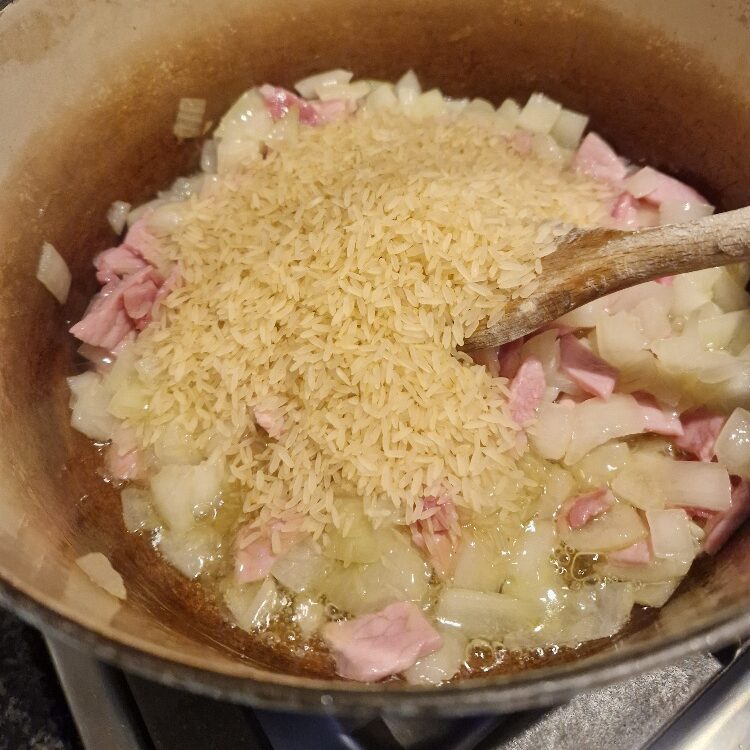
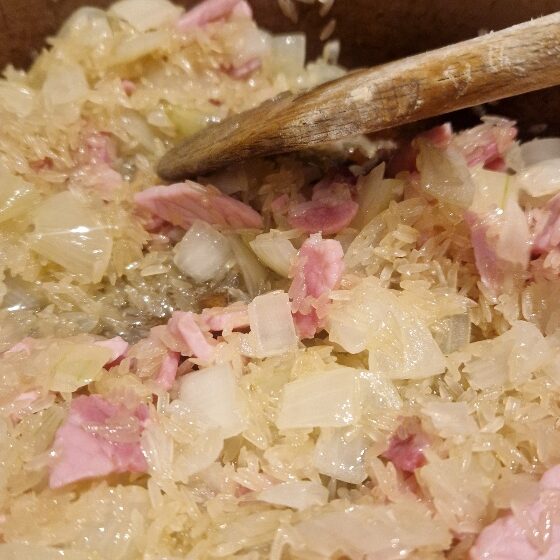
Stir the rice around well in the oil for a few minutes – it should start to absorb it and turn slightly translucent. This isn’t as vital here as it will be in a more traditional risotto, as we’ll show you in another recipe, but it does help the final texture. You can see how the rice looks when ready below.
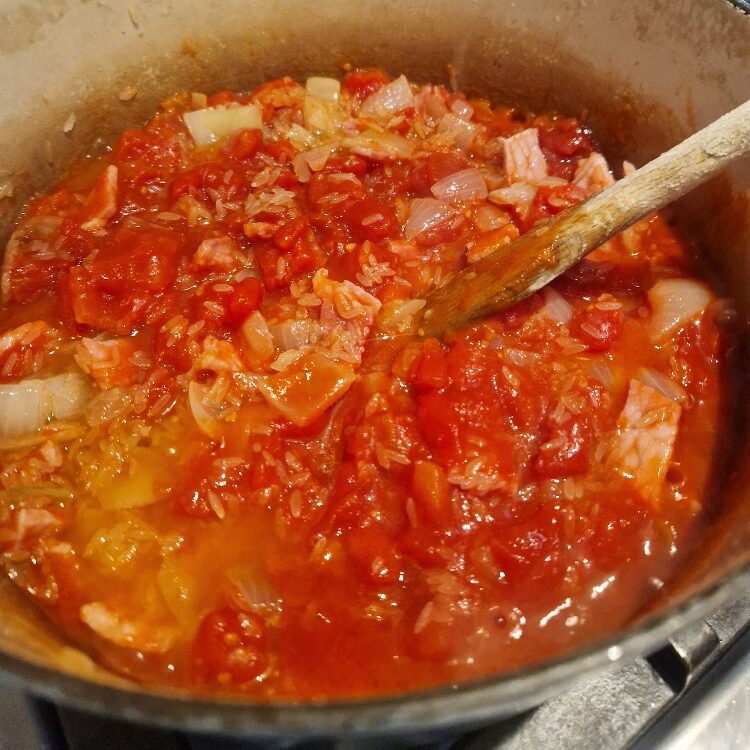
Now add your chopped tinned tomatoes, stock cube(s) and a generous squeeze of tomato puree. Today we used vegetable stock, but chicken or pork stock are good too – don’t use beef or lamb as the flavour here is too strong.
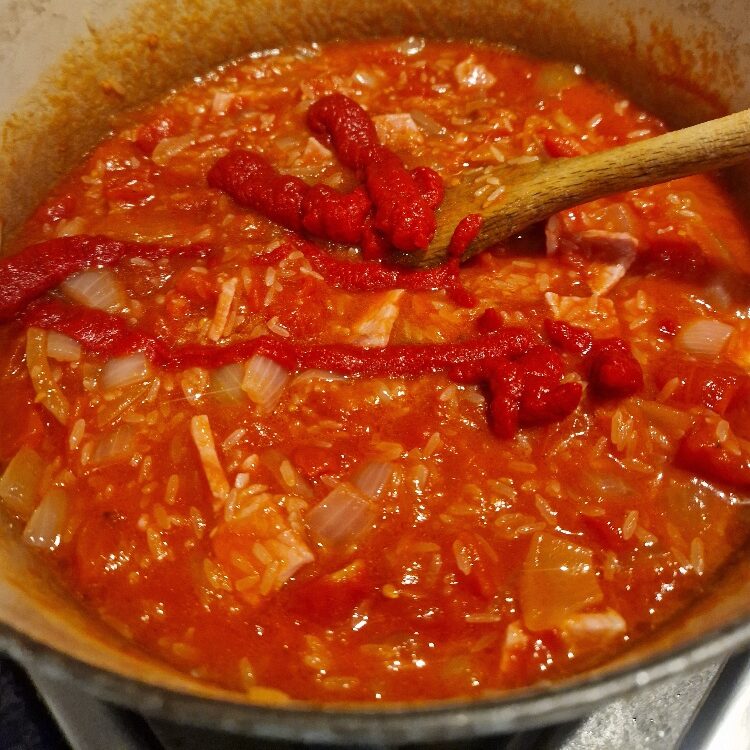
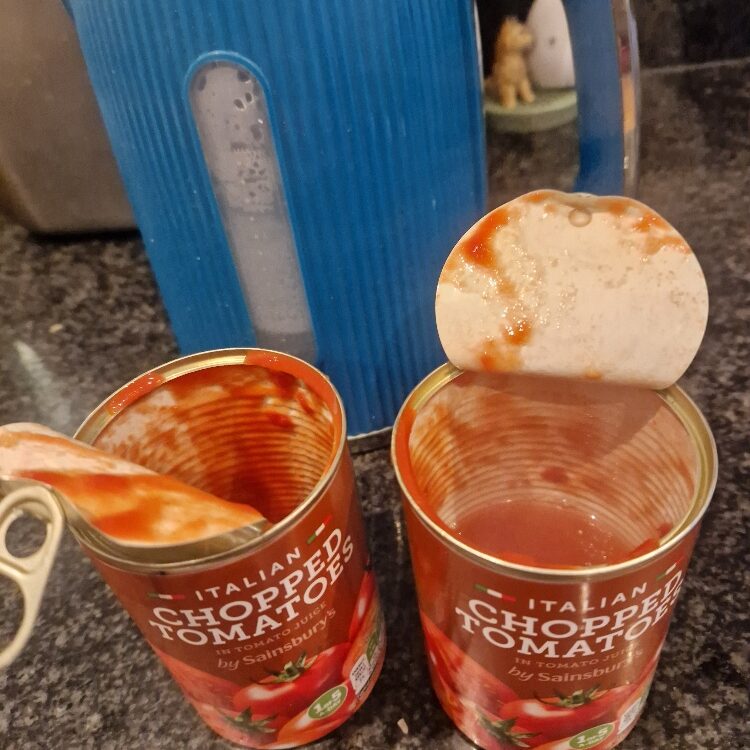
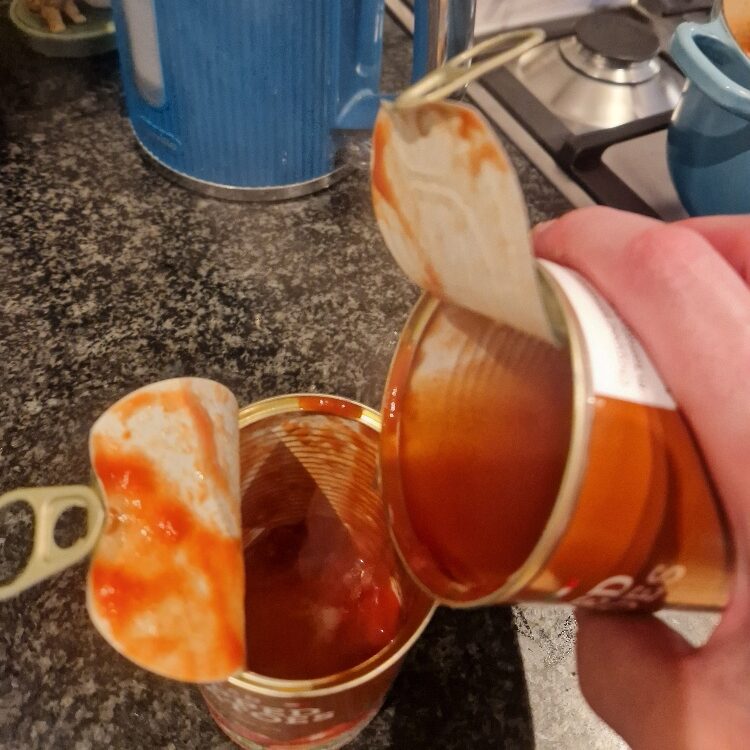
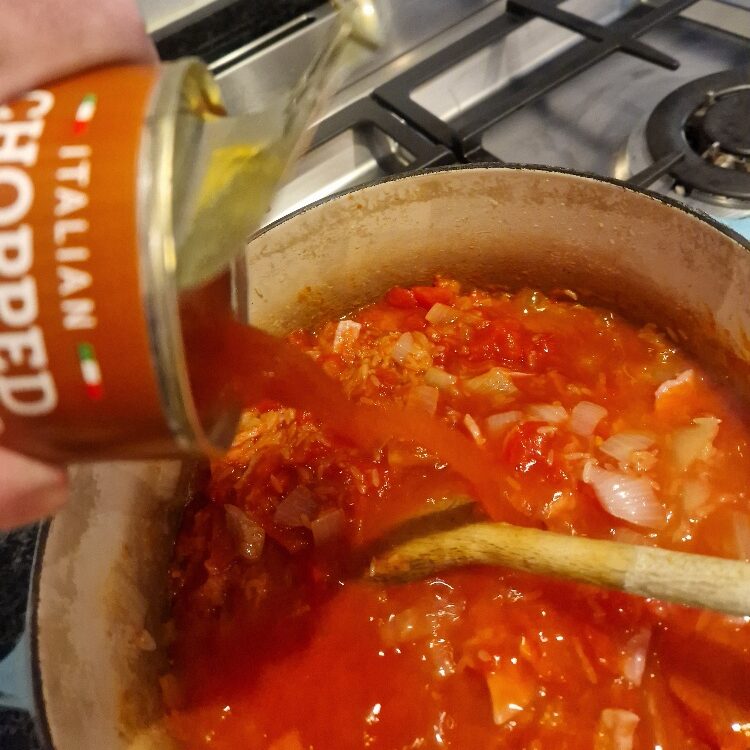
You’ll probably need a little more liquid at this stage too. You can use a generous splash of boiling water, but we like to use a tip we call the ‘tomato tin trick’. Add a splash of boiling water to one tomato can, swirl it around, and tip into the other can and swirl again. Add to the pan. This way you get tomatoey liquid into the dish not just water.
Jake sticks his nose in
The tomato tin trick is another one we often repeat. Just be careful when handling the cans – they can get hot! Hold at the very top, or use an oven glove.
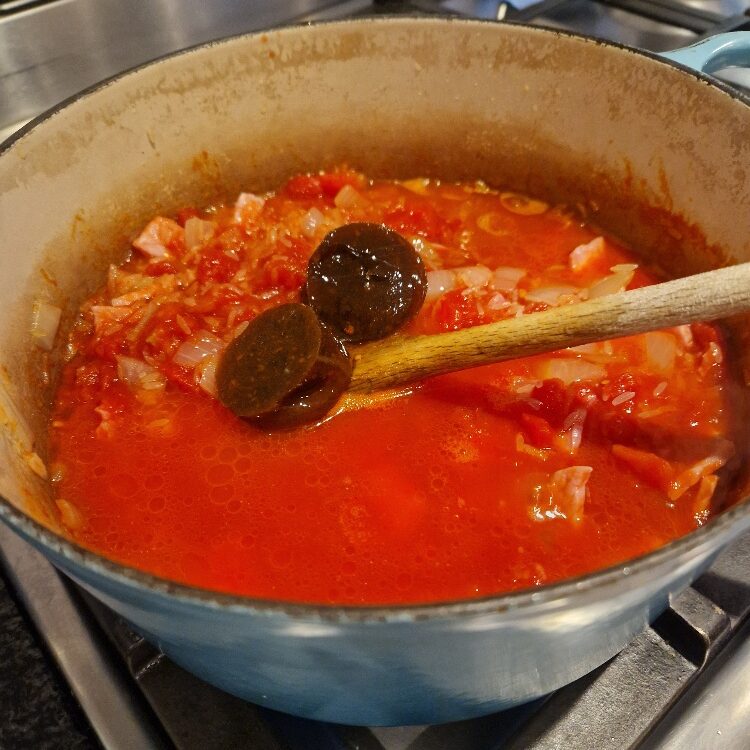
Add a generous slug of Worcester sauce and, if liked, a shake of Tabasco or other hot sauce. You can make this risotto very flavourful or spicy by adding a lot of both of these, but, though it might sound odd, we prefer it to have a slightly ‘plain’ flavour and for the bacon and tomato to star. Season with a generous grind of black paper, taste, and add salt if needed – you shouldn’t need much if any, as the stock cube is already salty. Taste again and adjust with any of the seasonings if needed, bearing in mind the dish will taste quite raw and harsh at this point – you’ll get a better idea if you need to adjust when you taste again later on. Keep your salt, pepper, puree, sauces and hot water to hand to adjust both flavour and texture as you go.


Jake sticks his nose in
This recipe is a good example of more not always being better when it comes to flavour. Taste frequently and don’t overpower your dish with harsh flavours – seasonings are there to enhance, and unless your dish is meant to be very spicy, for example, use in moderation and let your other ingredients shine!
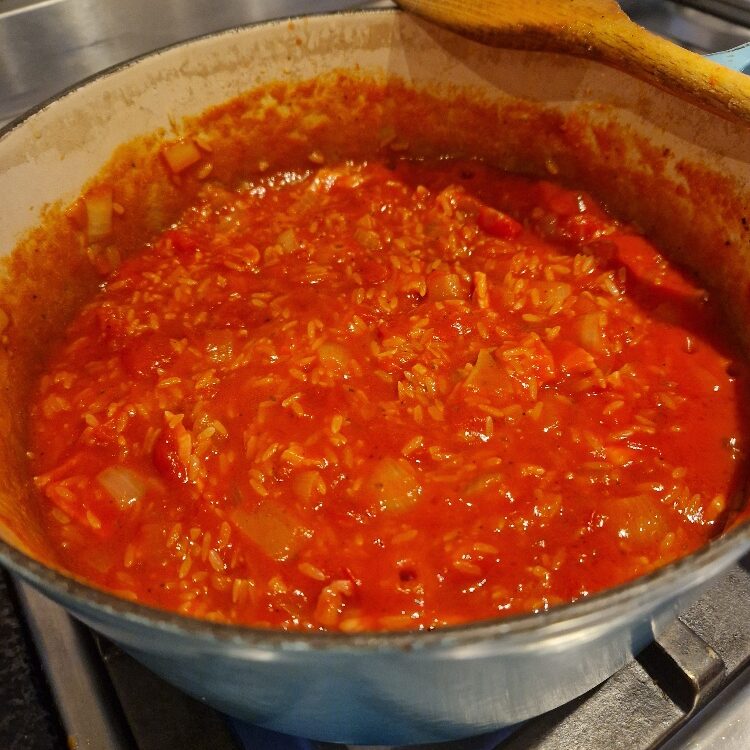
You now need to cook your risotto, stirring frequently to prevent sticking, until the rice is tender and the grains swollen and soft. Turn the heat up so the rice bubbles, then turn right down to the lowest heat.
The only slightly tricky part of this dish is to get the texture right – add too much liquid and it will be thin and watery; add too little and it will go gluey. Stir frequently (it WILL stick and if it does, don’t worry – just don’t scrape any burnt bits off the bottom and deal with them later after you serve) and test the rice for done-ness by taking a few grains out and biting every now and then. If they feel hard, cook longer.
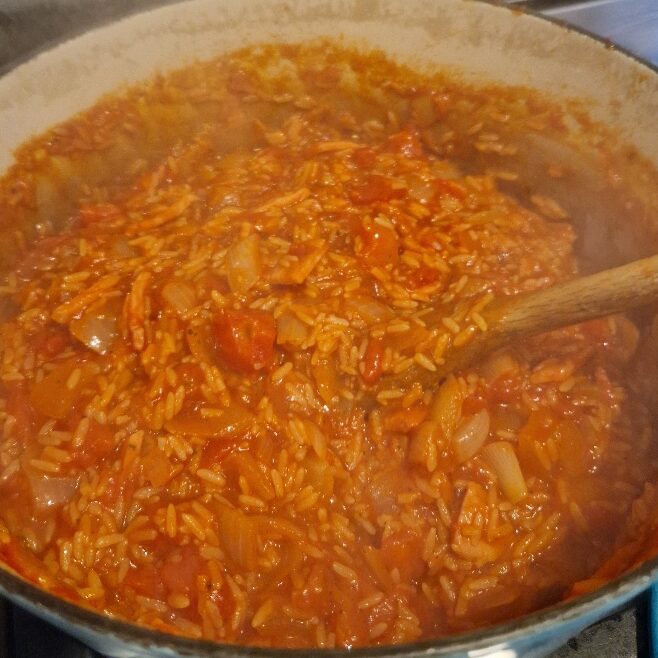
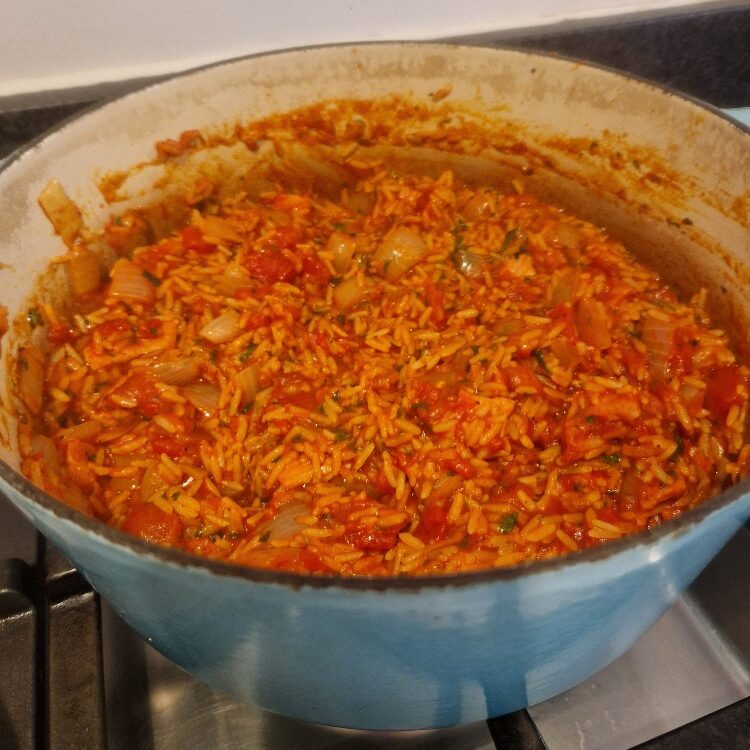
To help you, this is how the rice looks at the start of the cooking time, and this is how it should look at the very end:

Be patient and don’t add too much liquid until fairly near the end of the cooking time, if you think you need to, or your rice may end up too wet. Cook with the lid off if you have a lot of liquid; cook with the lid on if you want to retain moisture in the pan. Today our mix was quite wet, so we cooked the full time with lid off. How long depends on your rice, and the only way to know is to test – today, end to end from when we turned the heat down was about 20 minutes.
While your rice is cooking, chop your parsley – see our herb Tip for how to do this easily – and grate your cheese. We like to use cheddar as it gives a nice bite and melts well, but you can use any white cheese you like. We also like to grate using the cylinder grater shown below, but you can use any grater, like the box one also shown. A fairly rough grating is best for this dish.


Keep stirring and tasting your rice and adjust as necessary. Towards the end of the cooking time, if it still seems too watery but the rice is cooked, you can take some liquid out with a large metal spoon – press this down onto the rice so liquid runs into the bowl of the spoon. You can also add some more tomato puree which will also thicken it. If it is looking dry and the rice is still hard, add a little more water and stir well. Here are more pictures of the rice as it cooks to guide you – the final image is what you are aiming for.
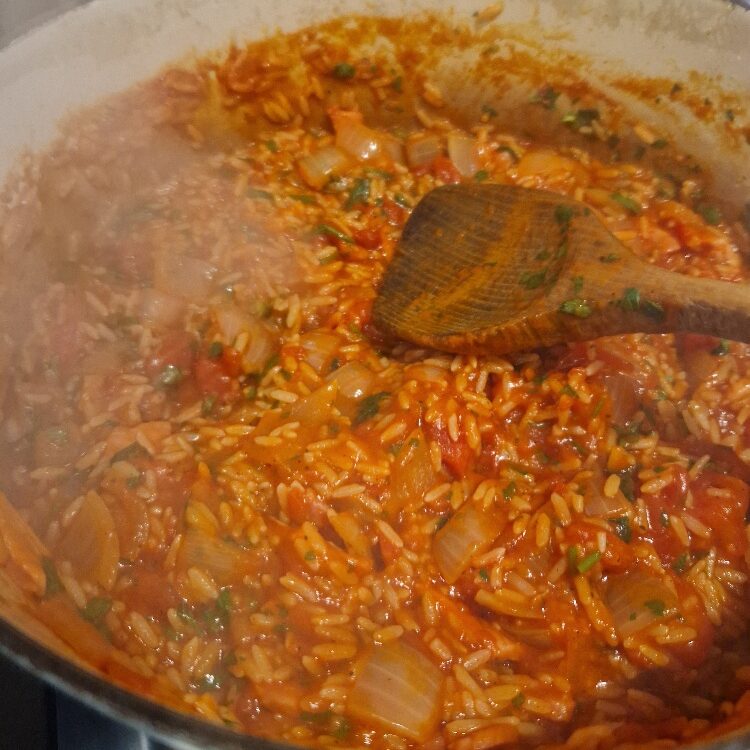
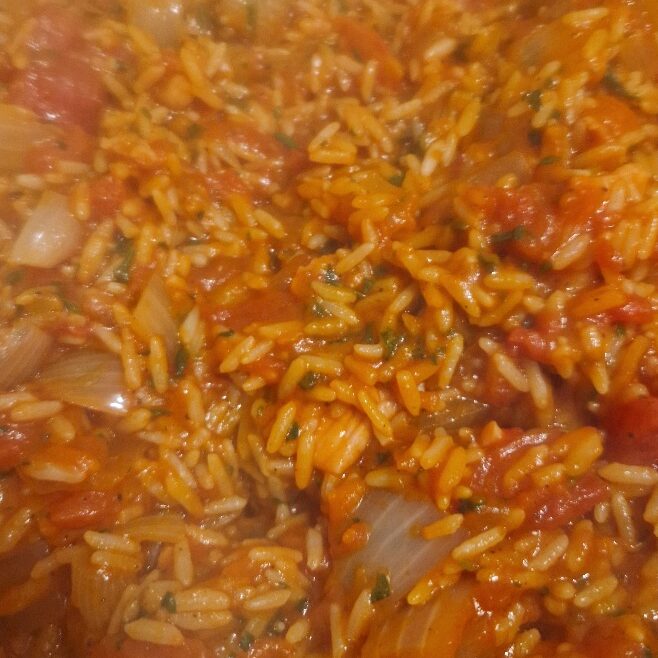
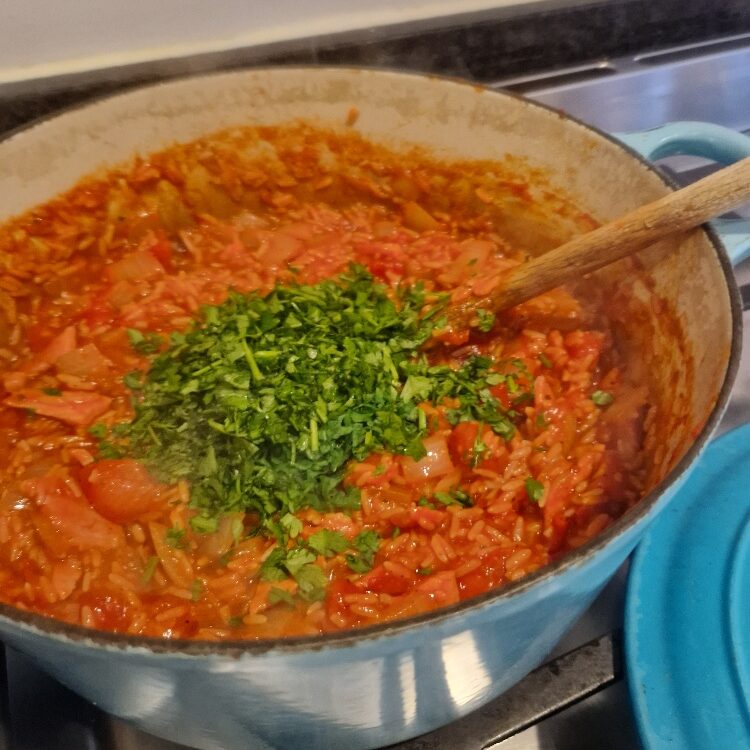
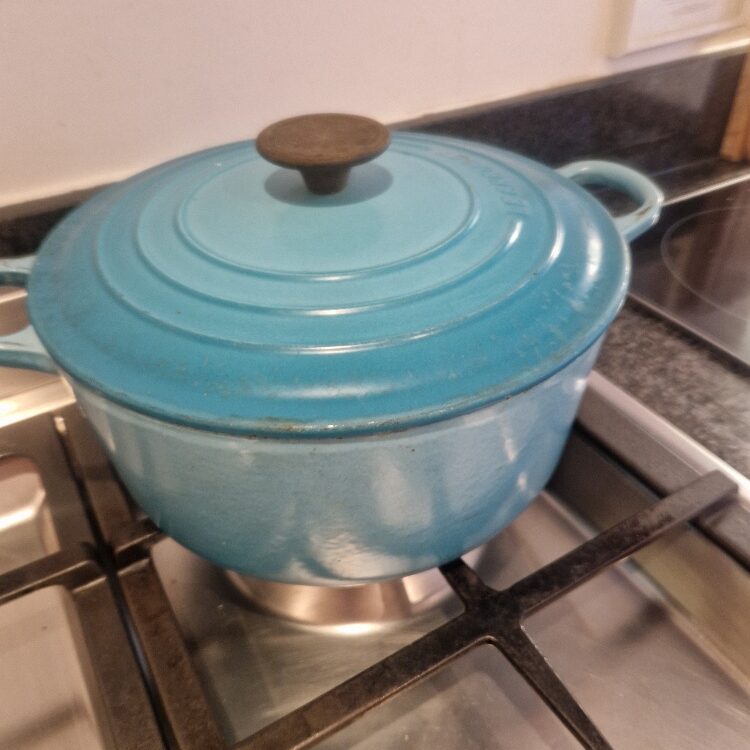
About 5 mins before the end of your cooking time, add the parsley, and stir. Cook for a further 5 mins, test for doneness, and if ready put the lid on the pan and turn the heat off. This seals steam into the pan, and helps get your finished rice really nice and fluffy. This risotto is also best served hot, but not piping hot, so you can really taste the flavours. Allow to sit for about 5 minutes before serving.
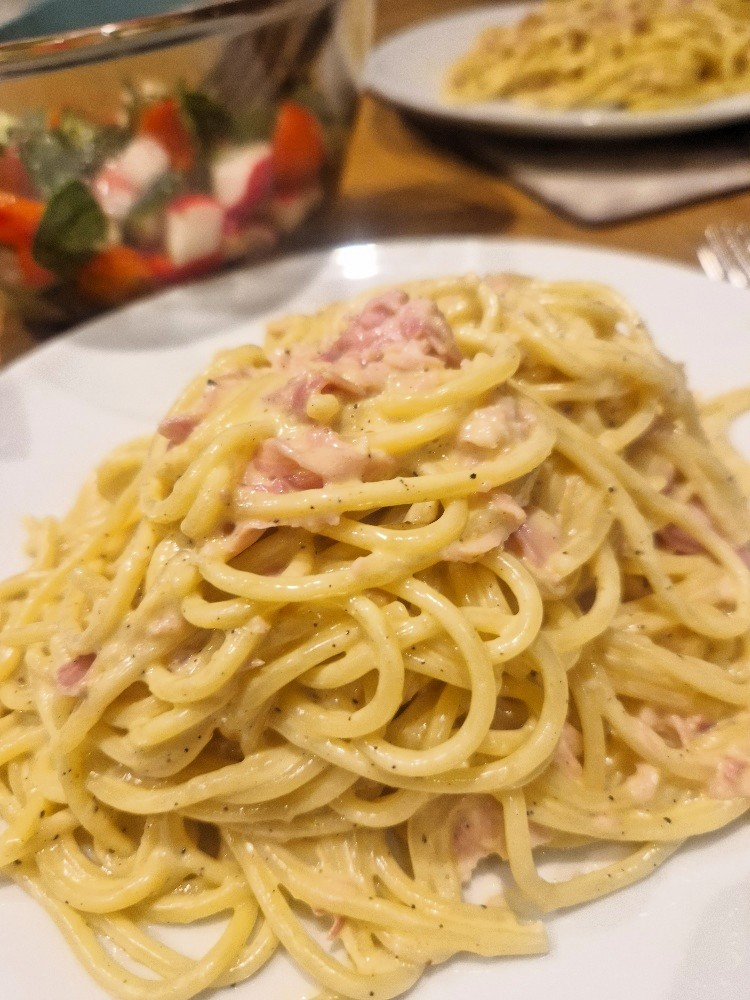
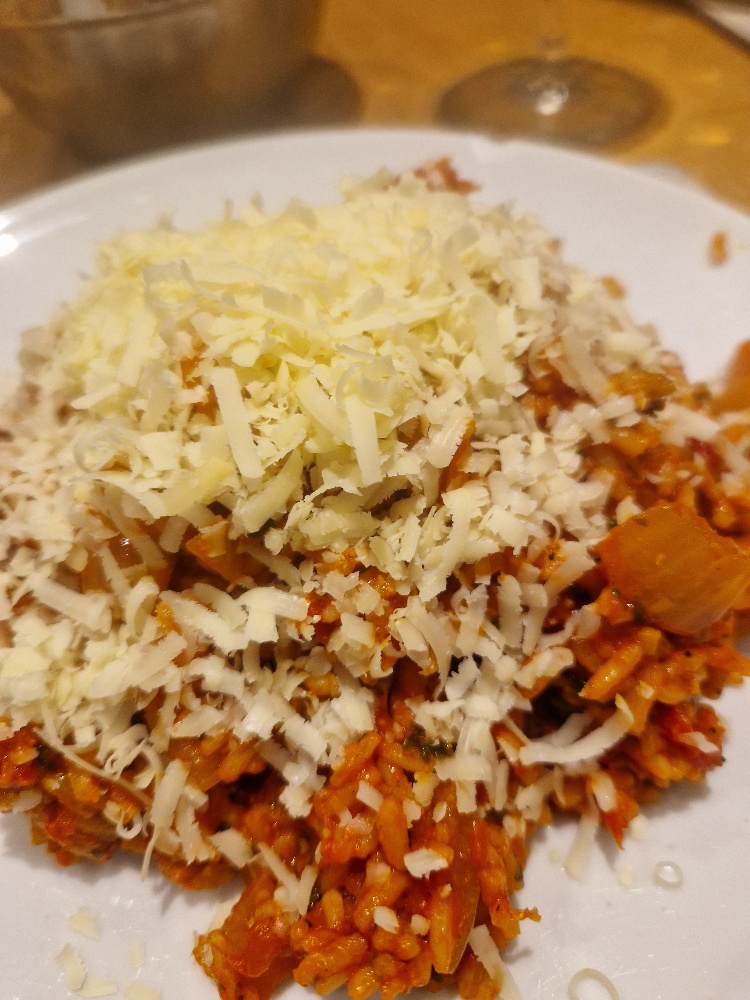
Serve and top with the cheese. If you can stick to just one helping you have more willpower than us! And if you have leftovers they keep well in the fridge for a few days – reheat gently or it’s also really good served cold as a sort of rice salad.
Enjoy!


Bibi’s Tomato & Bacon Risotto
Ingredients
Equipment
Method
- Chop the onions, fairly roughly as these are the only vegetables giving texture to this dish. See our onion Tip. De-rind and chop the bacon with scissors.
- Heat the olive oil (about 2 or 3 tablespoons) in a large, high-sided frying pan or a large saucepan on a high heat. Turn the heat down to medium and tip the onions in. Keep them moving around in the oil until well coated and they begin to soften, the onions will start to go translucent, about 4 mins. Do not overcook – you want them to keep a slight crunch/bite.
- Turn the heat back up and add the bacon. Stir until the bacon looks cooked (no red) and the fat renders. Do not allow anything to burn; turn the heat back down if this looks like happening.
- Make sure the pan is quite hot, then add all the rice and muddle it around in the pan for a couple of minutes until it is fully coated in oil, and begins to turn traslucent.
- Add the tinned tomatoes, stir, and make sure they come to the boil. Crumble in the stock cubes and add a really big squeeze of tomato puree. Add a good slug of Worcester sauce, and if wanted a small splash of Tabasco (do not add too much).
- Season with salt and freshly ground black pepper. It will not need much salt due to the stock, but will need a lot of pepper. Taste. Adjust with puree, pepper, salt etc to taste, remembering that it will taste raw at this stage. Make sure the consistency is not too wet, but still saucy as it will reduce down a lot – add a little boiled water (hot) if needed – you can rinse the tomato cans out with this first so you add more juice.
- Make sure the rice mix is boiling, i.e. it is all bubbling, then turn down the heat to the lowest setting and/or move to a smaller ring (also on lowest). Let it simmer until the rice is tender and the liquid is fully absorbed, i.e. you have firm not sloppy texture – how long depends on the rice and the amount of liquid but between 20 and 30 mins normally. Check every 5 to 10 mins or so for consistency and stir gently to move the rice off the bottom to prevent sticking (it can stick and burn very easily so be vigilant!) but do not over-stir or it will get gluey, and also taste again. Adjust with all the seasonings and water, puree etc as needed. Have a lid handy. You can cook with the lid on or off – lid on will keep it saucier; lid off will help it reduce. It depends on how wet it is – you can chop and change as it cooks.
- Grate the cheese – we use cheddar. Chop the parsley. See our herb Tip. Keep both to one side.
- About 5 mins before serving, or about 15 mins into cooking, add the parsley and stir in (do not add too much or it takes over).
- When the rice is tender and the liquid reduced (test the rice by taking out a grain or two and biting – it should feel soft and not at all chalky), turn the heat off and rest for a few minutes with the lid on before serving. It is nicest not quite piping hot. The texture should be firm, with no or only a little free liquid.
- If at any stage you fear your rice is cooking before the liquid has properly reduced you can take some liquid out with a large spoon. Press the spoon down onto the risotto and allow some liquid to run into it (with little or no rice coming out); tip the liquid into a bowl, repeat until you are happy with the texture, then discard the liquid. Do not panic and do this too soon however, the rice will soak up a lot of liquid. Only do if about 15mins in the rice is starting to feel cooked, but there is still a lot of liquid in the pan
- When cooked, spoon onto plates and serve with the cheese.
- This is also really good served cold the next day, so leftovers are a bonus!
- Bon appetit!