Skills you will learn in this recipe
Making a biscuit base; frosting grapes; setting a cheesecake
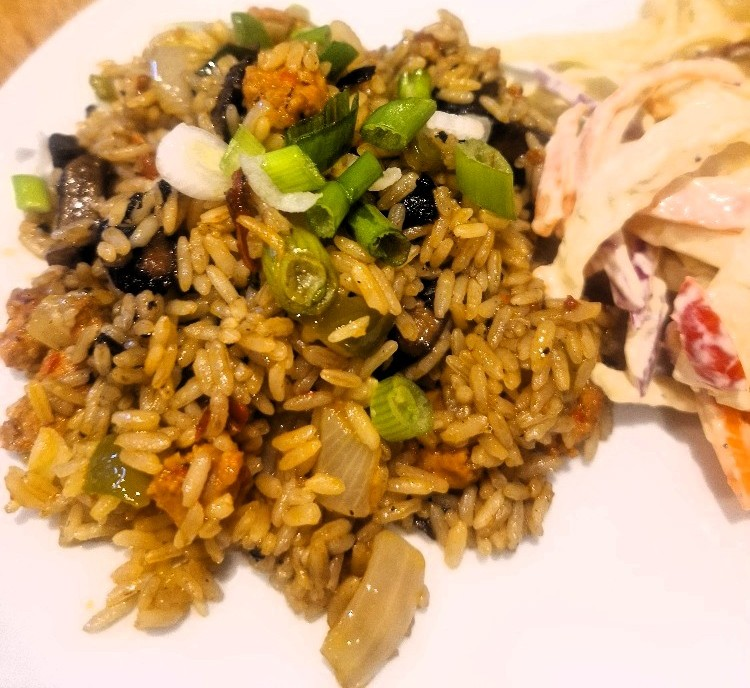
Links to the last recipe
Making a creamy, biscuit dessert; flavouring with lemon
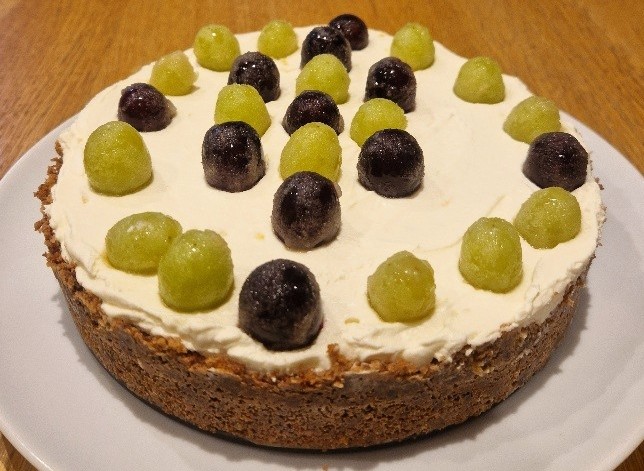
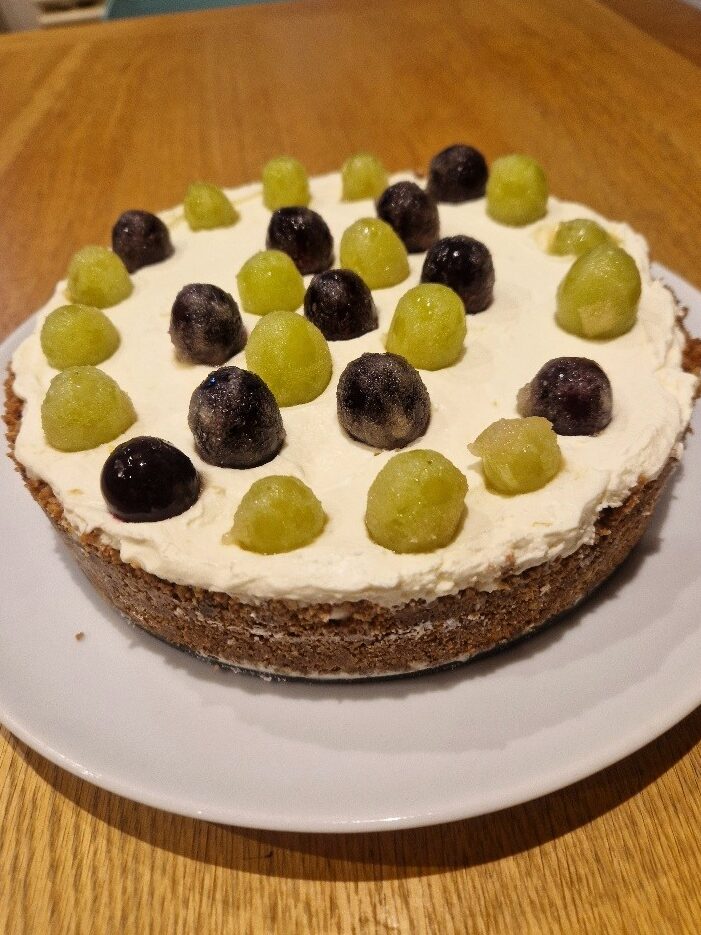
There are basically two types of cheesecake – baked (often known as New York style) and set. We like both, but slightly prefer the set, no-cook type. This one, topped with frosted grapes, is particularly easy to make and, unlike many no-cook cheesecakes, requires no setting agent (such as gelatine), which makes it even easier.
Bibi used to make a very similar set cheesecake, but she topped hers with peaches – either tinned or fresh. She once ate a cheesecake at a friend’s house and asked what made the delicious biscuit base so light and crunchy. The answer was very light crackers, called Dutch crispbakes, added to the digestives in the base. So from then on, Bibi made her cheesecakes with crispbakes too.
Our base today also uses them, but instead of digestives we pair them with chocolate-covered oat biscuits. This gives a nice nuttiness and texture to the base, as well as a hit of sweet dark chocolate that we like with the sharp, lemony filling. But you can play around with different types of biscuits and mixtures, though something sweet and digestive-like as one of them is normally a good idea.
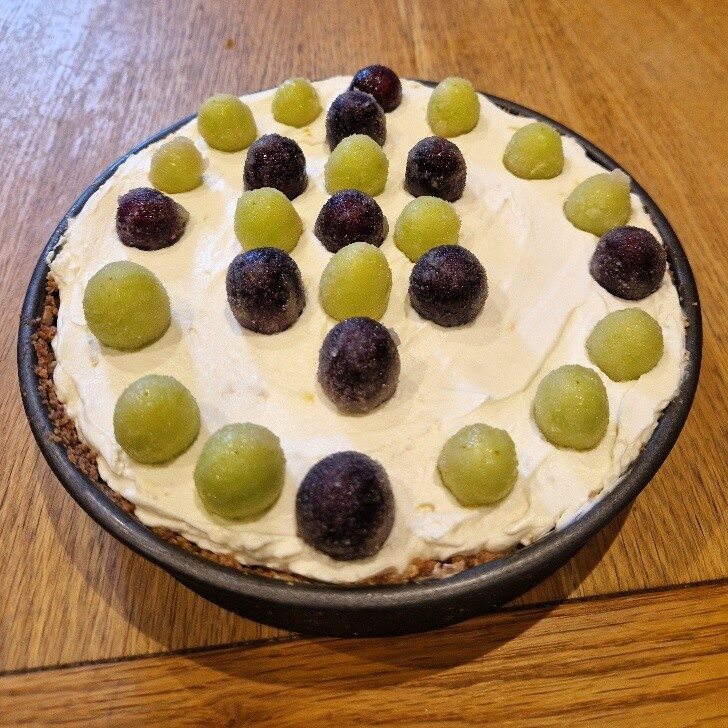
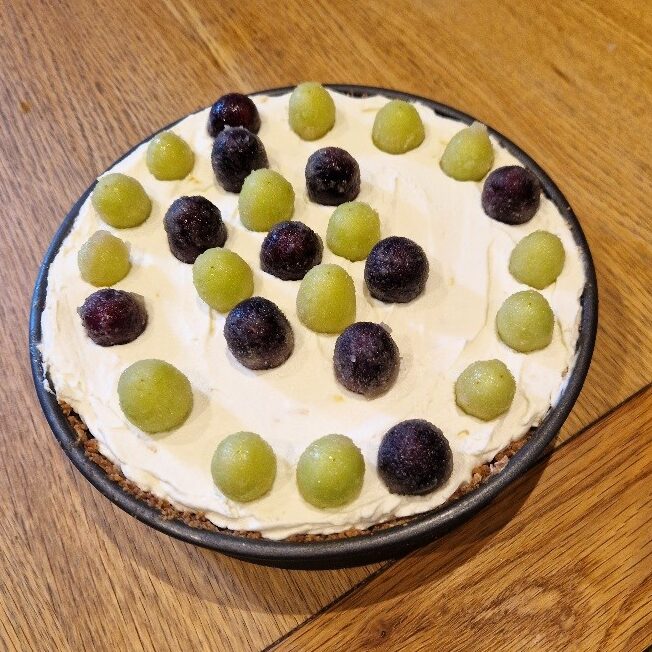
You can top with any fruit you like too. Today we opted for grapes – we like the contrast of the juiciness of these with the rich cheesecake filling. We frosted them for extra texture, but you can use them just as they are instead.
Plan ahead. The grapes will need at least 2 to 3 hours to frost fully. The cheesecake will also need time to set in the fridge once assembled – at least 3 hours and ideally 5 or 6 hours or overnight. You can also prep both items even further ahead, and keep until you are ready.
Cheesecake base
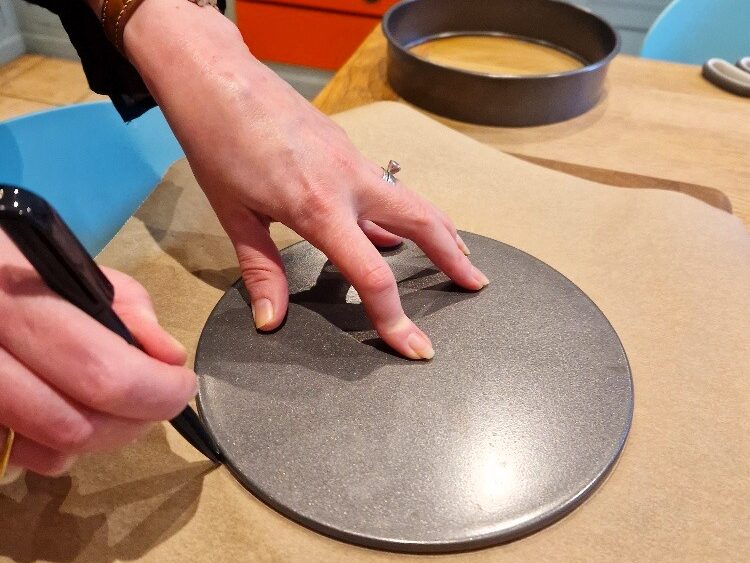
Start by preparing the tin you will set the cheesecake in. A loose-leaf or springform one, with a separate base, makes cutting and serving the cheesecake easier. For our size of mixture today we used a 20cm (8-inch) tin, with fairly high sides (4.5cm). This gave us 6 very generous portions, but, as the cheesecake is rich, it could have easily stretched to 8.
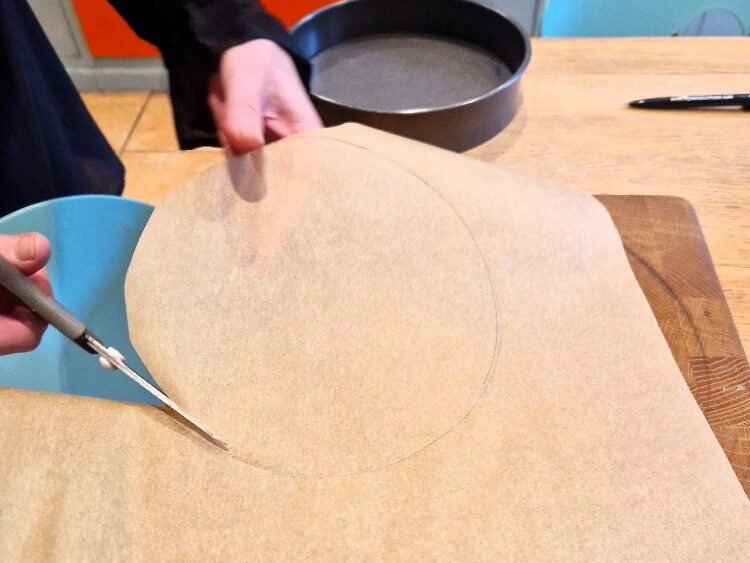
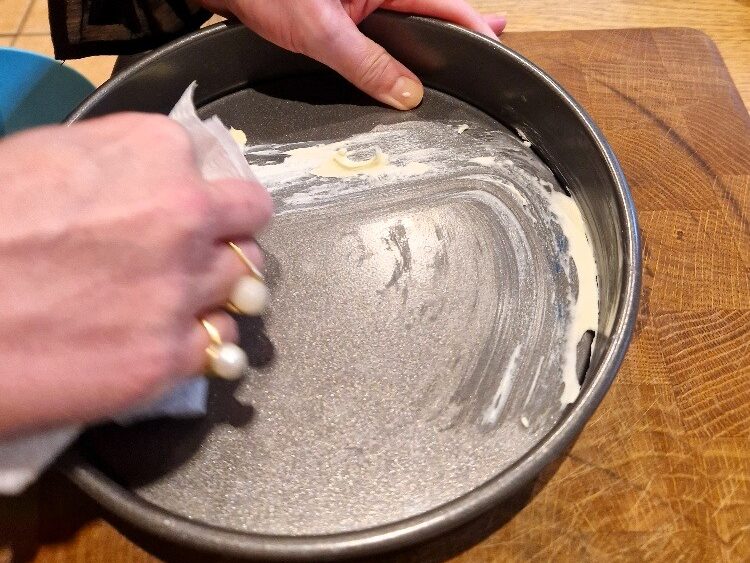
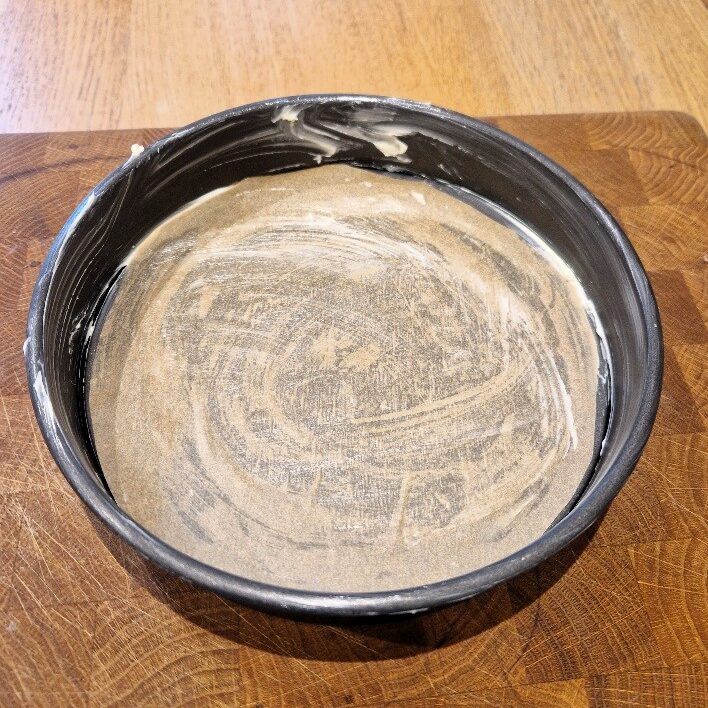
Cut out a circle of baking paper the same size as the base of your tin. Use the base to measure round it with a pen. Grease the base and sides of the tin very generously with butter, then line with the paper circle. Grease the top of the paper too.

Jake sticks his nose in
Make sure to grease the sides of the tin particularly well as these won’t be lined with paper.
Preparing the base is both easy & fun as you get to bash the biscuits with a rolling pin to break them up!
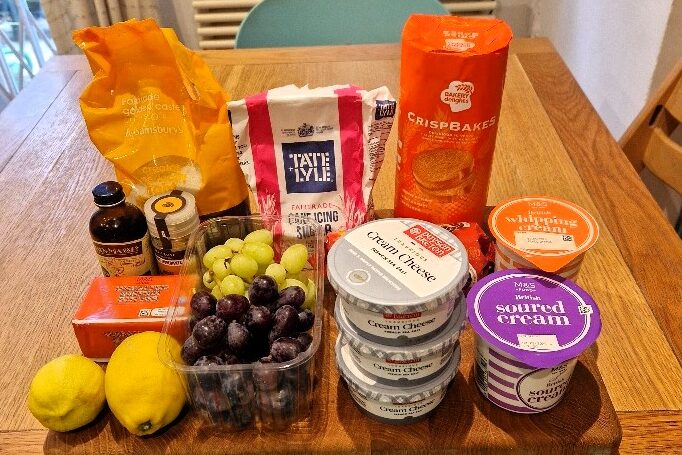
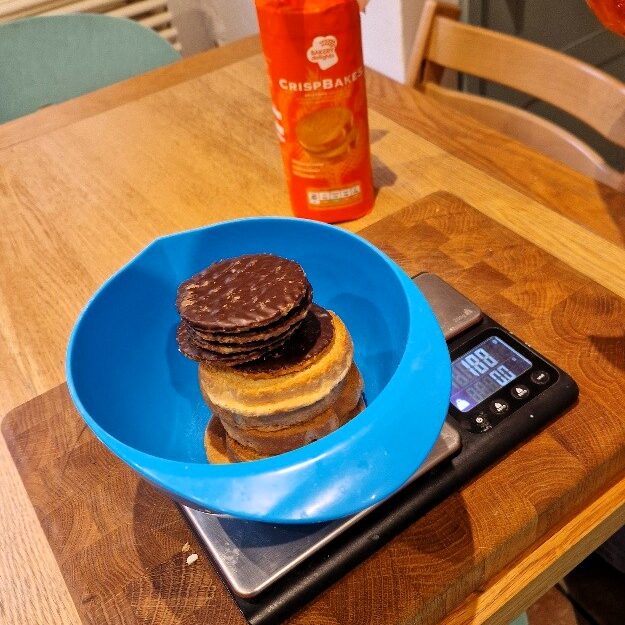
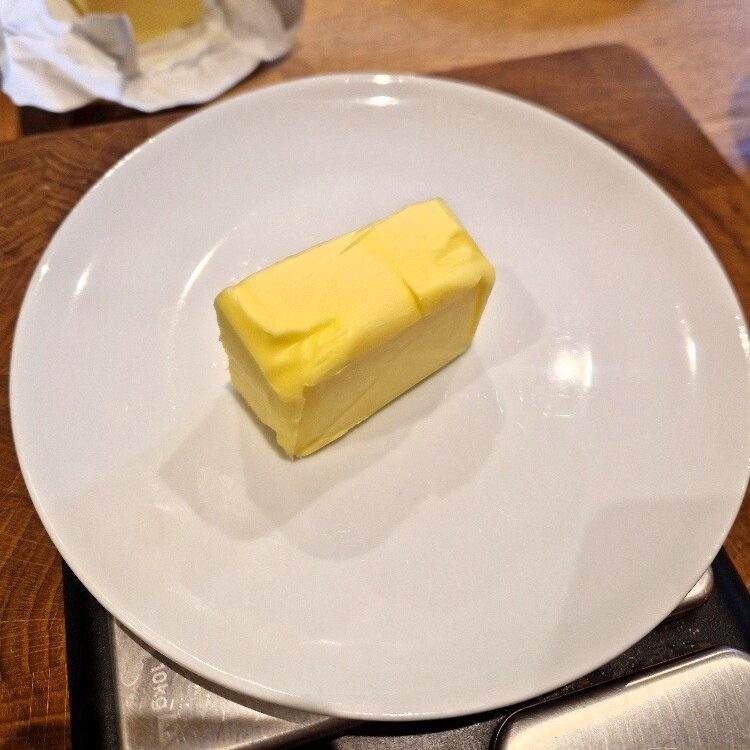
Measure out the biscuits -though this isn’t a precise science. Today we wanted about 300g of biscuits in total, so made this up about 1/3 crispbakes to 2/3 oat biscuits by eye/volume. There were fewer crsipbakes by weight as these are bulky but very light. We chose oat biscuits with a dark, rather than milk, chocolate topping as we think dark pairs better with lemon. Also measure out the butter. For 300g biscuits you need about 120g butter. We use slightly less than the classic 2:1 ratio of biscuit to butter because the chocolate on our biscuits also helps the base bind. If your biscuits don’t have chocolate on, use a bit more butter, about 150g.

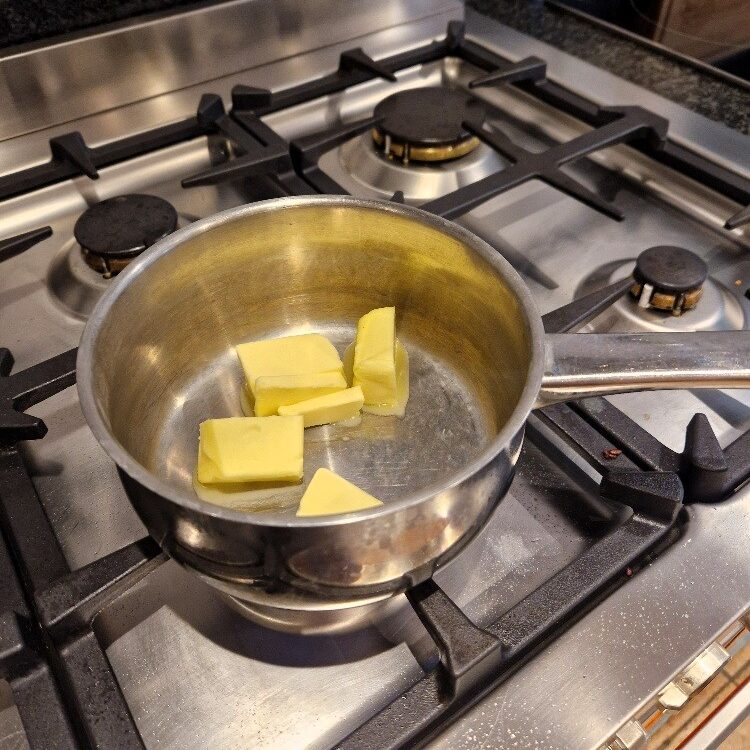
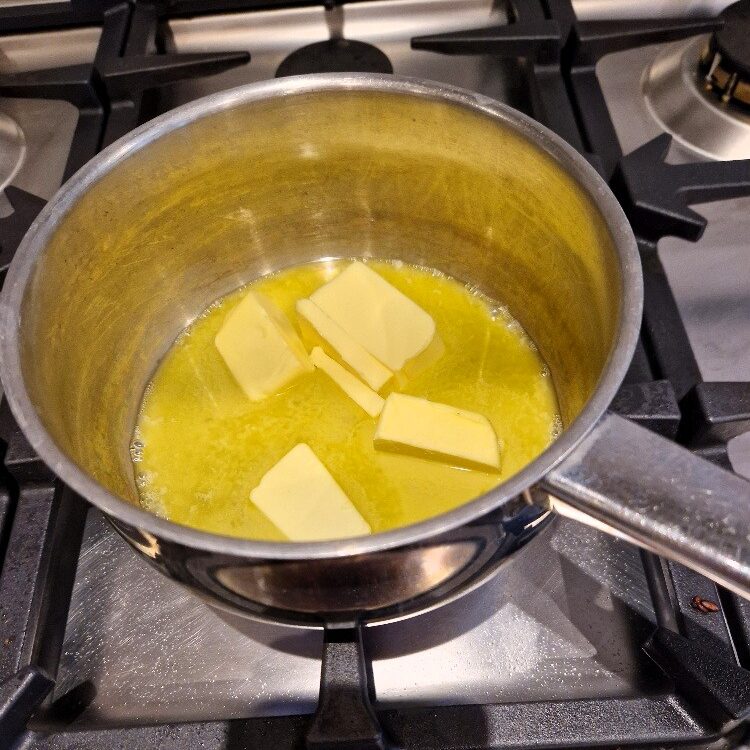
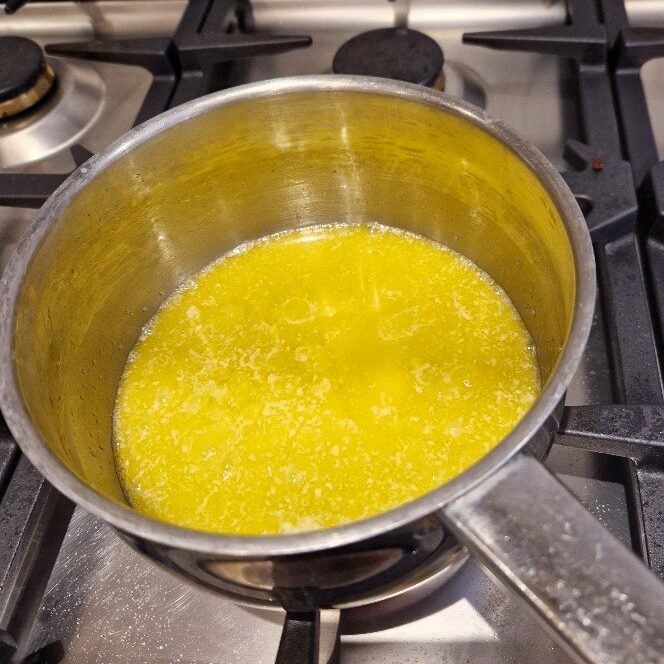
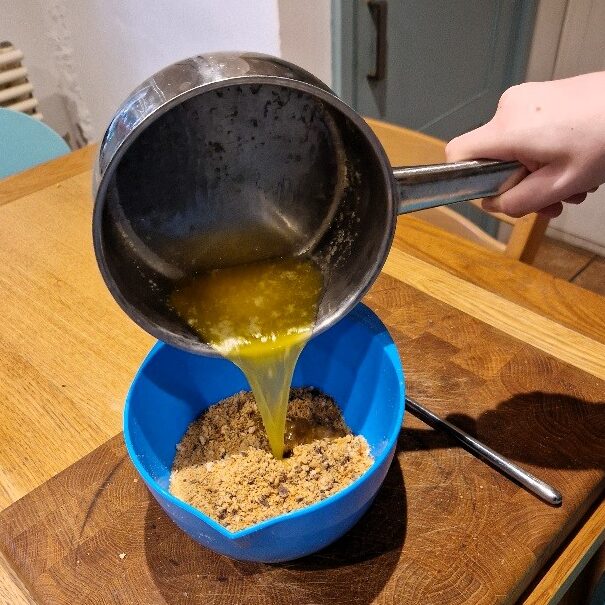
Cut the butter into pieces and place in a small saucepan. Set this over a medium heat, stirring occasionally, until it is fully melted.
Jake sticks his nose in
You can use salted or unsalted butter for the base. Today we used unsalted, as the crispbakes are quite savoury. But salted works too, especially if using all or mostly sweet biscuits.
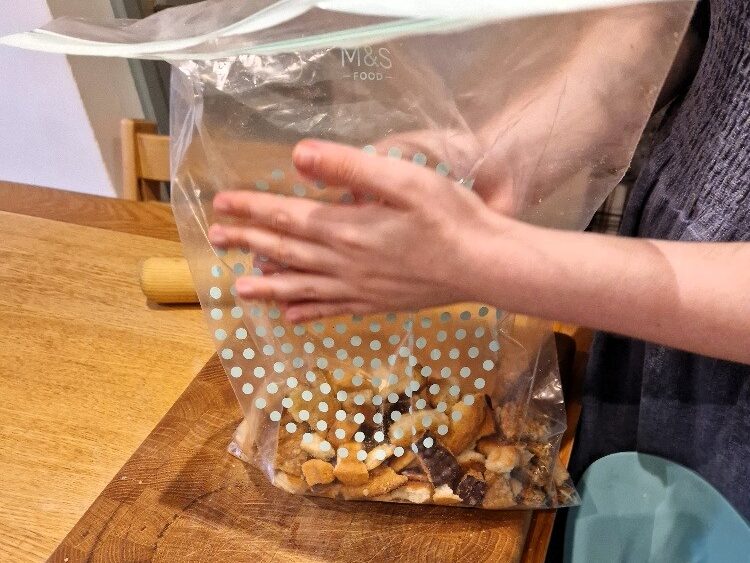
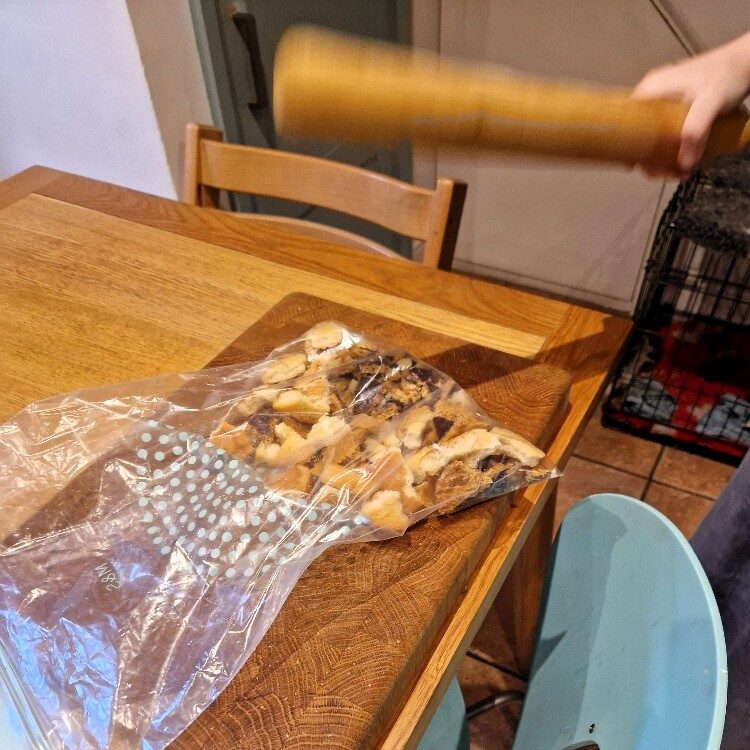
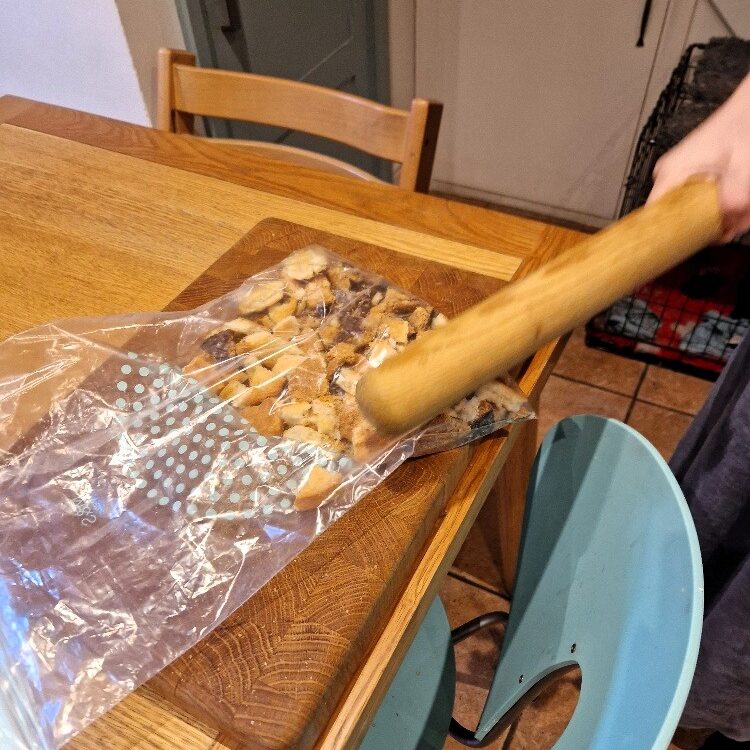
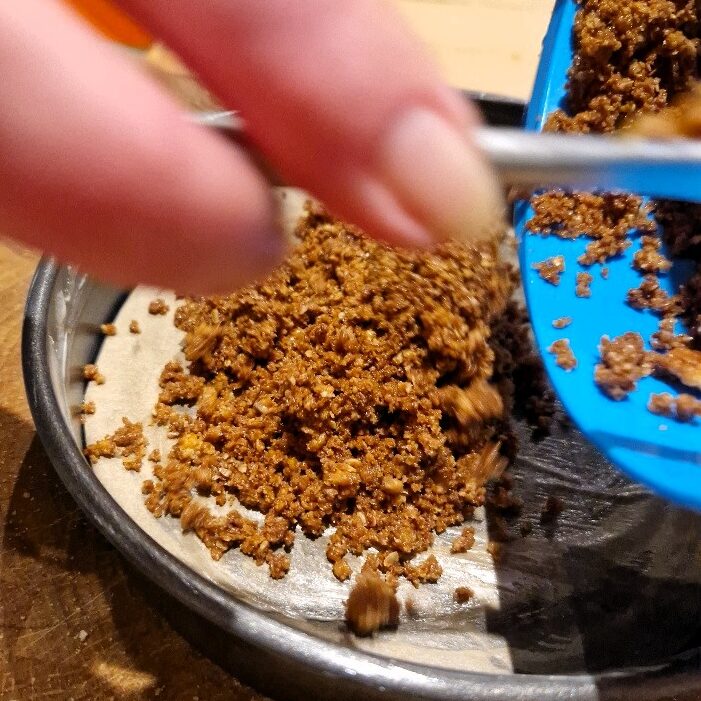
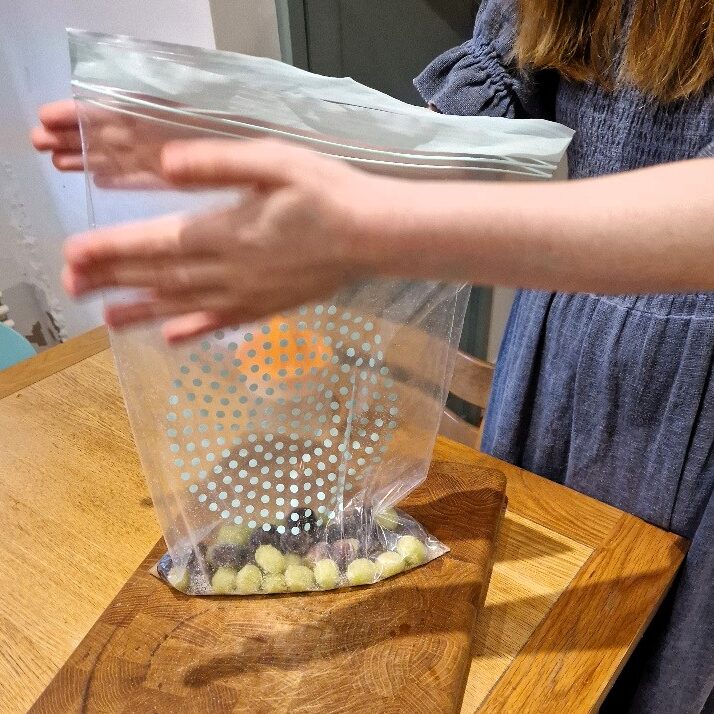
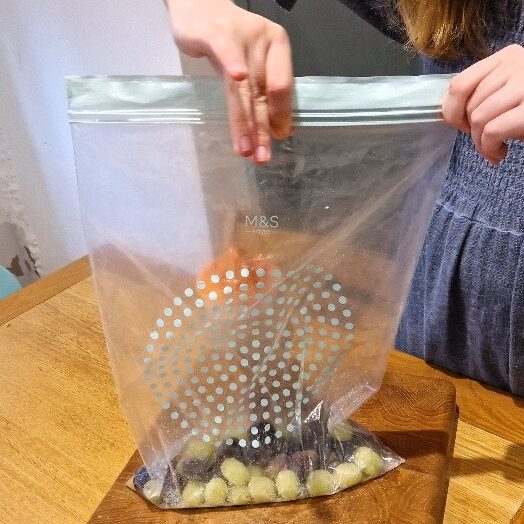
While the butter is melting, place the biscuits into a large plastic bag, breaking them up a bit as you do. Remove any air from the bag, and then seal the top (though this is not essential).
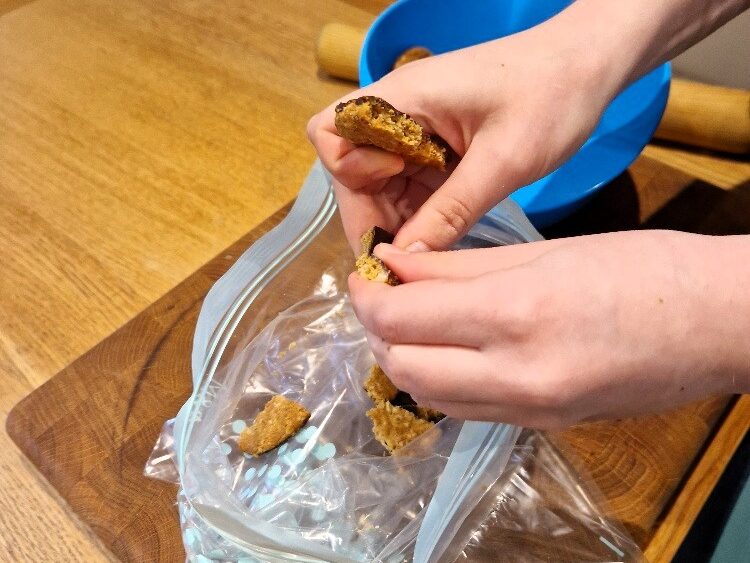
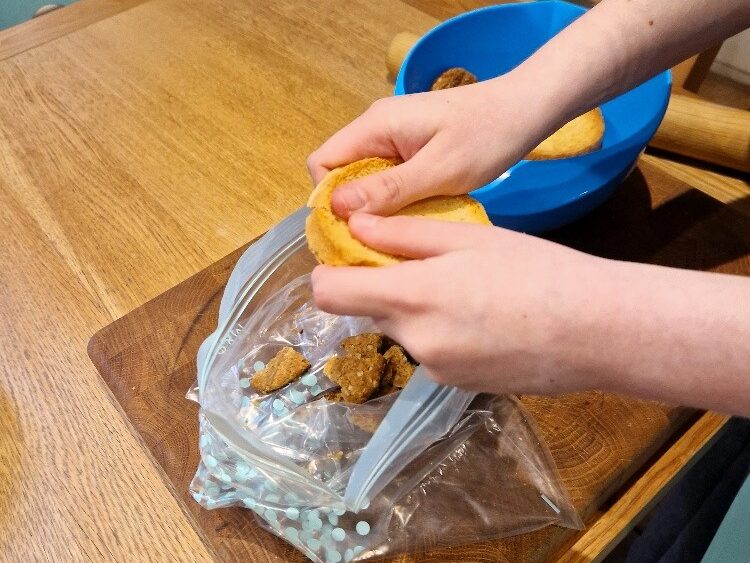
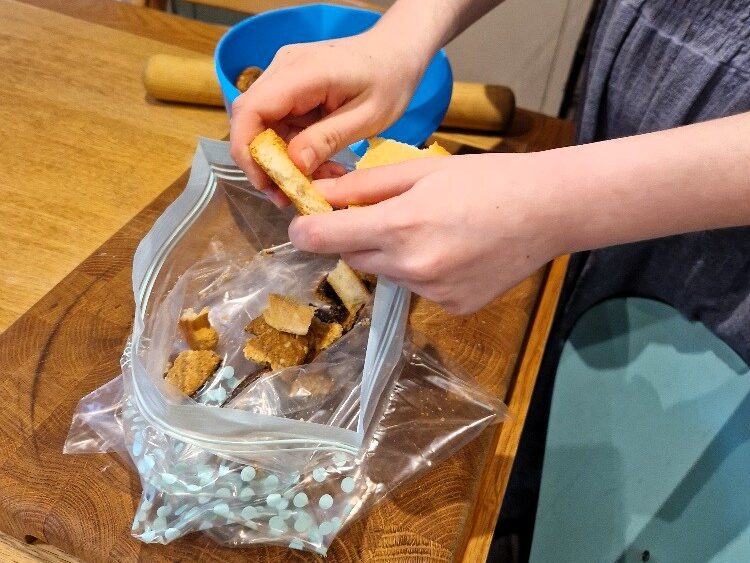
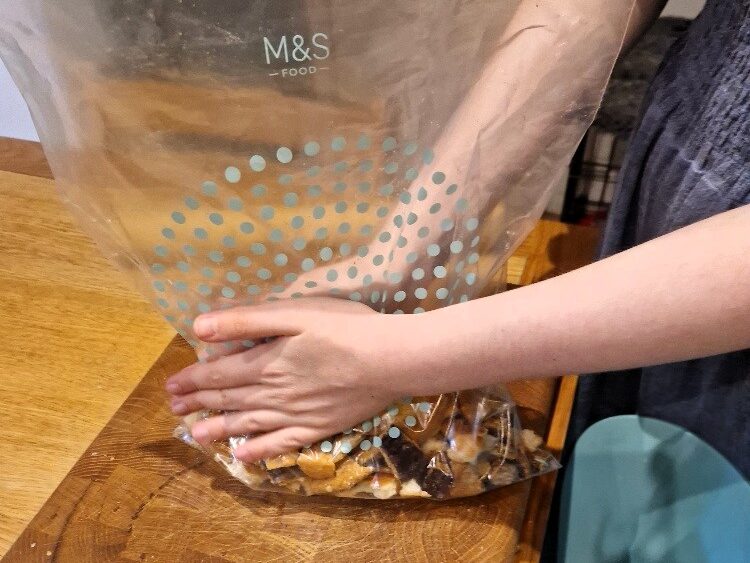
Place the bag flat on a chopping board. Now smack the biscuits firmly with a rolling pin. You want to break them up, but not turn them completely to dust. The ideal texture is somewhere between sandy and fine breadcrumbs.
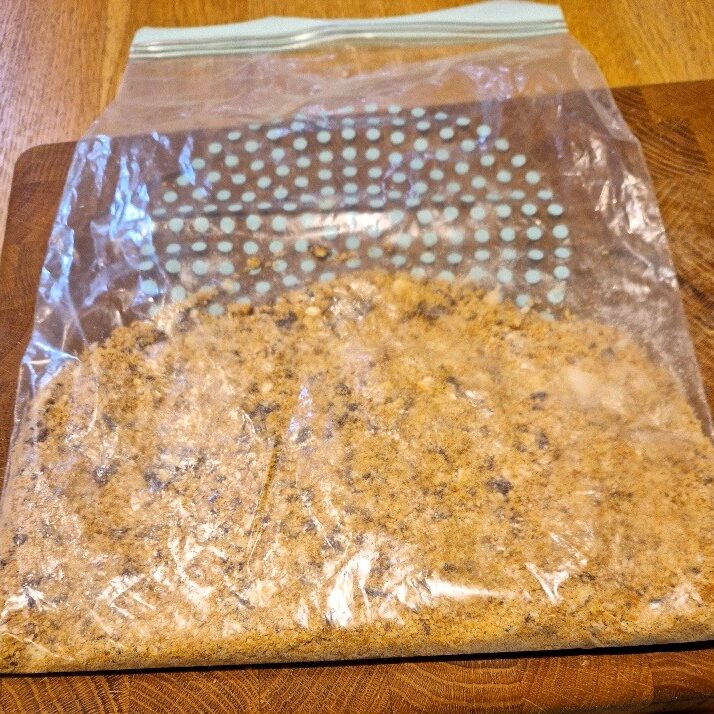
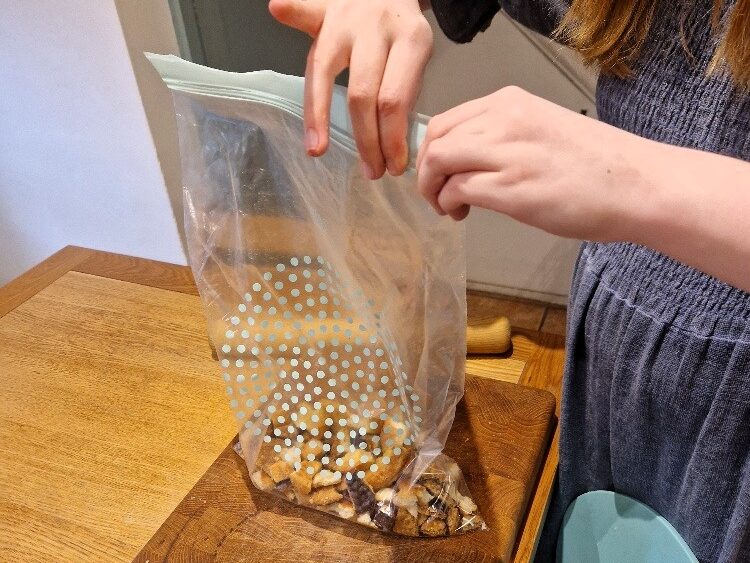
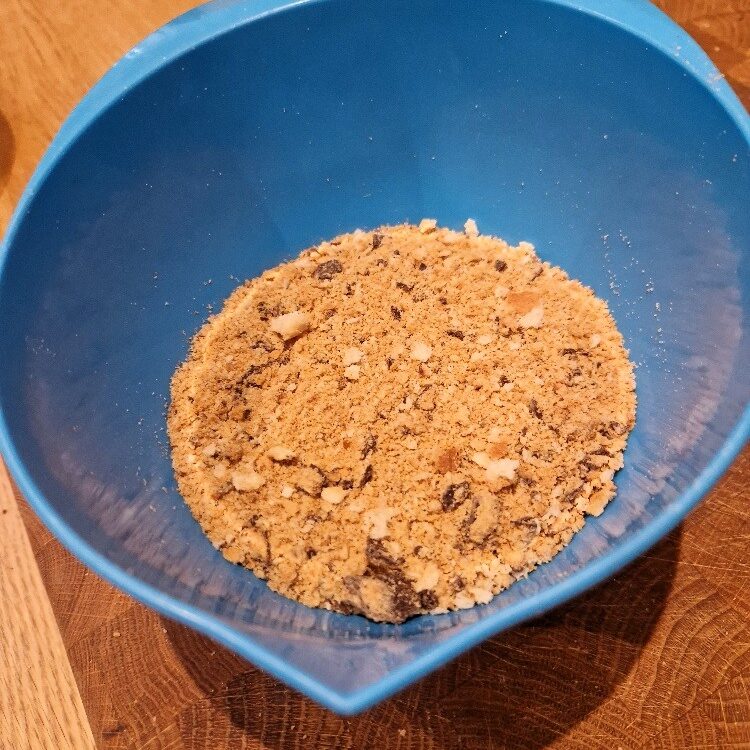
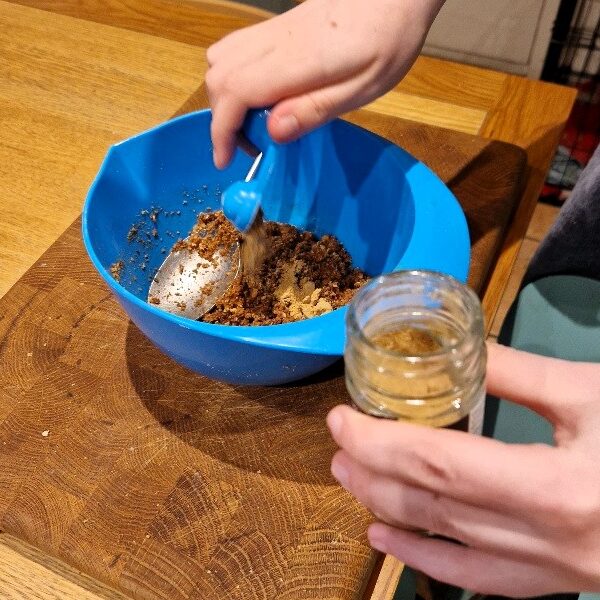
Pour the smashed biscuits into a bowl. If you shake the bowl from side to side, any larger pieces should come to the top and you can smash them with your rolling pin or fingers. Add the melted butter and stir. Also add a teaspoon or two of ground ginger, if liked. This gives the base a nice warmth. Your mixture should resemble wet sand.

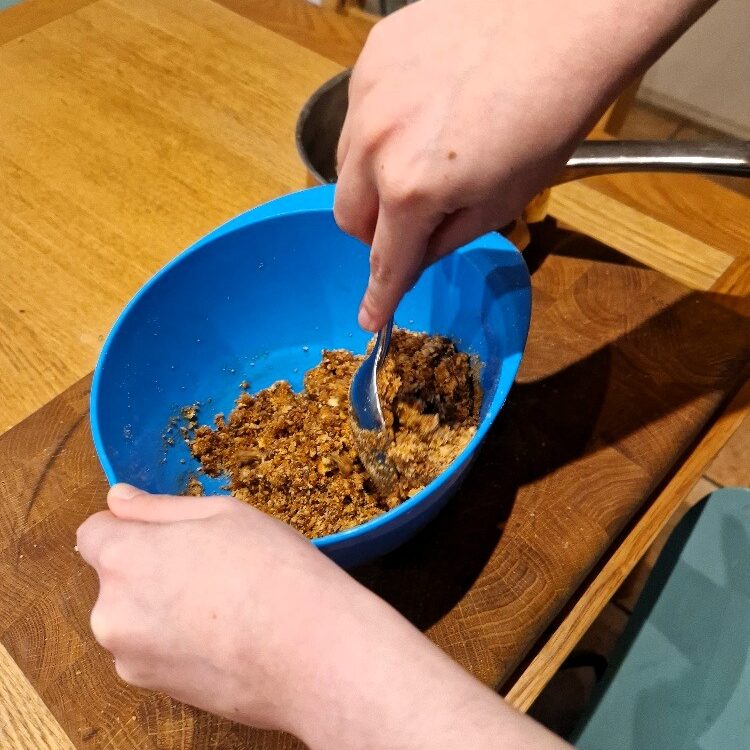
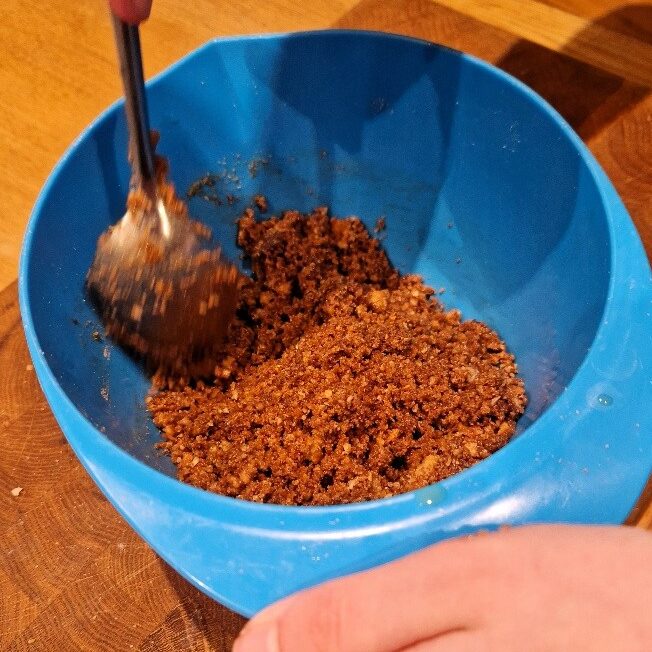
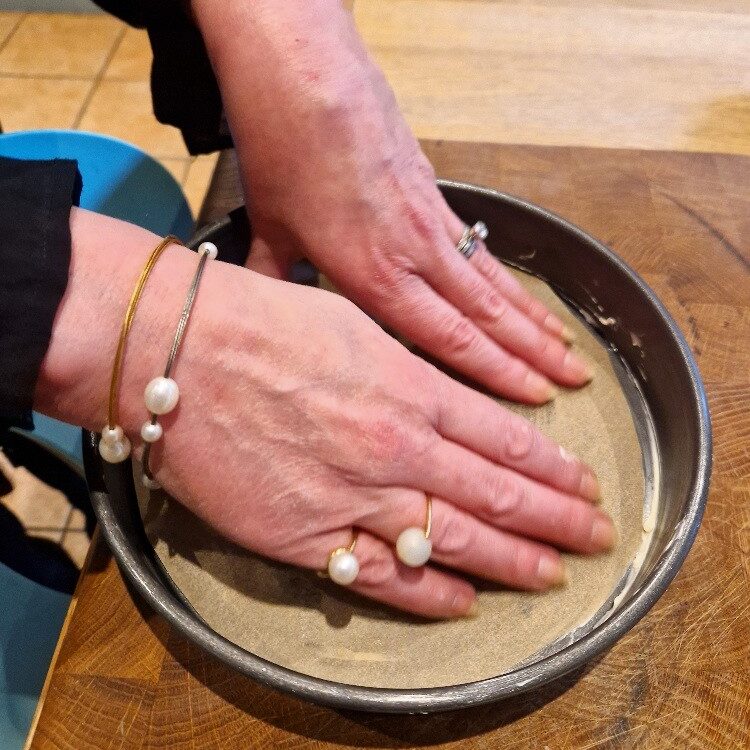
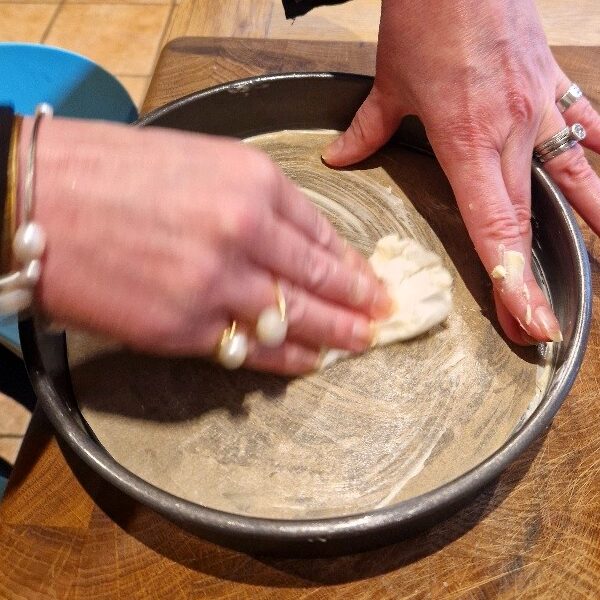
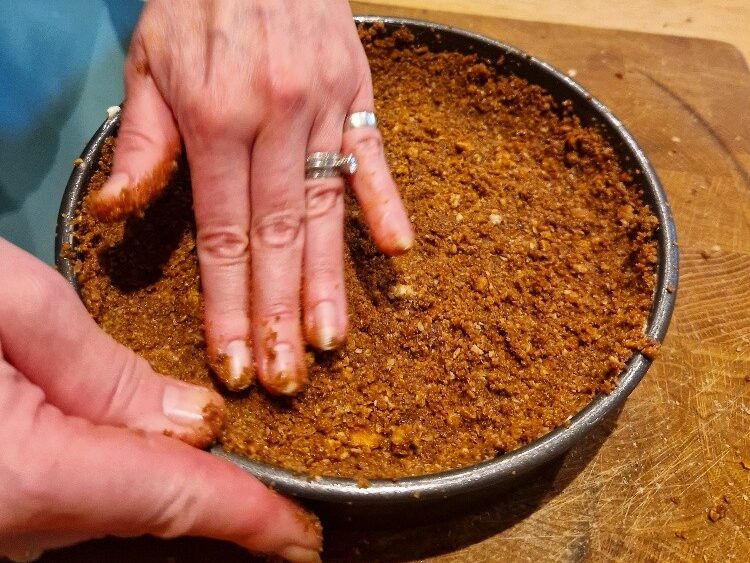
Now pack the base into the prepared tin. You need to get it into an even layer and really press it down hard to form a firm, compacted base. We just use our fingers, but you could use the base of a tumbler instead. For this particular cheesecake, it is also important to pack the mixture up the sides to form an all-round crust. The cheesecake will set, but as it is not firm-set with gelatine, you want to minimise any chance that it will leak or bleed when you take the tin off to serve. (A gelatine-set cheesecake can usually just sit on top of a flat base.)
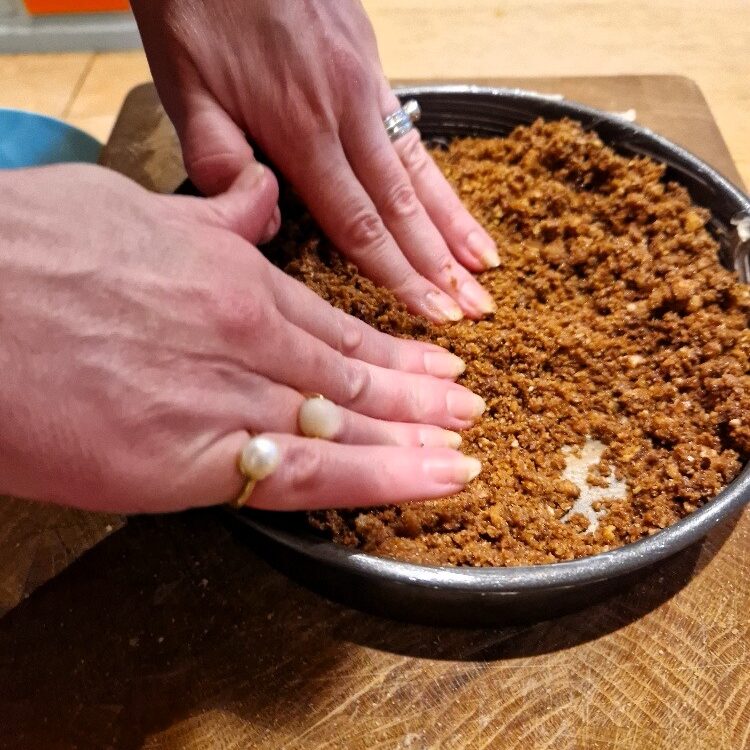
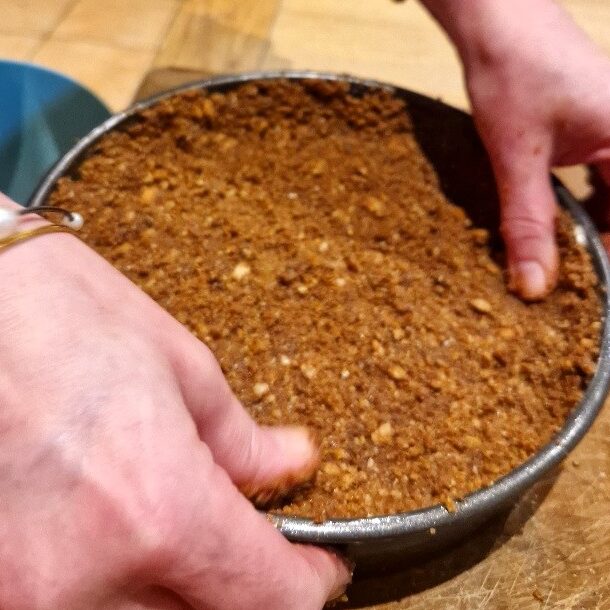
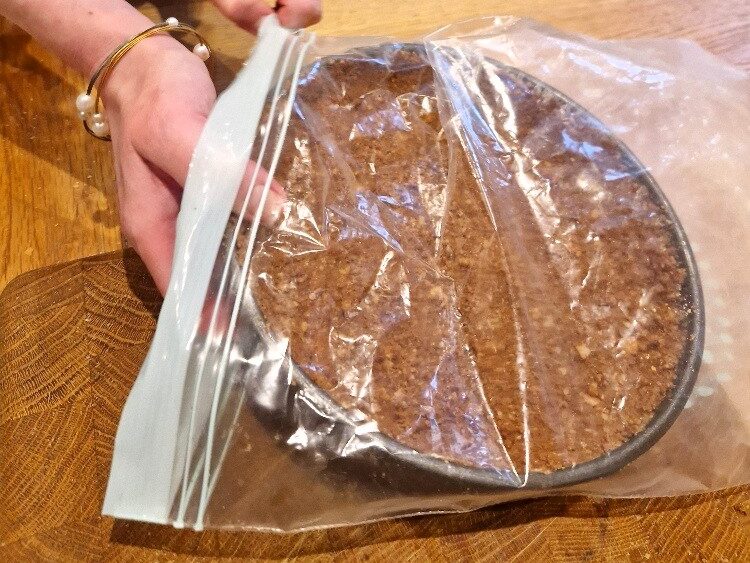
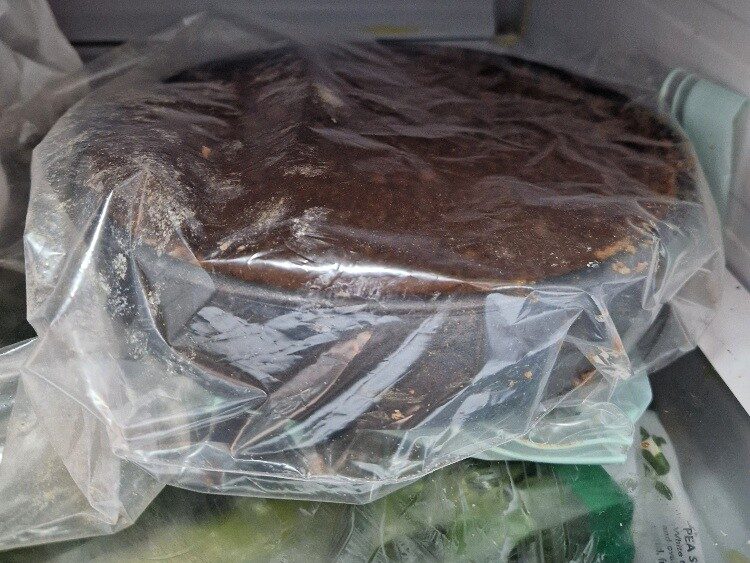
When you have a good shape to your base, place it into a large plastic bag, or cover with cling film. You can reuse the bag you used to make the crumbs. Put it into the fridge for at least 30 minutes before filling. Today our base felt on the crumbly side, so we froze it instead. About 10 minutes freezing will be enough, but you can leave the base longer in either the fridge or freezer if you need.
Frosted grapes
If topping with frosted grapes, you need to prep these at least 2 to 3 hours before decorating the cheesecake.
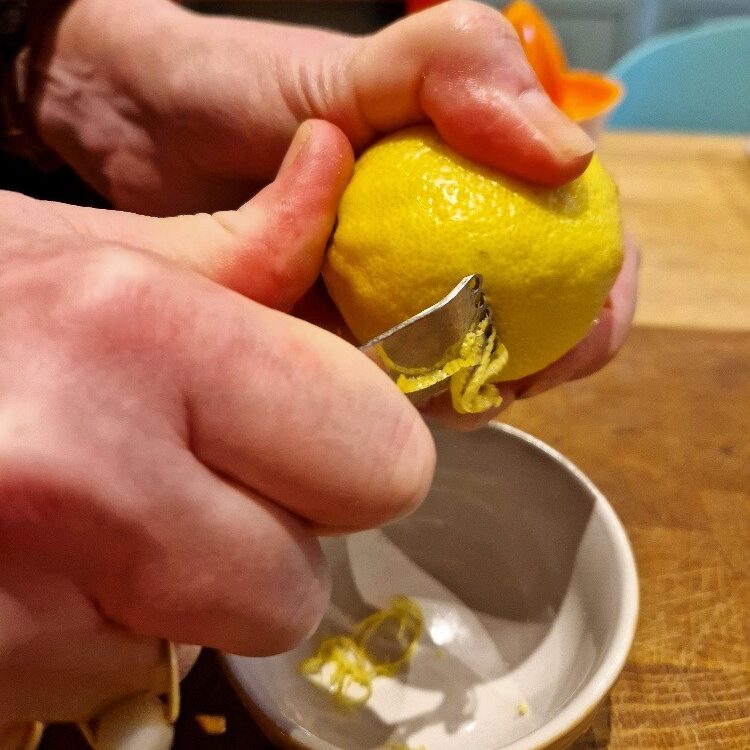
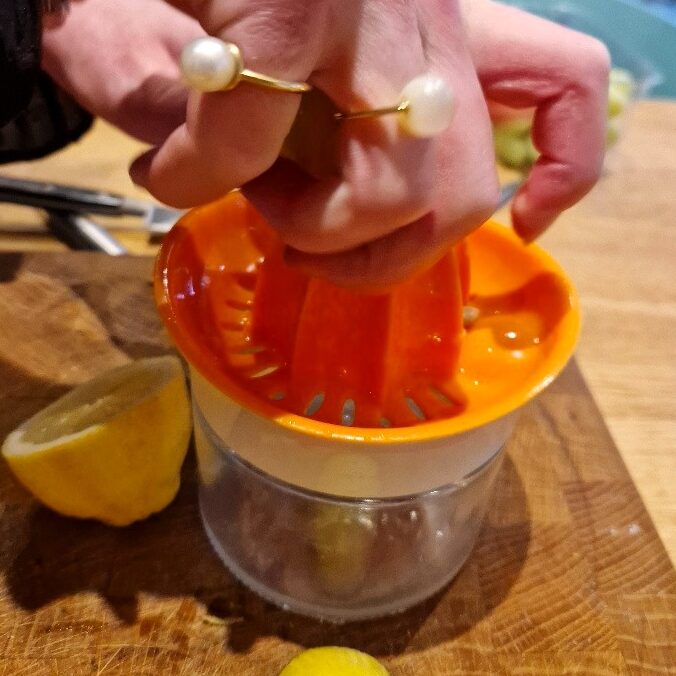
First zest & juice two lemons, then cut the zest smaller. See our lemon Tip. You’ll be using all the zest and some of the juice for the cheesecake filling, but you need a little of the juice for the grapes.

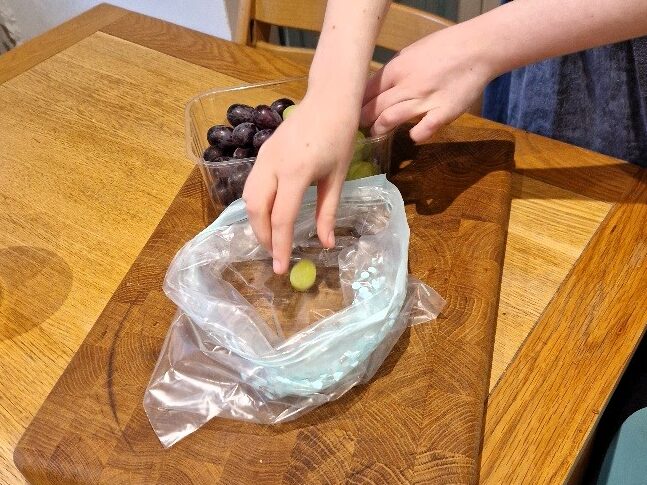
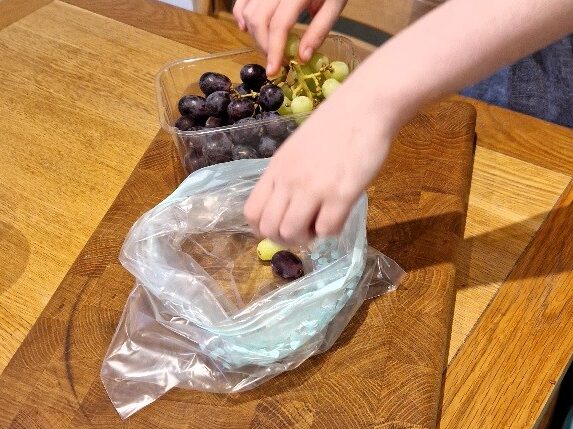
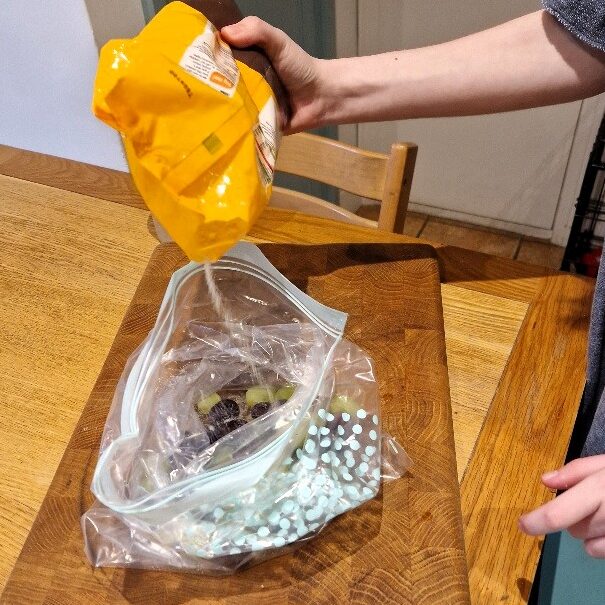
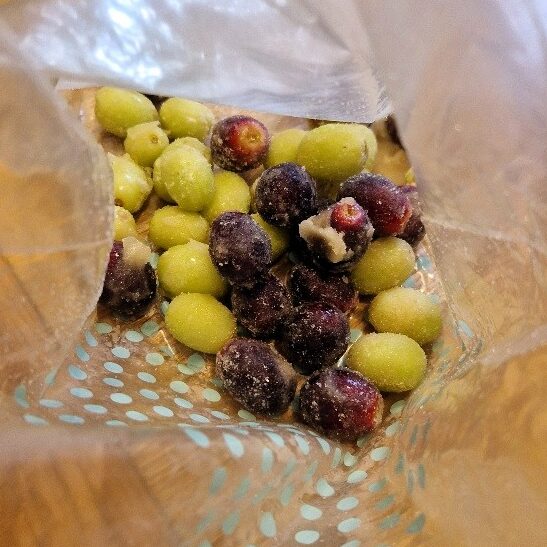
Now pick the grapes from the stalks, and add, whole, into a large plastic bag. You ideally need small, seedless grapes, but if yours are larger or have seeds, halve them and remove the pips. We like to use a mixture of green/white and red/black grapes, just to make the cheesecake prettier – you can buy mixed packs to keep cost down.
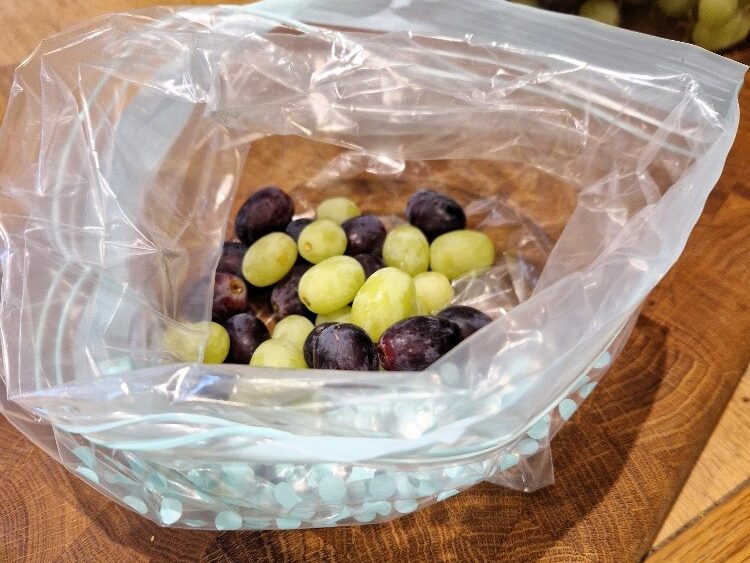
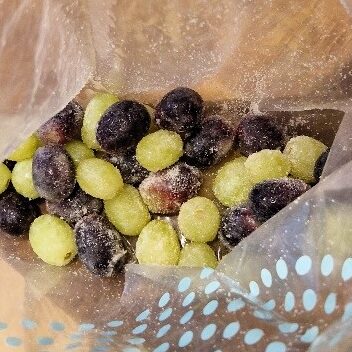
You need enough grapes to decorate the top of the cheesecake – today we used about 25. But if you make a few extra, as we did today, you can choose the nicest looking ones for the top, and keep the spares. They make a very refreshing snack!
Add just a little of the lemon juice to the bag with the grapes, enough to moisten them slightly, about 2 tablespoons or so. This will help make the sugar stick to frost the grapes. You can use a little water instead, but lemon works better and also counters the sweetness of the sugar. Add enough caster sugar to the bag to coat the grapes nicely. Shake the bag to really coat them in the lemon & sugar
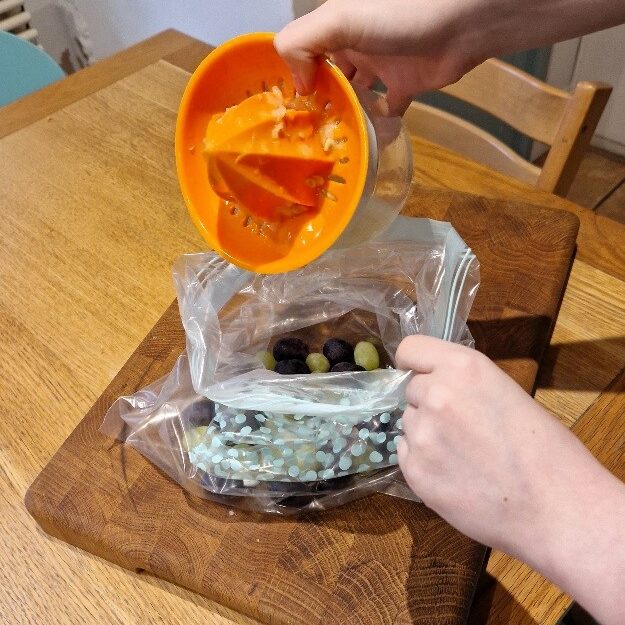
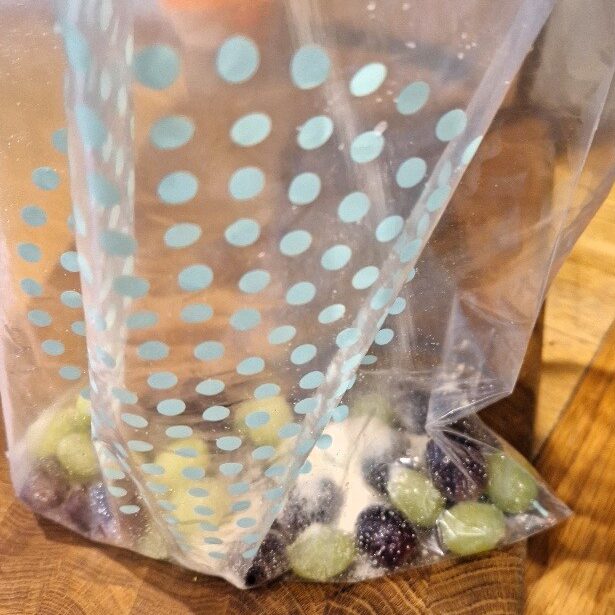
When the grapes are coated, smooth the air out of the bag, then seal it. Place in the freezer for at least 2 to 3 hours, though they will happily keep much longer.
Cheesecake filling
We like a classic lemon filling for our cheesecake, though we also add a little vanilla for depth. You can make your filling with all lemon or all vanilla if you prefer.
The key to a good cheesecake filling is using the right cheese. Unfortunately, in the UK at least, you can’t readily find the block form of cream cheese (i.e. unwhipped) that is the best to help it set. Most commercial cream cheeses are now pre-whipped, which makes them a bit soft.
We have, however, found a good alternative – a Breton cream cheese that can be found in most large supermarkets. It too is whipped, but it’s still quite firm and un-greasy, and does allow the cheesecake to set well. It is also particularly tangy & tasty! If you can’t find it, or if ‘normal’ cream cheese is much cheaper or on offer, you can use the regular cream cheese, but do choose full fat. It will work, but you’ll need to make sure your cheesecake is particularly well chilled.
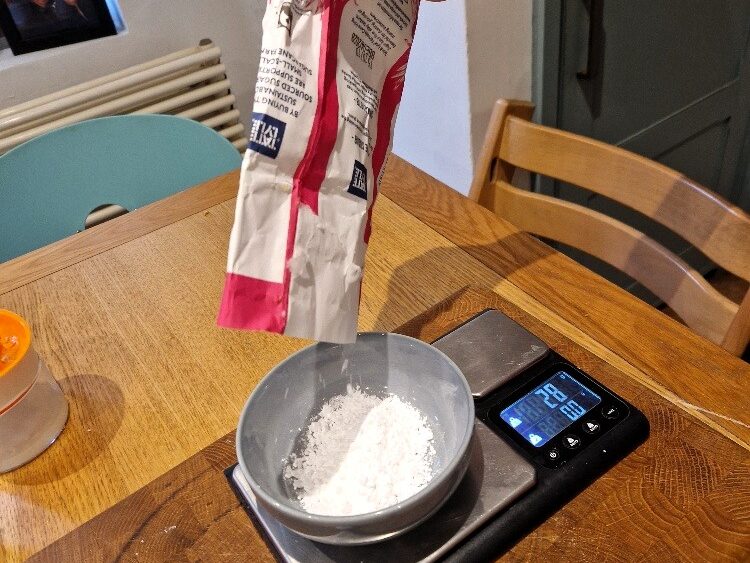
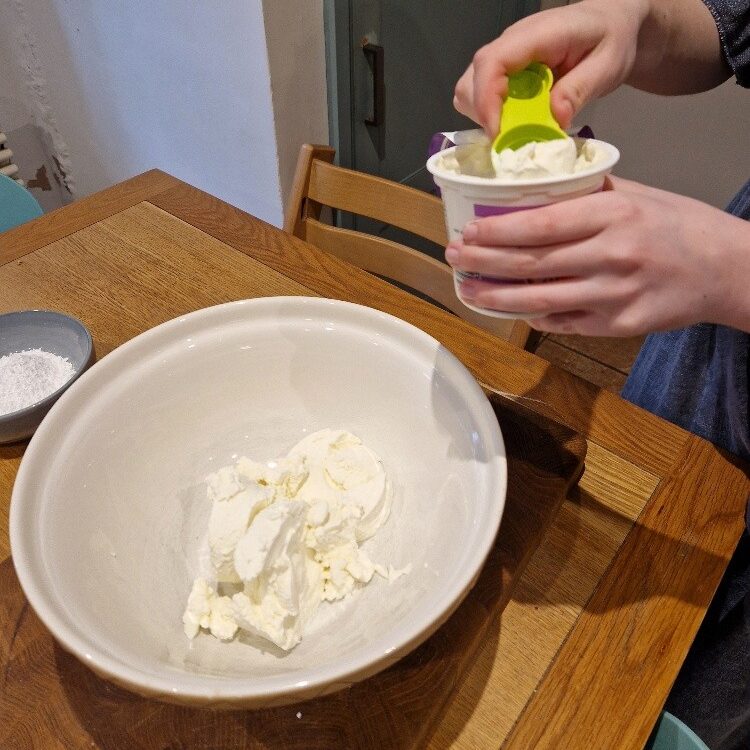
Start by weighing out the icing sugar, then place the cream cheese into a separate large mixing bowl. We use 3x 150g tubs, and 120g icing sugar.
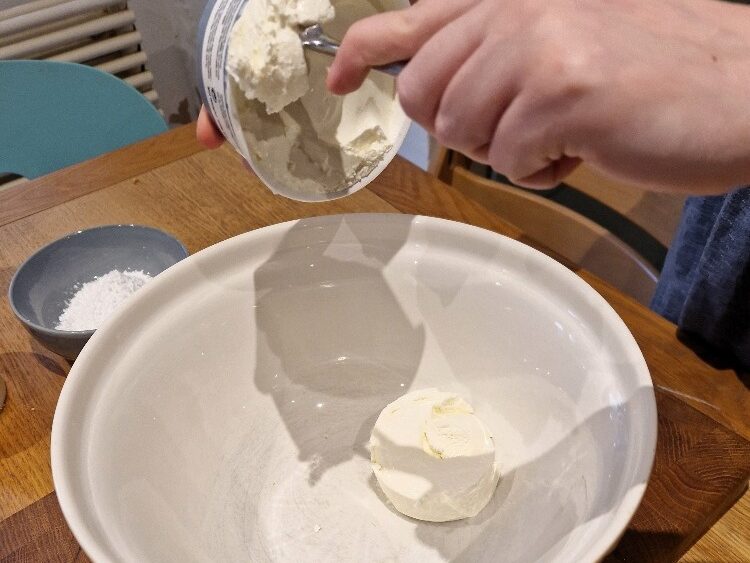
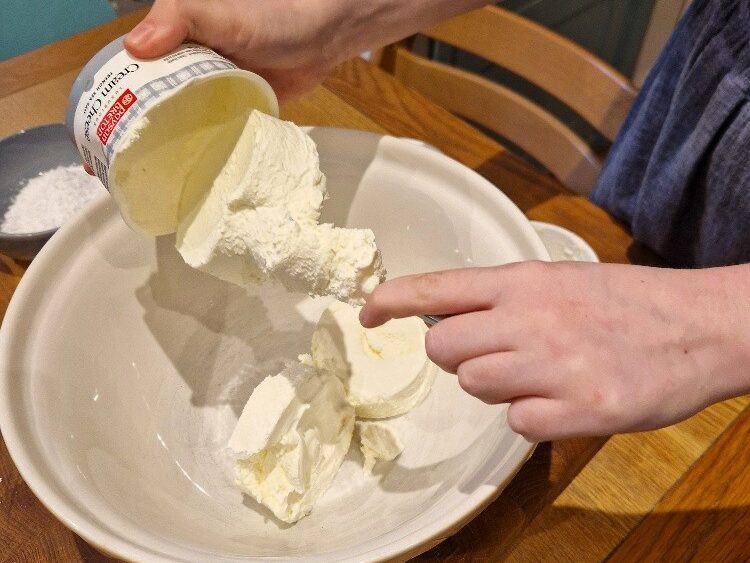
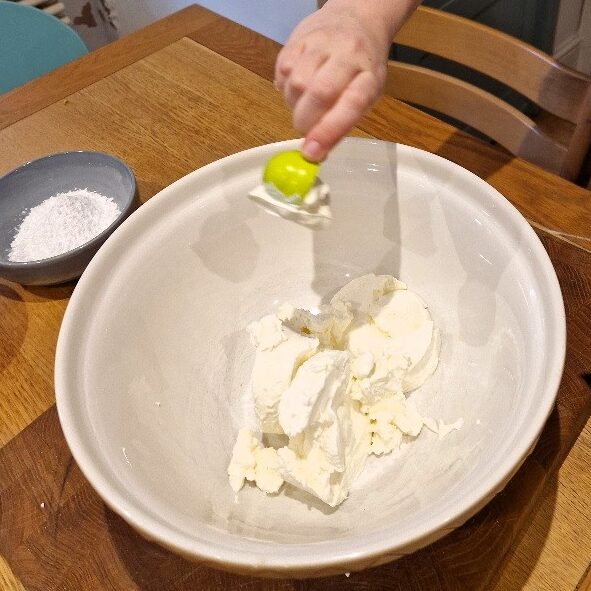
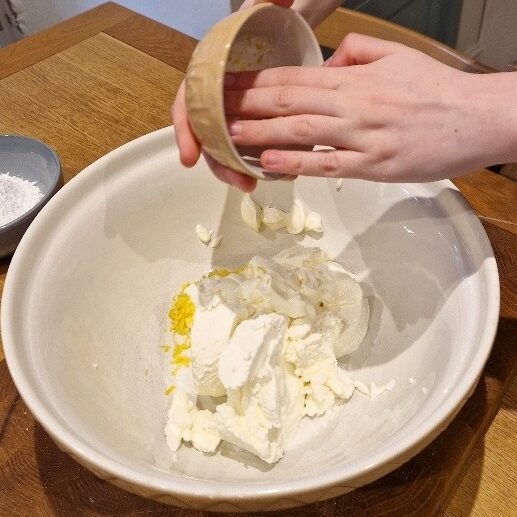
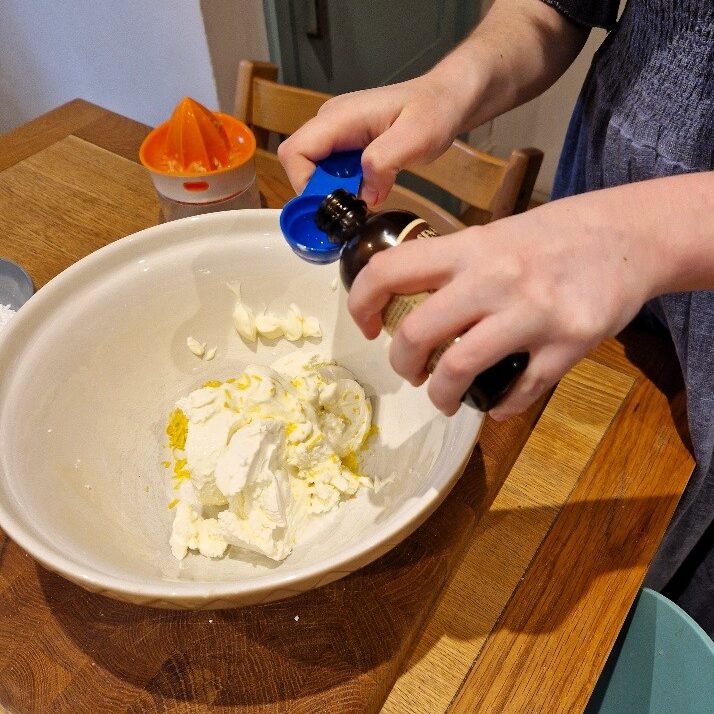
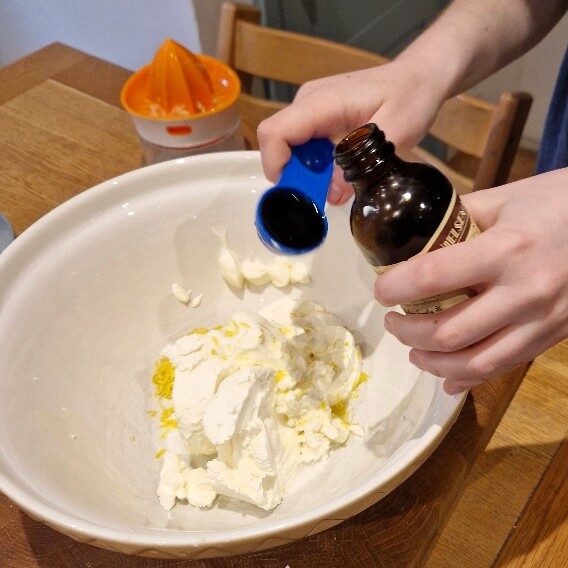
Now add about 3 tablespoons of soured cream; plus the lemon zest, and about 2 tablespoons of the lemon juice. Also add a tablespoon of vanilla extract.
Jake sticks his nose in
It is important to use vanilla extract not vanilla essence in most baking. Vanilla essence is cheaper, but it is thin and lacks the right vanilla flavour as it is a synthetic imitation. Vanilla extract is made with real vanilla, and has a lovely warm depth. A little will go and long way, too.
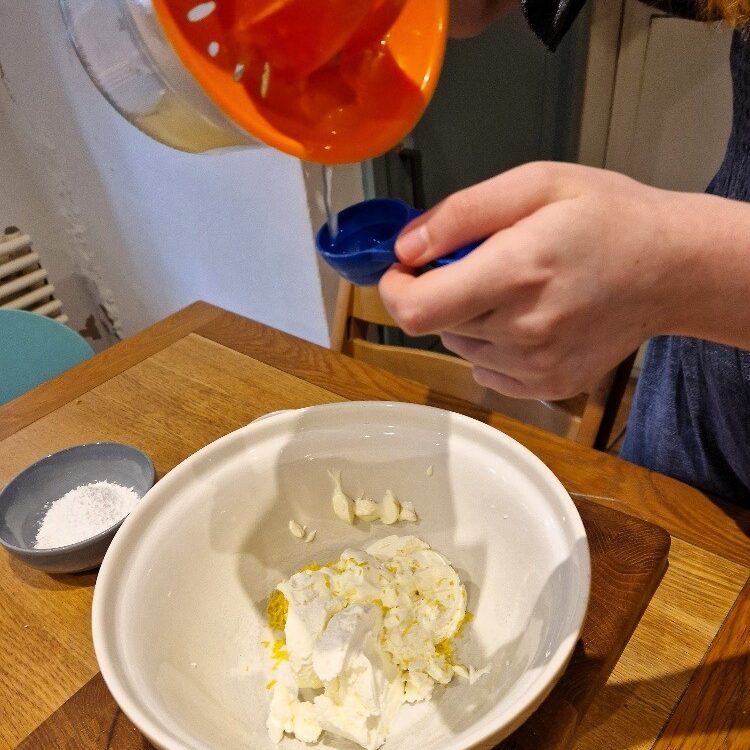
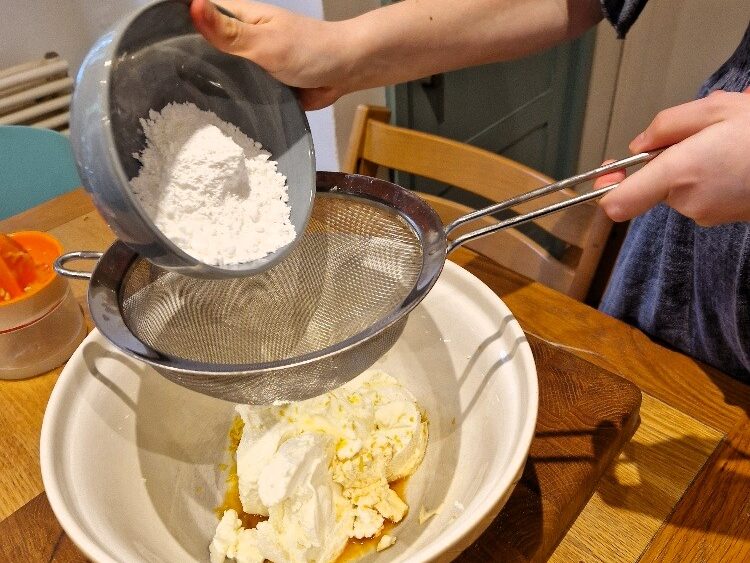
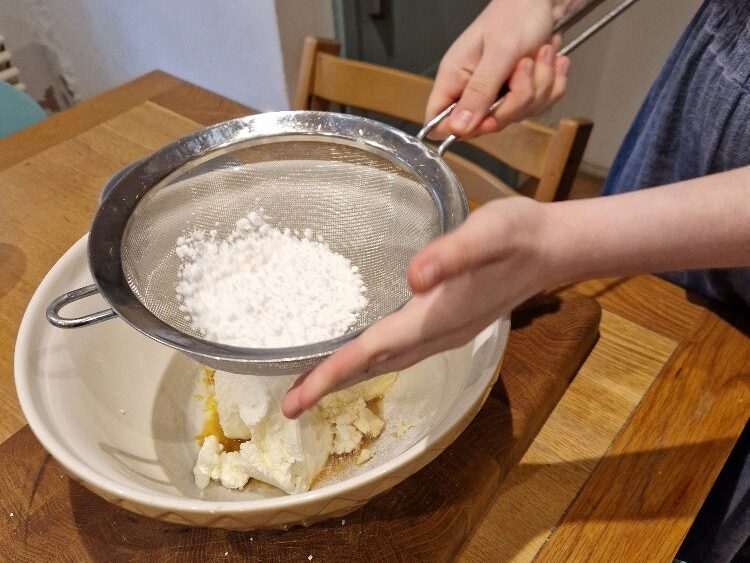
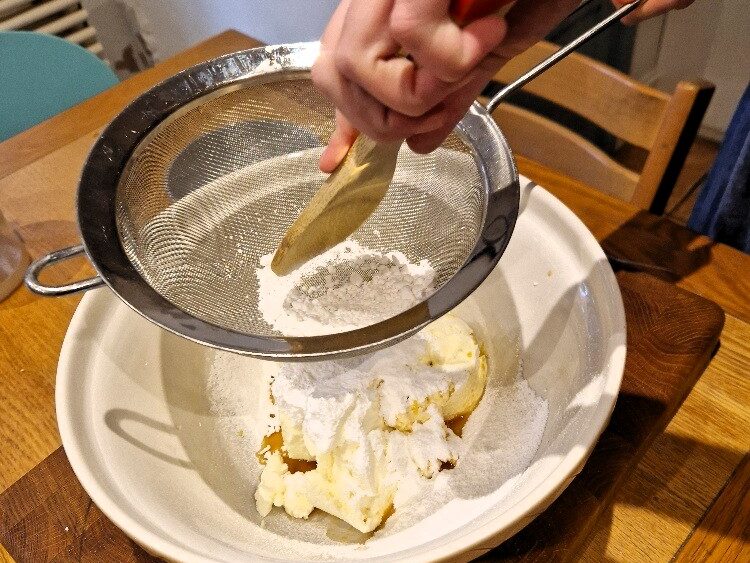
Now sieve the icing sugar onto the rest of the ingredients in the bowl. Tap the sides of the sieve to help the sugar go through. Any remaining lumps can be pushed through with a wooden spoon.
Jake sticks his nose in
You do need to sieve icing sugar. It can have quite large lumps in it that will be difficult to break up with your spoon if you add it directly to the bowl.
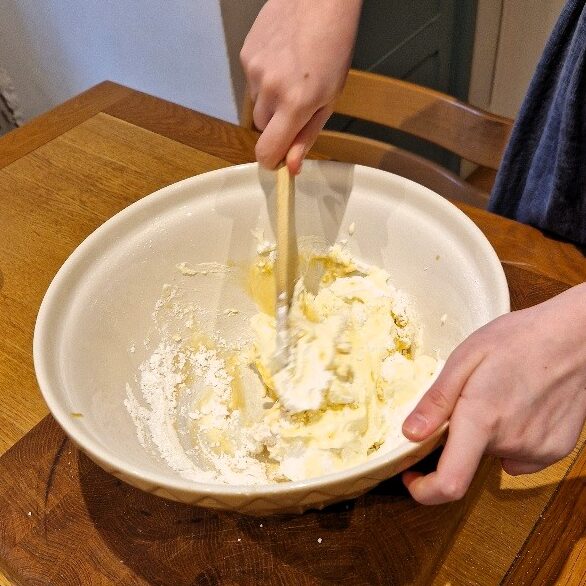
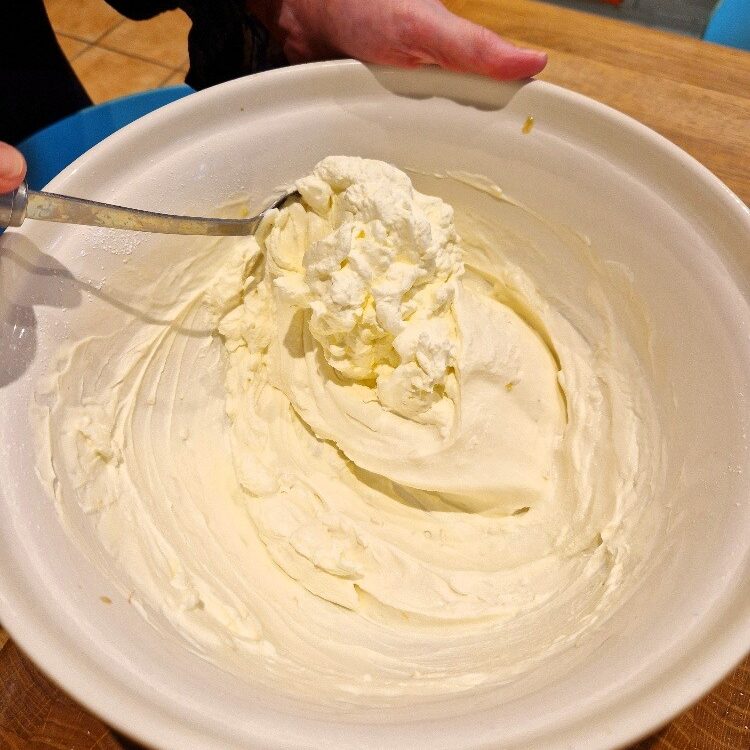
Now beat everything really well with your wooden spoon. You want the cheesecake filling to be well-mixed and smooth, but you also want to beat some air into the mixture. You can do this in a stand mixer with a paddle attachment, but we do it by hand. This is a key stage, so keep going until it is lovely and smooth, and light in texture.
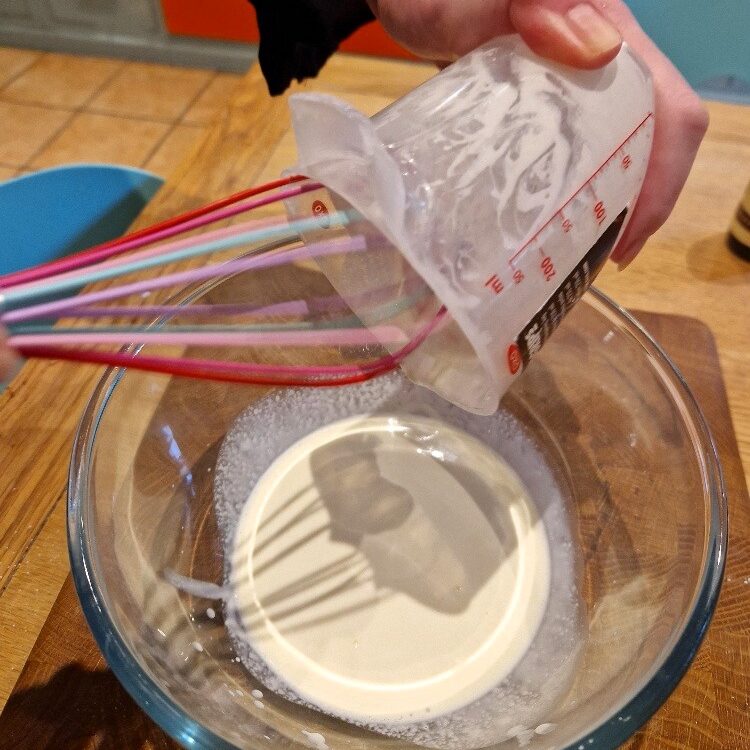
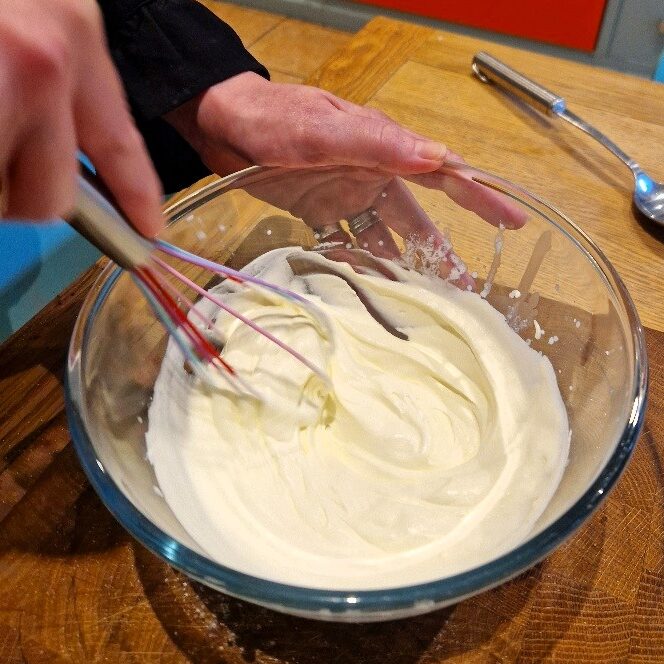
Now measure out the whipping cream (about 150ml), and pour into a separate bowl. It is best if both the cream and the bowl are really cold. Whip the cream using a balloon or other whisk until you reach the ‘stiff peaks’ stage. See our cream Tip. Whipped cream goes through 4 key stages – again see full details and instruction in our Tip – which can transition very quickly, so take care. Whipping to stiff peaks should take about 2 minutes – the peaks will stay up when you pick up the whisk, and the cream should look thick and fluffy, as below.
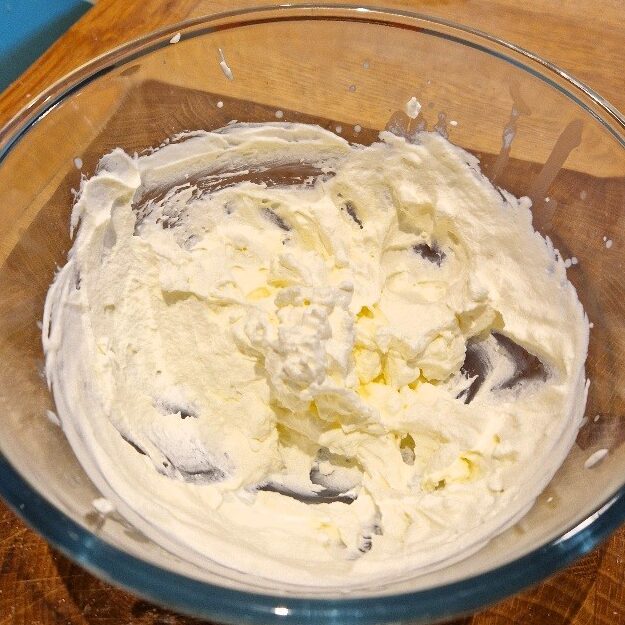
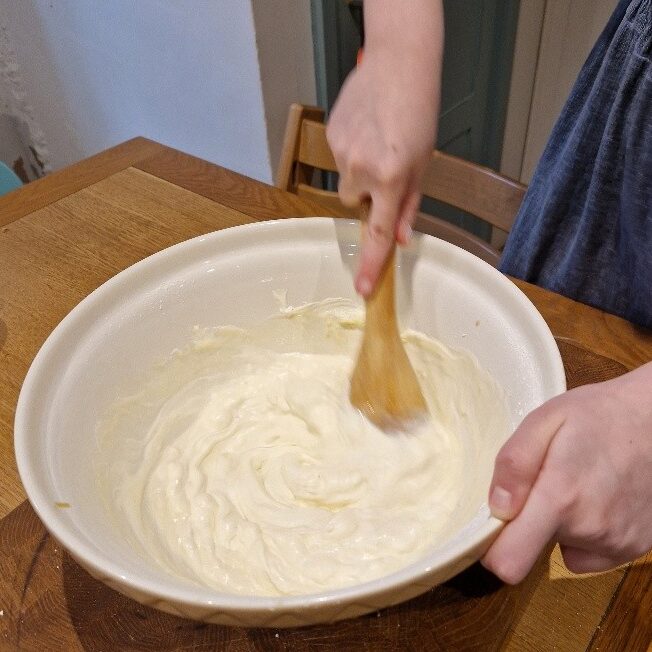
Now carefully fold the whipped cream into the rest of the cheesecake filling. This is easiest using a large metal spoon. Take care – folding means looping the mix up and over with the spoon, so it is well mixed, but don’t knock out all the air you’ve so carefully beaten in.
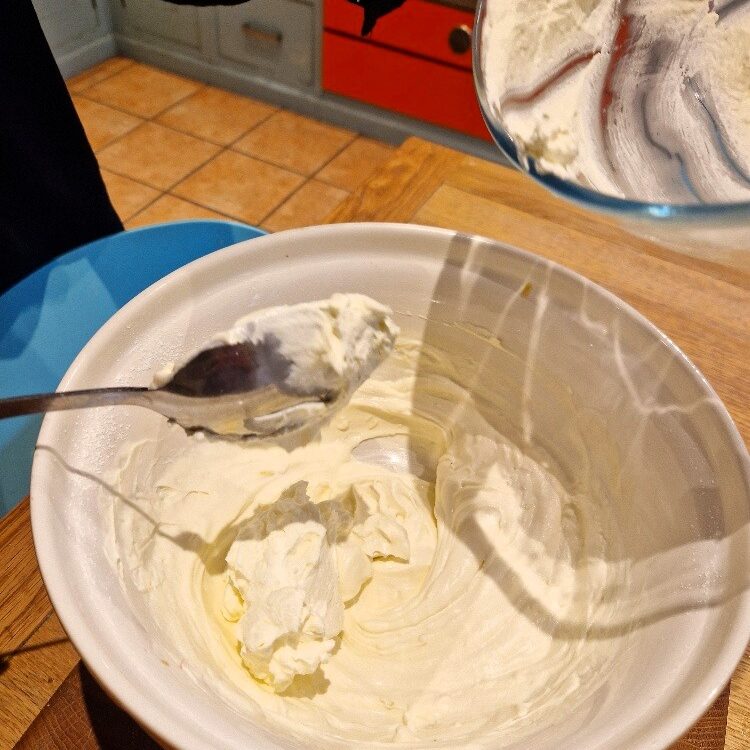
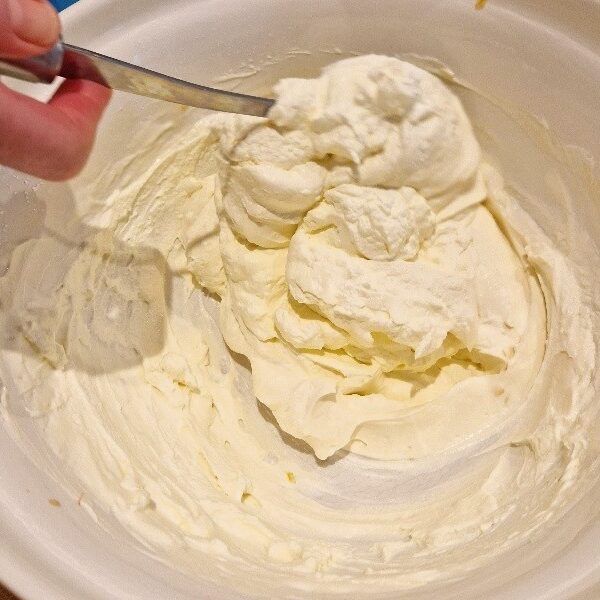
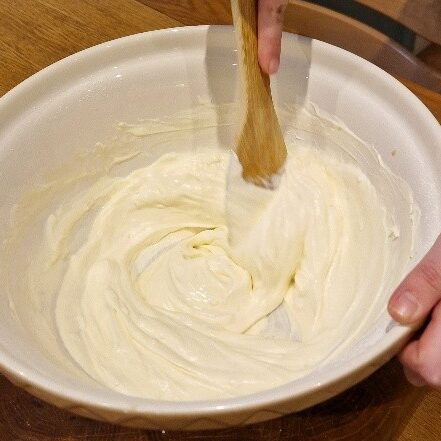
Taste, and carefully stir in a little more lemon juice or vanilla if needed. Ours didn’t need it today. Your filling is done, and should be light and fluffy. You are ready to assemble the cheesecake.
Assembling, chilling & decorating the cheesecake
This cheesecake needs to be really well chilled to set it – at least 3 hours and ideally 5 to 6 hours. It is even better if you chill it overnight before decorating, as we did today.
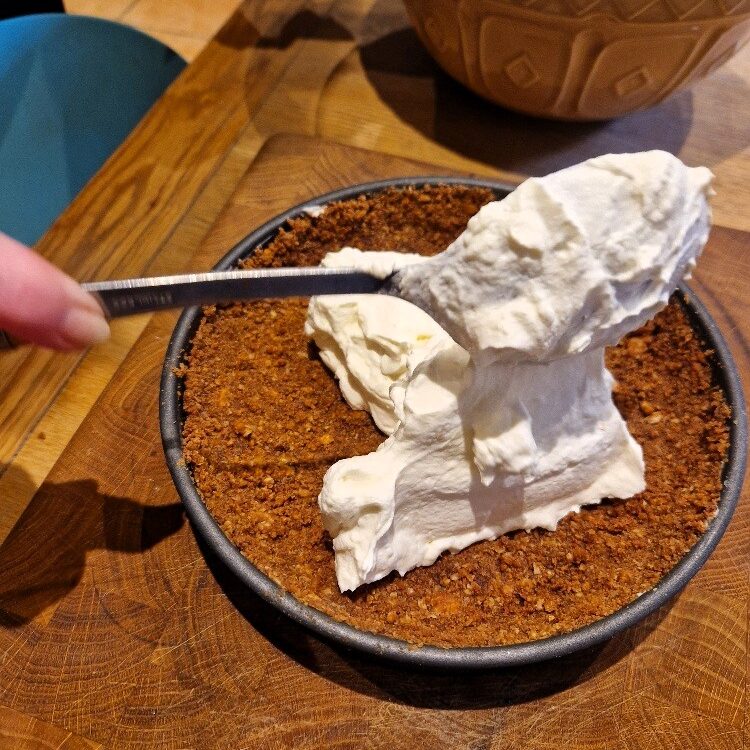
Remove the base from the fridge or freezer, leaving it in its tin. Fill generously with the cheesecake filling, smoothing the top with the back of your spoon or a spatula.
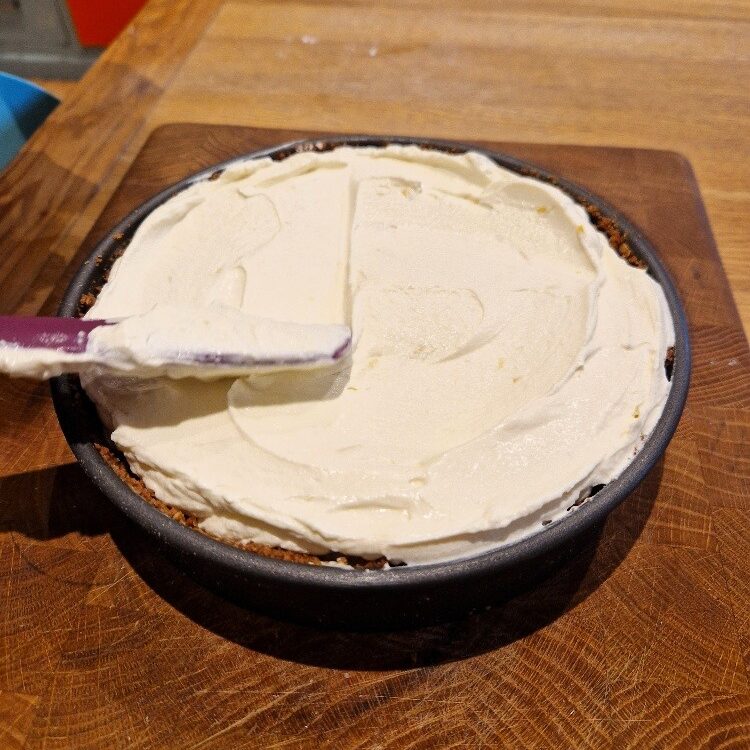
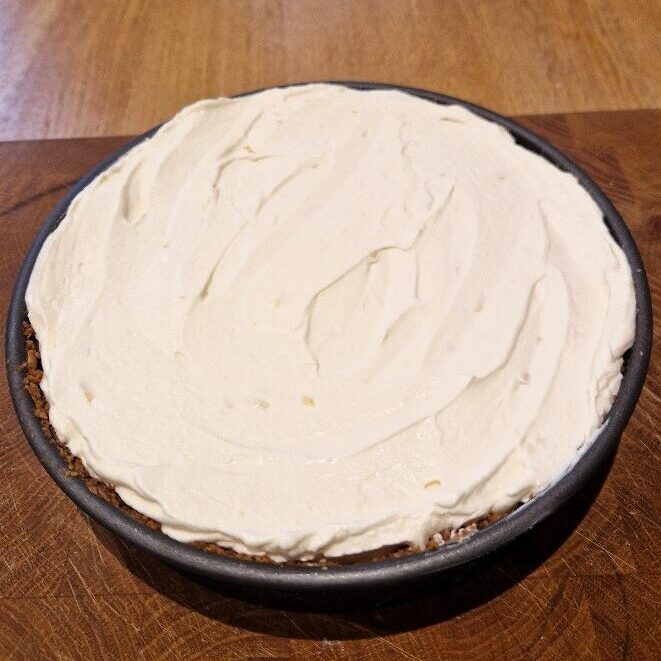
Chill in the fridge, lightly covered, for as long as you can and ideally overnight.
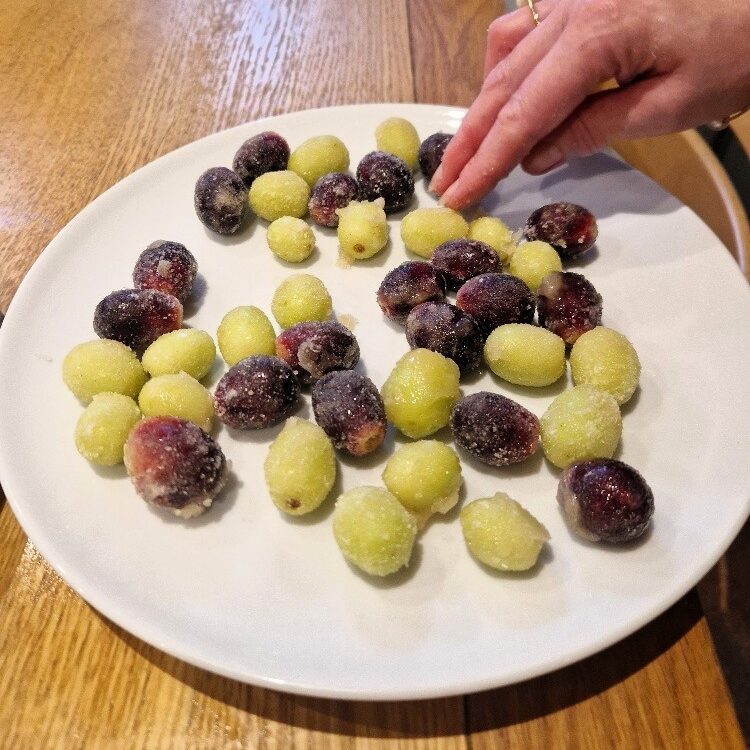
When you are ready to decorate and serve, remove the grapes from the freezer. Place on a plate and separate them (some will have likely stuck together), and also remove any large lumps of frozen lemon juice or sugar.

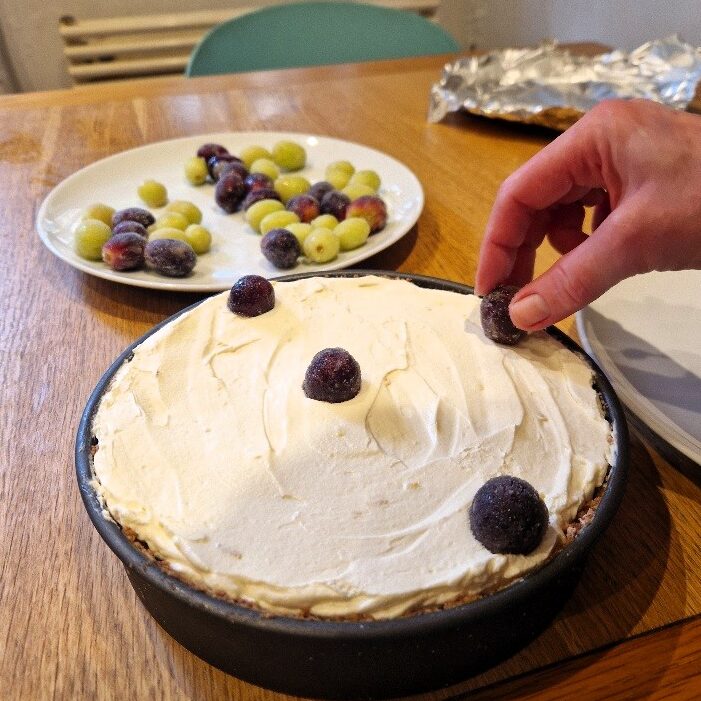
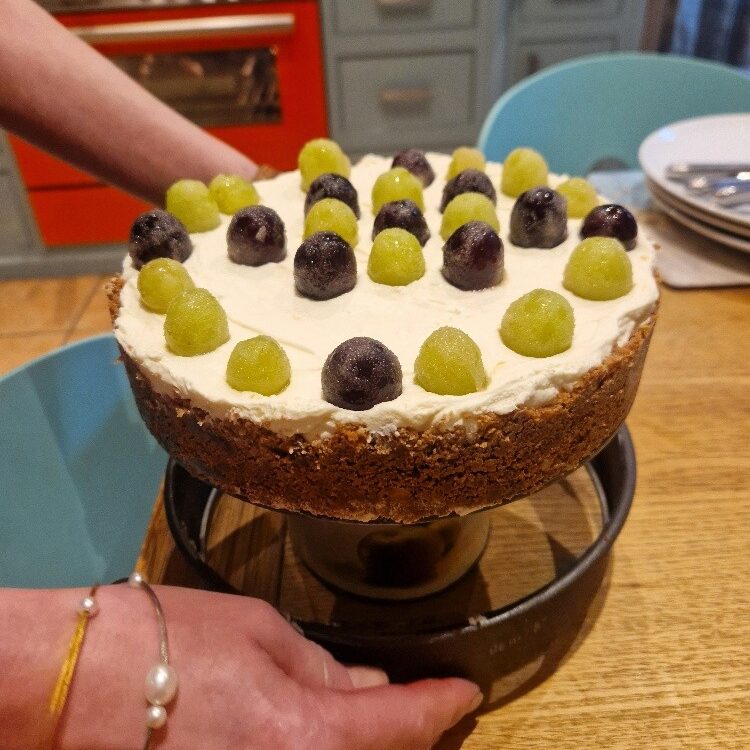
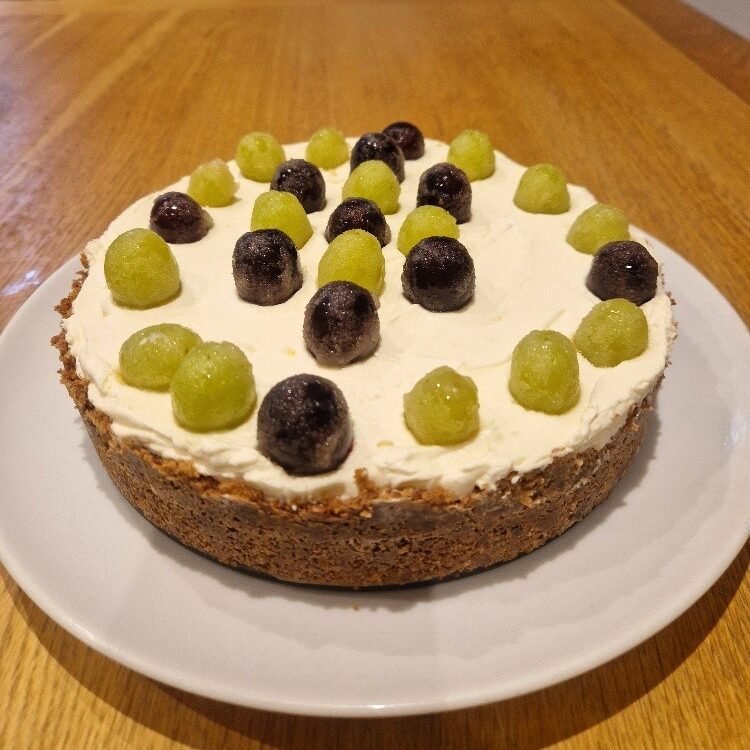
Decorate the top of the cheesecake with the grapes, making a nice pattern, though random can also look good!
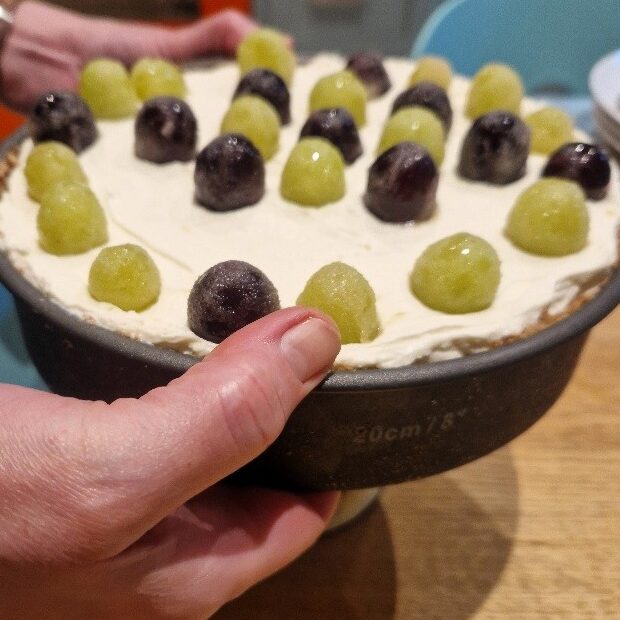
You now need to remove the cheesecake from the tin. This is always slightly nerve-wracking as the cheesecake can stick, or the base can break so be careful! If you’ve greased the tin well, and chilled the cheesecake thoroughly, it should be fine, however.
The base is loose, so you need to push it up to release the cheesecake. You can do this by pushing it up with your hand, but a better way is to set it on top of a large tin can and push the edges down. This requires less of a balancing act and is easier to control the pressure. We keep a very large tin of (now expired) figs specifically for unmoulding tarts! Centre the cheesecake on top of the tin, then gently but firmly push the sides down. It is very satisfying when the tart comes out, as below.
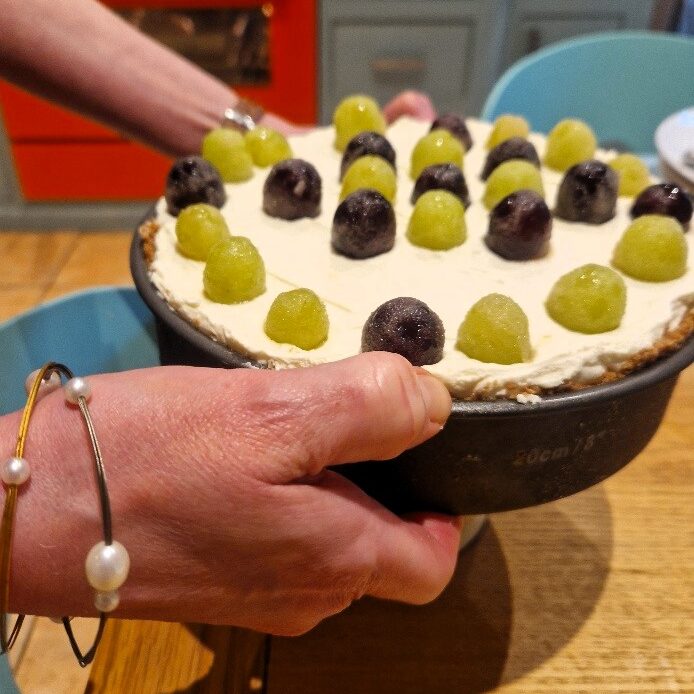
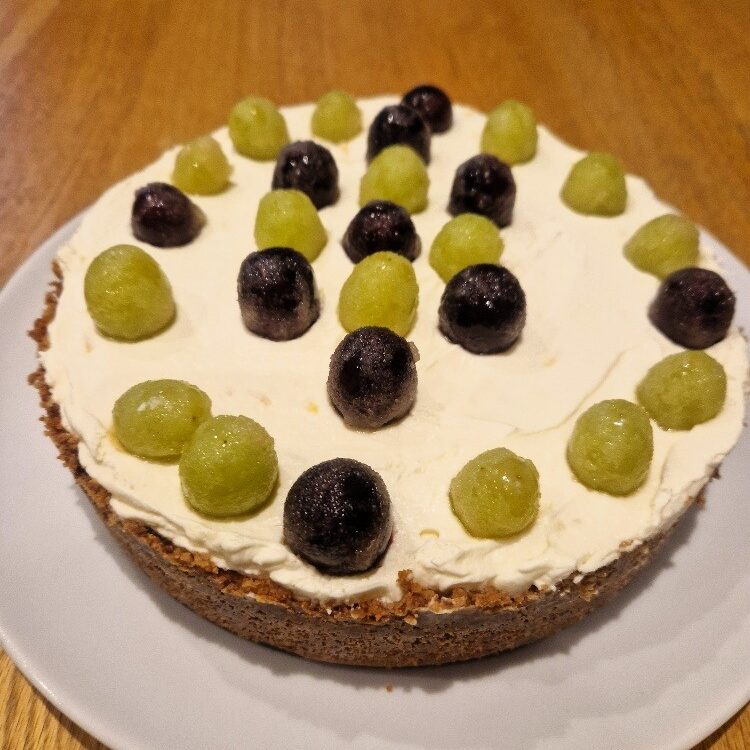
We tend not to remove the base of the tin, as this is just another accident waiting to happen. But if it feels like it will come off easily, you can slide it out. Place the cheesecake on a plate. You are ready to serve.
Enjoy!

Creamy No-Cook Cheesecake with Frosted Grapes
Ingredients
Equipment
Method
- Grease a loose-leaf tin (i.e. one with a separate base) with butter, then line the bottom with a circle of baking paper. Also grease the top of the paper.
- Weigh out the biscuits. We use a combination of dark chocolate oat biscuits and Dutch crispbakes, in about a 2/3 to 1/3 ratio by volume.
- Cube the butter, add to a small saucepan and set over a medium heat until melted.
- Place the biscuits, breaking them up a little, into a large plastic bag. Remove the air from the bag and seal, then place on a chopping board. Smash the biscuits in the bag with a rolling pin until they are sandy in texture.
- Pour the biscuits into a bowl. Shaking the bowl from side to side will bring any larger lumps to the top. Crush these. Add the melted butter, and 1 or 2 teaspoons of ground ginger, if liked, and stir well. The mixture should be well-combined and resemble wet sand.
- Firmly pack the mixture into the base of the tin, making sure to also coat the sides. Place the tin into a large plastic bag (you can reuse the one from the biscuits) or cover with cling film, and place into the fridge for at least 30 minutes. Alternatively place into the freezer for 10 minutes.
- Zest & juice the lemons, then cut the zest finer. See our lemon Tip.
- Pick the grapes from the stems, then place in a large plastic bag. Add enough lemon juice to moisten them, about 2 tablespoons or so. Add enough caster sugar to cover the grapes well.
- Shake the bag to coat the grapes. Remove the air from the bag, then seal it and place into the freezer. Freeze for at least 2 to 3 hours, but they will keep there for much longer.
- Weigh the icing sugar. Place the cream cheese into a separate large mixing bowl. Add the cream, lemon zest, 2 tablespoons of lemon juice and 1 tablespoon vanilla.
- Sieve the icing sugar onto the rest of the ingredients. Push any lumps through with a wooden spoon. Beat until well-combined and the mixture is smooth. You also want to beat some air into it so it becomes lighter in texture.
- Measure the whipping cream into a separate bowl. Whip to the stiff peaks stage. See our cream Tip. Carefully fold the whipped cream into the filling – it needs to be well combined, but still retain the air you have beaten in.
- Remove the base from the fridge or freezer. Generously spoon in the filling, and smooth the top with the back of your spoon or a spatula.
- Chill in the fridge for at least 3 hours, ideally 5 or 6 hours. It is even better if chilled overnight.
- When you are ready to serve, remove the grapes from the freezer and separate them on a plate. Remove any large lumps of frozen sugar. Decorate the top of the cheesecake with the grapes.
- Remove the cheesecake from the tin by pushing up the base. We do this on top of a large tin can, pushing the sides down. See our post above.
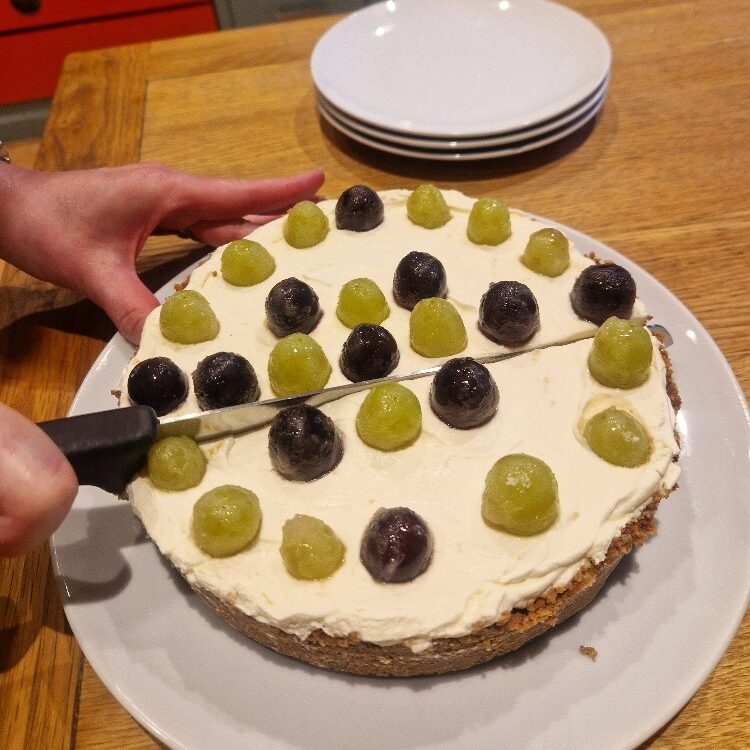
- Slice & serve the cheesecake. And enjoy!